

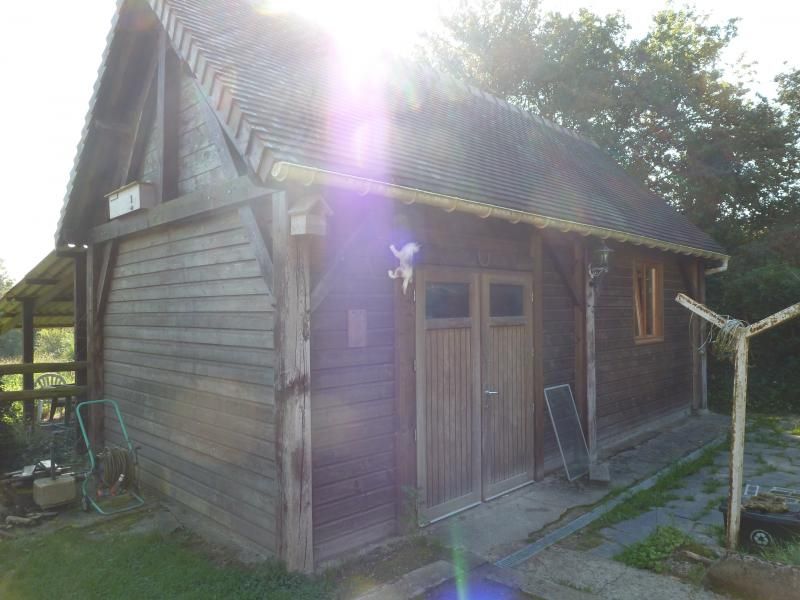
The outside. Regrettably I only converted the righthand half to the workshop
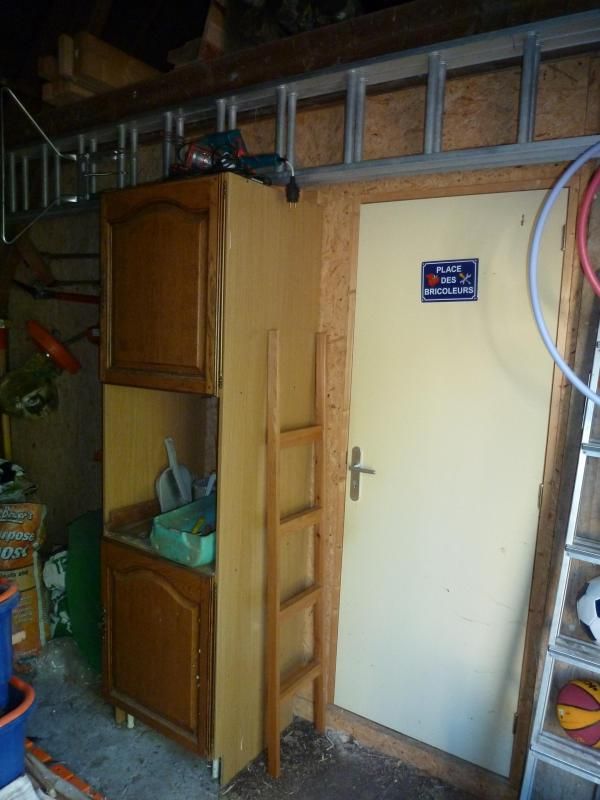
The entrance inside the barn. The cabinet to the left of the door will shortly be moved a few feet further to the left to accommodate a camvac, cyclone and dropbox.
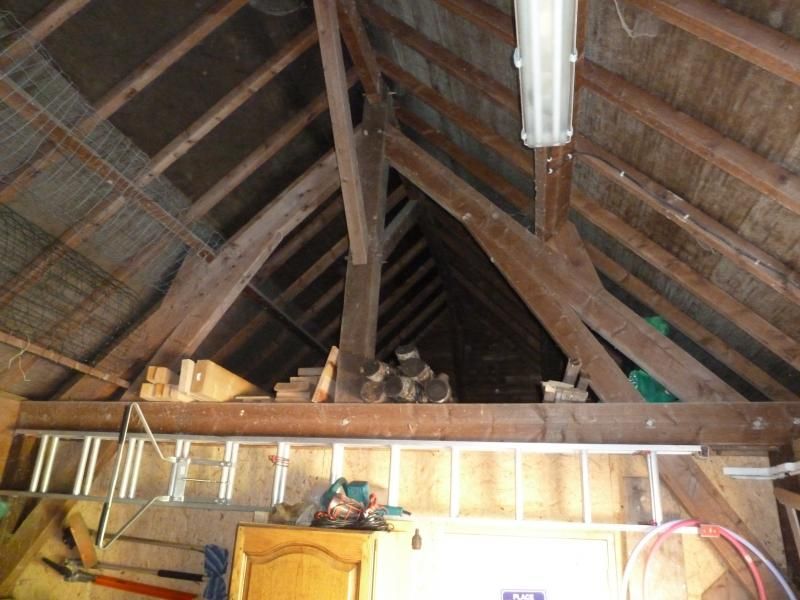
I have plenty of space above the workshop for timber storage
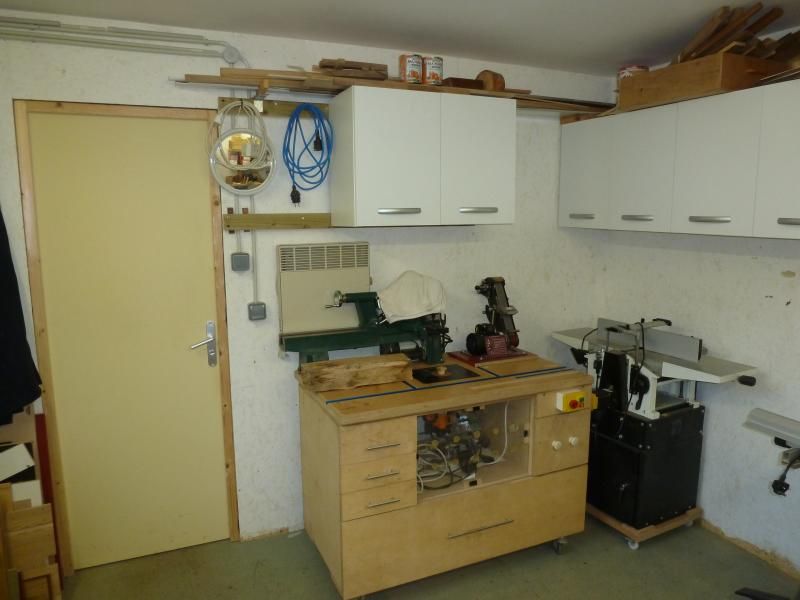
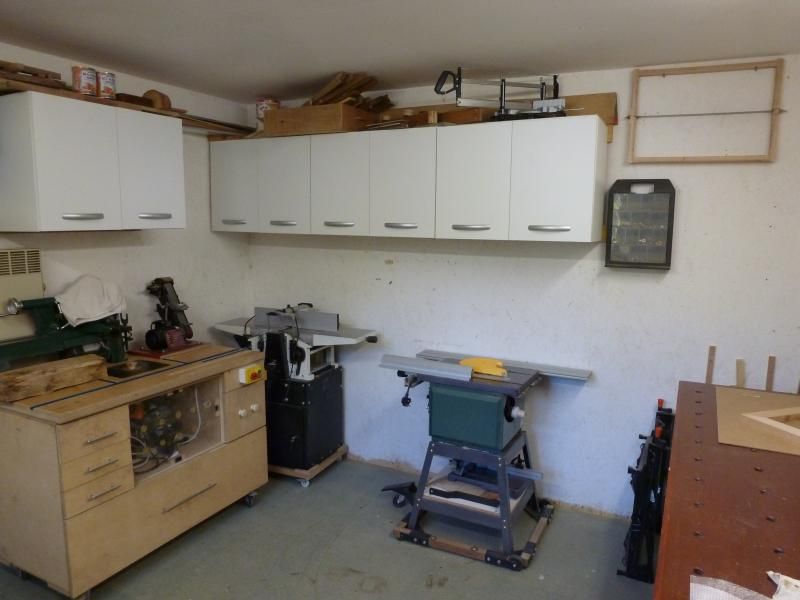
Internal dimensions are 3.6m x 3.6m. With the machines pushed back to the walls there is 2mx2.5m free floorspace.
Looking back towards the door is the mobile router table which currently acts as a bench for the lathe. This router table will have to go and I will use the top to make something similar to David's (chaitaigner) bench mounted router table. The lathe will then have a smaller dedicated mobile stand.
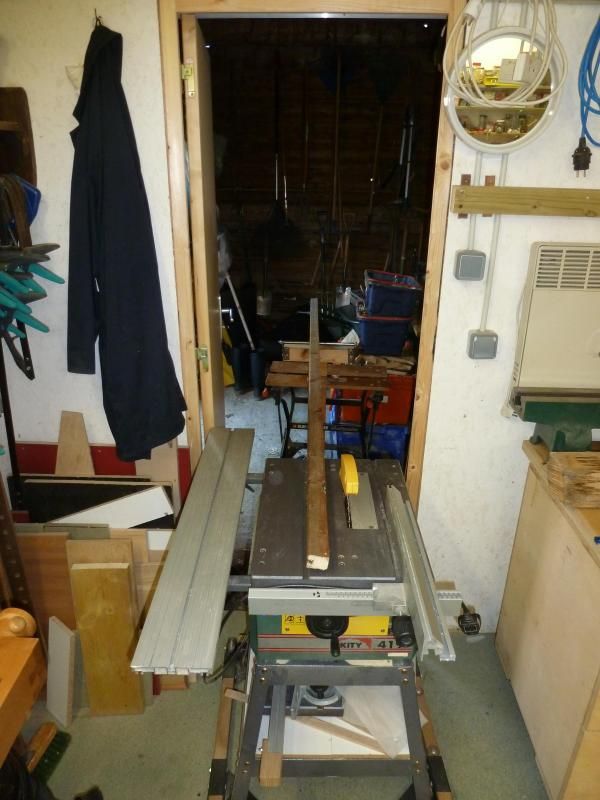
Planer Thicknesser and table saw both on mobile bases, up against the wall when not in use.
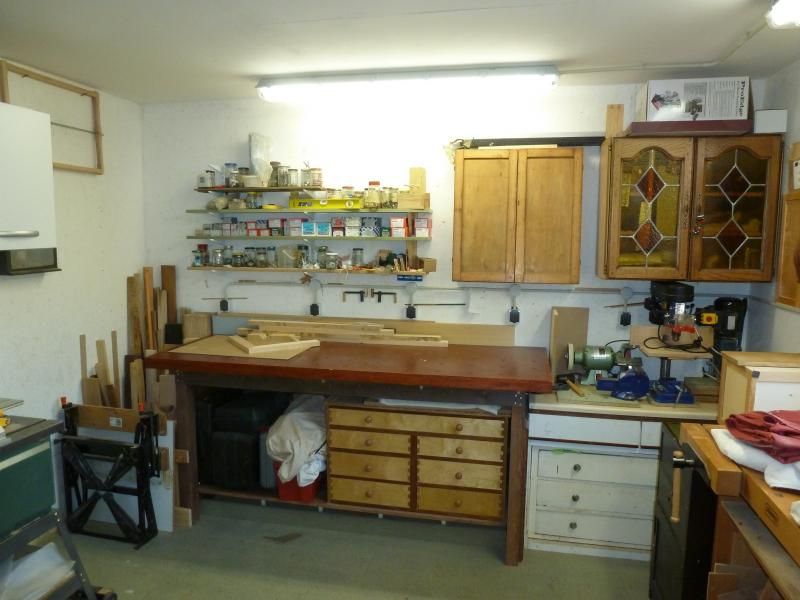
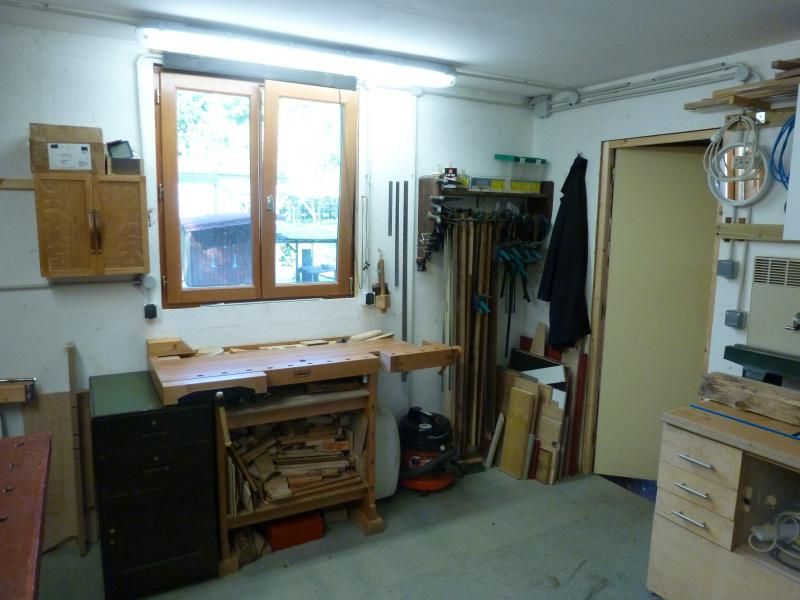
Opposite the door largest of my two benches. This bench was simply made with a couple of leg frames with 1" chipbard desk top underneath 3 layers of 18mm MRMDF. No vices on this bench just dog holes. Off cut storage to the left and small machines to the right
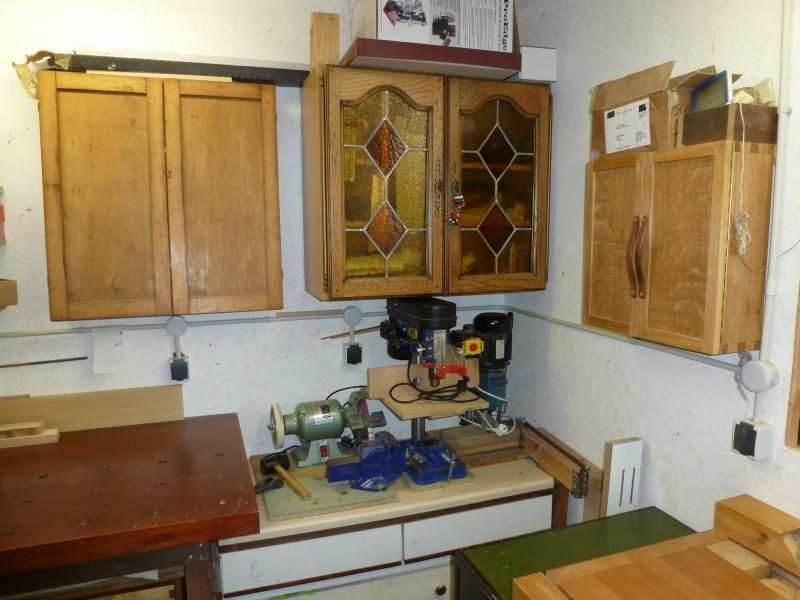
Each of the machines are on bases and are carried to the bench and clamped down with holdfasts.
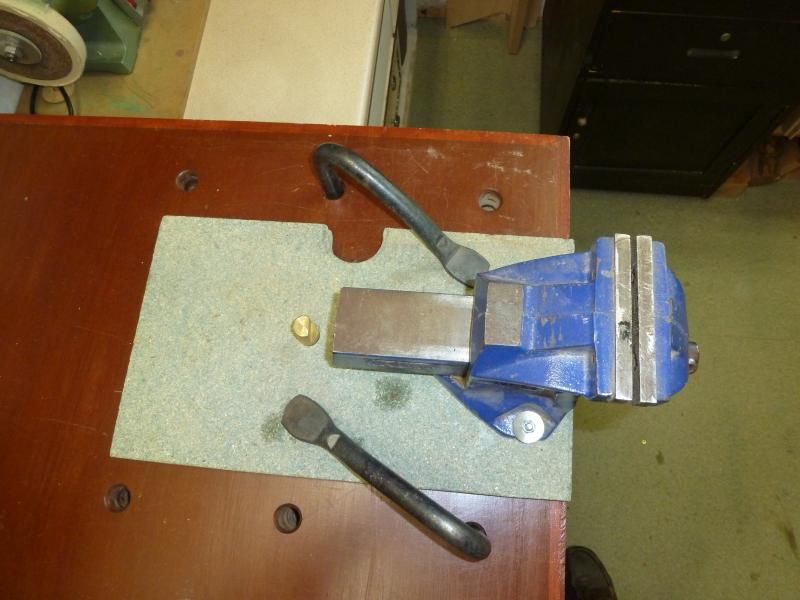
The metal work vice showing the clamping arrangements used for the drill, mortice, bench grinder and scroll saw.
Finally the sjobergs bench with offcuts underneath (there is also a cast iron surface plate under there acting as ballast) and clamp rack to the right.
Arrangement for ripping long lengths. Home made full height adjustable roller stand clamped in the workmate for out feed
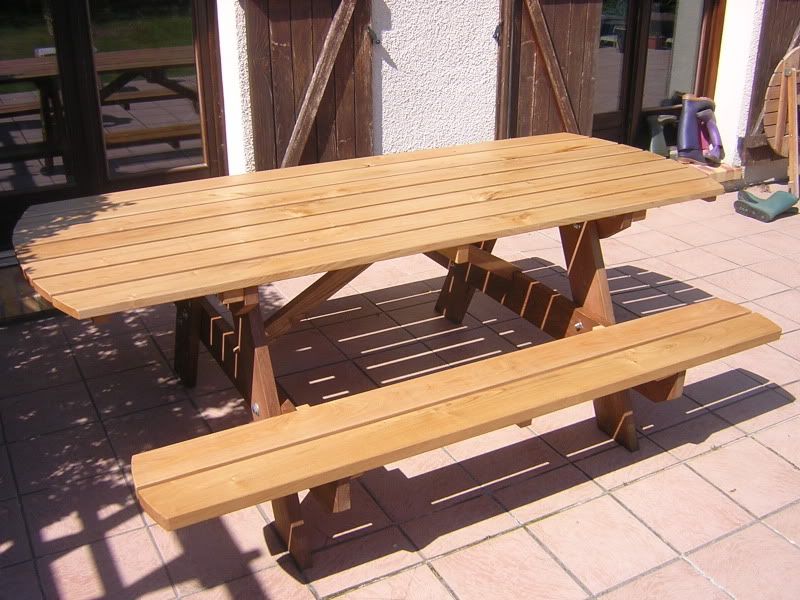
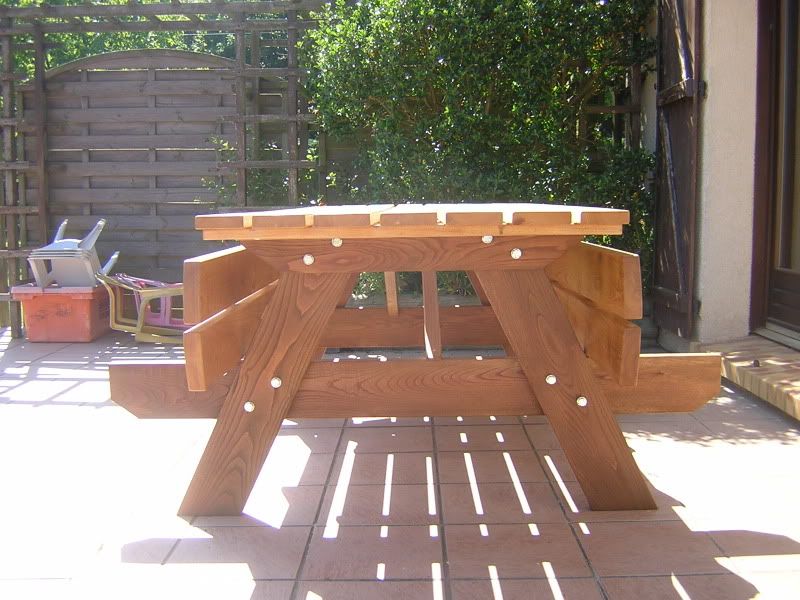
The largest project completed in this workshop was the garden table, 2.2m long and 1.6wide with the seats folded down
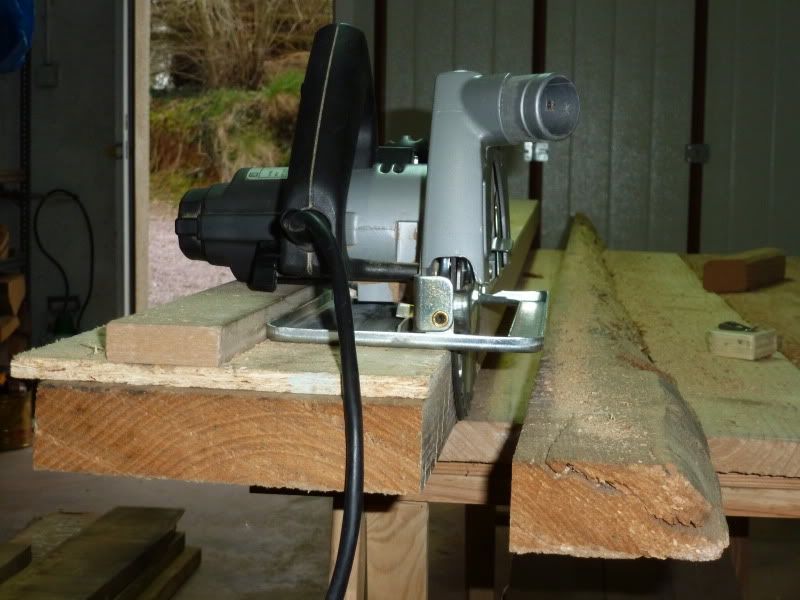
All the timber for that table was bought waney edged rough sawn. initial trimming was done with a home made saw guide and a circular saw in the garage

Hope this gives some ideas of what can be achieved in a smaller workshop.
Not as tidy as some and my no means do Ihave the full range of kit. No bandsaw for example although that is next on my list.
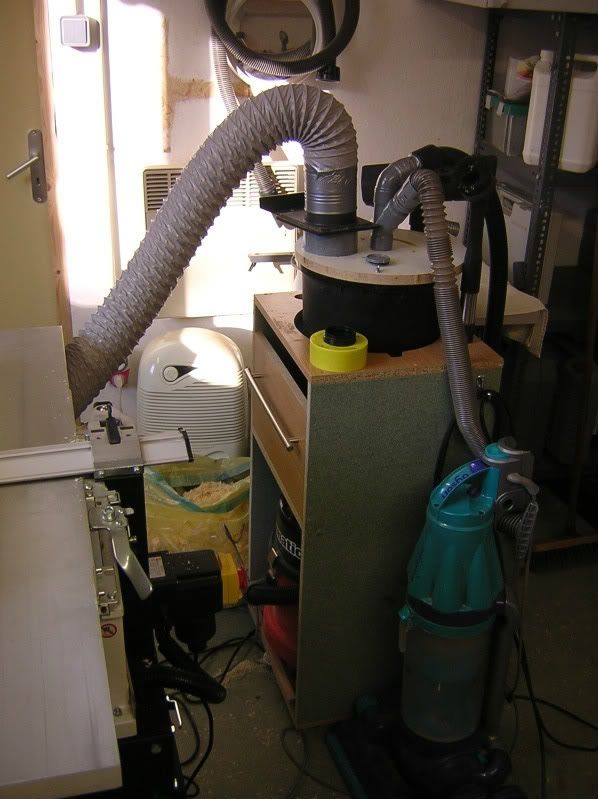
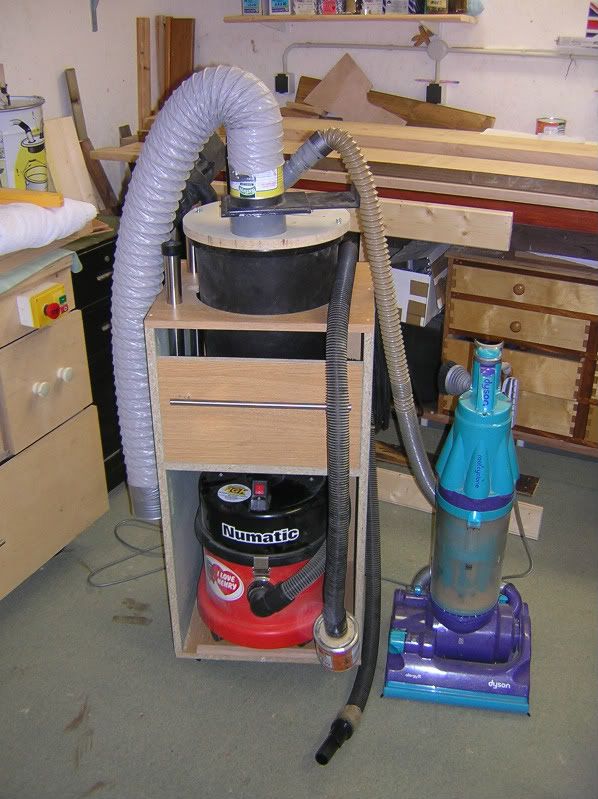
I will also have the luxury of being able to house dust/chip extraction outside the workshop. which will save me from having to use this. It works but was getting in the way
All comments and questions welcomed

The entrance inside the barn. The cabinet to the left of the door will shortly be moved a few feet further to the left to accommodate a camvac, cyclone and dropbox.

I have plenty of space above the workshop for timber storage

Internal dimensions are 3.6m x 3.6m. With the machines pushed back to the walls there is 2mx2.5m free floorspace.
Looking back towards the door is the mobile router table which currently acts as a bench for the lathe. This router table will have to go and I will use the top to make something similar to David's (chaitaigner) bench mounted router table. The lathe will then have a smaller dedicated mobile stand.

Planer Thicknesser and table saw both on mobile bases, up against the wall when not in use.

Opposite the door largest of my two benches. This bench was simply made with a couple of leg frames with 1" chipbard desk top underneath 3 layers of 18mm MRMDF. No vices on this bench just dog holes. Off cut storage to the left and small machines to the right

Each of the machines are on bases and are carried to the bench and clamped down with holdfasts.

The metal work vice showing the clamping arrangements used for the drill, mortice, bench grinder and scroll saw.

Finally the sjobergs bench with offcuts underneath (there is also a cast iron surface plate under there acting as ballast) and clamp rack to the right.

Arrangement for ripping long lengths. Home made full height adjustable roller stand clamped in the workmate for out feed

The largest project completed in this workshop was the garden table, 2.2m long and 1.6wide with the seats folded down


All the timber for that table was bought waney edged rough sawn. initial trimming was done with a home made saw guide and a circular saw in the garage


Hope this gives some ideas of what can be achieved in a smaller workshop.
Not as tidy as some and my no means do Ihave the full range of kit. No bandsaw for example although that is next on my list.
I will also have the luxury of being able to house dust/chip extraction outside the workshop. which will save me from having to use this. It works but was getting in the way

All comments and questions welcomed




 No pics, but it did happen - Rob
