I've been a bit lax in posting stuff for a while. I have been doing things just not taking pictures.
I rebuilt our bathroom as my main project but didn't take a single picture! Before starting it I half finished 2 cat scratching posts for my daughter who kindly volunteered me to make them for her friends.
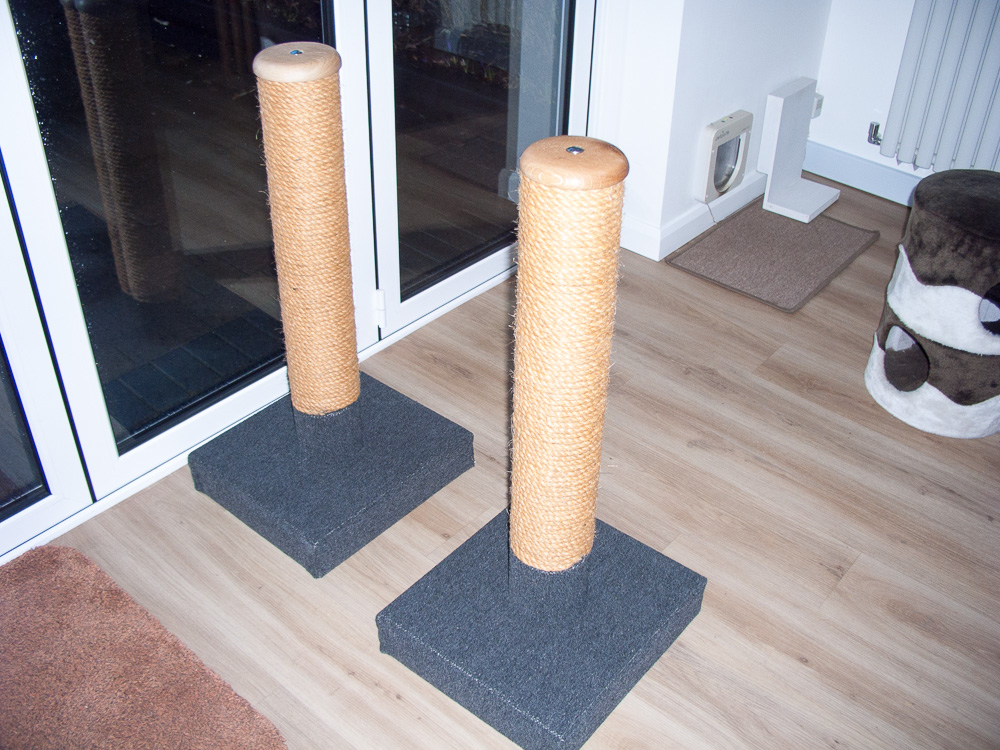
My daughter has the kind of cat that catches squirrels for fun - he is huge. I made her an appropriately sized scratching post with 12mm sisal rope - twice the size of ones you buy in pet shops. hers friends admired it and she offered me to make some more! I didn't rush and 4 months later they are ready.
Anyway pictures from 3/4 finished to done..
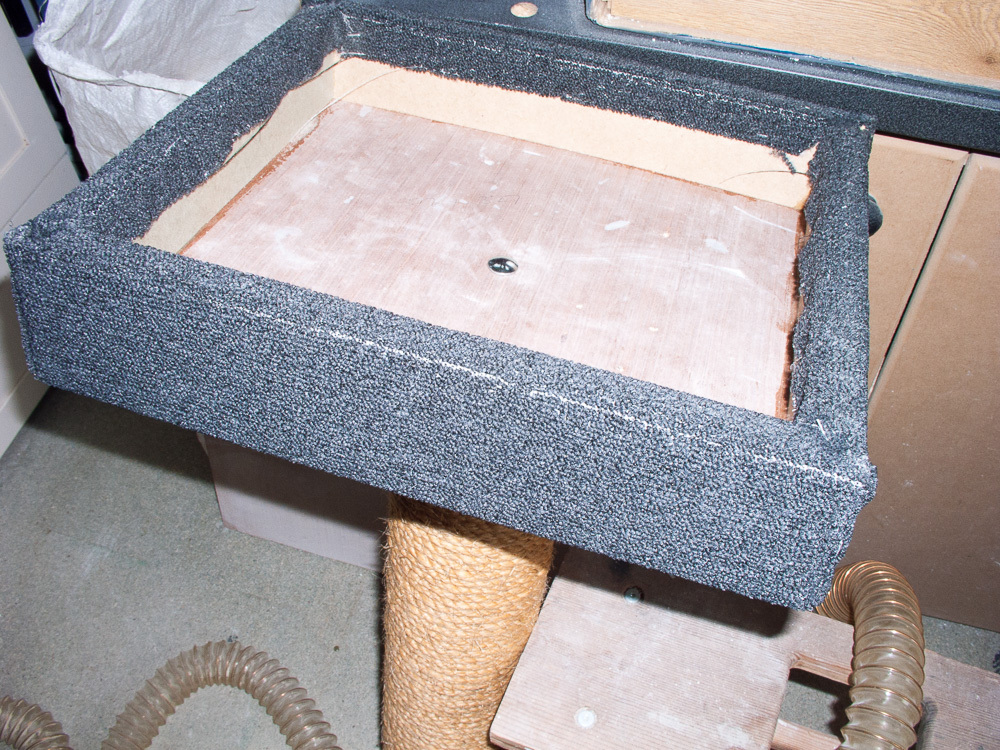
The base is a 18mm MDF + ply box with cheapest carpet stapled over it
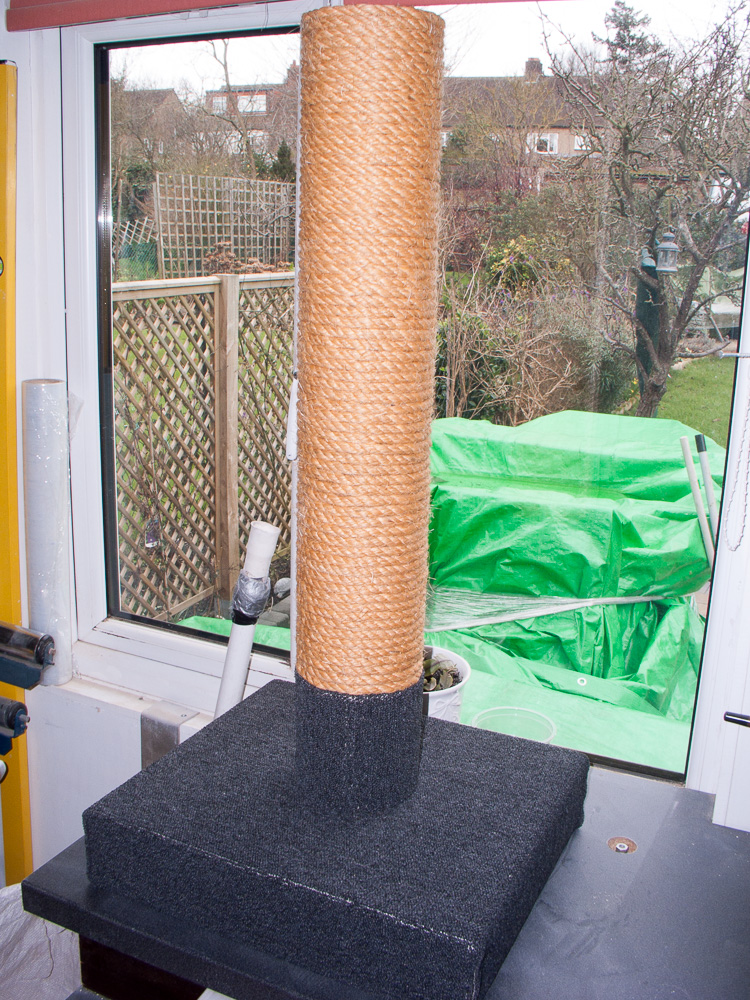
Couldn't get the same rope as last time and this is a bit thinner so 27m didn't cover the whole post. post is about 125mm dia and around 750mm long. Bottom 15cm covered with more carpet.
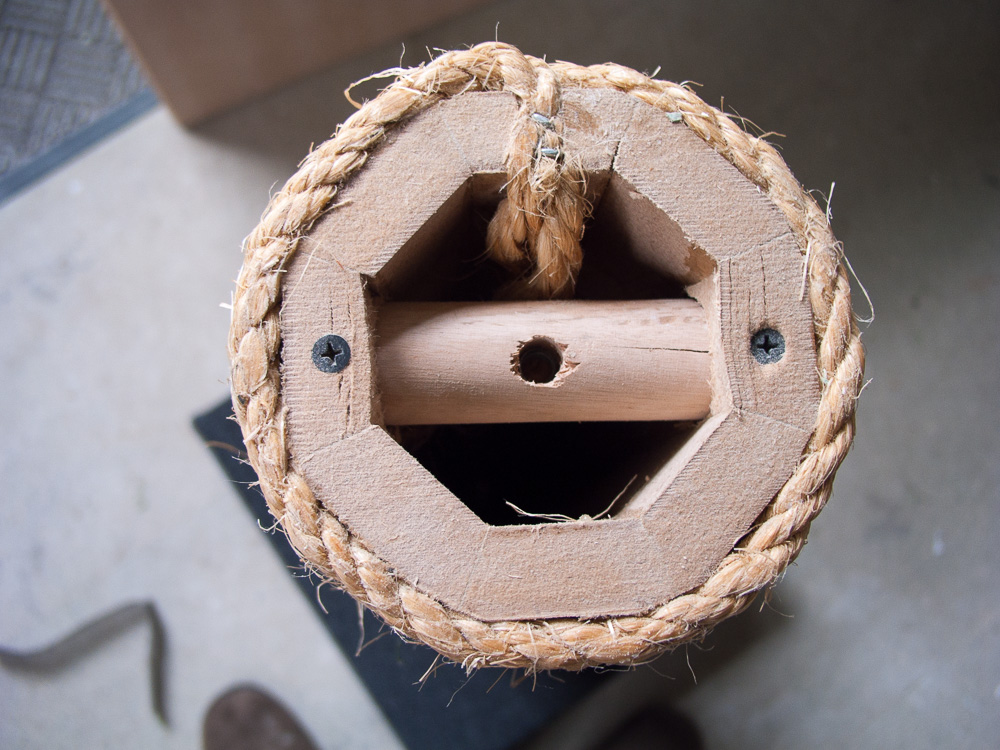
The start of the winding is notched into the end. The post was heavily PVA'd before winding so if it ever frays it will not unwind. The cross dowel has a T nut in it for assembly to coach screws. It's made from more 18mm MDF cut into bevelled strips on the tablesaw and just glued together.
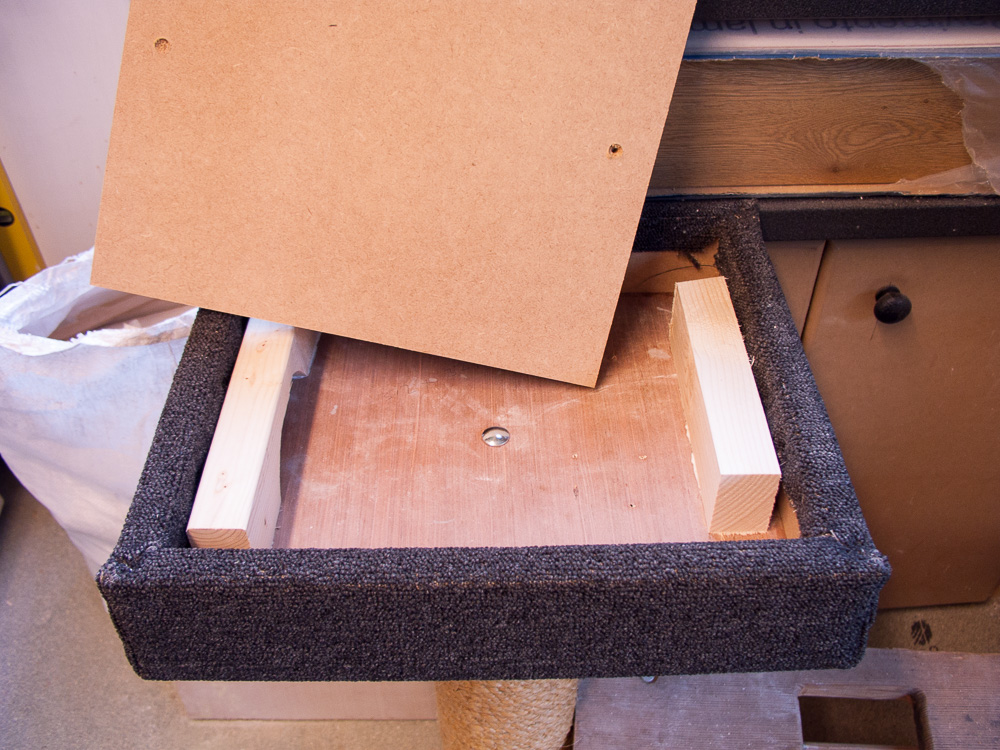
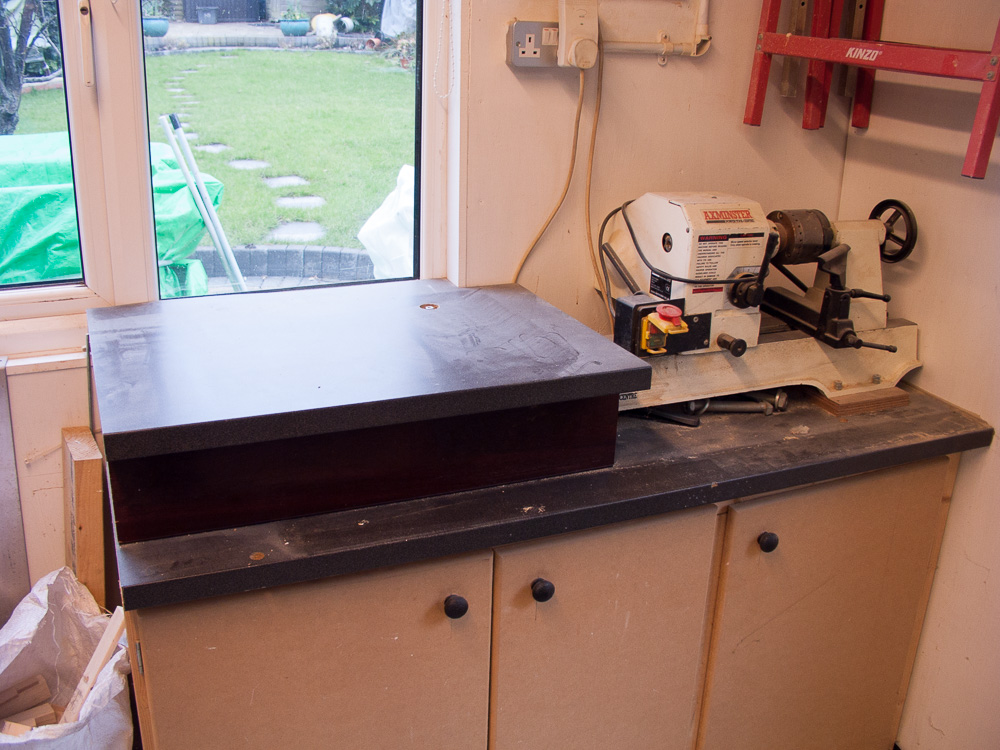
Blocks from the scrap bag glued in to screw a base cover to
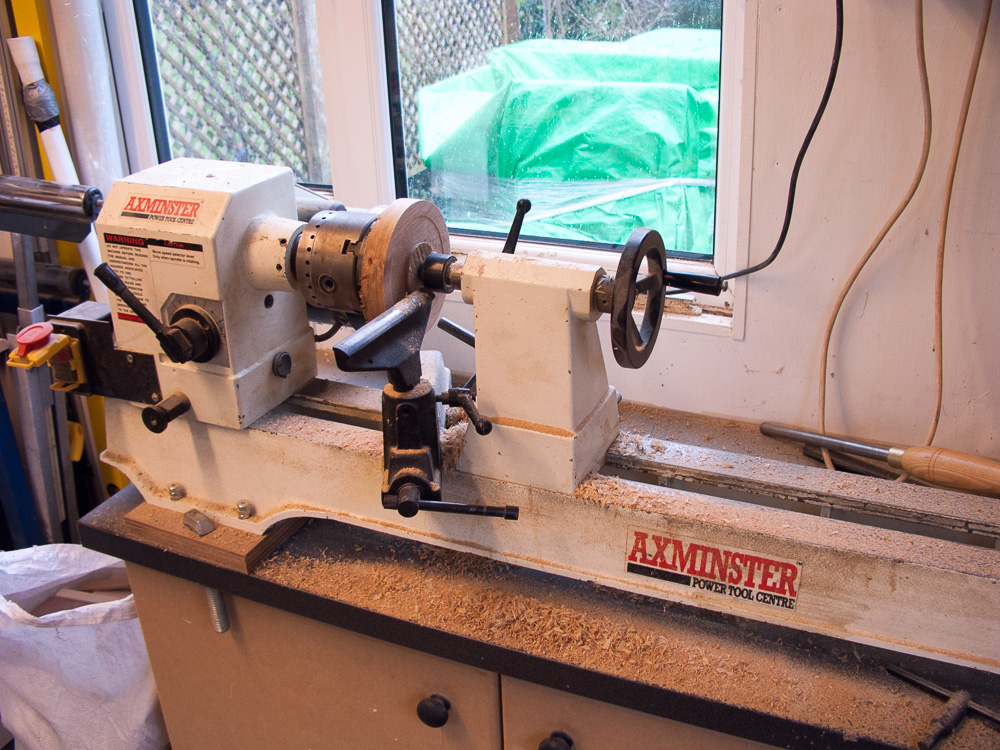
This is what my lathe looks like 99.999% of the time...
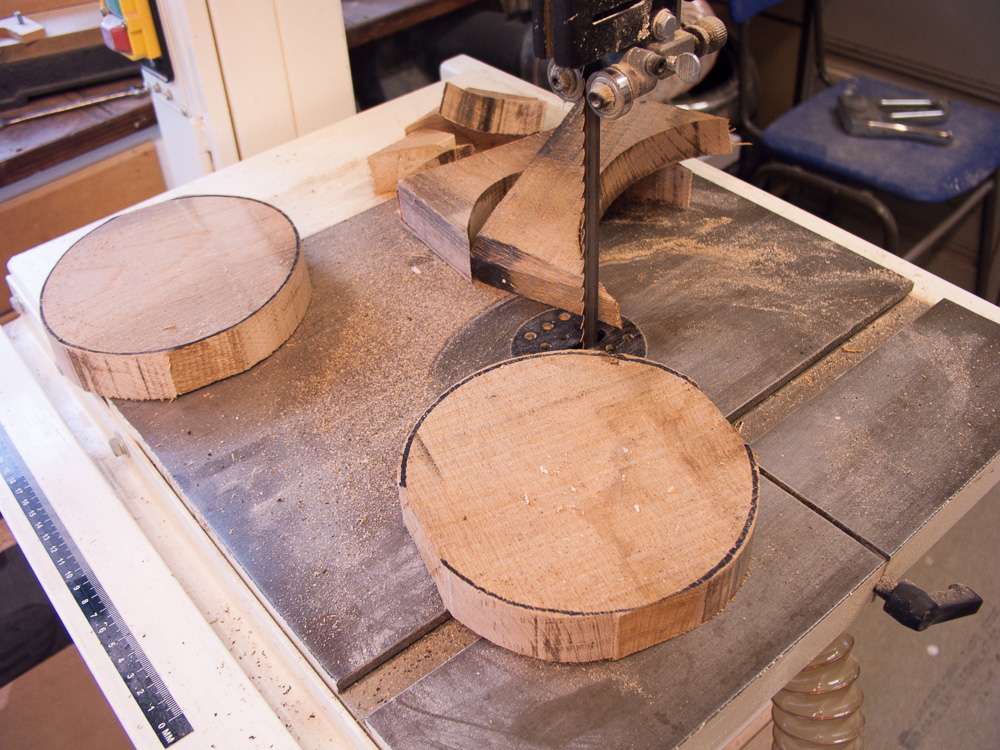
Cut 2 circles
probably the wrong way to do it but I just trapped the wood between live centre and chuck face then turned it round and made a dovetail on the face
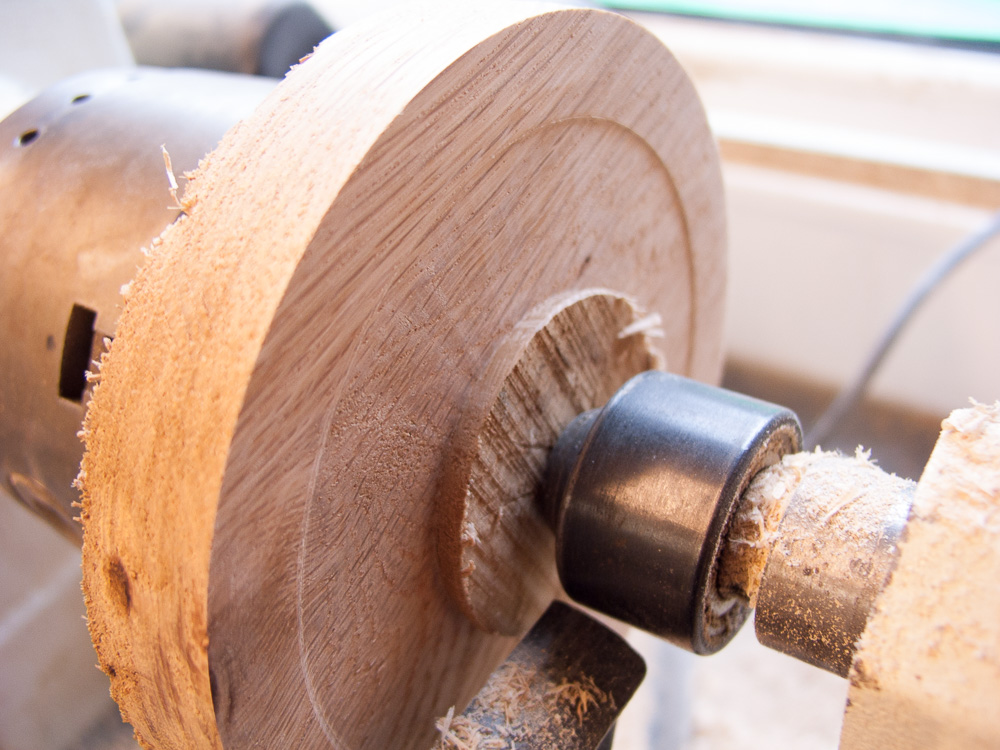
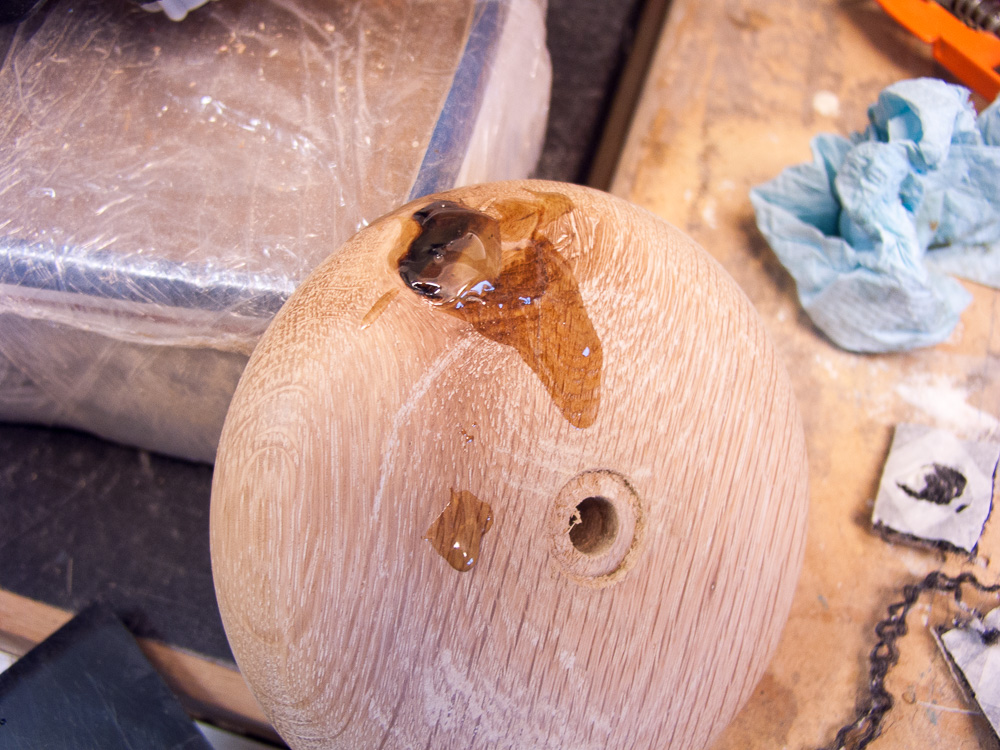
Dovetail went in the chuck and I turned the face. this one had a knot so I filled it with glass fibre resin
Re turned, some wax applied, coach bolt fitted and screwed on the top
Our cat has tested them and approved but she is normal sized and doesn't get one")
Glad to see the back of them now. I'll not be accepting any more orders for them.
I rebuilt our bathroom as my main project but didn't take a single picture! Before starting it I half finished 2 cat scratching posts for my daughter who kindly volunteered me to make them for her friends.
My daughter has the kind of cat that catches squirrels for fun - he is huge. I made her an appropriately sized scratching post with 12mm sisal rope - twice the size of ones you buy in pet shops. hers friends admired it and she offered me to make some more! I didn't rush and 4 months later they are ready.
Anyway pictures from 3/4 finished to done..
The base is a 18mm MDF + ply box with cheapest carpet stapled over it
Couldn't get the same rope as last time and this is a bit thinner so 27m didn't cover the whole post. post is about 125mm dia and around 750mm long. Bottom 15cm covered with more carpet.
The start of the winding is notched into the end. The post was heavily PVA'd before winding so if it ever frays it will not unwind. The cross dowel has a T nut in it for assembly to coach screws. It's made from more 18mm MDF cut into bevelled strips on the tablesaw and just glued together.
Blocks from the scrap bag glued in to screw a base cover to
This is what my lathe looks like 99.999% of the time...
Cut 2 circles
probably the wrong way to do it but I just trapped the wood between live centre and chuck face then turned it round and made a dovetail on the face
Dovetail went in the chuck and I turned the face. this one had a knot so I filled it with glass fibre resin
Re turned, some wax applied, coach bolt fitted and screwed on the top
Our cat has tested them and approved but she is normal sized and doesn't get one
Glad to see the back of them now. I'll not be accepting any more orders for them.