StevieB
Nordic Pine
It has been rather a long time since I posted anything useful or interesting due to massive work commitments, but a bit of free time between Christmas and New Year means I can start a new project, even if it will take me a while to complete it!
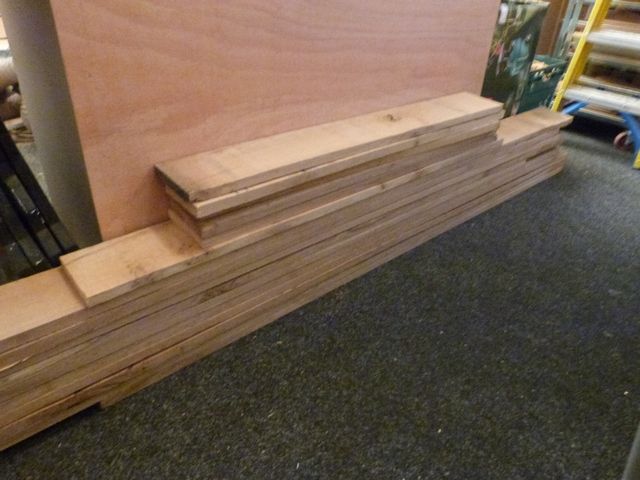
A while ago I asked for sources of UK oak, ideally in Lincolnshire and someone helpfully pointed me to Somerscales. I took a trip up there in the week before Christmas and despite it being a pain to find eventually ended up with almost 6 cu ft of oak. Now I am not very experienced in terms of wood yards and pretty much just took what was offered after being assured it was prime joinery grade - it is a touch ropey in places but as I over ordered I am hoping I have enough good timber. Inch thick boards 6 inches wide destined to be flooring blanks apparently, only £26 per cu ft which I didn't think was too bad.
I am hoping to turn this lot into 2 display cases for a selection of skulls - I work in a Life Sciences University Department, they are not my collection I hasten to add! Quick sketch on the back of a fag packet and a rough measure up for the location - I need one low flat cabinet approx 140cm x 70cm x 30cm high, and one taller at 140cm x 70cm x 90cm high. The second will have front opening doors, the former a lift up lid. As both cases can be seen from any side, they need to be see through all round ie no solid back, and in the case of the shorter case the lid will need to be see through as well.
My design is therefore essentially a rail and stile cube with polycarbonate for the panels - make 4 squares for the sides, add a base and lid for the smaller case, same for the larger case but replace one side with 2 doors. Will work out shelving when I get that far. The biggest headache so far has been how to affix the polycarbonate panels. Normally in a frame and panel design the panel is secured in the frame and it never comes apart. For these however, I have to consider that the panel will get broken (students!) and need replacing, meaning I cannot fix and forget as I would with a solid panel. This is another reason for using polycarbonate rather than glass - apart from being lighter it is far stronger. I could take a gamble and fix and forget, or I could use a rail and style cutter then remove the back tongue and screw or pin a removable strip to allow panel replacement. This is considerably more work, but future proofs against accidents.....
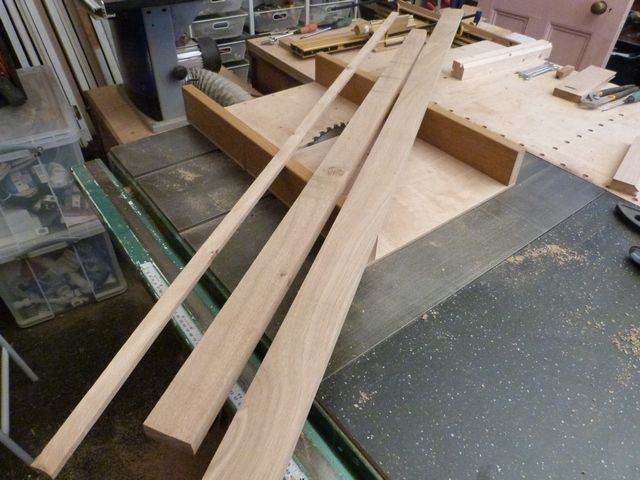
Either way I need to mill up the timber first, so after cutting into strips I ran these through the thicknesser to reach 22mm, and then dimensioned to 44mm wide
Then out with the router cutter, coupled with a lot of head scratching to mill up my frames, remembering to cut a double profile for some centre trims
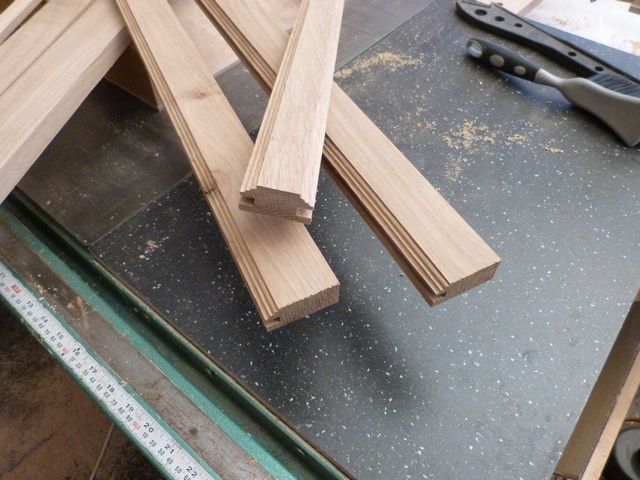
and some half width strips where the sides meet each other to ensure sight lines are equal
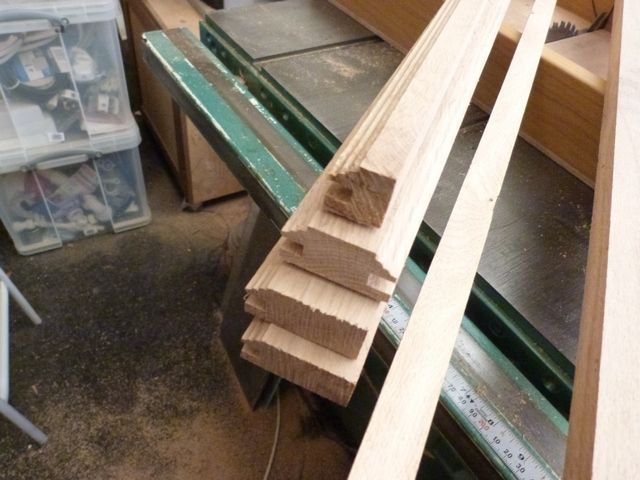
Then reverse the cutters to mill the end of these pieces to ensure a good mating joint
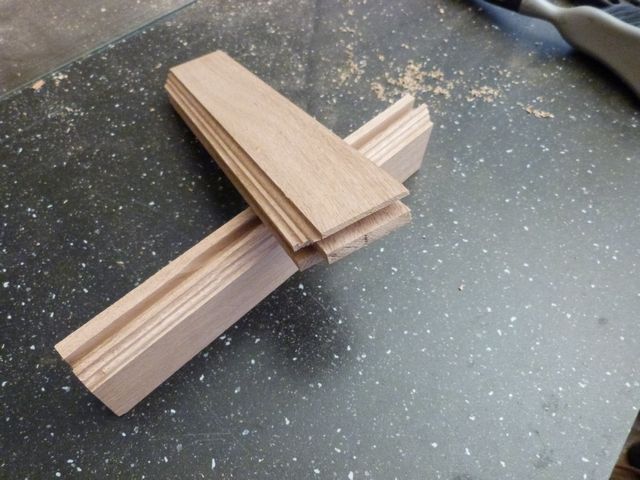
before doing a dry test fit to see if I am on track
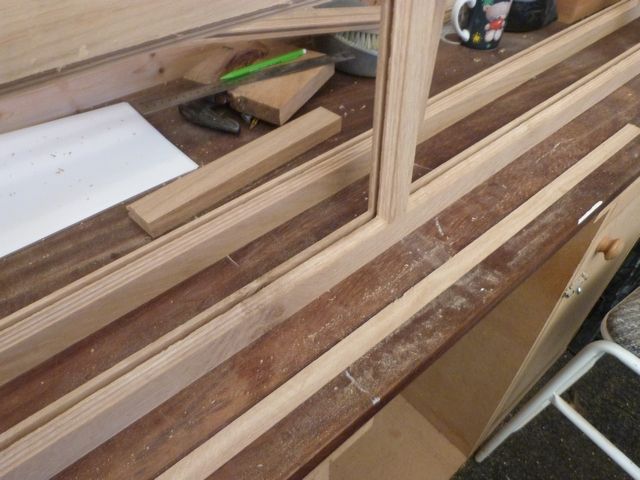
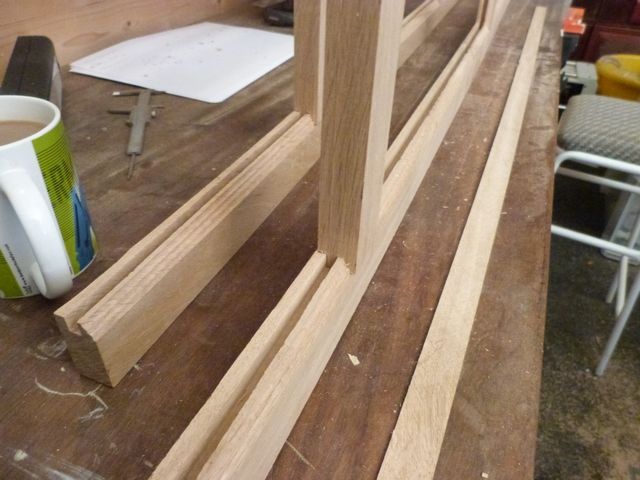
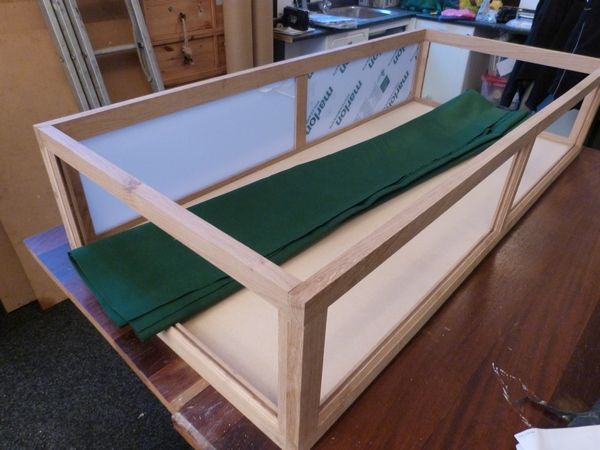
This final image shows the two long sides dry fitted before I decide how to deal with the panels
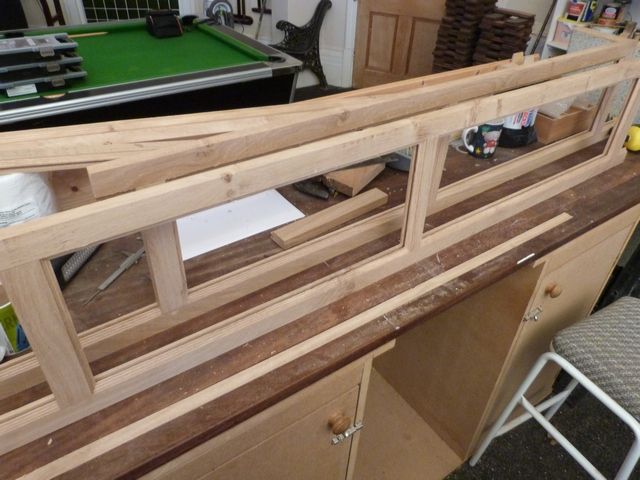
I will need to order the polycarbonate before I can glue the panels if I decide to 'fix and forget', or I could cut out the back tongue now and glue up the frames while waiting for the polycarbonate to arrive. Anyone ever done anything with clear panels before? how would you approach this?
Steve
A while ago I asked for sources of UK oak, ideally in Lincolnshire and someone helpfully pointed me to Somerscales. I took a trip up there in the week before Christmas and despite it being a pain to find eventually ended up with almost 6 cu ft of oak. Now I am not very experienced in terms of wood yards and pretty much just took what was offered after being assured it was prime joinery grade - it is a touch ropey in places but as I over ordered I am hoping I have enough good timber. Inch thick boards 6 inches wide destined to be flooring blanks apparently, only £26 per cu ft which I didn't think was too bad.
I am hoping to turn this lot into 2 display cases for a selection of skulls - I work in a Life Sciences University Department, they are not my collection I hasten to add! Quick sketch on the back of a fag packet and a rough measure up for the location - I need one low flat cabinet approx 140cm x 70cm x 30cm high, and one taller at 140cm x 70cm x 90cm high. The second will have front opening doors, the former a lift up lid. As both cases can be seen from any side, they need to be see through all round ie no solid back, and in the case of the shorter case the lid will need to be see through as well.
My design is therefore essentially a rail and stile cube with polycarbonate for the panels - make 4 squares for the sides, add a base and lid for the smaller case, same for the larger case but replace one side with 2 doors. Will work out shelving when I get that far. The biggest headache so far has been how to affix the polycarbonate panels. Normally in a frame and panel design the panel is secured in the frame and it never comes apart. For these however, I have to consider that the panel will get broken (students!) and need replacing, meaning I cannot fix and forget as I would with a solid panel. This is another reason for using polycarbonate rather than glass - apart from being lighter it is far stronger. I could take a gamble and fix and forget, or I could use a rail and style cutter then remove the back tongue and screw or pin a removable strip to allow panel replacement. This is considerably more work, but future proofs against accidents.....
Either way I need to mill up the timber first, so after cutting into strips I ran these through the thicknesser to reach 22mm, and then dimensioned to 44mm wide
Then out with the router cutter, coupled with a lot of head scratching to mill up my frames, remembering to cut a double profile for some centre trims
and some half width strips where the sides meet each other to ensure sight lines are equal
Then reverse the cutters to mill the end of these pieces to ensure a good mating joint
before doing a dry test fit to see if I am on track
This final image shows the two long sides dry fitted before I decide how to deal with the panels
I will need to order the polycarbonate before I can glue the panels if I decide to 'fix and forget', or I could cut out the back tongue now and glue up the frames while waiting for the polycarbonate to arrive. Anyone ever done anything with clear panels before? how would you approach this?
Steve