Windows
Nordic Pine
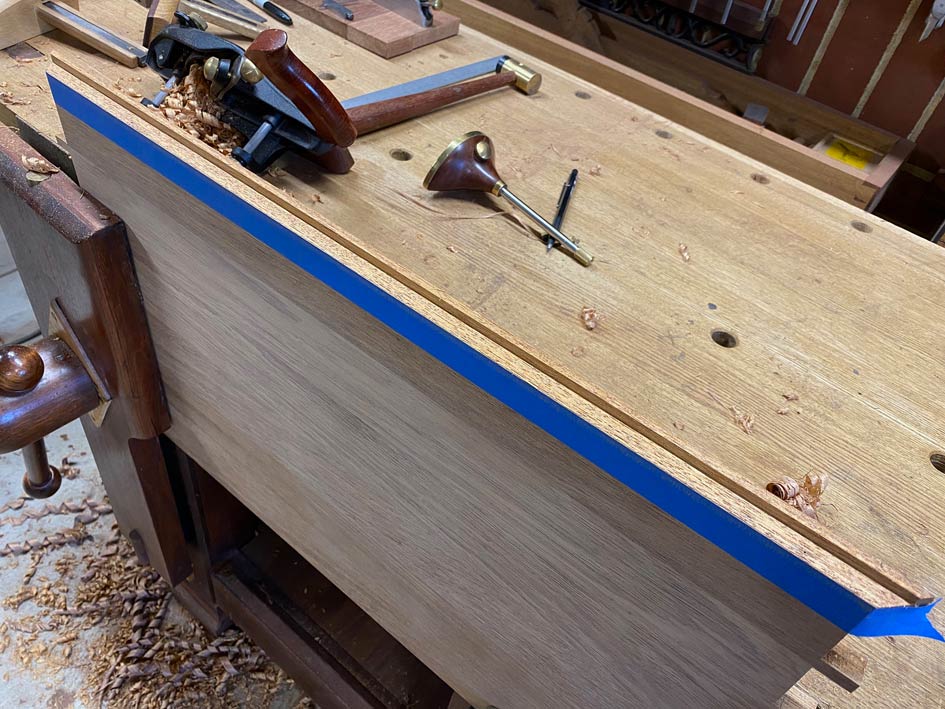
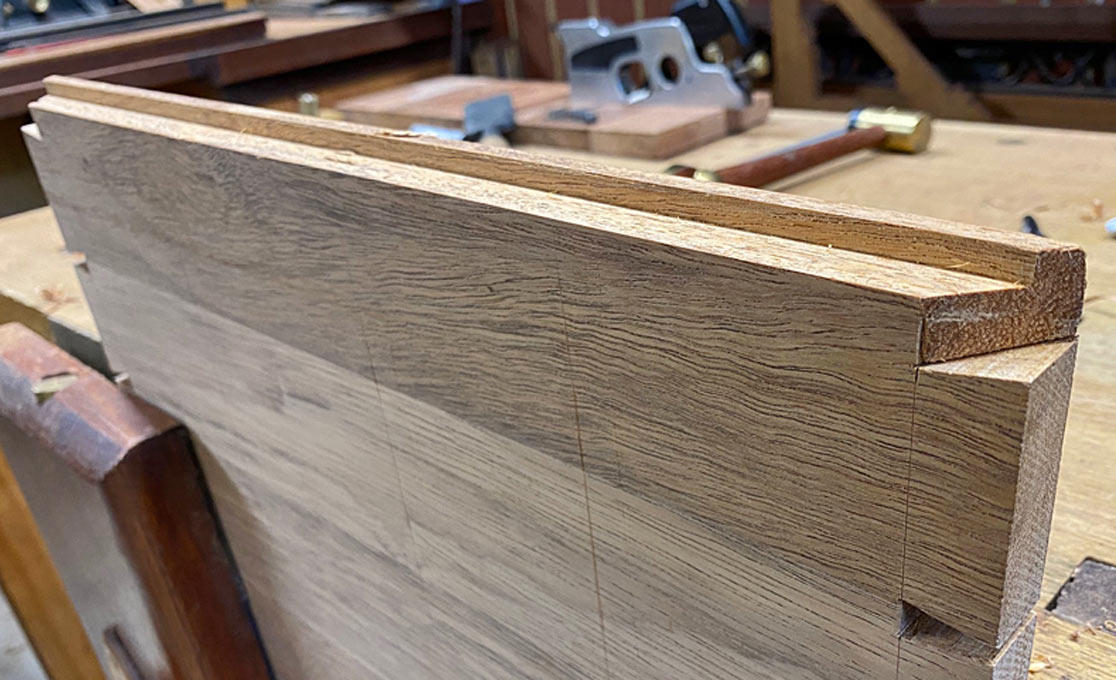
Say you have a 1.3 m long 2 by 2 (44 mm x 44 mm) and you need to cut a 9 mm x 24 mm rebate along its length, how long do you take to do it (without power tools) and by what means?
15 minutes. It would take me longer than 5 minutes to set up the grooving plane.
It would take me 5 minutes to set up the work holding system.
.....just learn to set up a 778 rebate .....
Blimey!There's a danger that could sound a little patronising, don't you think.
You are right they can feel a touch crude, one really big improvement is to fit a wooden handle on the front in the section intended to place the blade near the front (who ever wanted to do that?)Ray, I have never found the Record 778 to be that wonderful. It may be I am left handed. I also worked in a shop where three of the six joiners had matching scars on the palm of their hands from using a 778 to ease a storm proof top sash. I now have a Veritas left handed rebate plane which is completely different and a joy to use.
Mike, my Stanley 45 resides in a box. It is packed away neatly but it needs assembling and a blade inserting then fence attaching. It is not a plane I keep ready for action. My small plough plane is closer to being kept ready for action but I have to store it with the fence reversed so I would need to adjust the fence. In order to do so I need to find the right allen key. I know I should solve the storage and place an allen key to hand.
The problem was being left handed.You are right they can feel a touch crude, one really big improvement is to fit a wooden handle on the front in the section intended to place the blade near the front (who ever wanted to do that?)
Oh that’s interesting. I’ve never used a chisel sharpened by someone else, so while my chisel is definitely a lot sharper than my blunt ones, maybe it could be sharper still. I’ll give it a go.Hi Windows, that sounds like you need your chisels to be sharper. Knots in pine can be hardwork but a very sharp chisel will win. Also with pairing in pine it should be easy with a sharp chisel.
Back on the 22 Aug 2017 AndyT wrote an excellent article elsewhere on the various planes that could be used for making a rebate. I wonder if he could be persuaded to repost it here
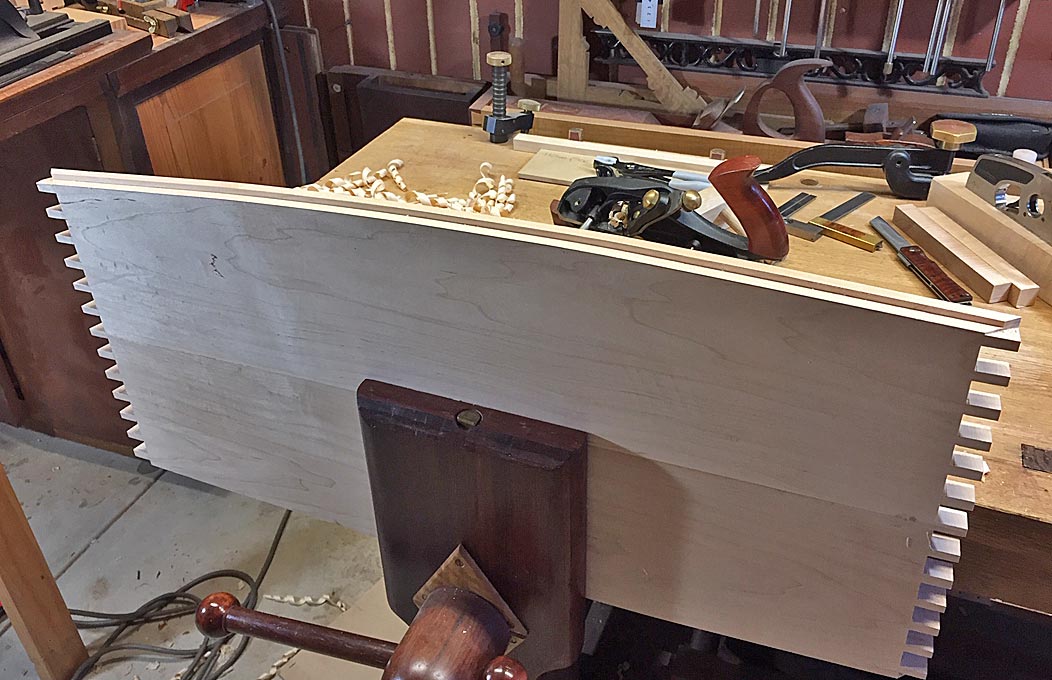
I started looking for that article, but got distracted when I found this:That must be one of the many times I was asking myself a similar question to Windows. I would have tried out different methods and written up notes to guide myself in future.
Naturally, I now have no recollection of this.
I will see what I can do but it won't be until next week as I don't have access to the pictures from where I am at the moment.
Oh that’s interesting. I’ve never used a chisel sharpened by someone else, so while my chisel is definitely a lot sharper than my blunt ones, maybe it could be sharper still. I’ll give it a go.
Must admit I'd do something similar to this rather than try to plane down the 24mm width in one go.Or a grooving plane and No5 hand plane. Cut 9mm deep groove on the 24mm line. Then plane down the waste.
Is it possible to get this sharp with only diamond/water stones or is stropping (with compound on leather) necessary?What I usually aim for when it comes to "sharp" is when you touch the edge of the tool to one of your finger nails, does the sharp edge bite into the finger nail or skate off? If it skates off it's too dull and needs touching up but if it digs in even with the lightest touch it's sharp enough for most work.
Being able to shave hair with your tool is also a good indicator of how sharp it is.
...... is stropping (with compound on leather) necessary?
Is it possible to get this sharp with only diamond/water stones or is stropping (with compound on leather) necessary?
Say you have a 1.3 m long 2 by 2 (44 mm x 44 mm) and you need to cut a 9 mm x 24 mm rebate along its length, how long do you take to do it (without power tools) and by what means?
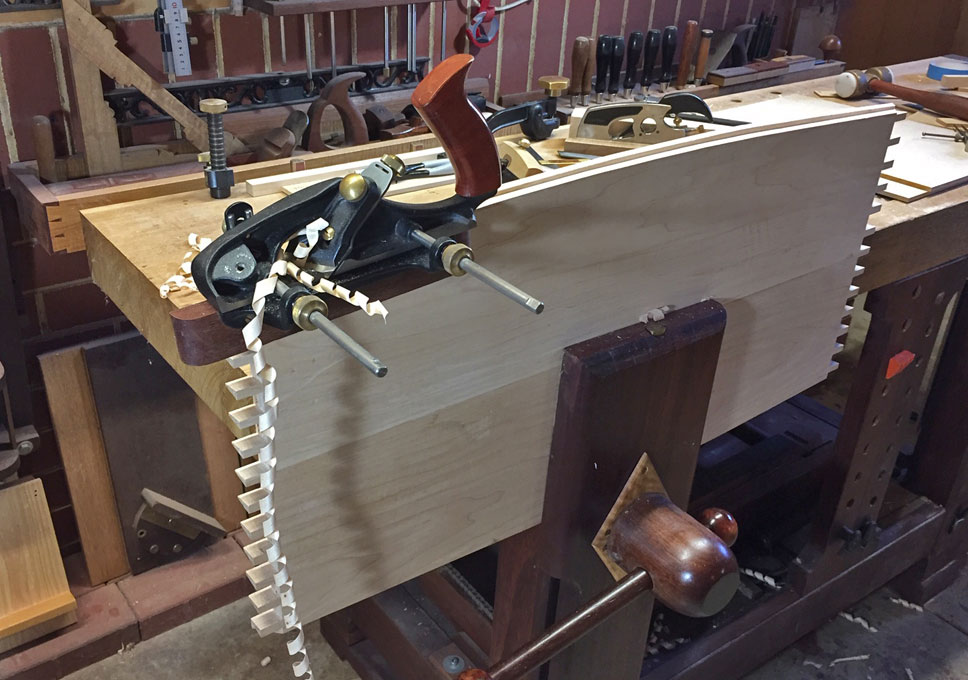
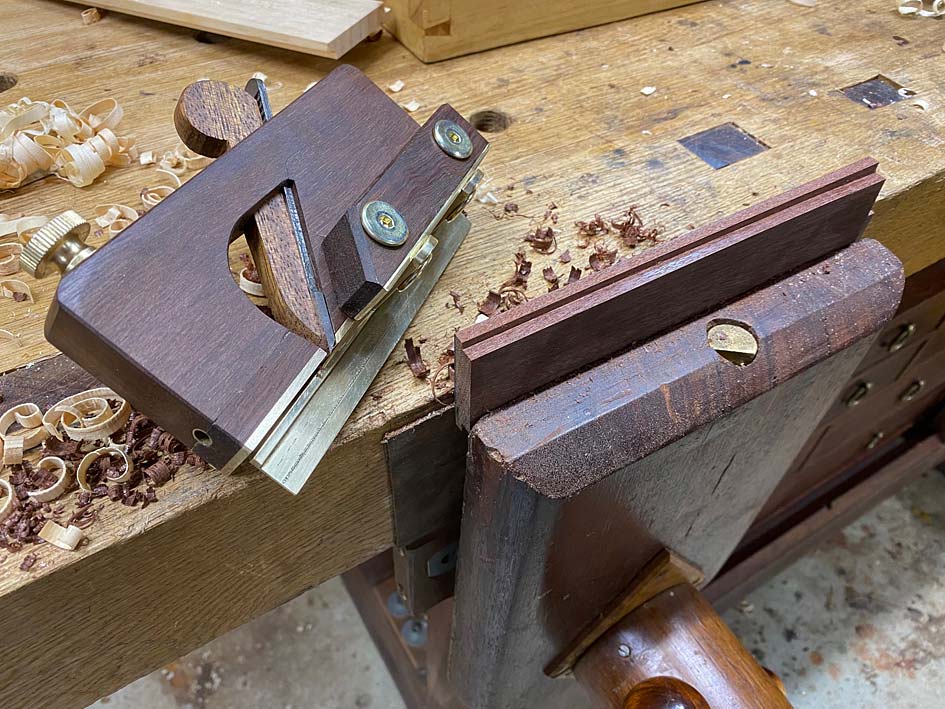
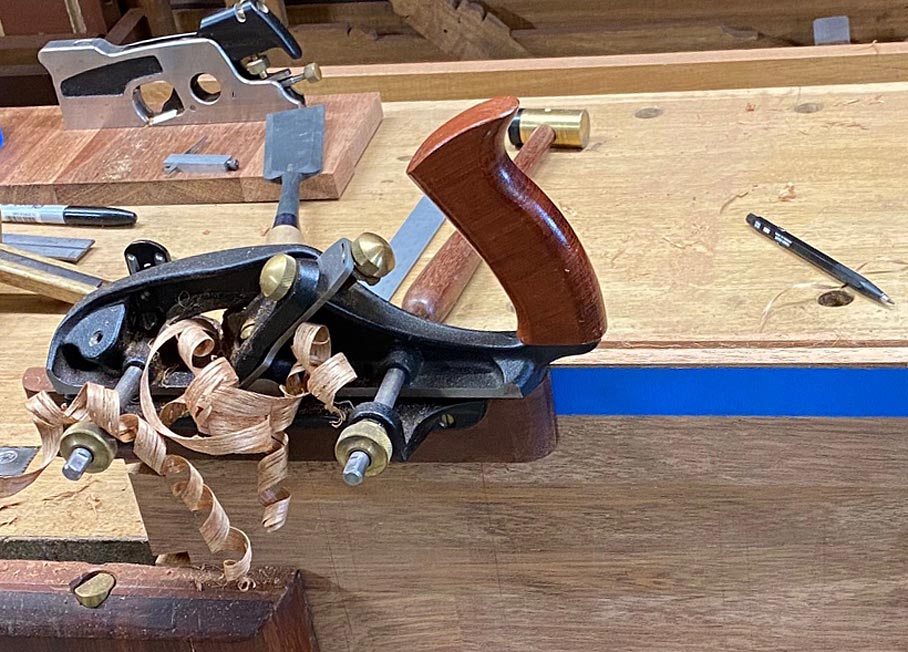
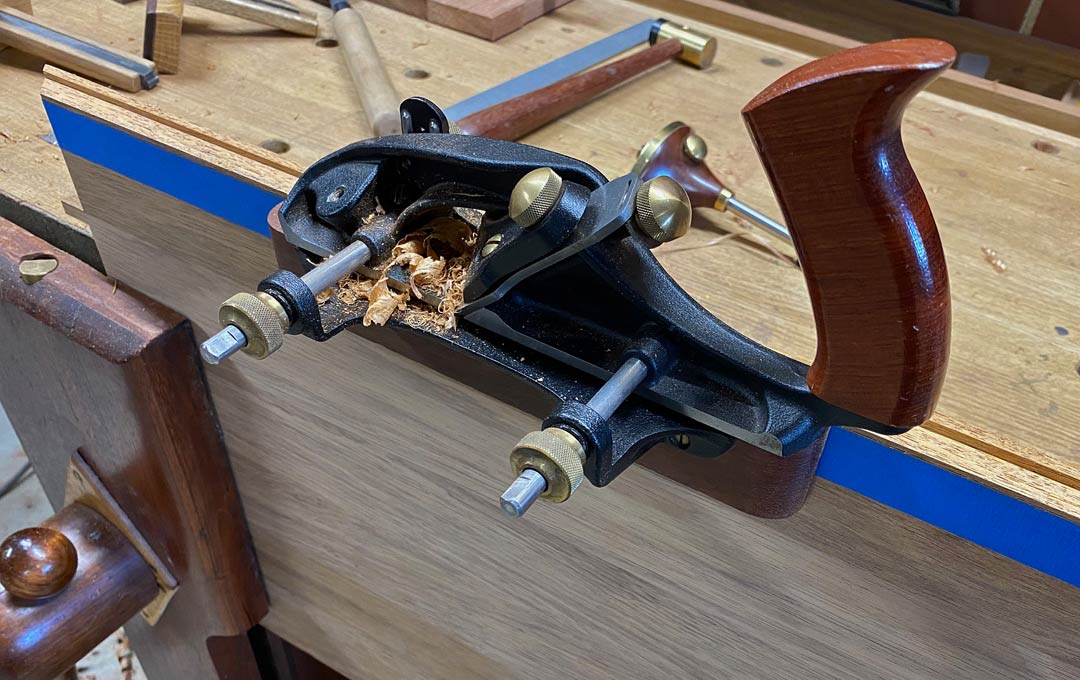
Is that a skewed blade on the Veritas plane Derek, and it that why you're using it o'er your own one...Even my little shop made moving fillester would manage this ...
Is that a skewed blade on the Veritas plane Derek, and it that why you're using it o'er your own one...
or is it that the tote is just more comfortable?
Cheers
All the best
Tom