TomTrees
Sapling
- Joined
- Aug 19, 2014
- Messages
- 380
- Reaction score
- 98
Hello folks
I was going to keep updating my overhead crown guard post, but thought better to
post a separate thread about my machine upgrades, since I haven't studied many since then.
I will mention however, that I've seen the pinnacle of design regarding this subject,
if anyone would like to see ScottyT's "Robinson ET/E Saw" then that answers that.
So with that figured out already, I can forget about wasting my time looking for comparisons.
as the best of the best has absolutely been done already.
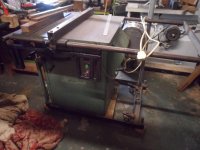
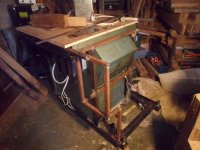
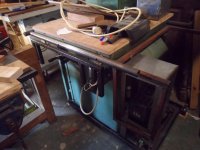
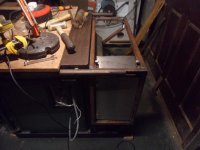
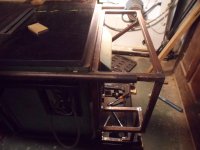
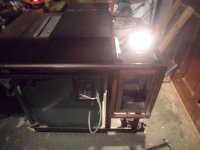
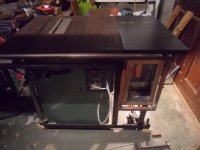
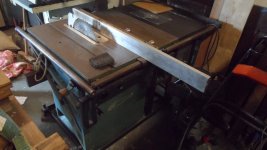
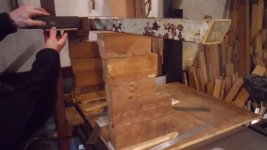
I've since made some changes to my mobile base, in aim to accommodate doing things the hard way, i.e a separate mount for the guard, though predicting in hindsight, it might have been better
to make some exo-skeleton for the 275 and mounted the bracket to that...
as the base isn't built like a Sedgwick, but something more resemblant to that of a biscuit tin.
Very happy with those changes made, as there's no faffery involved with the moving of the machine now, compared to the simple coasters which didn't work very well atall.
(with a nod to Carl Holmgren for the inspiration)
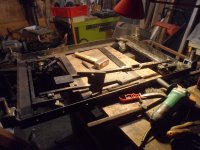
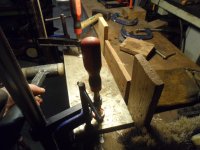
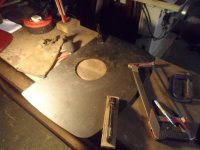
Making some feet, I took another wee bit off the height, but just to show a poor mans height gauge.
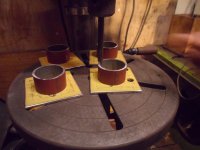
Now with those feet captured, no stooping and fishing under the machine to find the coasters ever again.
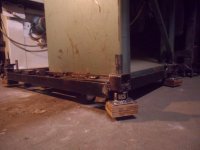
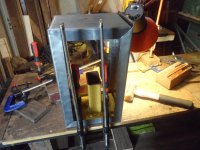
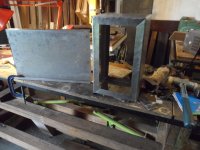
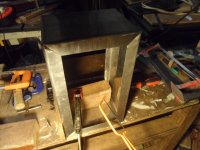
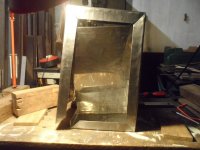
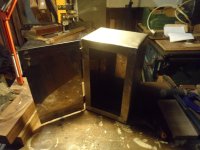
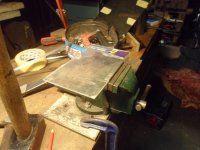
I think I'll save ye the misery at my learning experience, making the bracket, that is...
but to say, I think I've got that down by now, and the mention of making things up as I go along
(making a housing) is a recipe for time wasting, without the full picture.
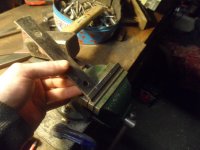
Basically saying, don't try and make precision U channel, as I've had three go's at that,
before the design is figured out, as it might be a heck of a lot easier to make a box from the get go, i.e a welders approach.
Still not without the nitty gritty I might add, plenty of scraping...again. :lol:
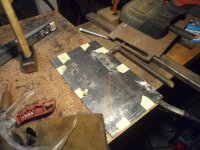
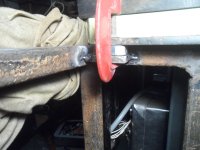
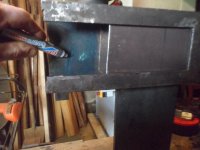
Ooh, forgot to mention, I'll never use aluminium for spacers when welding again.
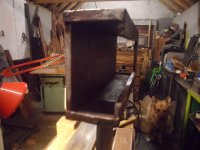
UMHW, and stainless shim/protector for locking bolt, should the need arise.
The boom got a bit loose when extended, though I was considering this beforehand anyway.
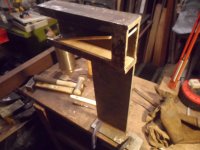
Now with things sliding nicely, (my back hurts right now, lol)
I could fettle things properly.
View attachment 2
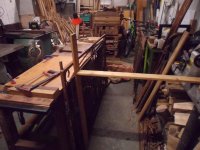
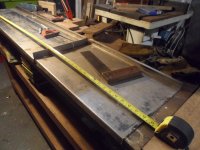
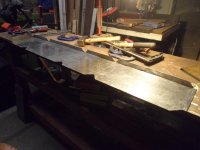
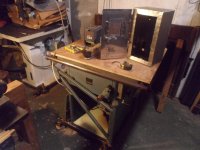
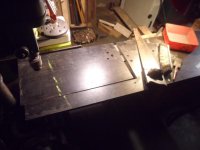
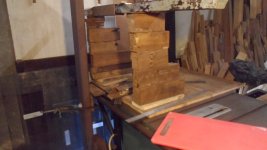
First time I've ever levelled my bench!
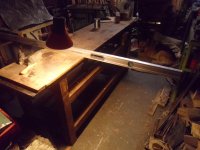
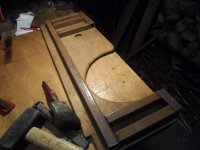
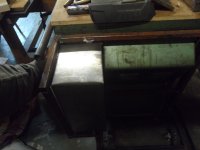
And a rough dressing of the platform of the base.
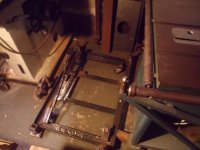
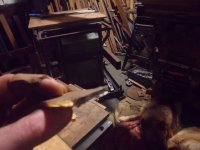
I even splashed out and got meself another level, a knockoff of the Stabila, which is likely an older design.
Spent a goodly amount of time getting it right, though I know it won't be when the machine is
moved from this exact location,
This being the only part of the floor that was level, which took some trial and error to find,
hence the new shoes for the job.
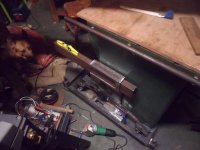
I can't wait to get the base painted, and be able to stow the saw away,
but some more wee jobs needed first before that.
The next posts of the previous work will explain things more clearly.
Tom
I was going to keep updating my overhead crown guard post, but thought better to
post a separate thread about my machine upgrades, since I haven't studied many since then.
I will mention however, that I've seen the pinnacle of design regarding this subject,
if anyone would like to see ScottyT's "Robinson ET/E Saw" then that answers that.
So with that figured out already, I can forget about wasting my time looking for comparisons.
as the best of the best has absolutely been done already.
I've since made some changes to my mobile base, in aim to accommodate doing things the hard way, i.e a separate mount for the guard, though predicting in hindsight, it might have been better
to make some exo-skeleton for the 275 and mounted the bracket to that...
as the base isn't built like a Sedgwick, but something more resemblant to that of a biscuit tin.
Very happy with those changes made, as there's no faffery involved with the moving of the machine now, compared to the simple coasters which didn't work very well atall.
(with a nod to Carl Holmgren for the inspiration)
Making some feet, I took another wee bit off the height, but just to show a poor mans height gauge.
Now with those feet captured, no stooping and fishing under the machine to find the coasters ever again.
I think I'll save ye the misery at my learning experience, making the bracket, that is...
but to say, I think I've got that down by now, and the mention of making things up as I go along
(making a housing) is a recipe for time wasting, without the full picture.
Basically saying, don't try and make precision U channel, as I've had three go's at that,
before the design is figured out, as it might be a heck of a lot easier to make a box from the get go, i.e a welders approach.
Still not without the nitty gritty I might add, plenty of scraping...again. :lol:
Ooh, forgot to mention, I'll never use aluminium for spacers when welding again.
UMHW, and stainless shim/protector for locking bolt, should the need arise.
The boom got a bit loose when extended, though I was considering this beforehand anyway.
Now with things sliding nicely, (my back hurts right now, lol)
I could fettle things properly.
View attachment 2
First time I've ever levelled my bench!
And a rough dressing of the platform of the base.
I even splashed out and got meself another level, a knockoff of the Stabila, which is likely an older design.
Spent a goodly amount of time getting it right, though I know it won't be when the machine is
moved from this exact location,
This being the only part of the floor that was level, which took some trial and error to find,
hence the new shoes for the job.
I can't wait to get the base painted, and be able to stow the saw away,
but some more wee jobs needed first before that.
The next posts of the previous work will explain things more clearly.
Tom
Last edited: