

Doug
Old Oak
Thought I'd post this up hear I case it was of interest, I wrote about this refurb a couple of years ago so have cut & paste it here, apologies to those who have seen it elsewhere.
This was the state of the drill when it arrived set the shop.
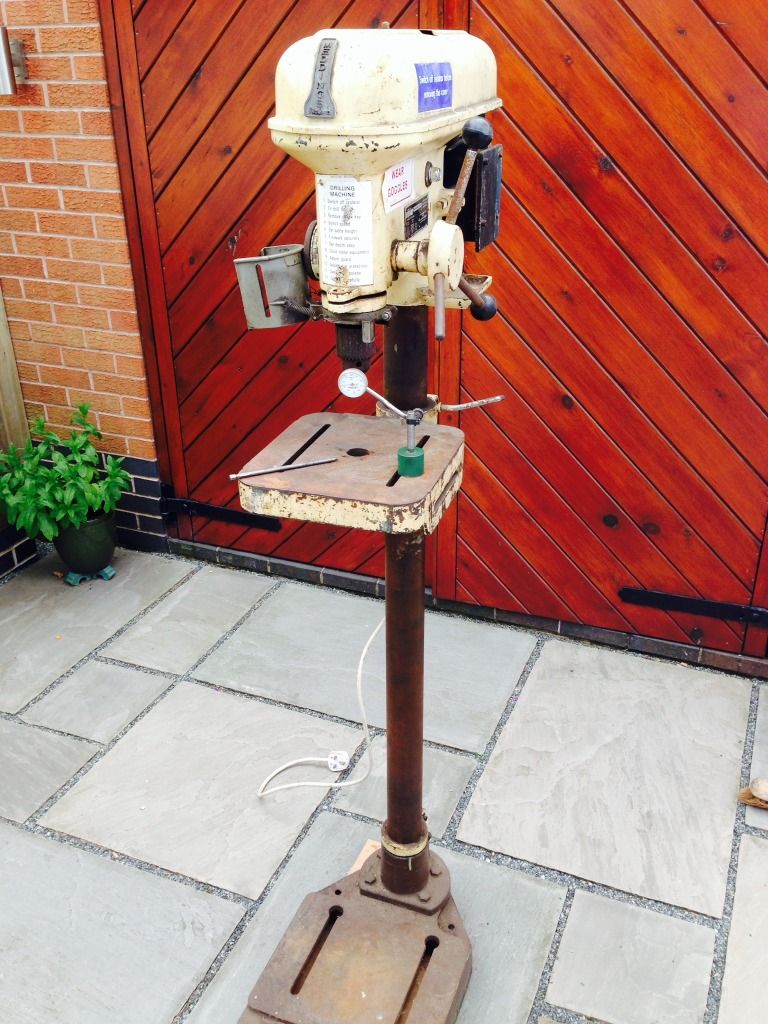
It was pretty grimed up & looked to have had a hard life which included at some point someone painting it cream, but it had very little run out so I thought it would be worth cleaning up. It was single phase though for some reason didn't have an on off switch, it must have been a case of plugging it in to get it to work, not really a problem as I want 3 phase & have managed to pick up a matching 3 phase motor.
I started by dismantling all the parts & getting them dipped to remove all the grot & grime, I sanded all the main parts & sprayed them, the base & pillar clamp are the black pieces in the background.
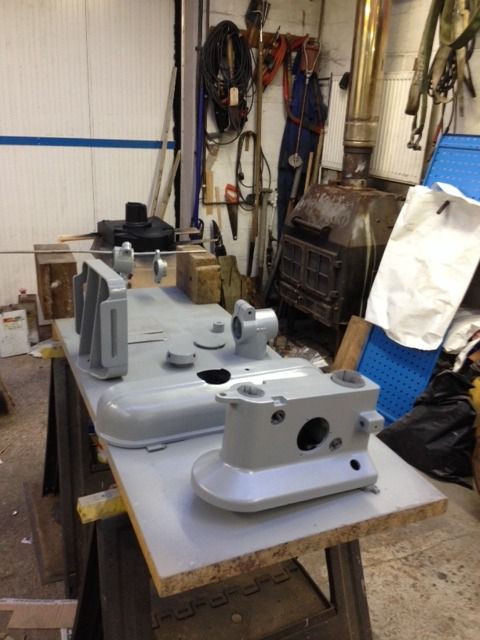
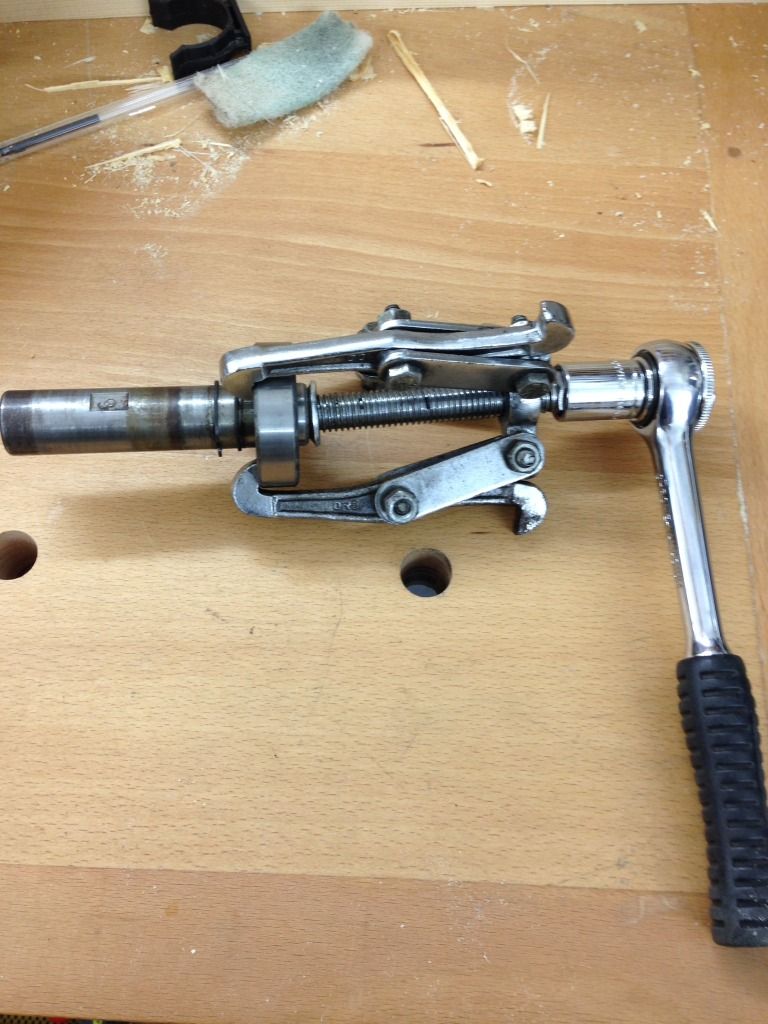
After painting the body I started on removing bearings this little gizmo made short work of removing the top bearings, borrowed from a mechanic friend.
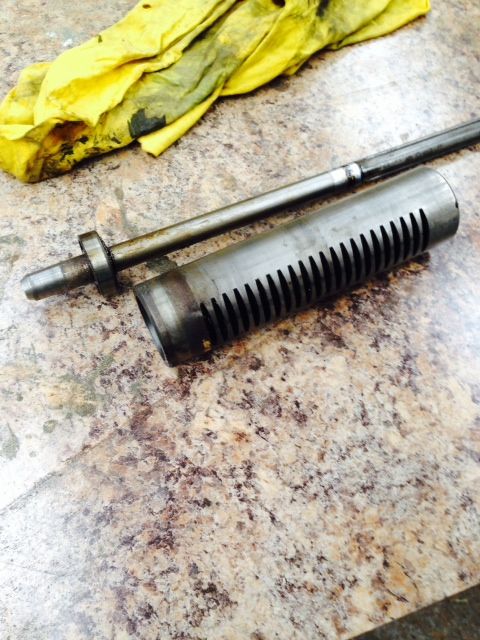
This is the quill assembly with the top & bottom circlips removed & the shaft knocked out from the top
It was then over to the lathe to turn a block to be able to knock the new bearings on.
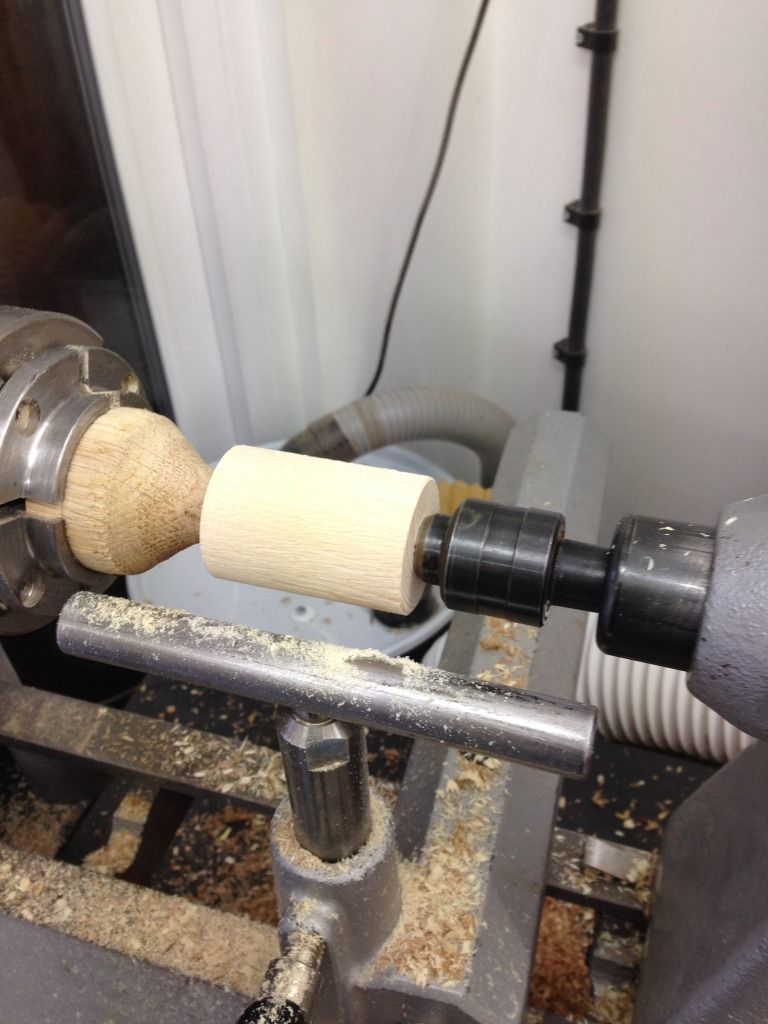
This worked for the bottom bearing but another block of wood needed to be drilled for the top bearing.
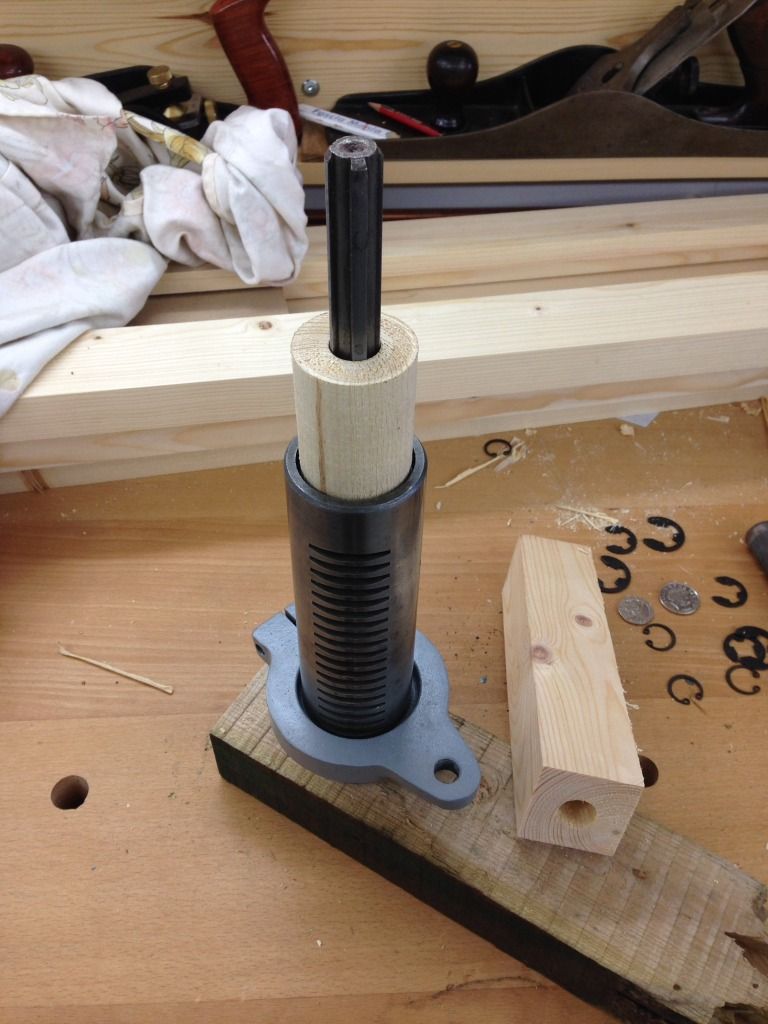
This is the top & bottom bearing assemblies ready for refitting.
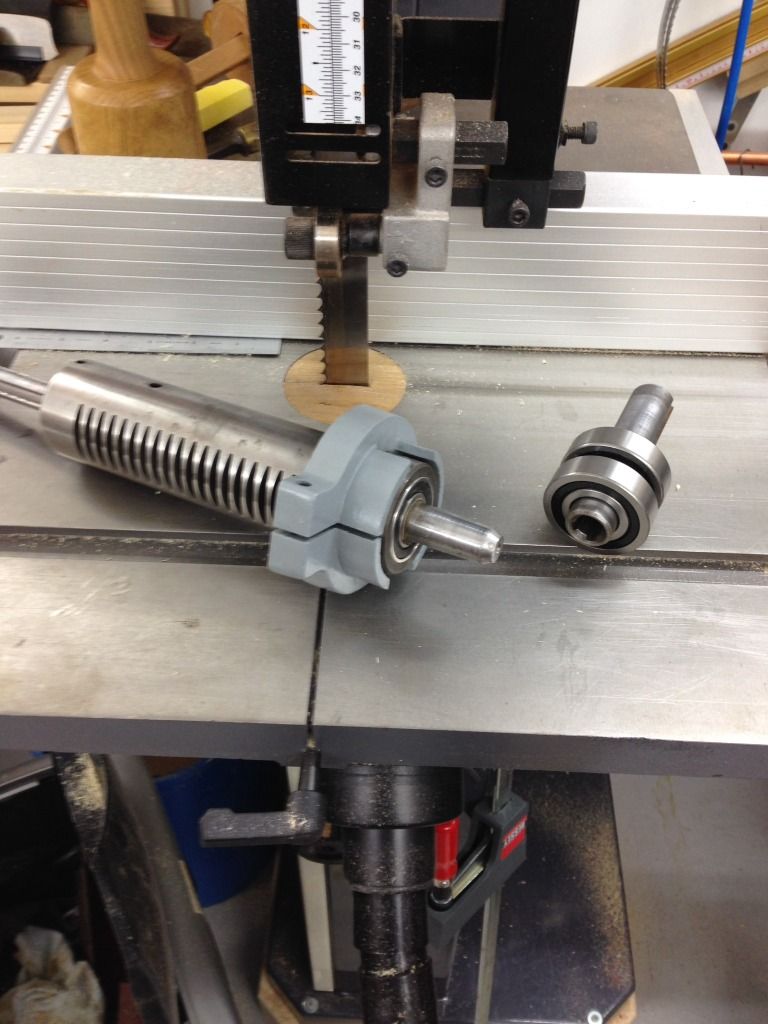
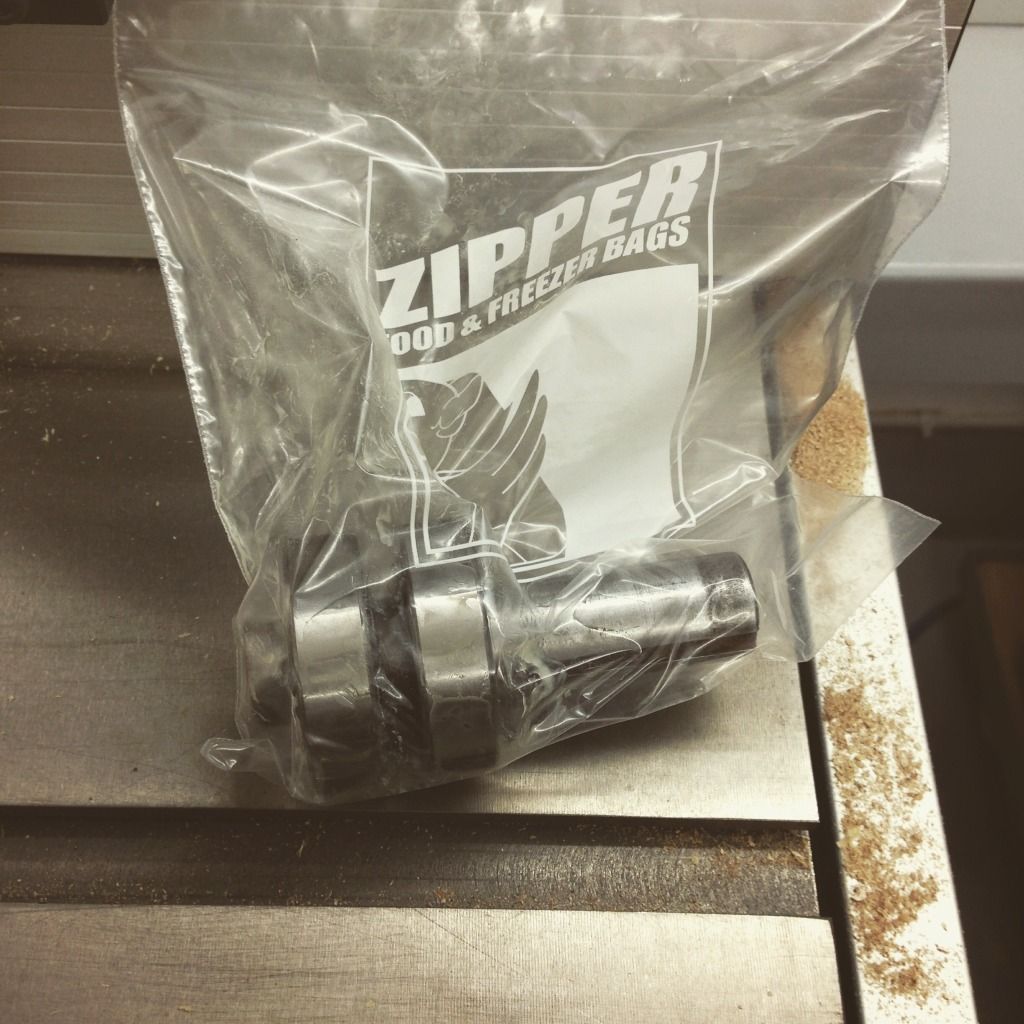
A great tip I picked up was to put items in the freezer over night to aid getting bearings on or in components, this is the top assembly ready for the freezer.
& this is it back in the maim body of the drill.
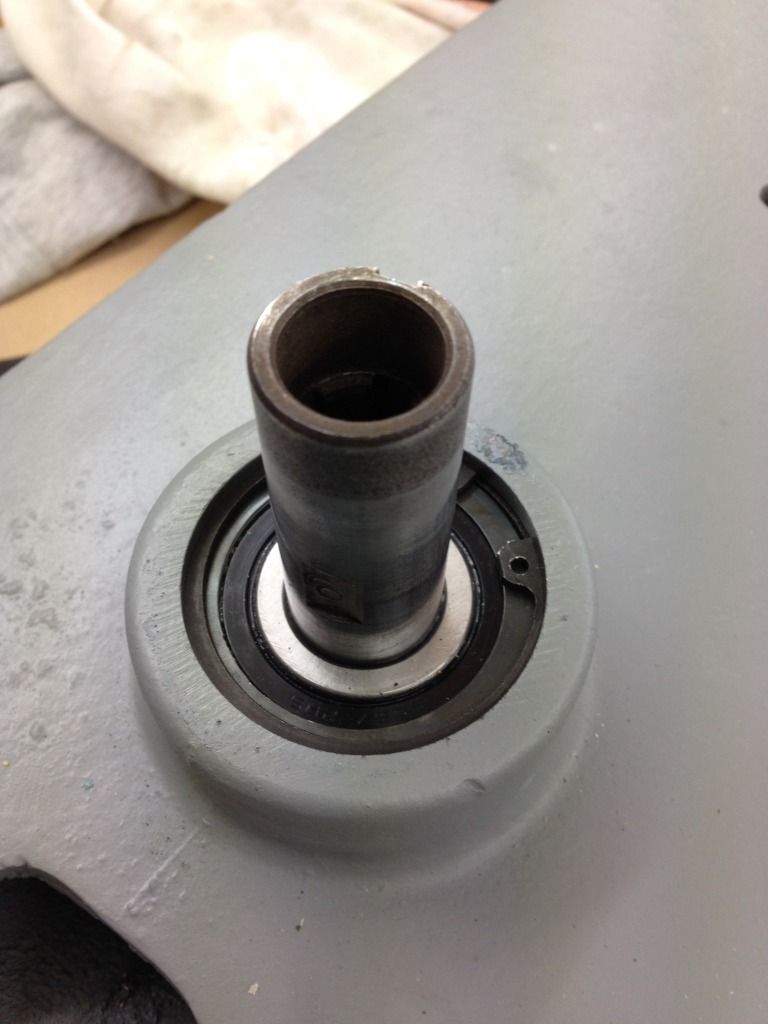
It really did go in quite easily after a night in the cold.
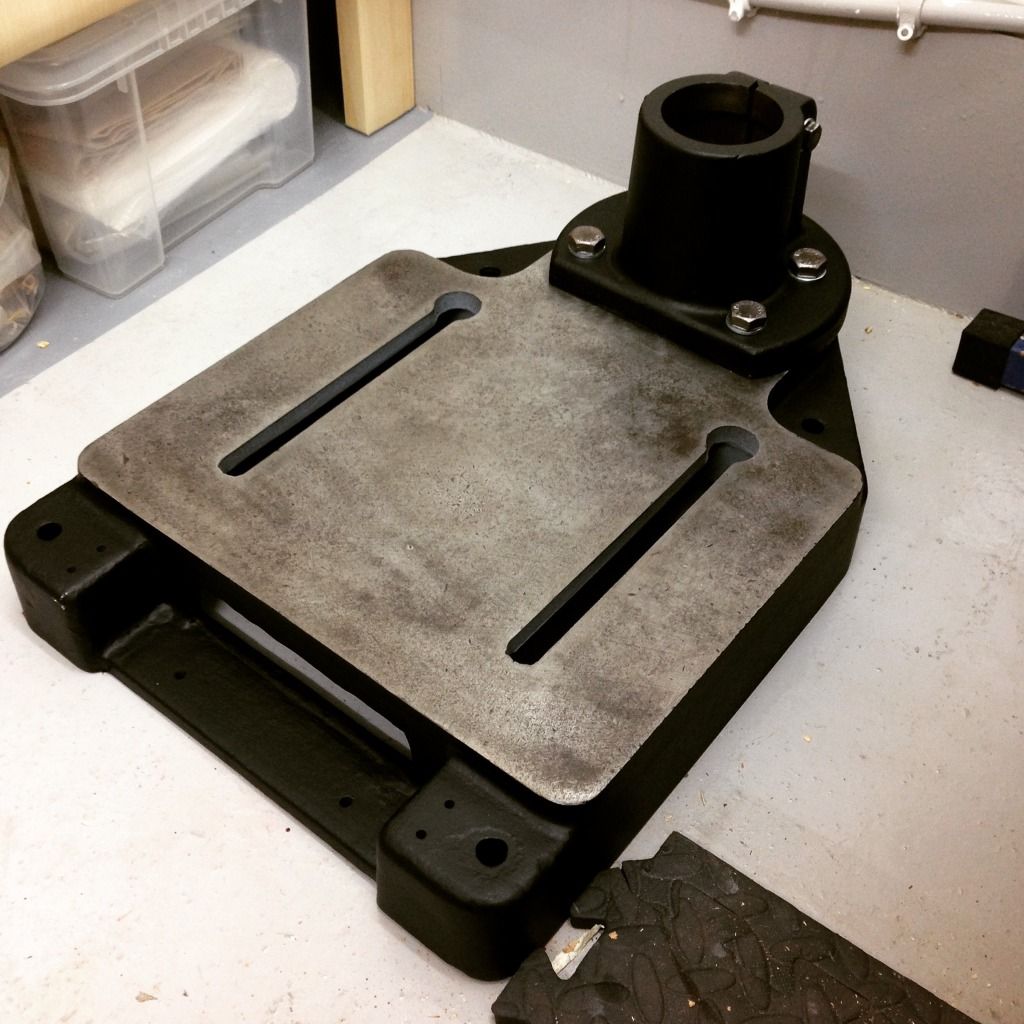
At this point I was ready to start putting bits back together, this is the foot & pillar collar bolted together the bolts having been cleaned on a rotary wire brush on a bench grinder, this tool really did make life so much easier.
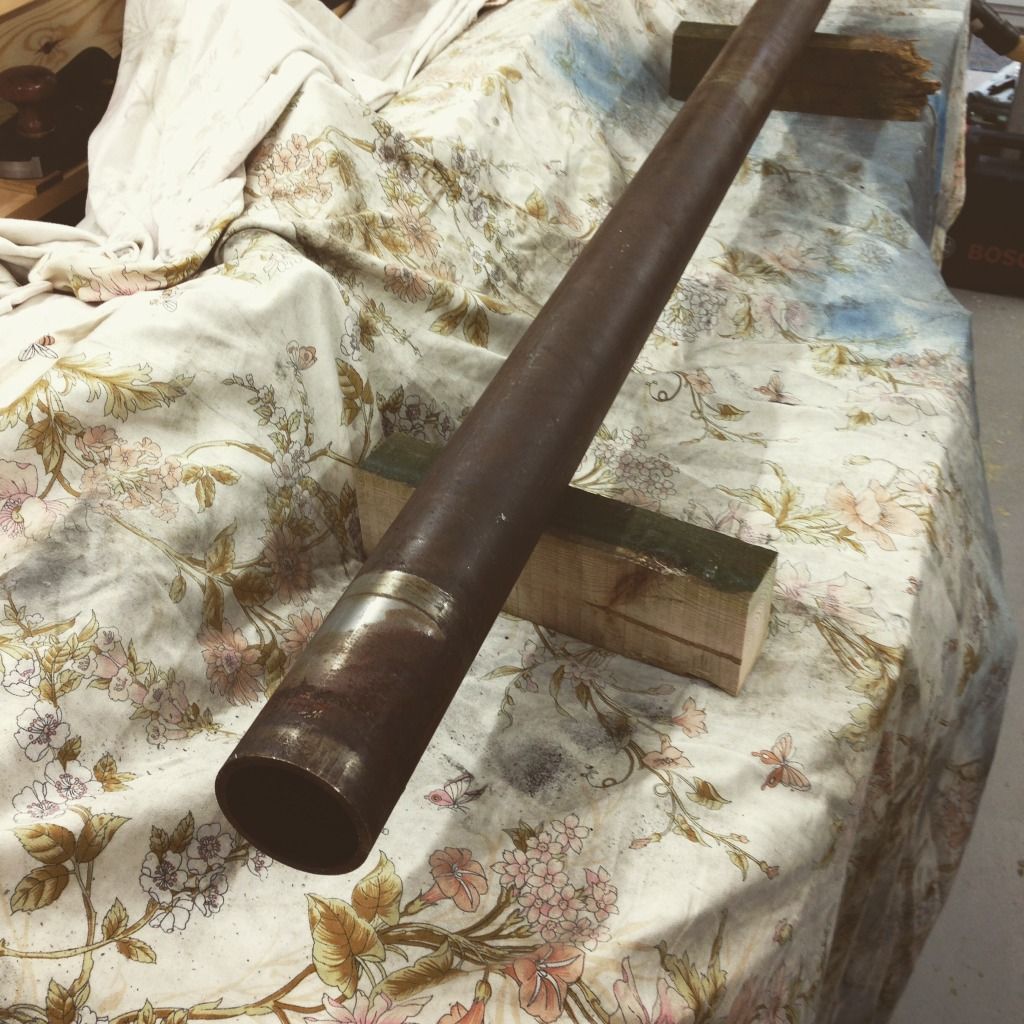
Next up was cleaning the pillar, this was in a real state but after lots of elbow grease & a tin of Worths rustoff I was happy it was as good as it was going to get, this is pre cleaning.
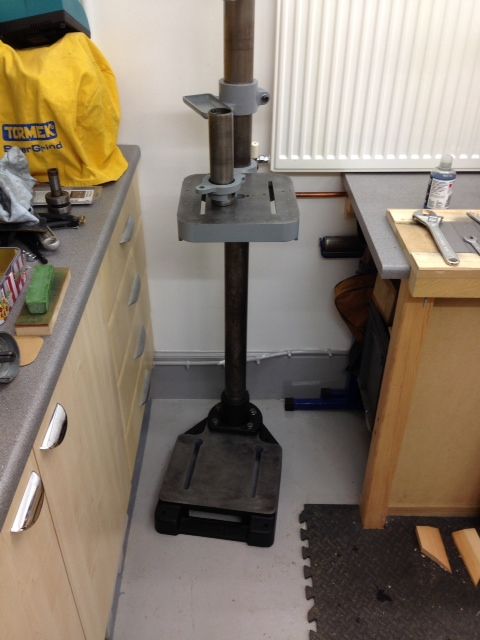
Pillar reinstalled along with table & bit tray.
Then it was time for the drill body.
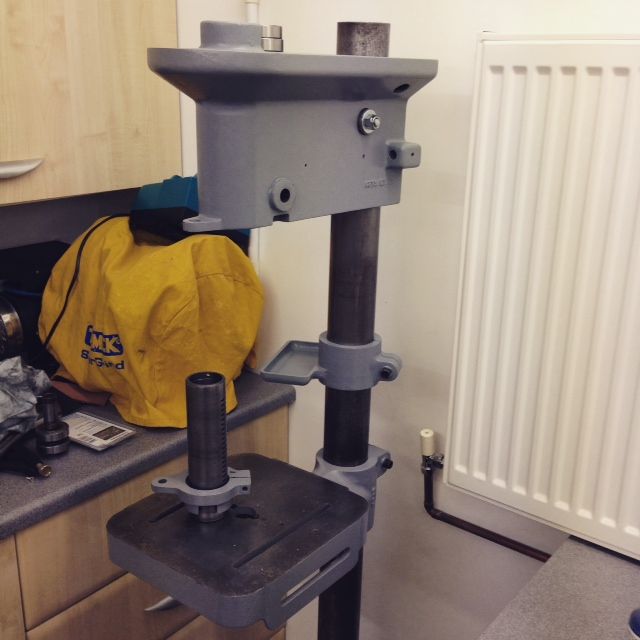
The quill was then reattached with the drive shaft.
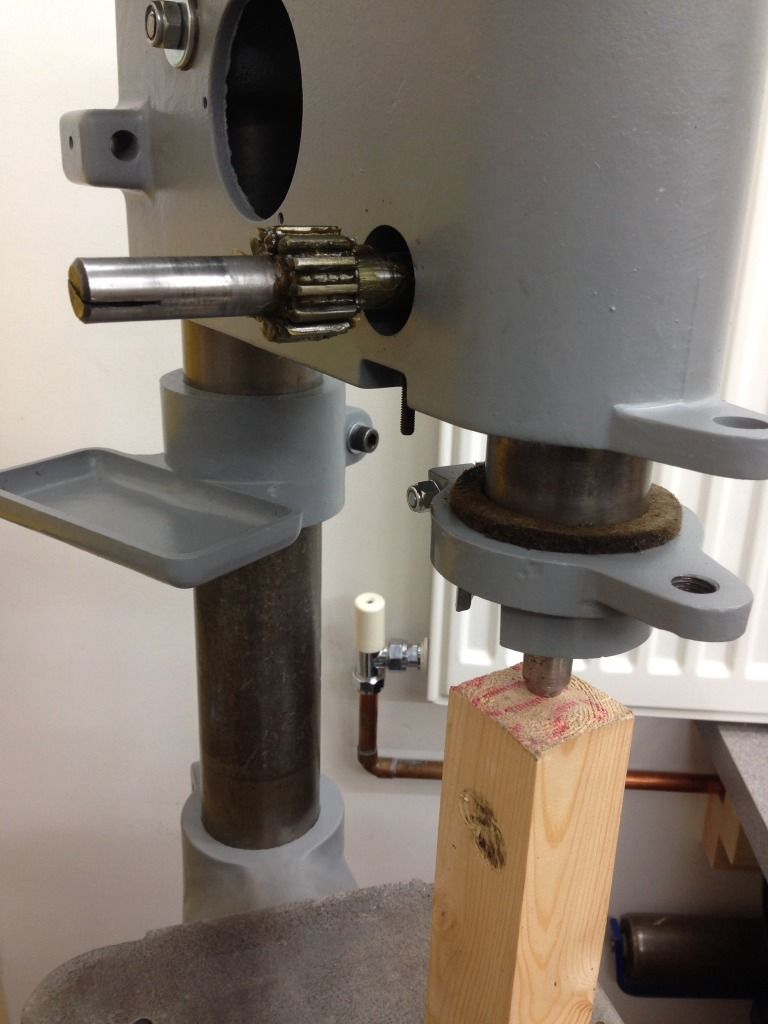
This next photo shows the return spring & housing fitted also the hub for the handles with the one undamaged handle attached.
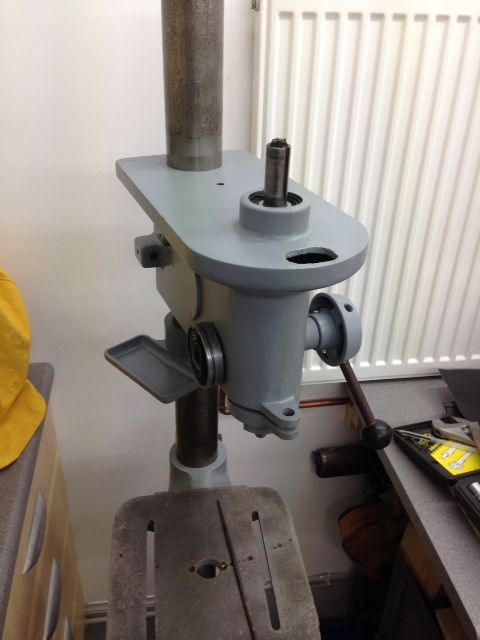
Back to the lathe to turn some knobs on the new levers.
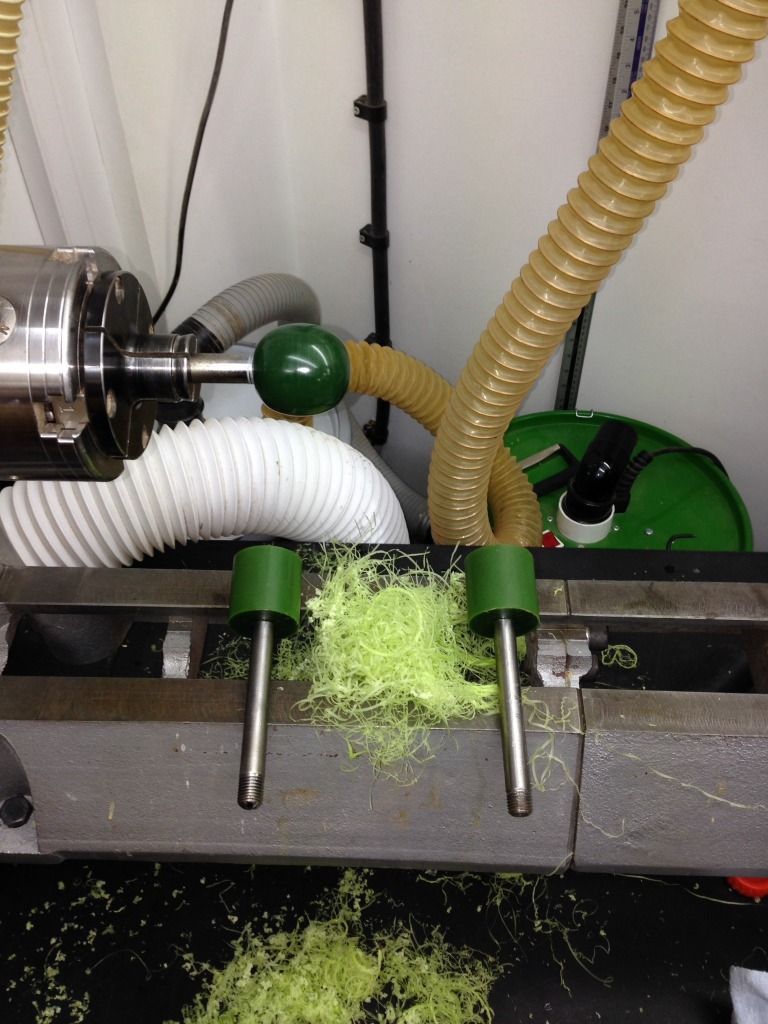
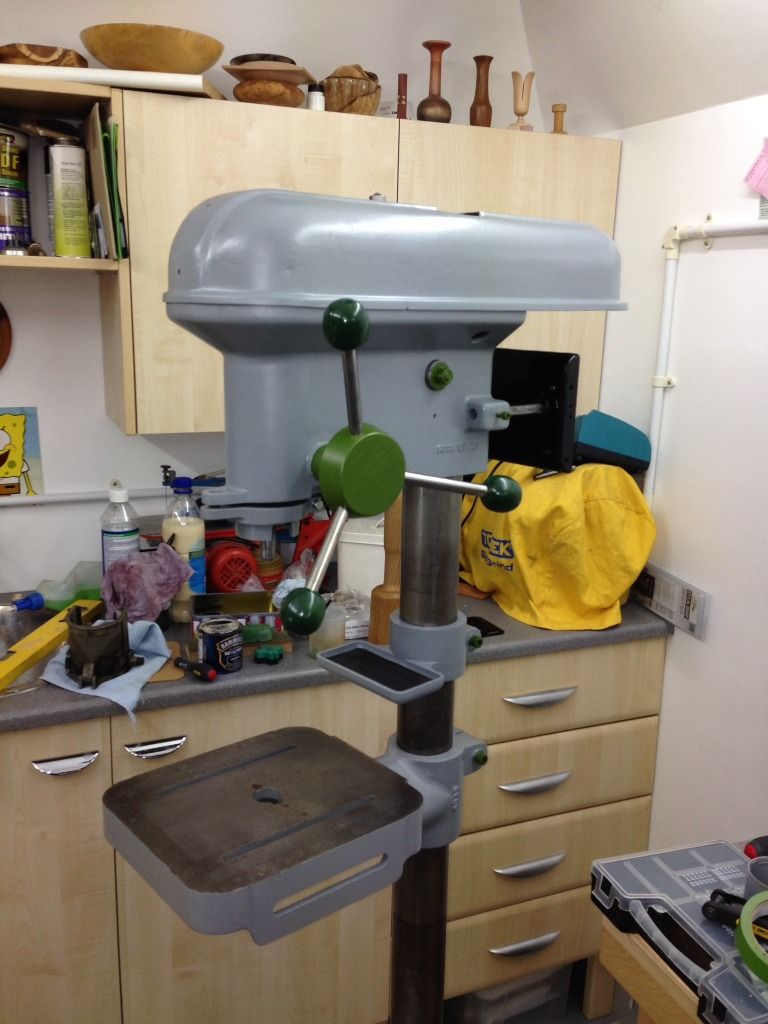
Handles refitted along with the motor housing plate & some pimping started
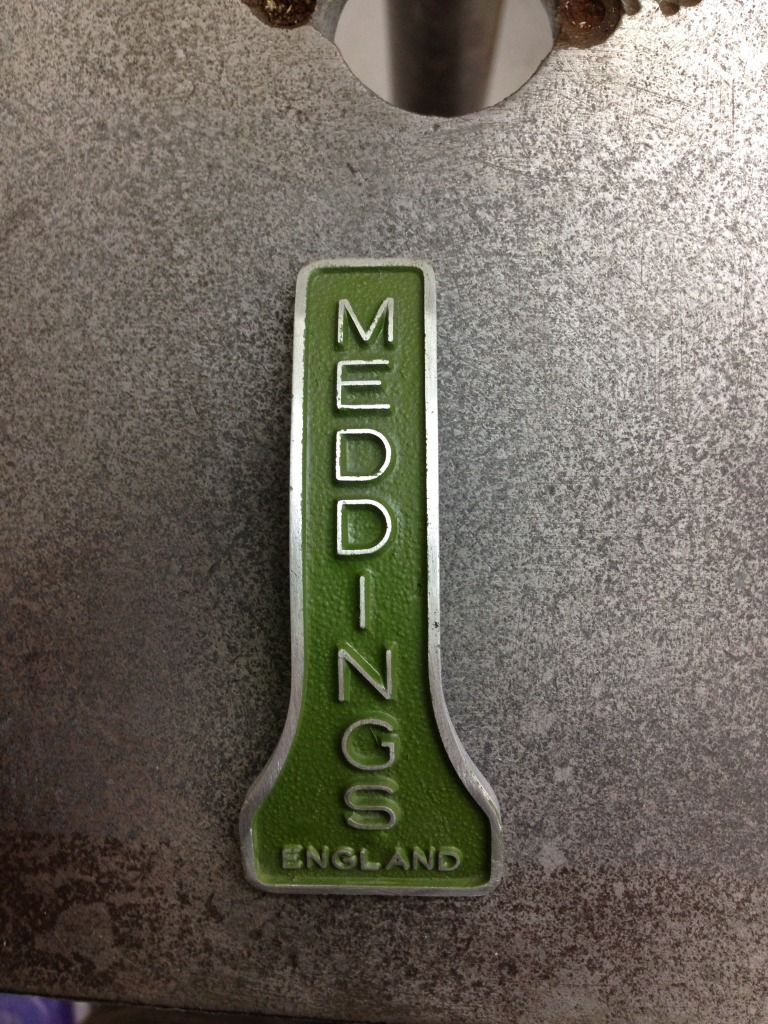
At this point I cleaned up & painted the Meddings badge
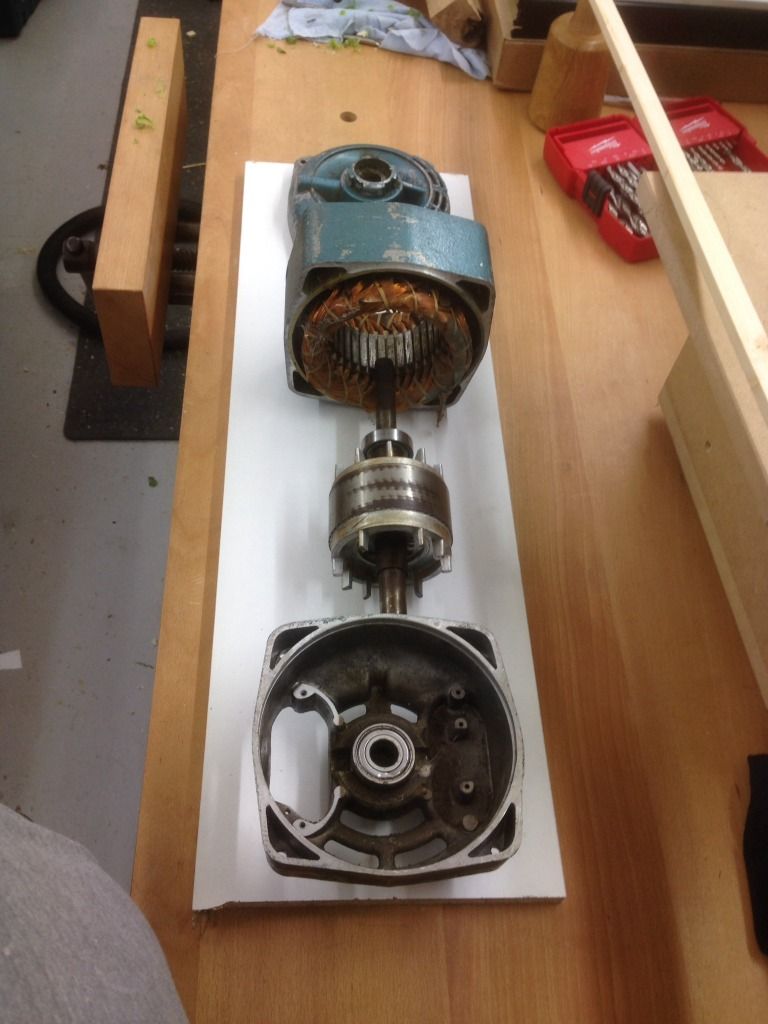
I striped the motor, although this wasn't the original one I wanted to see what state it was in, I changed the bearings & cleaned off all the paint.
The belt cover was in a poor state so I decided to give it a couple of coats of black paint just to see if it would look better than in grey, it did so I fixed the badge, did a little more pimping & fitted the cleaned up motor.
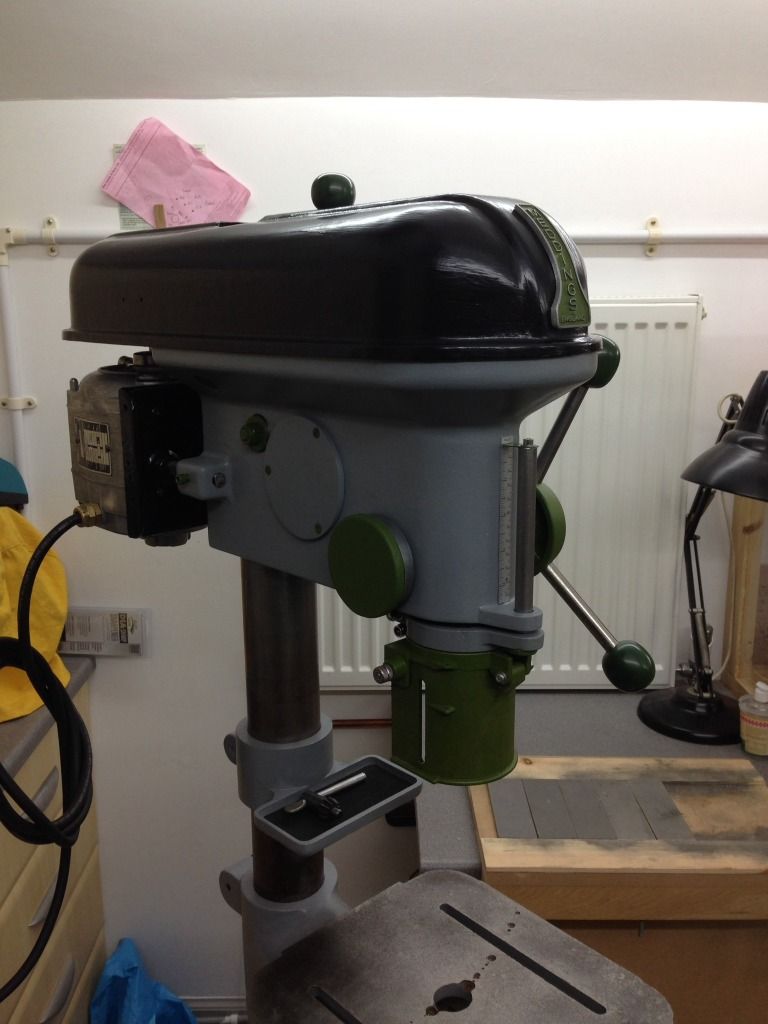
At this point I checked the run out
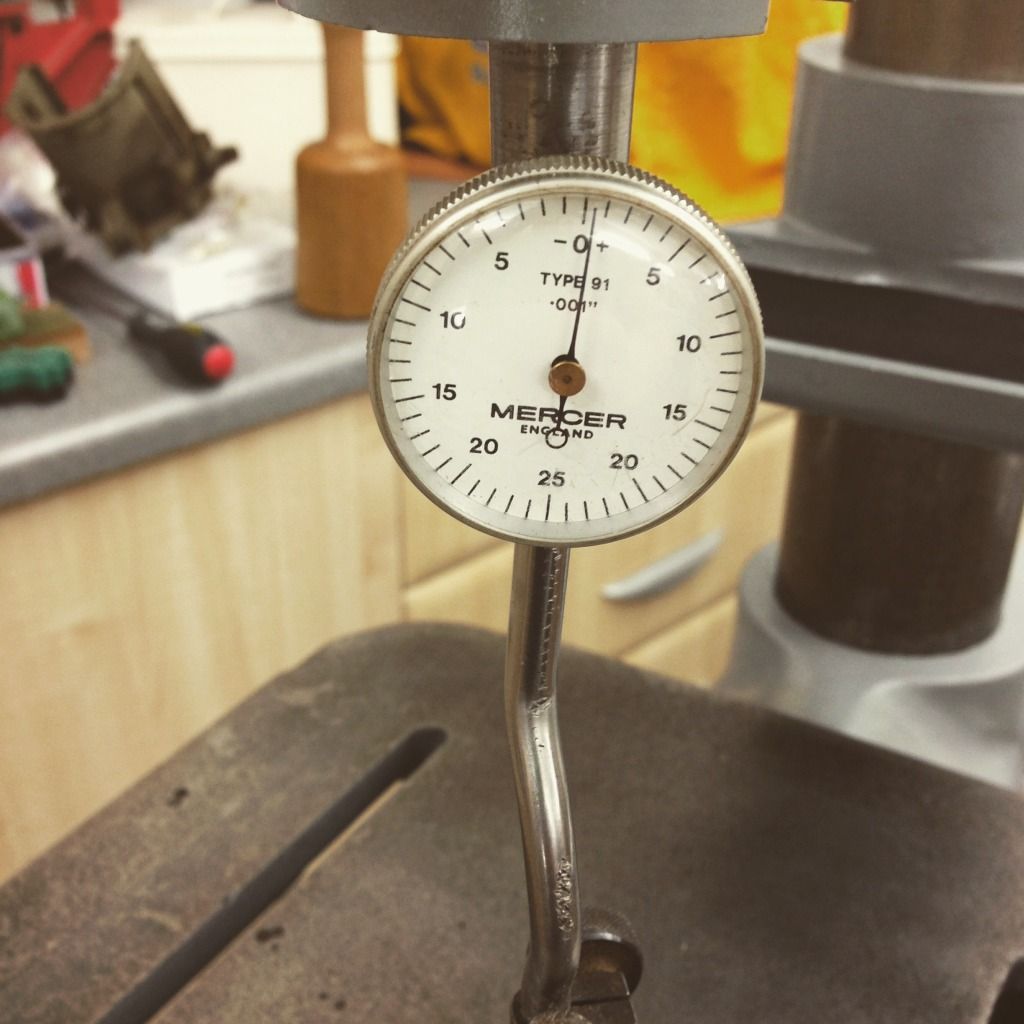
Less than half a thou was good enough for me so on with cleaning the chuck which had seized.
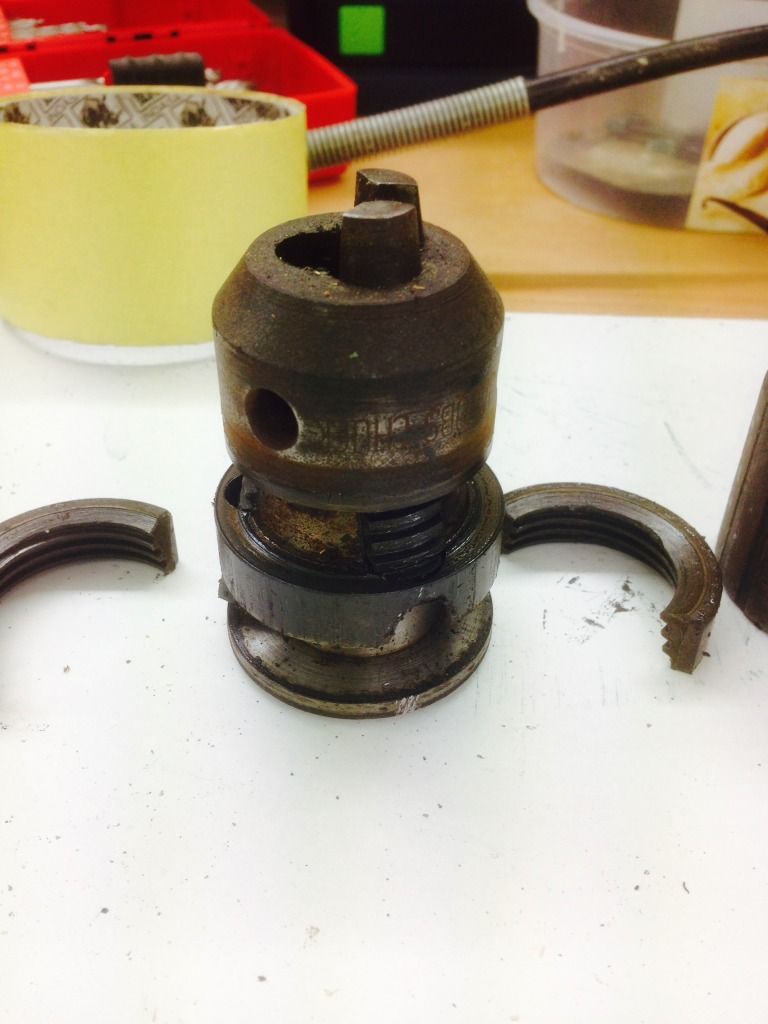
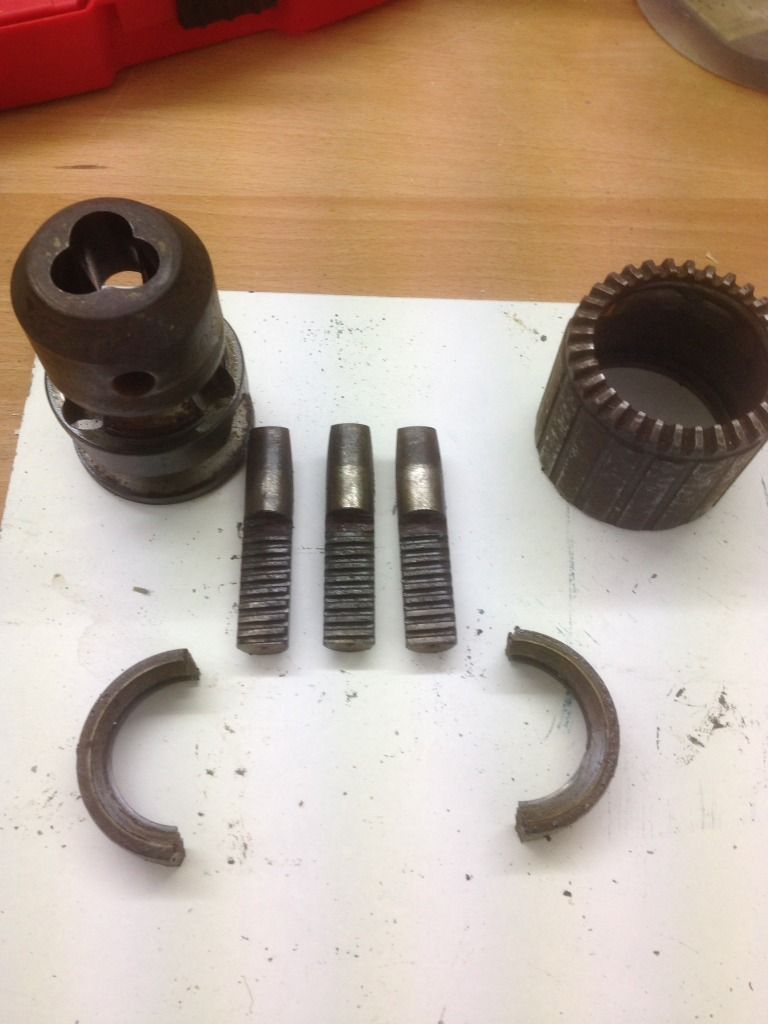
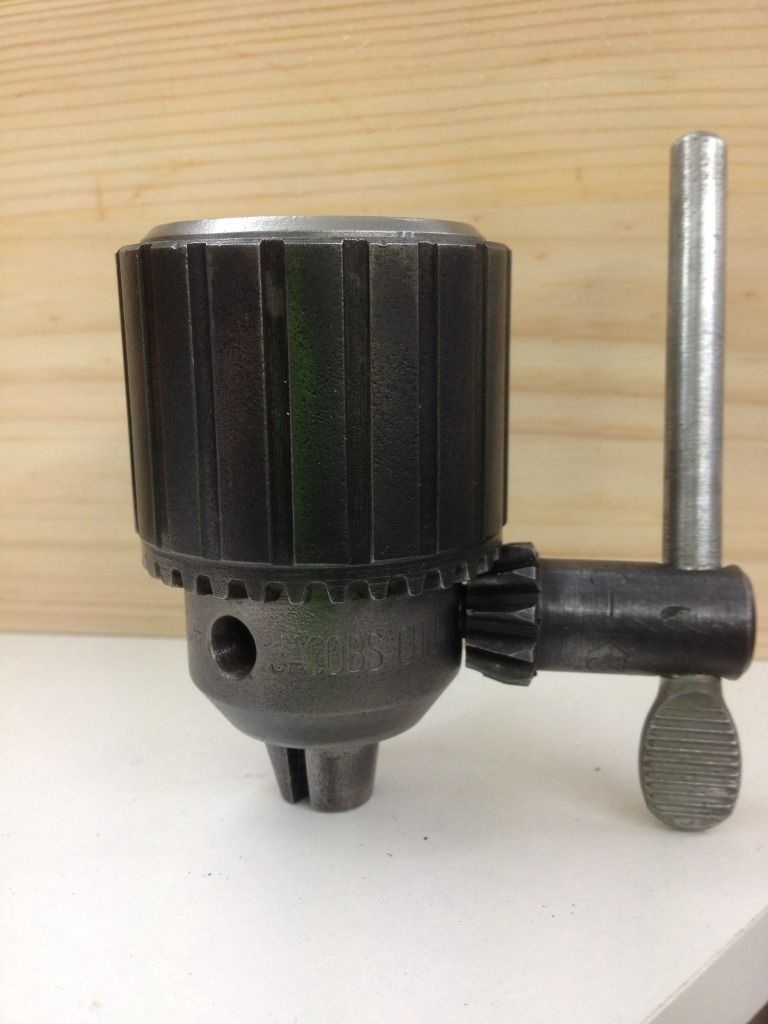
More rotary wire brush & it was like new, well almost
I don't have any photos of the inverter though I did take a video but don't seem to be able to up load it.
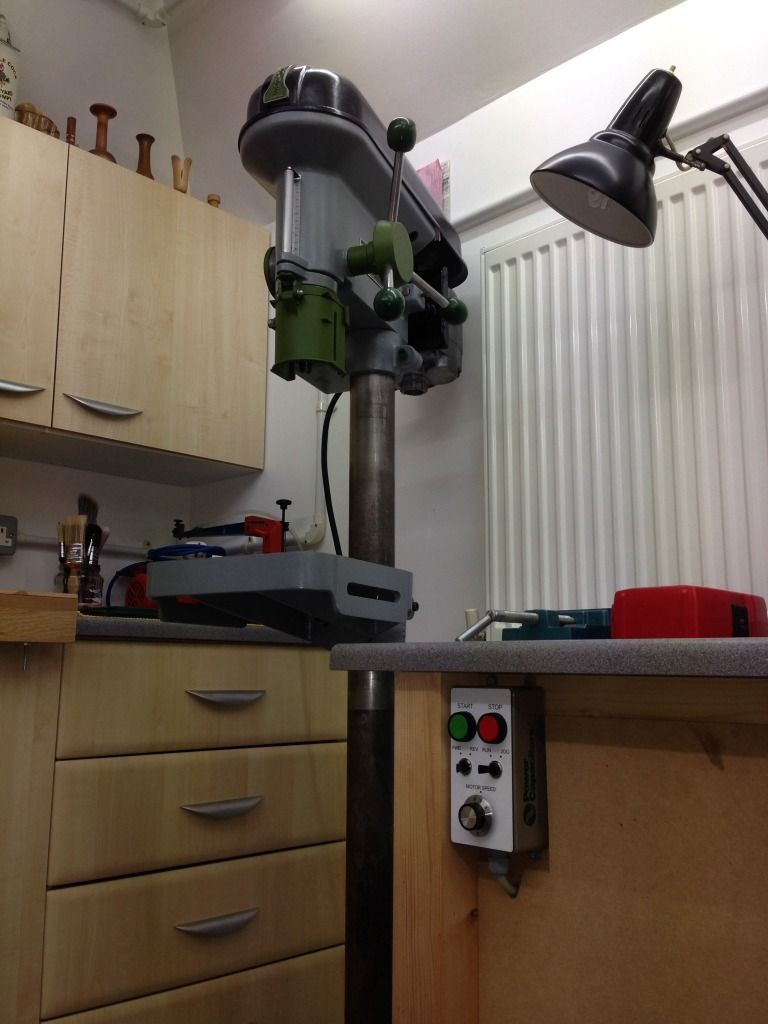
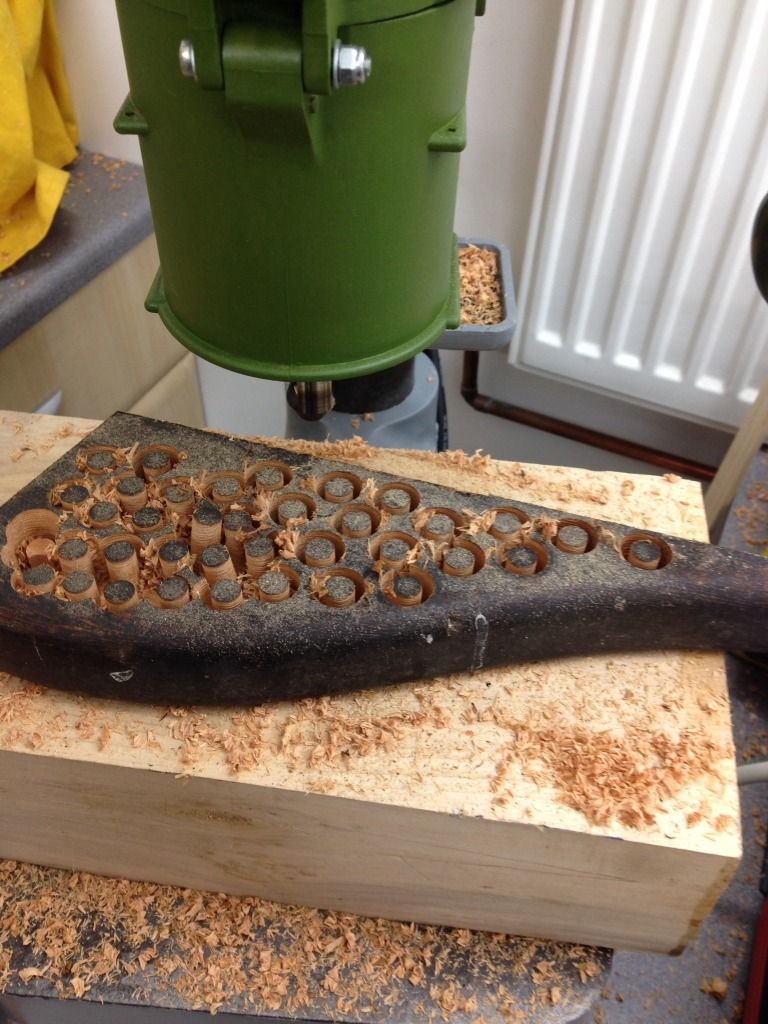
This is the drill in action cutting plugs for a job renovating antique church pews.
This was the state of the drill when it arrived set the shop.
It was pretty grimed up & looked to have had a hard life which included at some point someone painting it cream, but it had very little run out so I thought it would be worth cleaning up. It was single phase though for some reason didn't have an on off switch, it must have been a case of plugging it in to get it to work, not really a problem as I want 3 phase & have managed to pick up a matching 3 phase motor.
I started by dismantling all the parts & getting them dipped to remove all the grot & grime, I sanded all the main parts & sprayed them, the base & pillar clamp are the black pieces in the background.
After painting the body I started on removing bearings this little gizmo made short work of removing the top bearings, borrowed from a mechanic friend.
This is the quill assembly with the top & bottom circlips removed & the shaft knocked out from the top
It was then over to the lathe to turn a block to be able to knock the new bearings on.
This worked for the bottom bearing but another block of wood needed to be drilled for the top bearing.
This is the top & bottom bearing assemblies ready for refitting.
A great tip I picked up was to put items in the freezer over night to aid getting bearings on or in components, this is the top assembly ready for the freezer.
& this is it back in the maim body of the drill.
It really did go in quite easily after a night in the cold.
At this point I was ready to start putting bits back together, this is the foot & pillar collar bolted together the bolts having been cleaned on a rotary wire brush on a bench grinder, this tool really did make life so much easier.
Next up was cleaning the pillar, this was in a real state but after lots of elbow grease & a tin of Worths rustoff I was happy it was as good as it was going to get, this is pre cleaning.
Pillar reinstalled along with table & bit tray.
Then it was time for the drill body.
The quill was then reattached with the drive shaft.
This next photo shows the return spring & housing fitted also the hub for the handles with the one undamaged handle attached.
Back to the lathe to turn some knobs on the new levers.
Handles refitted along with the motor housing plate & some pimping started
At this point I cleaned up & painted the Meddings badge
I striped the motor, although this wasn't the original one I wanted to see what state it was in, I changed the bearings & cleaned off all the paint.
The belt cover was in a poor state so I decided to give it a couple of coats of black paint just to see if it would look better than in grey, it did so I fixed the badge, did a little more pimping & fitted the cleaned up motor.
At this point I checked the run out
Less than half a thou was good enough for me so on with cleaning the chuck which had seized.
More rotary wire brush & it was like new, well almost
I don't have any photos of the inverter though I did take a video but don't seem to be able to up load it.
This is the drill in action cutting plugs for a job renovating antique church pews.

