• Hi all and welcome to TheWoodHaven2 brought into the 21st Century, kicking and screaming! We all have Alasdair to thank for the vast bulk of the heavy lifting to get us here, no more so than me because he's taken away a huge burden of responsibility from my shoulders and brought us to this new shiny home, with all your previous content (hopefully) still intact! Please peruse and feed back. There is still plenty to do, like changing the colour scheme, adding the banner graphic, tweaking the odd setting here and there so I have added a new thread in the 'Technical Issues, Bugs and Feature Requests' forum for you to add any issues you find, any missing settings or just anything you'd like to see added/removed from the feature set that Xenforo offers. We will get to everything over the coming weeks so please be patient, but add anything at all to the thread I mention above and we promise to get to them over the next few days/weeks/months. In the meantime, please enjoy!

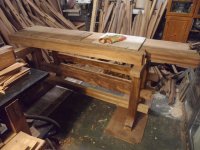
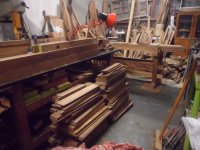
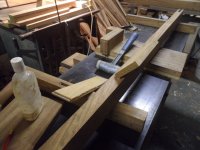
Scandinavian workbench from salvaged Iroko

TomTrees

Sapling
Joined
Aug 19, 2014
Messages
380
Reaction score
98
Hello
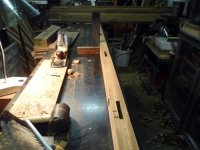
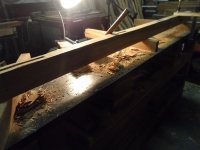
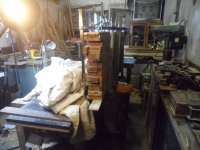
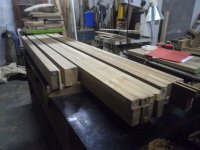
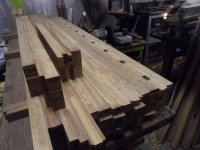
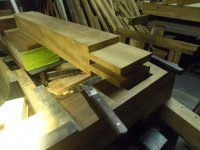
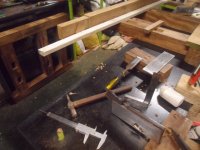
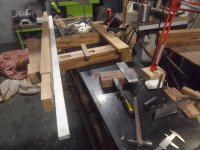
Some timber scavengers, or beginners may find this of interest SAM_2683.JPG
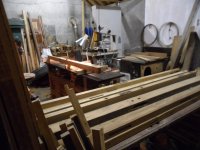
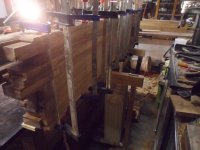
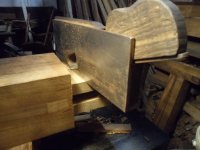
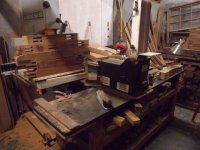
Planning to turn this iroko, a timber from both the Ivory coast, and Ghana in west Africa, into a fine Scandinavian design workbench with some modifications, mainly attempting to beef up the thickness wherever possible for a few reasons,
and possibly making the tool well more functional however possible, be it inset metal if need be, although this can be designed afterwards, so I will proceed.
This will have the traditional tail and shoulder vice, Ala Frank Klausz, so I may run into trouble wanting to beef it up, but I have the Klausz plans at least to go on.

I thought I'd show some tips I've found, on processing this stuff into usable timber again, suitable for fine work.
Its getting warmer now, nearly enough to do some gluing, I've been selecting and preparing this timber for the last good while...so pretty eager to get going.


I think is worth sharing some things that would be a... If I was to start again kinda thing, here's how I would do it again
Here we go .
Getting a hold of a solid composite fire door would be a good start, these get turfed out of buildings all the time, bars and hotel renovations ...look for these in skips and the dump.
Take any softwoods suitable to make a base with too.
But always take any hardwood doors like iroko and red meranti first. you can carry a whole door easily if you have just a panel saw in your rucksack.
Cutting the rails (short lengths) at the joint is a cross grain sawing, not ripping operation.
Saw the bottom and top before anything else, and try sliding out the panels.
If having to saw out the middle rail, don't overshoot it , or you will cut into the panel. I will try to illustrate this when I find another door.

Stripping off nails, and crud afterwards, a metal detector wand is very much essential for this task folks!

So a fire door would be nice and flat, ideal for using as a reference to work to.
Construct a bench with this composite top "floating" as in... not something that is gonna deflect, by being pulled down into a warped shape.
This bench will be used as a reference so protect it from damage.
You will be able to check this for flatness when you have a plane, and two lengths
of timber later on... SAM_2747.JPG
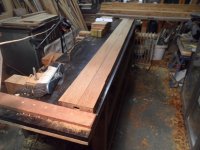

A cheap Bailey style plane for planing the varnish or paint off, like a no.4 or 5
for this task, is narrower than the two below...
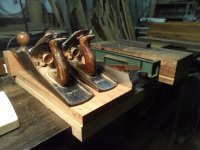
And two nice old Stanley Baileys... no.5 1/2's with thick soles (bases) throughout the length, and not lapped by an oaf!
I use these two 5 1/2's every time I go in there. SAM_2736.JPG


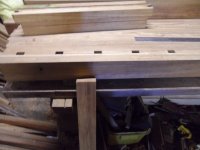
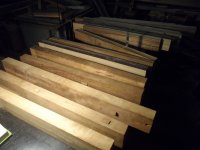
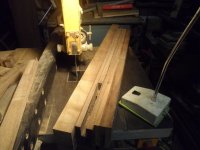
So with the timber jointed face and edge, and the tenons removed from the mortises, these salvaged lengths are left for a while till you have enough stock...


Onto some planing tips regarding jointing for a beginner ...
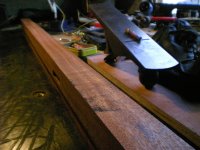
Here is a shot I found from a few years ago, as you can see the crayon on the timber as a result of the work being rubbed on the bench, this is the high spot to be planed off.
DSCN1990.JPG
Just rub the work for 2 seconds, or you will rub it off your coloured reference area.
You are aiming for no gap to be between the timber and the bench, only the very ends....like just a few mm of crayon on each end of the timber...
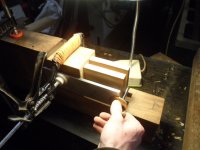
You can use an angle poise lamp to great effect here, along with pivoting the work
and making sure it doesn't wobble and stays put after you get the jist of things.
A flat bench will teach you this, and how to plane faster than any other methods,
Not in a vice, just with the timber resting, not clamped on the bench planing against a stop in front usually.
A batten clamped or doweled in will do nicely, with two dog holes 19mm thick as thin dowels will break. DAMHIK

After you're able to surface timber dead flat to your bench, you then test this by planing two lengths up, which are the entire length of your workbench.
They should match perfectly together with no gap.
Use these two pieces then as winding sticks to test for twist on your bench.

This now is an essential time to have learned how to use the cap iron, ala David Weaver (David W on youtube) He is the only one on youtube, and elsewhere who goes into detail on this, and I suggest you dismiss the rest!

The iroko will be troublesome to work otherwise, most of the time.
As one of these Stanley Baileys is setup to tackle anything, regardless which grain direction planed, it will not produce tearout
Consequentially a plane that has the cap iron in effect will not nose dive off the ends, thus is more reliable than having to employ stop shavings, as you would have to with the same plane, if it had a very mild camber.
(NOSE DIVE) as in progressively taking far more off at the ends, by not lifting up at the end of the cut.
One of the many reasons why a bevel down plane is much superior to a bevel up plane.
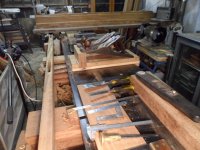

SAM_2746.JPG


Fast forward to today, onto the next stage...learned some more more things during this time
After surfacing the timber face and edge, marking out the stock to thickness,
flipping over the work and expecting it to be dead on, is not without some more finessing!
Don't omit to stand the timber on edge again, and offer the square up to the thicknessed piece, It will more than likely need a few swipes taken off.

These three lengths, or bearers I have heard them recently called, along with a
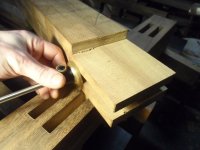
long blade of a machinists bevel protractor really upped my precision cleaning out these mortises.
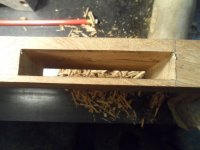
After initial rough cleaning of the dried glue and varnish, which degrades the timber sometimes! the endgrain should be worked on next, as it is a big waste of time to have the long grain prepped for gluing, only to have to pare it again for a fresh gluing surface...months later
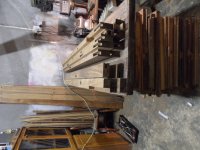
SAM_2734.JPG

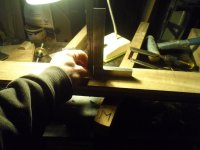
So with the mortises marked out, a good time to check your carpenters square, if you haven't allready, and give it a knock to true it up, as its not critical work marking out these "dutchman holes" since you may have to chop past the lines anyway...as they will be custom fit.
You really want the square to be bang on when taking the last swipes before laminating these.
Laying the square on the benchtop, offering it to the work as the reference
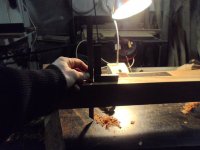
SAM_2723.JPG
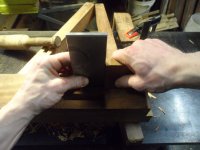
This is where the long blade of the machinists bevel and the M&W no.400 square
is a real sure thing, even though both vintage tools have significant wear, which BTW was the only way I noticed it.
Still waiting until it warms up a bit to start filling, so I will be repeating the same on the rest of the stock for the next while

Tom
 
Tom,

Nice to see you posting about your project.

There seems to be some confusion in the way you have uploaded and inserted pictures which has lead to the duplications.
Could I suggest to have a read of this thread viewtopic.php?f=20&t=2850
where give guide lines on how to use the photo hosting.

I could go in and edit it for you but possibly best if you find your own way round for the future.

Hint you don't need to use img tags. Simply once you have uploaded a photo, use the "place in line" button to insert the photos where you would like them to show.

Kind Regards
Bob
 
That's a bizarre way of flattening a board, but if it works for you.......
 
:text-goodpost:

Looking forward to this WIP.

Tom, how did you find the Iroko in terms of splinters? I have only used it once and spent more time digging splinters out of my fingers than the project time.


9fingers":3rptjbu7 said:
Mike G":3rptjbu7 said:
That's a bizarre way of flattening a board, but if it works for you.......

Anything using hand tools is bizarre in my book but everyone to their own :lol:
Bob

:text-+1:


Using reclaimed timbers is a good idea. Most of the projects in the old days were from scavenging where ever I went. Factories that imported raw materials or machines were a favourite.


Phil
 
Andyp":vhx8385x said:
I do like the idea of using reclaimed timbers. I am interested to see how this progresses.
Agreed Andy, the parsimonious side of me is in sympathy with the idea of using reclaimed timber. Not iroko though :twisted: - Rob
 
Hey Tom, great thread you're putting together here - I read through it last night. 8-)

I too am all for a bit of woody salvage.

You have a busy looking workshop and the pair of Jacks look dandy. 8-)
 
Hello again
Thanks Bob for helping me figure this posting malarkey thing out.
Now to confuse matters again, and post more photos of the progress which has to be done beforehand :eusa-doh:
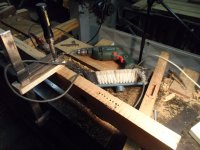
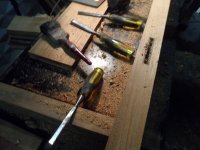
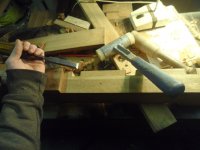
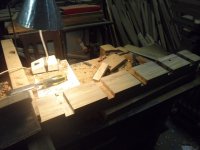
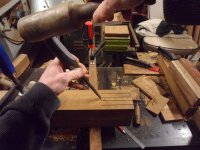
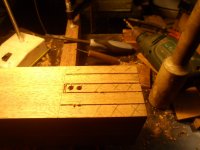
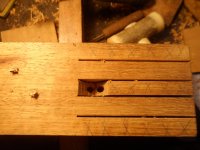
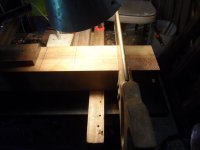
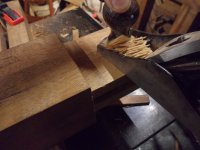
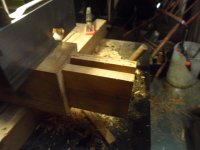
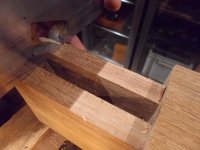
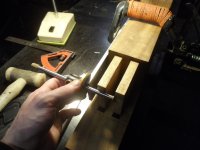
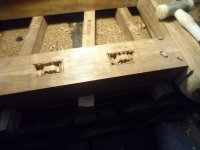
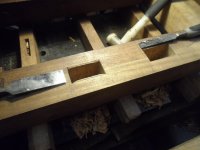
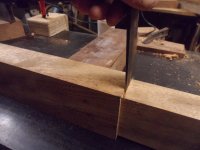
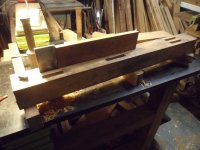
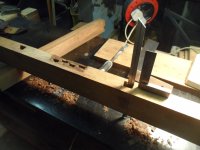
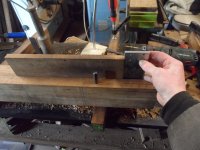
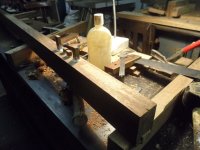
Strange as it might seem to some folk, we all love some piccys :) Square edge.JPG Drilling out tenons.JPGChisel out tenons 2.JPGRough cleaned mortises .JPG
Phil, I haven't really noticed any splinters from this stuff, if anything it might occur to me when bundling up some moldings,
Glass is only thing that gets embedded in my hands from this work.
I suppose this is about as splintery as it gets, wanting to forget about some stacked lengths that took a fall and knocked of the sharp edges :twisted:

Woodbloke, I had to look up what parsimonious means.I think it describes me anyway....
Quite stingy with unusual morals :lol:

Still doing wood prep as its very cold yet, I can't wait till gluing season
Thanks for the interest

Tom
 
Suppose I should do some sort of an update on this bench build thread.
I still have the interesting parts to do yet, eager to get it finished when it starts to get a bit warmer,
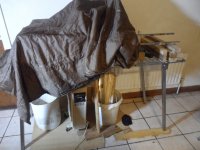
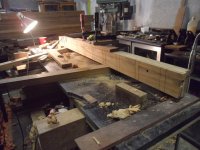
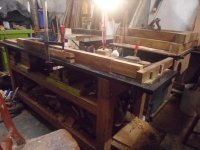
Made this table for the job, but its a bit of a pain bringing timbers into the house to laminate.
This really dries the timber out on the surface and can cause some checking so must be kept near wet.
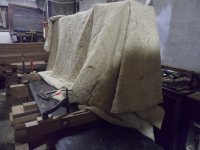
a heavier blanket needed.JPG

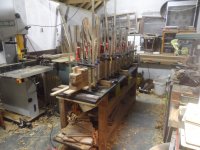
Some shots of laminating
SAM_2981.JPG
SAM_2893.JPG
SAM_3029.JPG
SAM_3033.JPG


Bench dogs.JPG
Bench dogs 2.JPG
Bench dogs 3.JPG

tent.JPG
Tent2.JPG
SAM_3100.JPG
 
Oi! I wondered where all my doors went! :x

Found any calcium deposits in the Iroko yet? Possibly the fastest way to ruin a set of planer knives except running timber with staples through the machine.
 
Plenty of lessons learned in laminating during that time.
Finding out glue instantly grabs is not fun when alignment is a concern.
Had plenty of thickness in that dog section before that :oops:
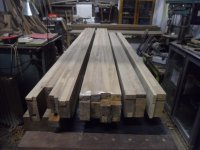
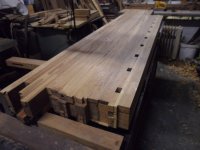
Core close to completion .JPG

If I didn't mention before, I found plans online for the Frank Klausz workbench
and am copying the dimensions for it, albeit opting for a 4" top throughout, rather than only for the dog section.
This should make the tail vice interesting to do, in a traditional(sh) fashion

Some end caps were laminated, and my first opportunity to misread the plans, as the short end cap is too short!
It might get used for the tail vice though.
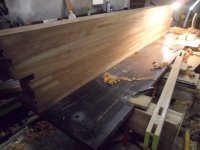
End caps laminated.JPG

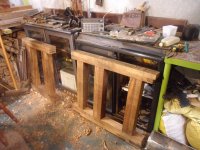
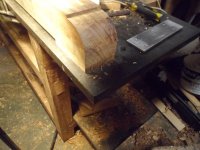
So now that benchtop was mostly done, I was eager to get a base made for it.
It was a bit of a hazard, really difficult to get around, quite messy
and was sitting on all of my short stock.

The base on the plans was a bit skimpy, so decided to beef it up a bit, and was wanting to keep the overall look of the Klausz bench at the same time.
This looked about right
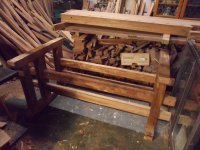
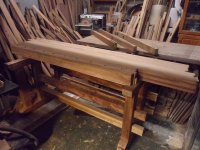
80mm.JPG

Got some thick enough timbers and plugged them
SAM_3354.JPG

I don't have my measurements offhand, but to get the dimensions for a 4" thick, I think
I kept the theme going of having a half inch strip going up the middle.
This method is quicker and less wasteful than cutting strips and laminating them afterwards.
SAM_3376.JPG
SAM_3388.JPG

Got some stock for the strechers
SAM_3367.JPG

An issue which can be annoying on a flush bench when planing wide stock, is that the strechers can make contact with your knee.
This bench has an overhang, so I tested it out to see how things went, it was one of the main issues with the other one, no issues there.
SAM_3371.JPG

I lost some of my photos so bear with me.
Had a try at a pig sticker to get the most out of the way
SAM_3628.JPG

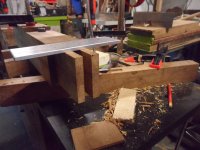
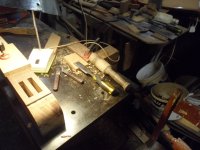
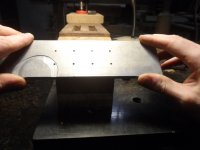
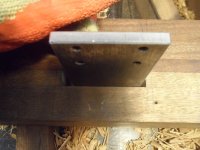
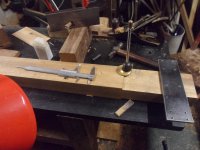
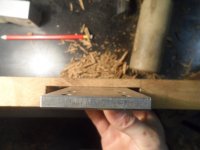
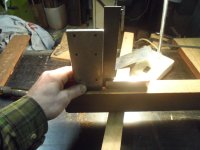
I have this plate of aluminium which I find very handy for all sorts of things like mortice walls
I found it dosen't work too well like this
SAM_3635.JPG
But used this way is very accurate
SAM_3649.JPG

Found out this isn't the way for marking out, what a mess I made... mentioned later on
SAM_3626.JPG

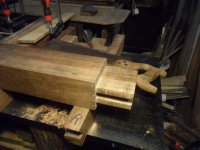
And eventually got working on the tenons
SAM_3655.JPG
 
Very interesting thread and thanks for posting.

This made me laugh out loud:
This now is an essential time to have learned how to use the cap iron, ala David Weaver (David W on youtube) He is the only one on youtube, and elsewhere who goes into detail on this, and I suggest you dismiss the rest!


He knows a lot, but is not for for one word when ten will do.

Mr T is right of course about Iroko knackering planer blades. But what are we to do? Not use the stuff? I made a few things from Iroko (40mm planked work surface for a utility room, and some gates) and it was not as bad as all that. Planer blades can be sharpened - bearing in mind I don't have a super fancy spiral cutter.

Looking forward to seeing how you progress. I would like to make another bench but never do as there are too many jobs on my list.
 
AJB Temple":74iigw0k said:
Mr T is right of course about Iroko knackering planer blades. But what are we to do? Not use the stuff? I made a few things from Iroko (40mm planked work surface for a utility room, and some gates) and it was not as bad as all that. Planer blades can be sharpened - bearing in mind I don't have a super fancy spiral cutter.

Iroko is fine to work with 99% of the time but on occasion you come across these big deposits of Calcium Carbonate which is a hard white mineral that is just like putting stone through your machine. You can usually tell if it's present if the raw sawn timber has a sort of whitish cloud on the surface where the saw has gone through the deposit so you can avoid it, but it does catch you out sometimes and you're left crying with massive gouges out of your knives :cry:
 
Here is the way I'm going about chopping that waste anymore...
A wee chop aiming well away from the line first
SAM_3724.JPG
Two whacks of an awl, and drilling a pair of holes afterwards
SAM_3732.JPG
Chopping is far easier this way
SAM_3733.JPG

Cutting to the line, might have got a bit carried away and got too close with that knife wall idea,
SAM_3749.JPG
Worked alright on that cut, but went past the line on some whilst trying to stay away from it.
SAM_3750.JPG

I could have done the other rip cuts for the shoulders before I cut the checks off, plenty of tenons to learn from.
This came in very handy to the rescue, and I have some nice coasters instead of firewood.
SAM_3751.JPG

Aluminium plate and marking gauge to the rescue again
This is how I will be marking out from now on
SAM_3752.JPG

Shoulder plane and Bailey to get a fit
SAM_3754.JPG
SAM_3760.JPG

The shoulder plane works great for this
SAM_3761.JPG
SAM_3767.JPG
 
I know you're right Mr T. But if we want to use Iroko, as I did, or if it is just available in our shop cheaply or free from a reclaim, then it's worth taking the risk. The alternative is not use the wood.

I've used just enough to do a pair of big gates and my work surfaces in a previous house, and was lucky enough to have no damage. I was aware of the risk and I sent the blades off for a resharpen after each job. My planer is not super duper though - a triple blade Axi trade 10" (from era when their machines were reasonably OK).
 
I can't say that the iroko is bad for dulling cutters AJB, as I can only compare it to
other reclaimed tropicals in the workshop, some a heck of a lot tougher like what I think is afrormosia
and some other tropicals which might be in that ball park of iroko.

I don't cut it often to have any experience with tablesaw blades, only have gotten around to making it feesable to use recently, and even at that, it fires dust everywhere.
I use it for reclaiming timbers, cutting close to a rebate without hitting putty, as that destroys a blade in seconds.
Iroko does seem to blunten a bandsaw blade quick enough, I suppose.
I had issues with my bandsaw for some time, and damage was likely to blame as well as dullness,

I've never really cut anything else of a decent quantity to know any different, so ignorance is bliss I suppose.

Tom
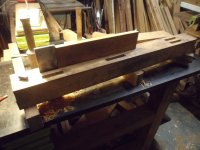
 
More fitting of these legs, as my terrible Dyscalculia is very evident.
I think I flipped this one around, but it is a better illustration of how I will be marking out from now on.
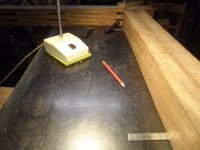
SAM_3713.JPG

Here's another use of this plate for finding high spots and for keeping parallel.
A large hex key like graphite stick from the art shop, is good for marking aluminium.
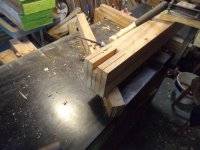
Cast works even better for transferring.
SAM_3696.JPG

Somehow I'd made an error in calculations :lol:
SAM_3796.JPG

Decided, well actually the dog did, to omit the middle strecher for the shelf on the plans
SAM_3794.JPG

Now time for the strechers to get plugged
SAM_3790.JPG

Making sure anymore to chamfer the sharp front edge before planing
SAM_3791.JPG

Four strechers for my own take on the base design
SAM_3800.JPG

That was the second time round, as I cut them too short :oops:
I think it was when I was going from these measurements, not keeping strictly to the plans, and daftly referred back to one of the many copy books with dimensions when cutting them to length.
I really have to get more organised about this :lol:
SAM_3802.JPG

So time for a better mock up of the base
SAM_3803 (copy).JPG

Got some copy book cardboard and figured out the profile on the skis, can't find pictures of that part.
Trial and error, with a good deal of research on what looks good.
Cut the corners on the bandsaw and dug out the old beltsander to get it a bit closer.
SAM_3809.JPG

Sawed that stop and pared it close enough for now, leaving an extra bit for dents in the meanwhile.
SAM_3818.JPG
SAM_3828.JPG
SAM_3829.JPG

Time to glue these up as the weather was starting to get cold
SAM_3848.JPG
SAM_3858.JPG
 
Here's a shot of those pieces of copy book templates
SAM_3876.JPG

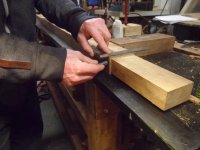
Started work on the mortises, making deep cuts both end and long grain away from the line,
SAM_3878.JPG
SAM_3881.JPG
SAM_3883.JPG


That plate makes for easy paring
SAM_3900.JPG
Mortises done
SAM_3894.JPG

Started work on the tenons next, using that marking gauge as a router plane, and using the bench as a straight edge seemed to ensure tenons were coplanar, but turned out to be a lot of faff.
SAM_3912.JPG
SAM_3936.JPG
SAM_3938.JPG
 
With all tenons close enough, I didn't want to surface one face spot on,
it was time to work on the shoulders
Found the lowest knife lines and mark them to ensure I wouldn't go past them with the shoulder plane
SAM_3940.JPG

Chopped to make it easier
SAM_3944.JPG

A quick skim to check for lumps on the faces
SAM_3952.JPG

Some might notice the heater on in the background, as some spelching occurred
SAM_3954.JPG

More fitting and shaving
SAM_3957.JPG

With the tenons fitting snug, mapping out the high spots for the shoulder plane
SAM_3964.JPG

Making sure the tenons are going in straight, still very tight
SAM_3967.JPG

With one end of them done, time to do the other end
SAM_3970.JPG

The tenon cheeks were still too tight on the other end, and it was getting annoying having to use the bench for reference.
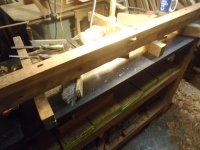
I tried using a beam instead, and pleased that it was a much more reliable method for finding high spots.
I also planed up a custom shim for checking instead of finding an offcut which was a bit rough.SAM_3972.JPG
Works 10 times better!
SAM_3973.JPG
SAM_3979.JPG
 
Pleased to get that done as it was getting messy
SAM_3982.JPG

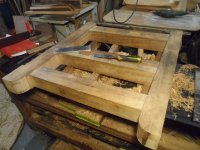
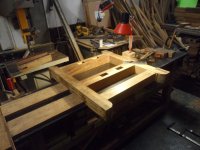
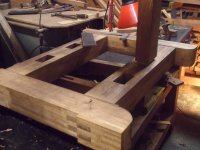
Delighted to slide the top onto the base
SAM_3983.JPG

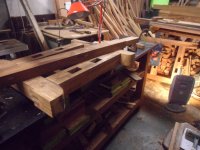
And with that a big tidy up, which is still ongoing :lol:
SAM_3985.JPG
SAM_3989.JPG

Not going to do any more work on the base until the top is finished, and
have a lot of stuff to do round the house, so won't be back at it until it heats up a bit.
Been making use of the space since then, but that will be on another thread.

Tom
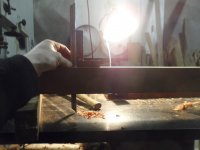
 
Trevanion":1quay7yj said:
Oi! I wondered where all my doors went! :x

Found any calcium deposits in the Iroko yet? Possibly the fastest way to ruin a set of planer knives except running timber with staples through the machine.

Sorry Trevanion, I missed your post while I was updating this.
I find planing this stuff no bother anymore, since realising how effective the cap iron is.
Planing alternating grain when a cap iron not set close enough on the tougher examples, will blunten an iron
quickly, but more from slamming into the grain, rather than from minerals I think.

The densest stuff tends to have mineral deposits of some sort, and I used to set those bits aside as they seemed really difficult to work at the time, instead of sifting through it all to find these lengths now.
On one face of these denser examples will often look like Panga Panga and have a shine/haze to them.
I remember having to surface them using a no.80 scraper, it was hard going.
I would have thought this was silica though as its sparkly, not chalk like or calcium deposits like in Mitch Peacock's world of woods video of Panga Panga.

Although have seen examples of calcium like substance on bits which have knots or bark inclusions and often stuffed with fillers, and punky, so difficult to get a clear picture what it is.
I planed up some with this (before I was using the cap iron correctly) and noticed no bother planing it,
but I can't mention how blunt the iron got, as I do plenty of angle grinding in here, and have to run a ruler to find any pin head sized steel on everything before planing it.
Hard to be sure if its mineral deposits, putty or steel/grit a lot of the time.

Scraper planes is probably the worst offender for blunting, now that I think of it,
although I have never used a scraper on other woods to compare.
I don't get much bluntening issues now on the Bailey planes, but always did notice it on the shooting plane,
even when I was working easier lighter examples of iroko.

I might see if I can dig out some of those calcium bits, and compare it next to what I thought was silica.
Maybe I might try and see which seems to blunten first.
I ain't no scientist and I'm not going to be able to do proper test though.

About your door's...
Not sure if you had a cap flap on them, but sounds like it could well be, just a loyal shop dog earning his keep
dae85b2b.jpg
 
Congratulations on what looks like a very solid and professional job!

:eusa-clap:
 
Top notch work.

Please would you explain the use of the aluminium plate a bit more. I am being exceptionally dim there.

(I would have to tidy up your workshop. OCD tendencies here re my shop :oops: )
 
Lovely work mate.

Like Adrian I would like to understand the alu plate use in one of the pics. You seem to suggest you're using it to help with the mortice walls somehow. How? By bashing it down the sides to take material off?
 
Hello again
I think I properly muddled up my first post, so you can just forget that, besides I've found
better ways of doing things.
I will try and be a little more clear on things regarding that plate used for transferring graphite, which is
maybe just good for a reference for the folks who have more skill than I,
It has got me out of some pickles I put myself in, and for most of the operations
are probably better off with other methods.

It has value for one who wants very tight fitting mortises, well....
I have yet to see something better, might be worth saying.

I'll start with the long grain mortise walls, as that's how I got about picking it up and trying it out first.
I first used it to transfer graphite to high spots, as I cracked a few lengths of long timbers, due to the plugs being too tight, so had to find a solution for checking out large mortises like this
Long grain inserts.JPG

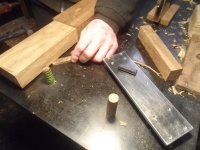
Here is the thing used to transfer graphite, I'd prefer to flip the timber around now, instead of having the bevel
facing me.
Note that this tool can be much over used, leading to something resembling something like a hand scraped
tool way from a lathe bed, this is why I'd prefer the bevel of the chisel facing away as I am better at finding high spots with the chisel instead of just removing the graphite only.
SAM_2942.JPG


It is a good tool for a visual aswell, and actually taught me to use a chisel in the same fashion.
(a chisel which has a flat back/face, and not that vintage one down a bit :lol: )
I'll give an example of what I mean from this photo underneath...

Note that the plate is sitting near flush on the left not quite though, ,but has a big gap on the right side,
Basically you are aiming for no shadow or gap whatsoever, which means a very light marking line needed
with the bevel facing the waste...a pencil could work well too, a deep line would make this difficult.
Both lines of the mortise walls done from one face to ensure parallel.

(Very handy if you happen to go past your line, as you don't really need one if you had it there before)
SAM_2945.JPG

I had better pictures on the other computer, but I can't get them off it, hopefully that part is clear...

So with a trustworthy way of pairing long grain walls, I will try and describe working on the end grain parts of the mortises using this tool,
This method only works if the timber is absolutely parallel, you would chase your tail and not get anywhere otherwise.

I'll start with how I first went about this, and how the plate makes it easier afterwards
Using a straight edge, I've since got a larger 150mm engineers square from Axi for a tenner
was doing it this way for a bit,
It takes a surprising amount of concentration to actually get a proper reading with the thin blade of that straight edge, as you have to hold it tight to the wall and you can't get you're hands in there.
checking for square.JPG

SAM_3336 (copy).JPG


Here is a method I use for doing so on a blind hole
SAM_2898.JPG
SAM_3341.JPG


Here is a load of faff
SAM_2717.JPG

I was grateful that I bought the larger square, which probably had something to do with me using the plate for the last job above.
SAM_2824.JPG

I think I tried using the timber squared on the shooting board with the plate
for the same thing as the load of faff picture above...
It works twice as well being pushed hard against the wall instead of inconsistent pressing it against the
block. repeating the picture underneath for clarity
The long bit of timber is great for pushing against the plate which will mark any high spots the far end of the mortise, it should give a good squeak whilst using it.
SAM_3649.JPG

I mentioned cast iron is much better for transferring marks, maybe waay too good.
A simple carpenters pencil would well for that, instead of needing that wee stick of graphite that seems to last forever. as it doesn't be long coming off aluminium.
I have been thinking of making one for narrow spaces, I think it's about 7.5mm thick or over.
It seems a nice thickness....well, for this plate anyway.
SAM_2697.JPG
SAM_3745.JPG

Those wee holes are difficult to do well, often the plug goes in half way or breaks, as is evident something went wrong here.
And even if I get the mortise bang on, I still haven't came up with a practical solution to supporting a narrow thing like this, but it would be a big help
[attachment=0]SAM_2238.JPG[/attachment

But disregarding using it as a marking tool , it was still really handy for checking things like this.
I thought it was very handy for a checking tool, whilst fitting the top component of the trestles, I might have went a bit past my lines getting to grips with the shoulder plane, it seems like it would be impossible not to have a gap showing somewhere, so the baseline in between tenons was proud from doing so...

I presume many would undercut this as I did somewhat, but still handy for suggesting that somethings not right with the shoulders


Tom
 

Attachments

  • SAM_2238.JPG
    SAM_2238.JPG
    199.6 KB · Views: 1,542
TomTrees":3f7l9zhr said:
I might see if I can dig out some of those calcium bits, and compare it next to what I thought was silica.
Maybe I might try and see which seems to blunten first.
I ain't no scientist and I'm not going to be able to do proper test though.

By happenstance, I was planing up some Iroko today and came across this:

Bt8919g.png

wvYheiJ.png

WHSQa9Y.png

These didn't seem so hard that they were outright wrecking the knives instantly this time but were more than likely blunting them much earlier than normal, I've had really hard deposits completely total knives in the past in a single pass. If I was doing a lot with Iroko I'd be tempted to fit in knives with a 10-degree back bevel to get a better surface finish right off the planer and have the knives last a little longer, but they'd be not so great for other work in softwoods.

Interesting article about it here: https://www.theseedybusiness.com/blog/a-tree-made-of-stone-milicia-excelsa
 
Intersting article Mr T. Thank you.

I am still puzzling a bit about the aluminium plate. I've cut a hell of a lot of mortise holes, both stopped and through and never really thought about how I get the walls square. I always try for an interference fit unless I am wedging. However, the vast majority of these have been in oak framing, and so I can check the sides for vertical and depth using my combination square. Obviously can't do that in smaller mortices.

For furniture mortices my method was learnt from a book and so I always chop out the endgrain first, working along from each end. I shall have to think it over more. This will become relevant to me soon.
Very nice work on the bench.

Adrian
 
Back
Top