• Hi all and welcome to TheWoodHaven2 brought into the 21st Century, kicking and screaming! We all have Alasdair to thank for the vast bulk of the heavy lifting to get us here, no more so than me because he's taken away a huge burden of responsibility from my shoulders and brought us to this new shiny home, with all your previous content (hopefully) still intact! Please peruse and feed back. There is still plenty to do, like changing the colour scheme, adding the banner graphic, tweaking the odd setting here and there so I have added a new thread in the 'Technical Issues, Bugs and Feature Requests' forum for you to add any issues you find, any missing settings or just anything you'd like to see added/removed from the feature set that Xenforo offers. We will get to everything over the coming weeks so please be patient, but add anything at all to the thread I mention above and we promise to get to them over the next few days/weeks/months. In the meantime, please enjoy!

Southbend 9" lathe rebuild

sidtsloth

New Shoots
Joined
Jan 24, 2015
Messages
50
Reaction score
0
Location
Totton
So I have been working on this a little while - the first few posts may be quite a large catch up!

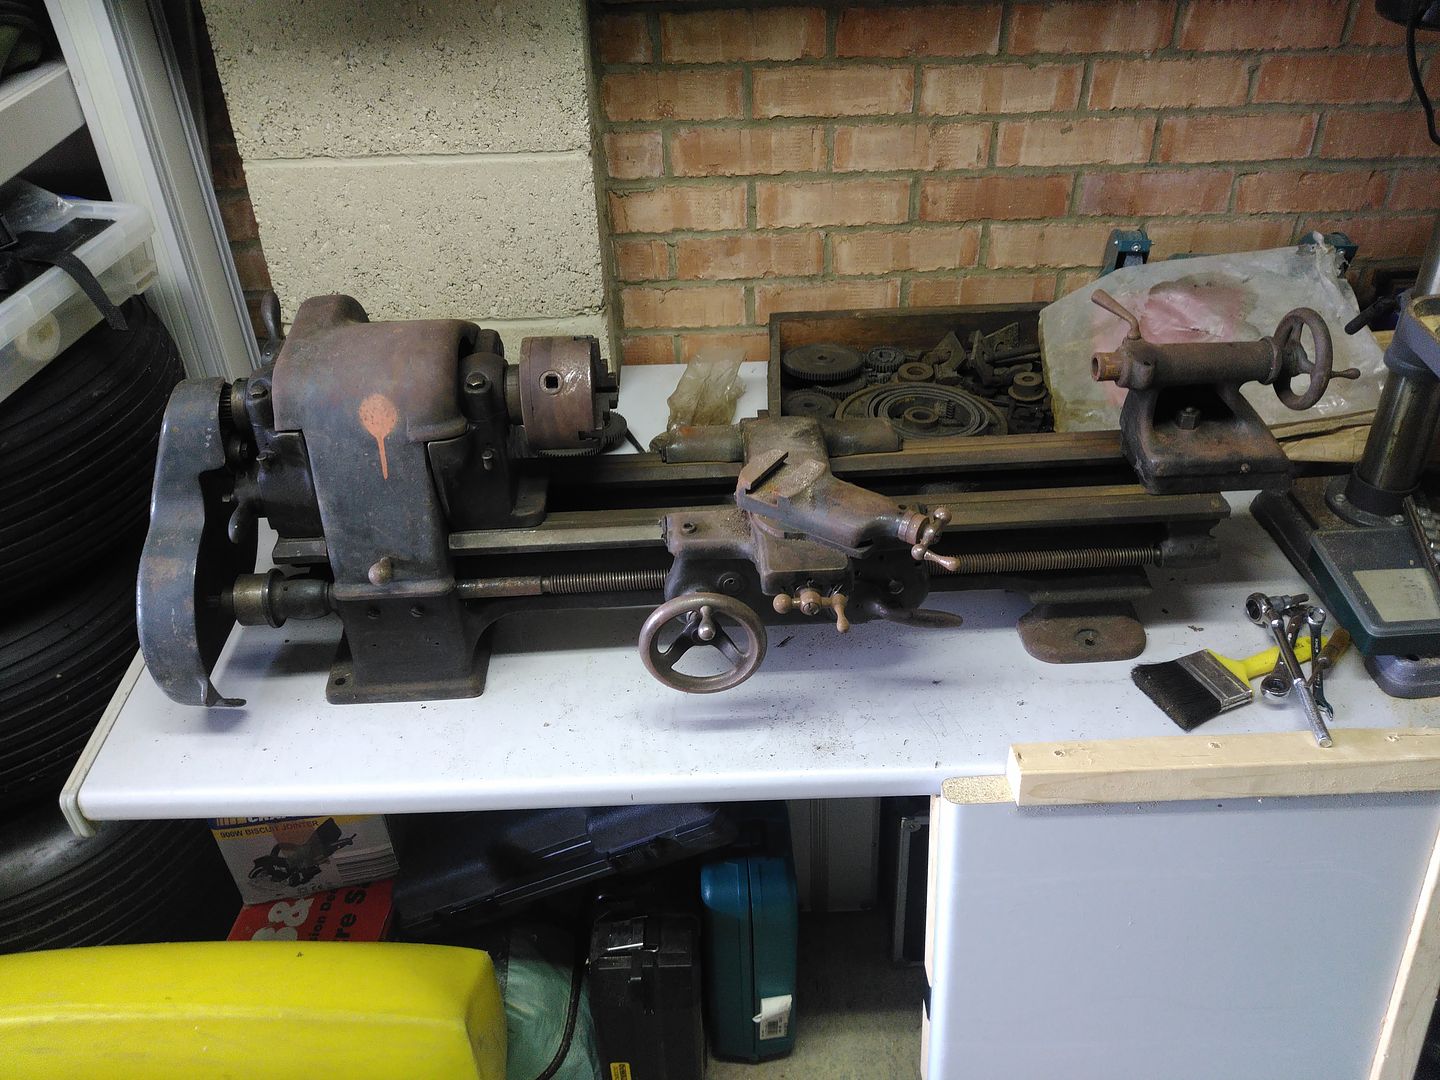
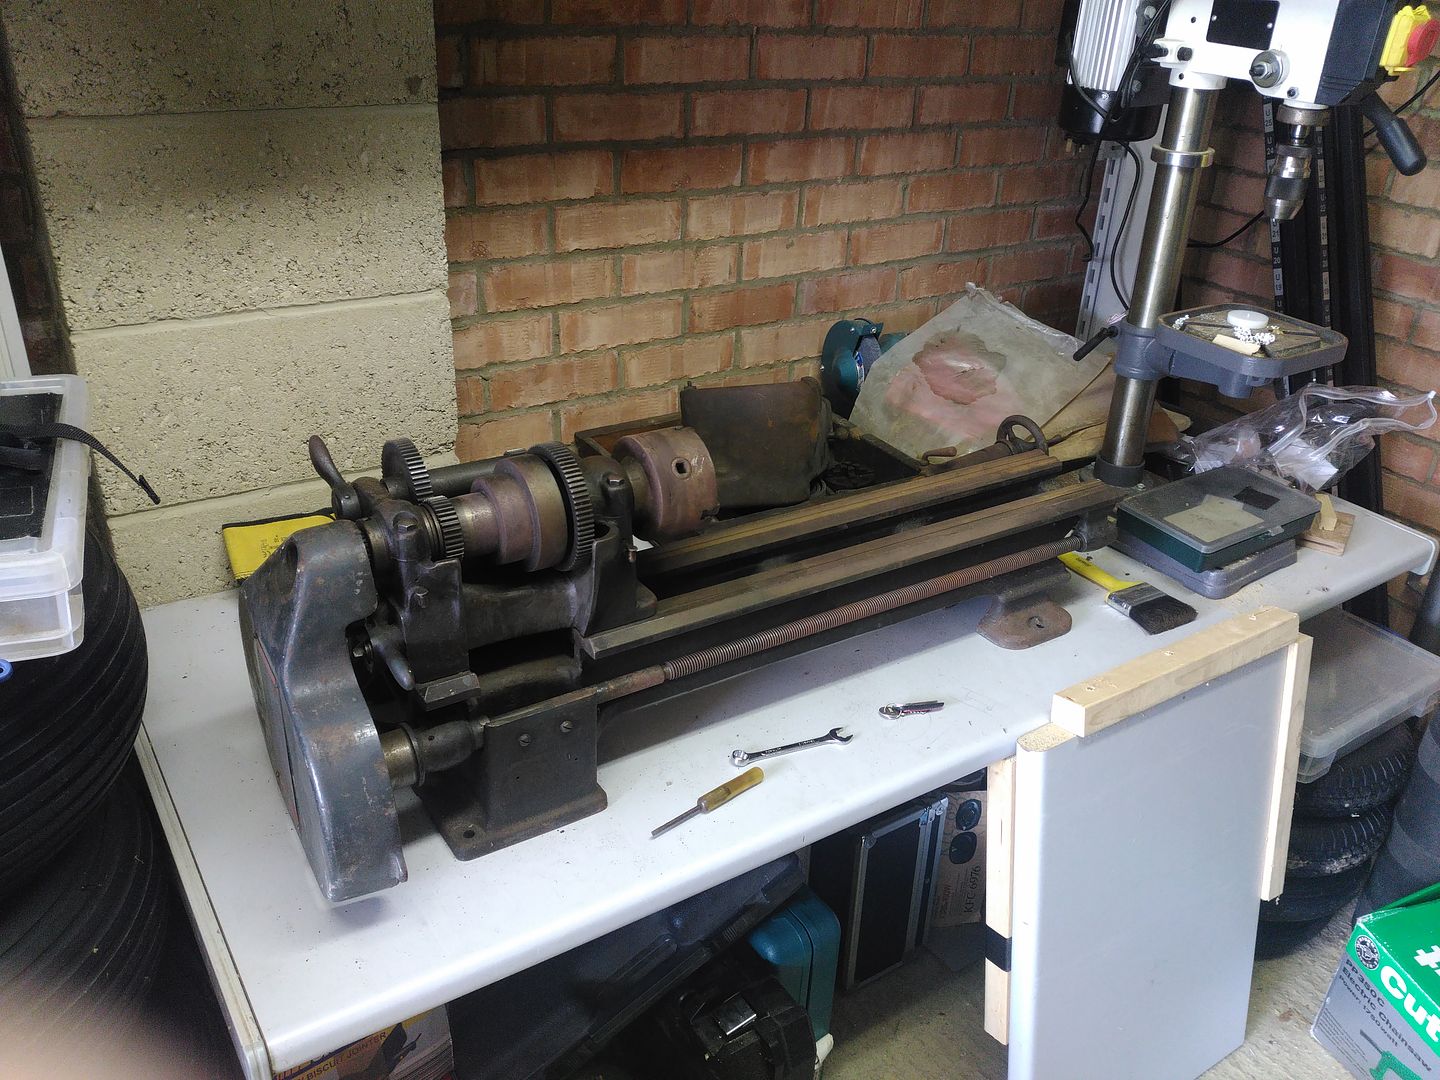
I acquired a 9" southbend metal lathe when a colleages father passed away. He had been a tool maker but it had been sat unused buried under the stairs for about a decade (we think). Here is my story for stripping it, cleaning it, and hopefully returning it to working condition in better shape than it arrived to me!

In all her glory as she arrived....
IMG_20160528_140311_zpsmiby1egh.jpg


IMG_20160528_141044_zps7zhkagbr.jpg


IMG_20160528_140319_zps3w0xagjx.jpg


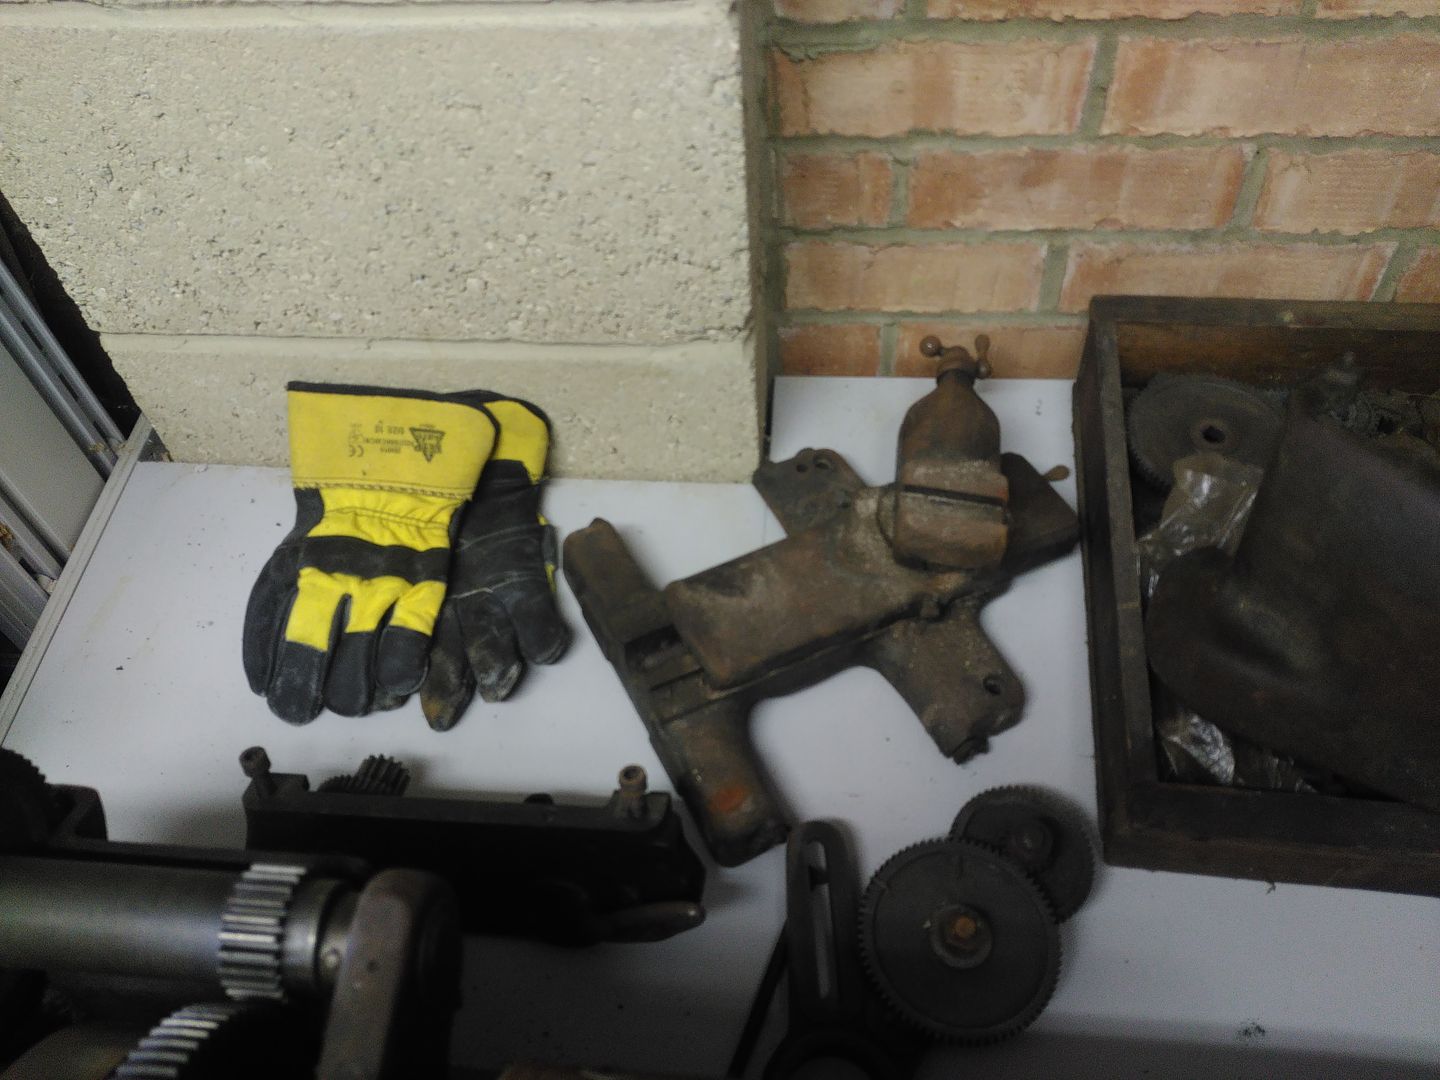
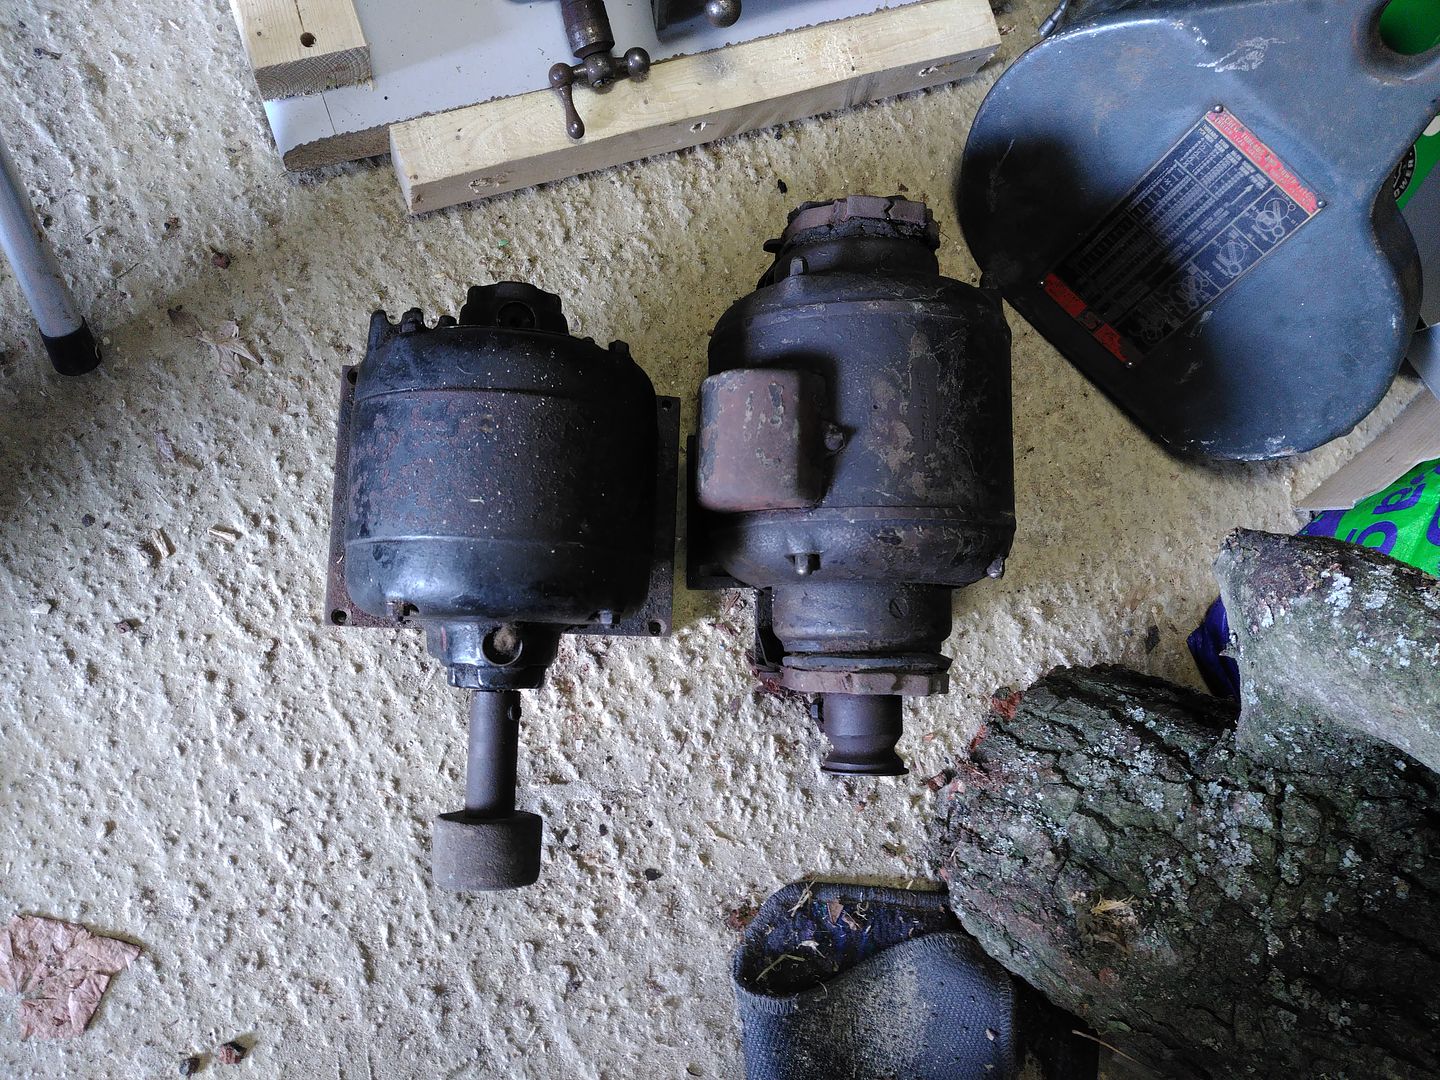
Arrived with 2 motors - neither of which I think I am brave enough to plug in :)
IMG_20160531_083959_zpsum2bg5rc.jpg


Unfortunately it turns out to be an undermount version of the lathe but the countershaft hasnt made the journey to me - I assume its still in the bench that it came from - and as such is unlikely ever to be re-united. I will work on solving that issue later - A replacement 3phase VFD controlled motor may remove the need for a full countershaft anyway.

Its also missing a toolpost - I had expected to find a lantern type one in the pile of bits that arrived however no such luck - I wanted a QR one anyway so once its all back together I shall set about finding one that is the right size.

Anyway, on with the tear down!

Any comments gratefully received.
 
Step 1...

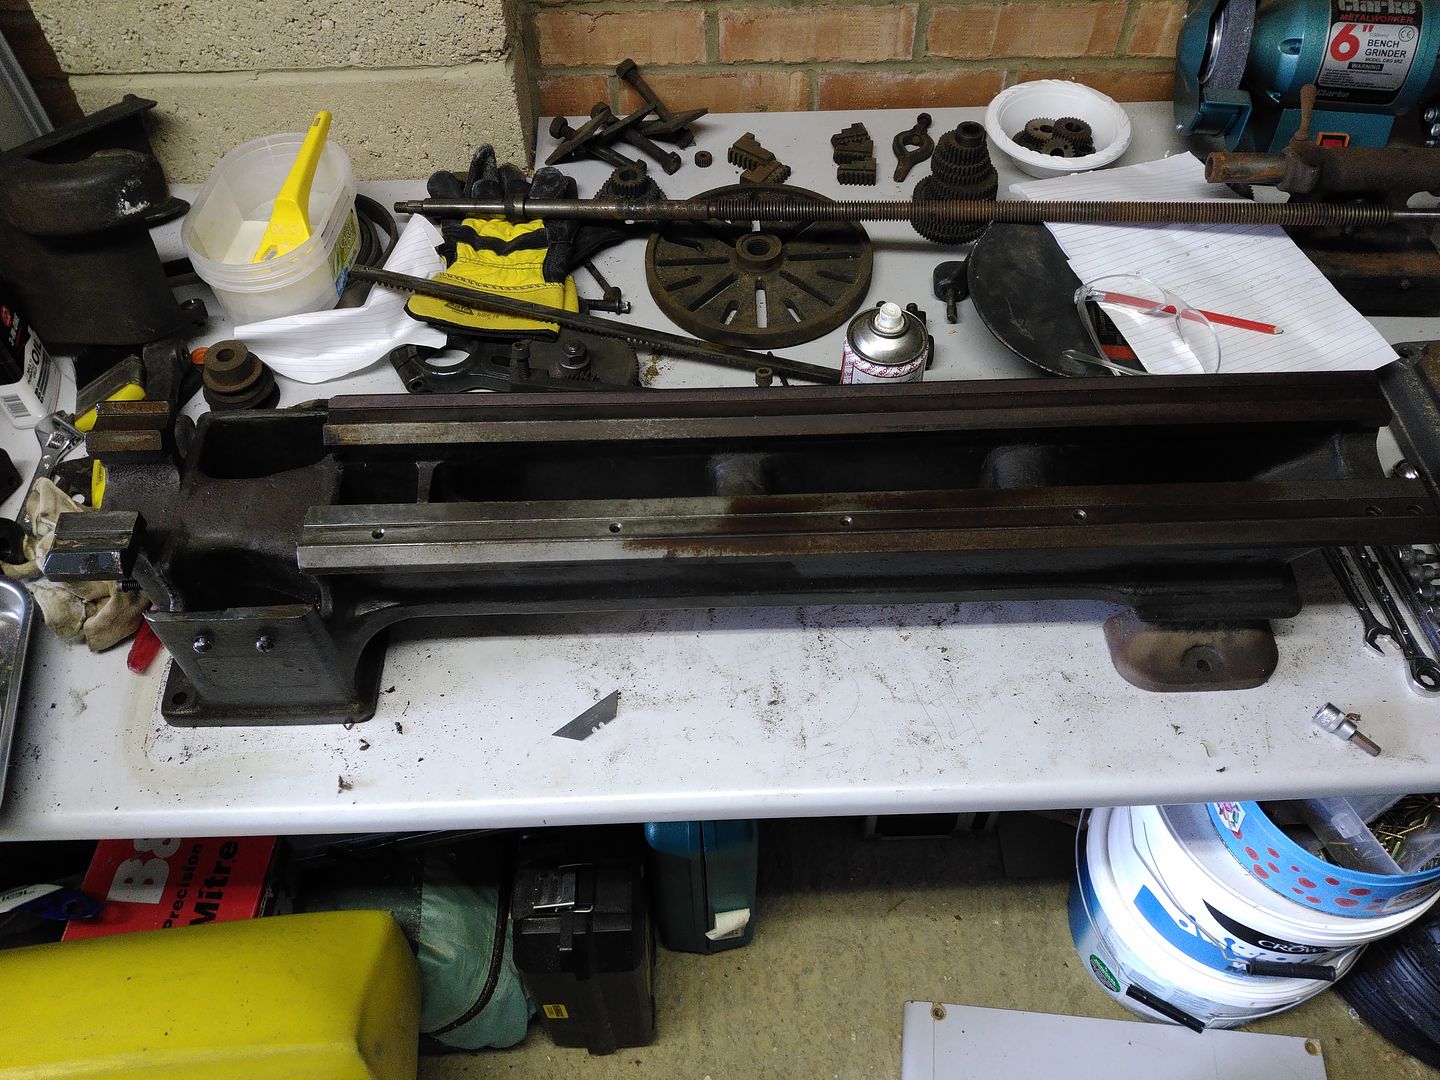
Take the big bits off and get a look at the bed and ways..

With the saddle and slide, headstock and tailstock and various gear covers etc off I can get a first proper look at the ways and their general surface rust condition....

IMG_20160530_141354_zps51sd285z.jpg


Its got a load of little dings and marks on the ways, but a straight edge they look pretty flat and the rust looks like surface rust, I didnt want to take anything mechanical or abrasive to the ways so off for a bottle of rust remover...

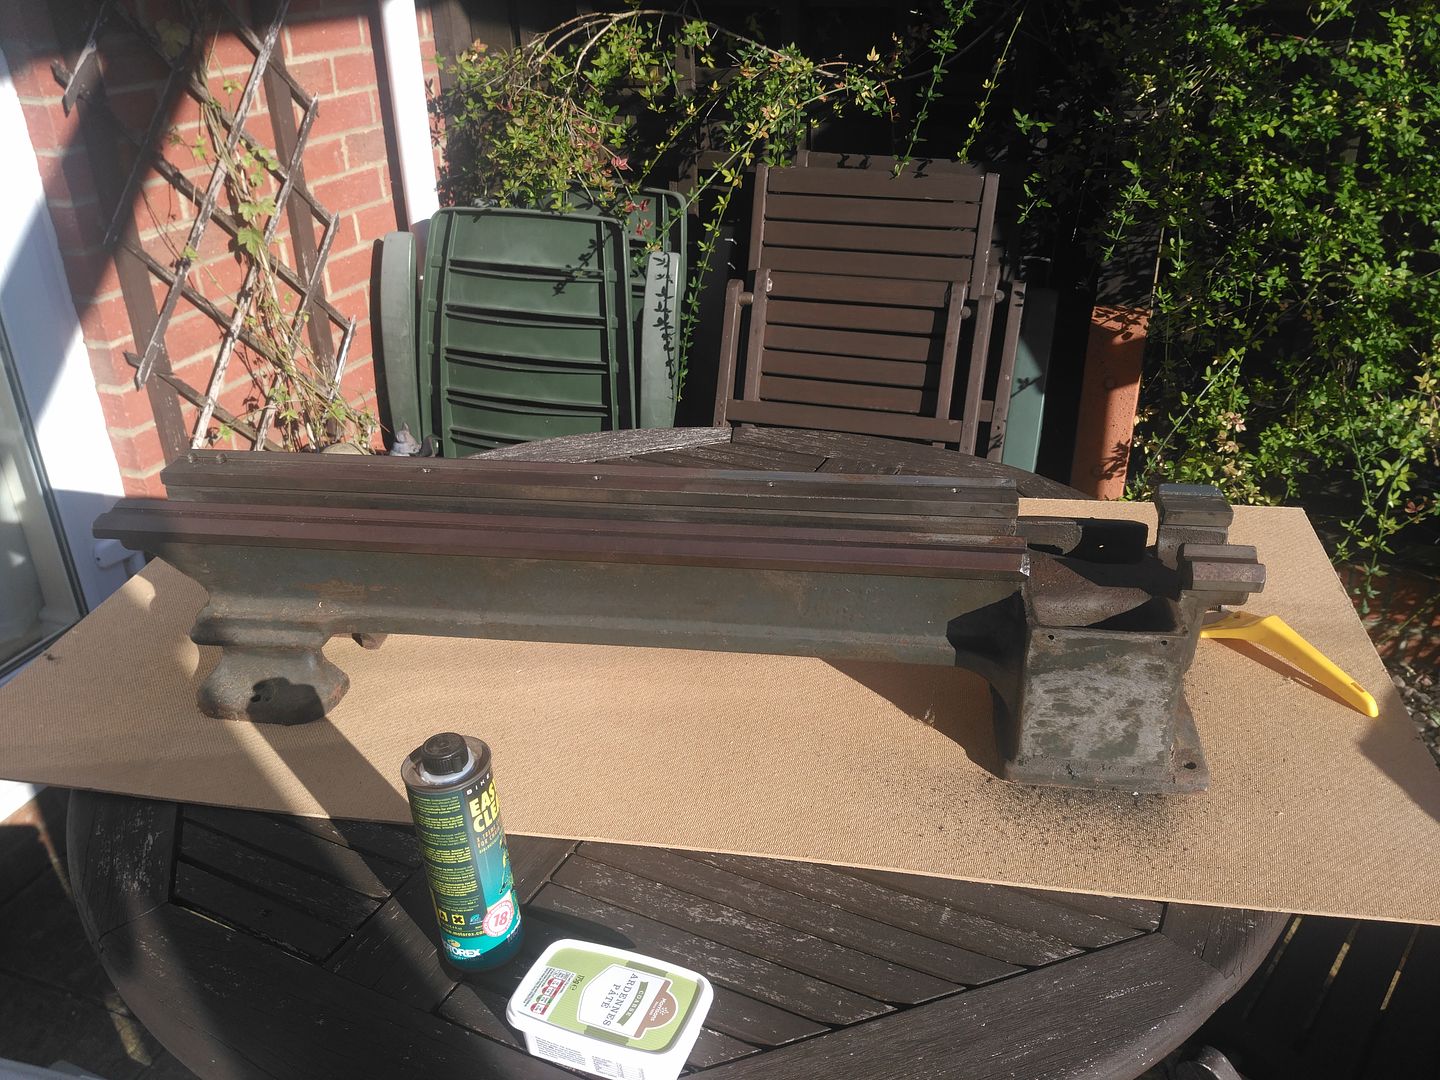
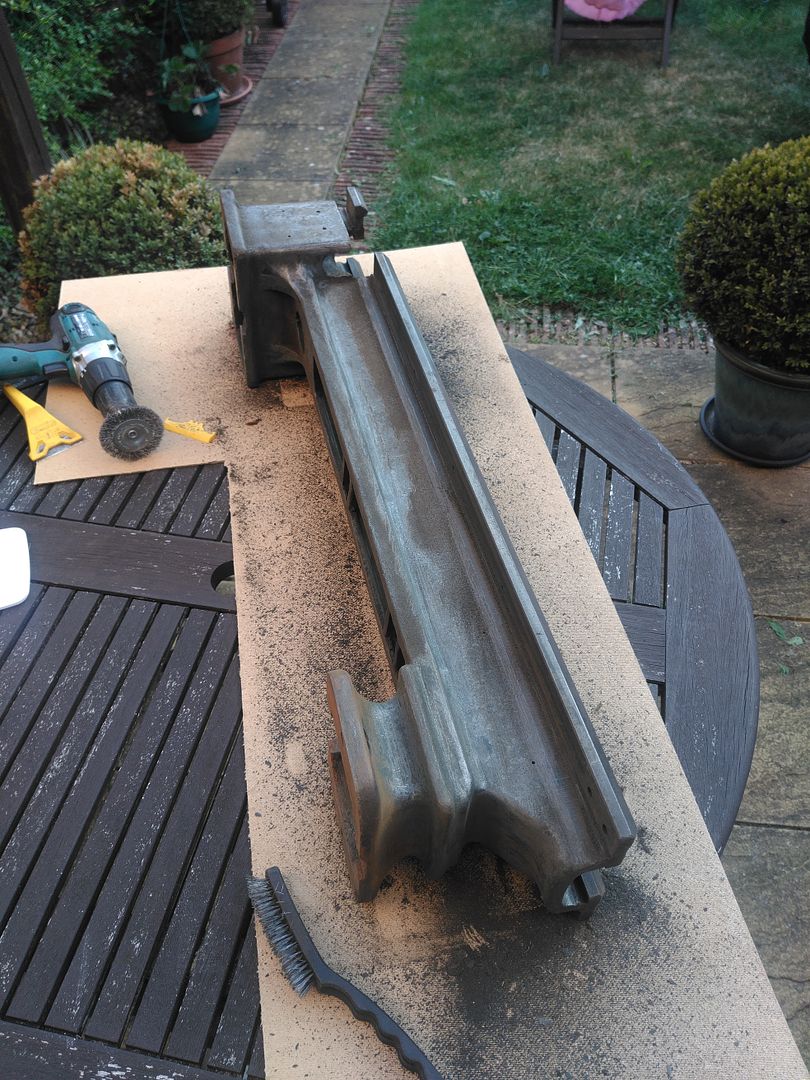
Once that arrived I ran into the first issue of not having a way of actually dipping the bed. Whilst thinking about it I set at the rest of the bed removing the name plate and then with a mix of brass wire brush, brass wire drill head, and stainless steel brush clean the muck, old paint, surface rust etc.
IMG_20160829_173555_zpszco8ys7u.jpg


Good job it was a nice day - took much longer than I expected! The bottle of bike chain cleaner made really good grease/gunk remover (and the pate pot makes a great scourer dipping pot for it)

IMG_20160829_183509_zpsr9nysjq4.jpg


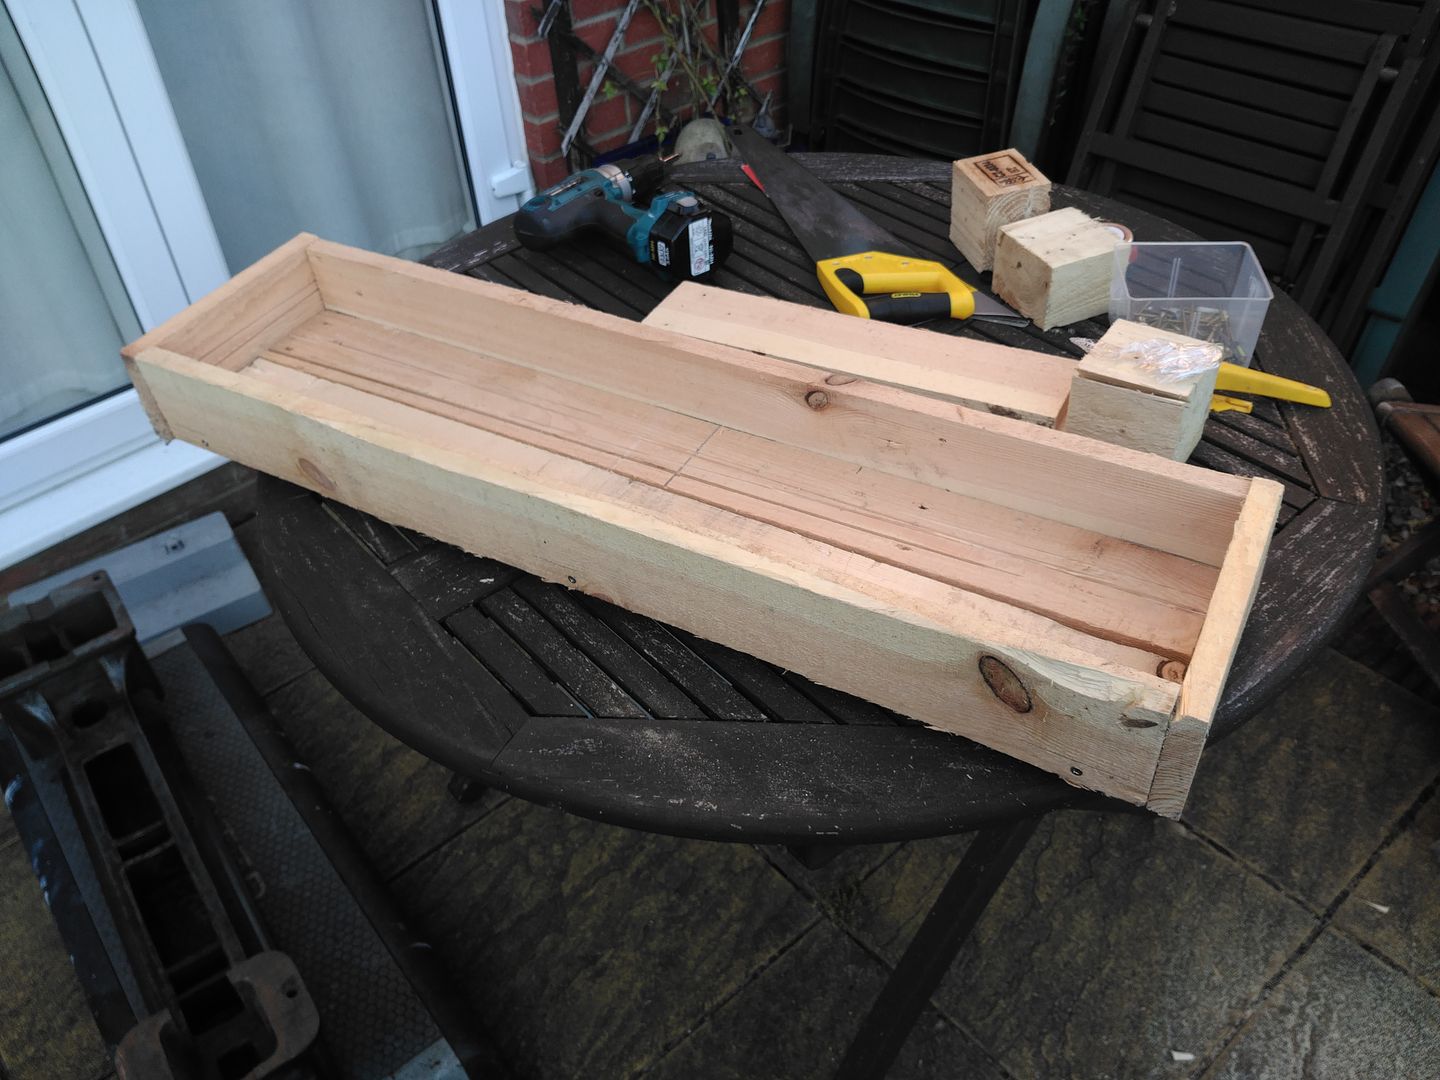
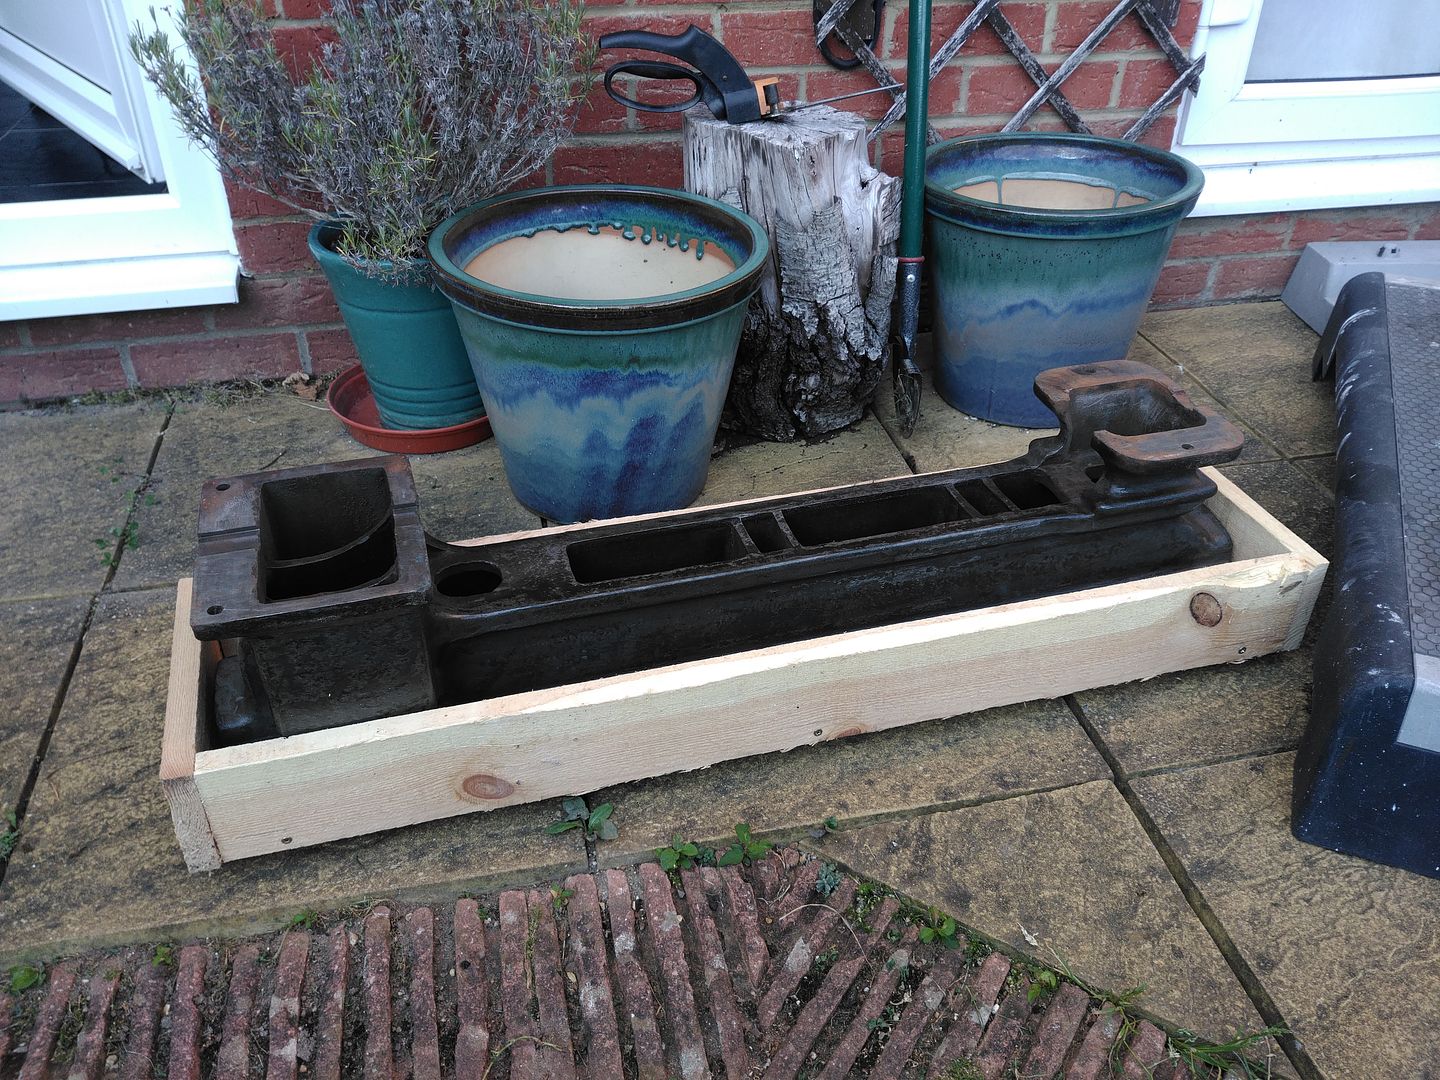
I have a few old pallet planks in the garage and so once the lathe bed was mostly first pass cleaned I set about a rust remover bath box...half an hour or so later and voila!!

IMG_20160830_184031_zps2skychos.jpg


Test fit...

IMG_20160830_183514_zpsmgmhthlf.jpg


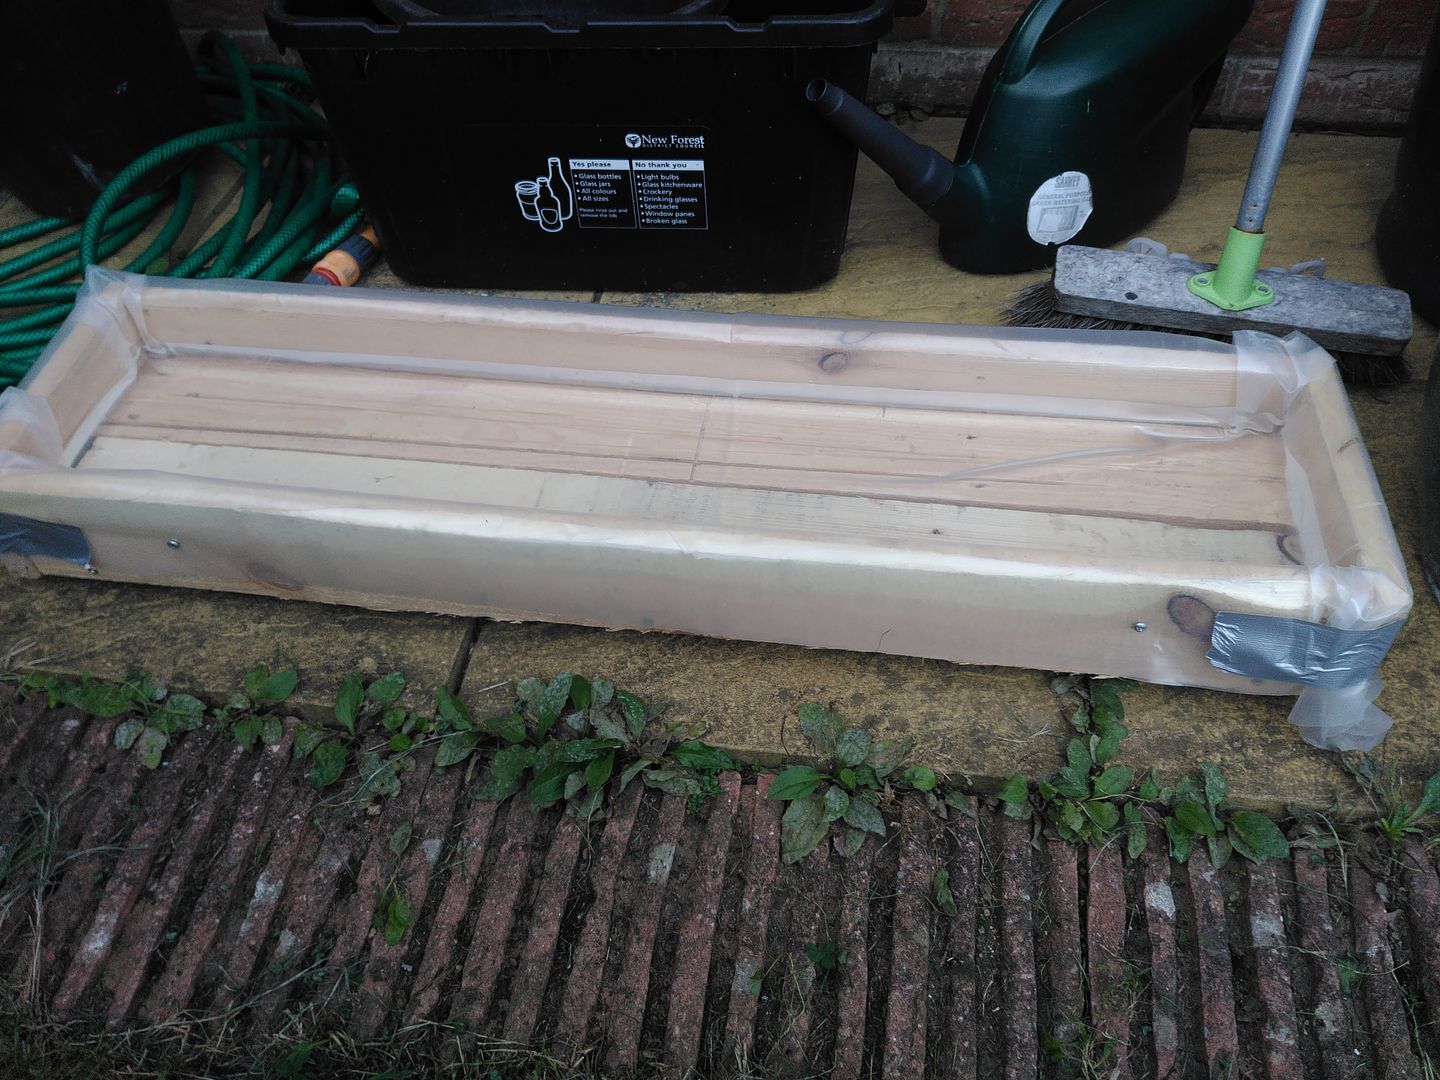
Bit of plastic lining...

IMG_20160830_190500_zpsz2rwdbz7.jpg


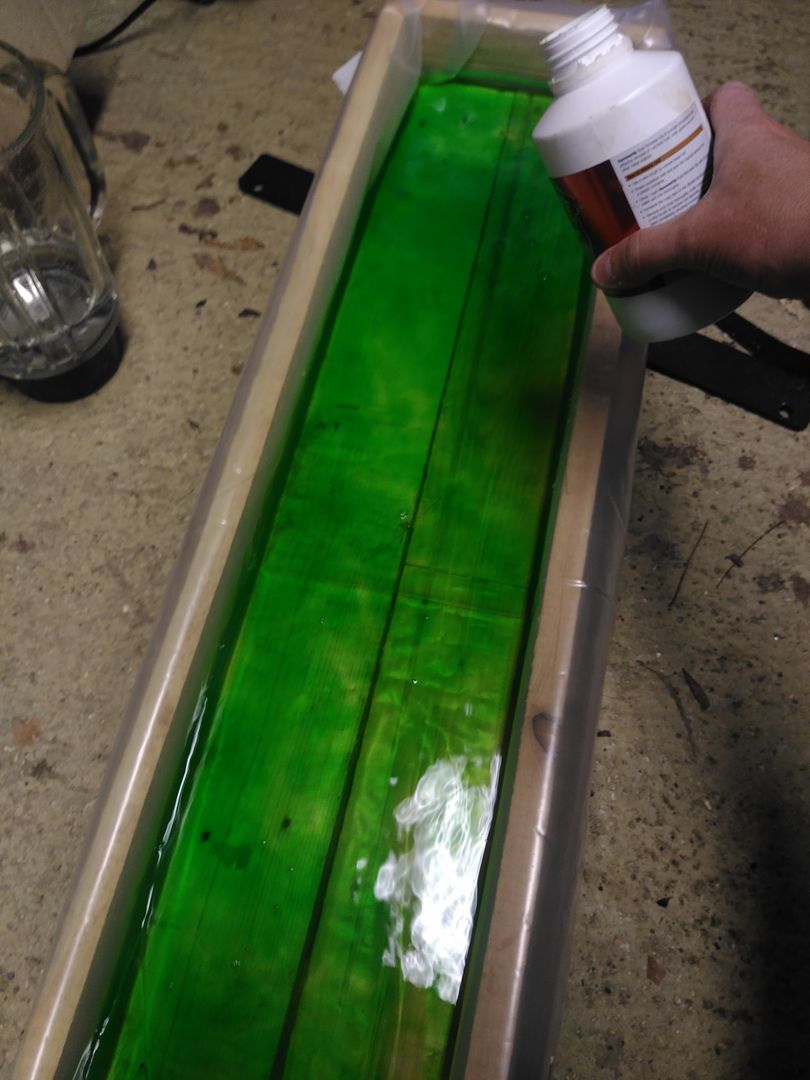
and then time for the suprise... this stuff is....GREEN!

IMG_20160903_170215_zps5o5jitfi.jpg


Lathe bed in, along with some of the gears for good measure - 500ml of solution, 4.5L of water covers the ways nicely (with a couple of thin sticks to life the ways off the bottom of the box a little). Instantly bubbles start to appear slowly... Time to leave it for 24 hours and see what it does.

Back with more later.

Sid.
 
Step 2,

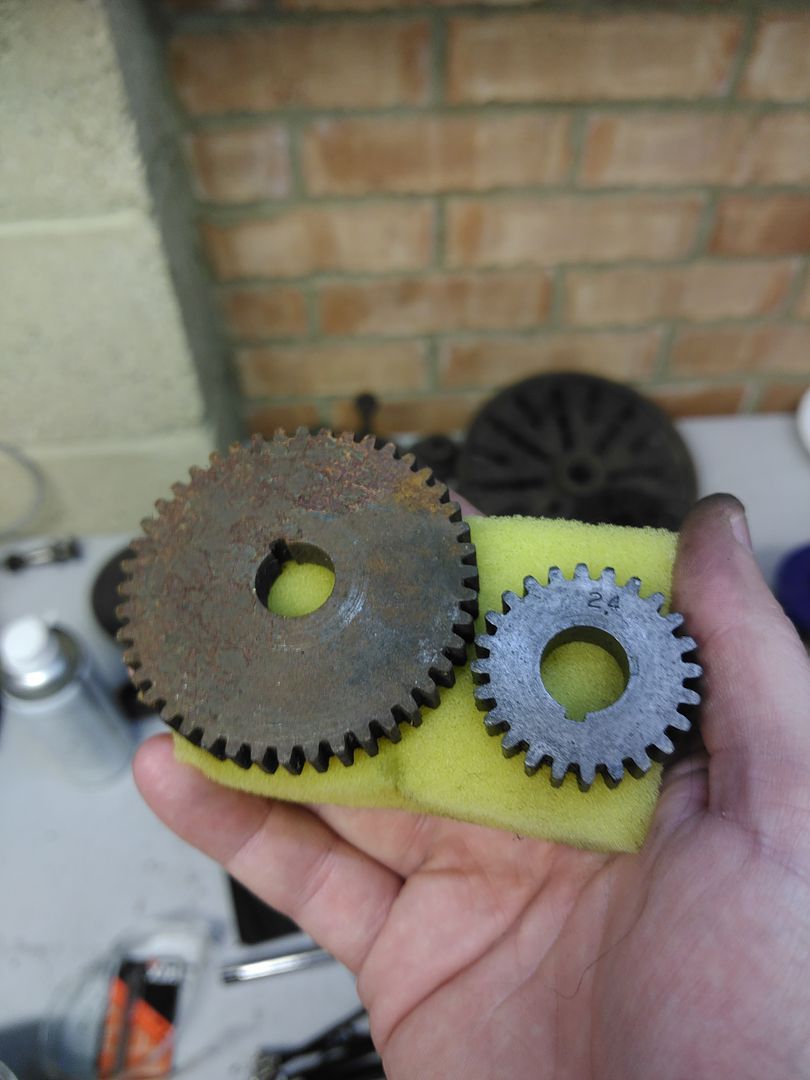
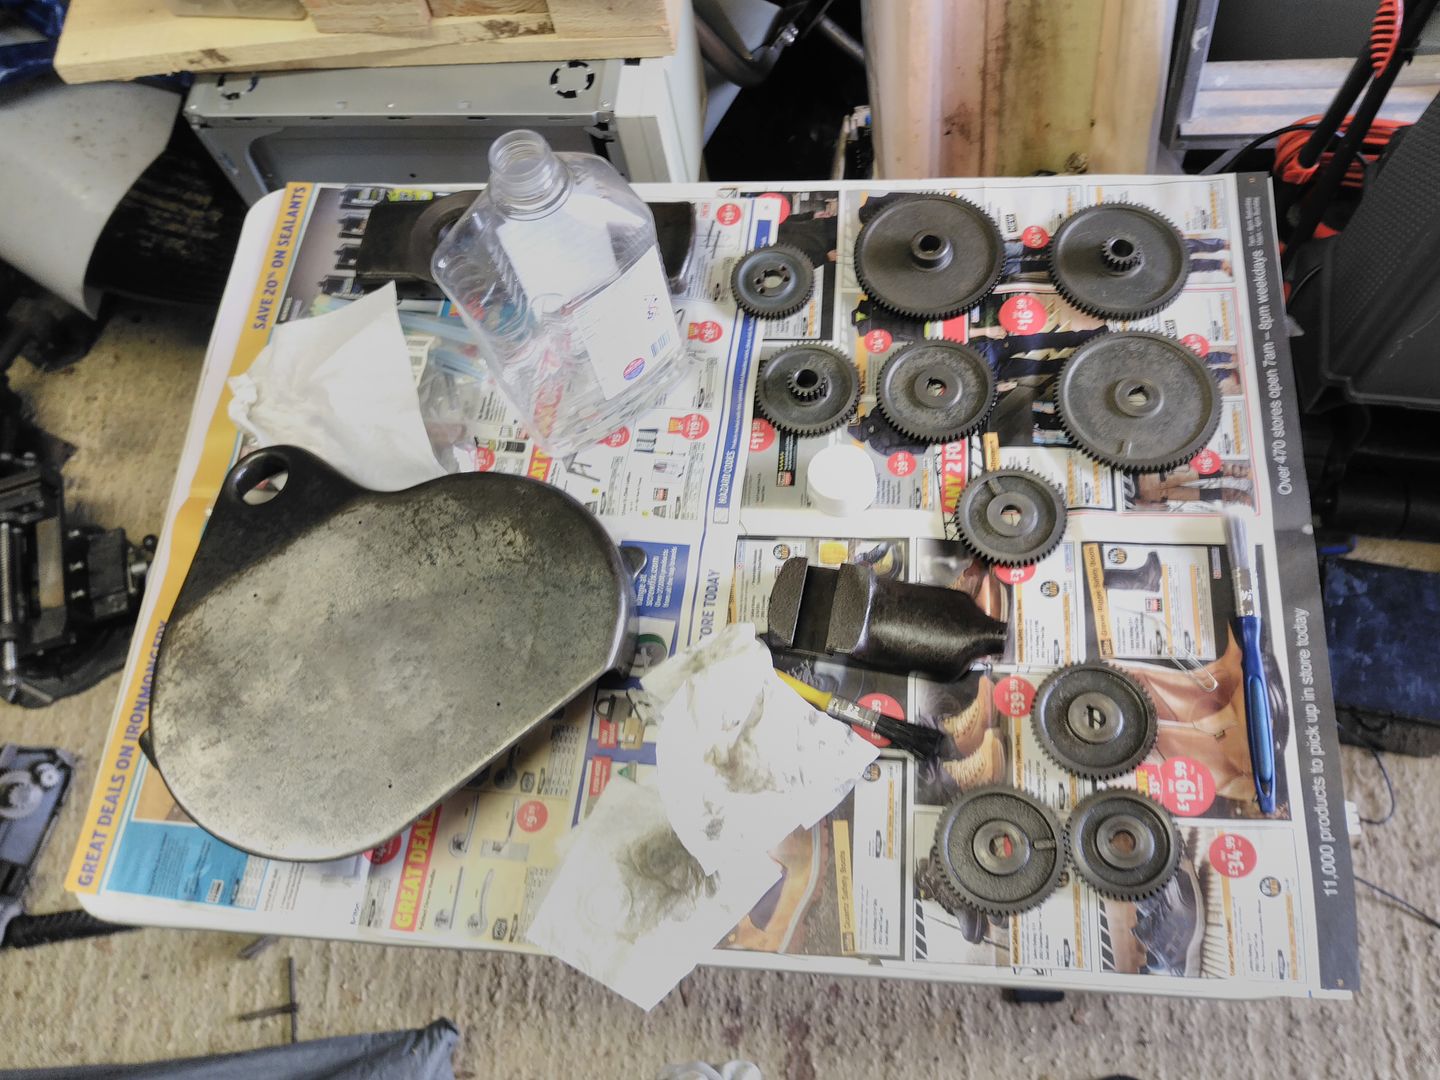
24 hours later, pulled the lathe bed out, along with the gears.. The gears look good -spot the one from the dip..

IMG_20160904_150331_zpspdmvddbs.jpg


The ways got a second day to allow for some more stubborn surface rust. It was then turned over to try to work on some of the rust on the feet - not really a problem to me, but I had the solution and had some more gears to do...

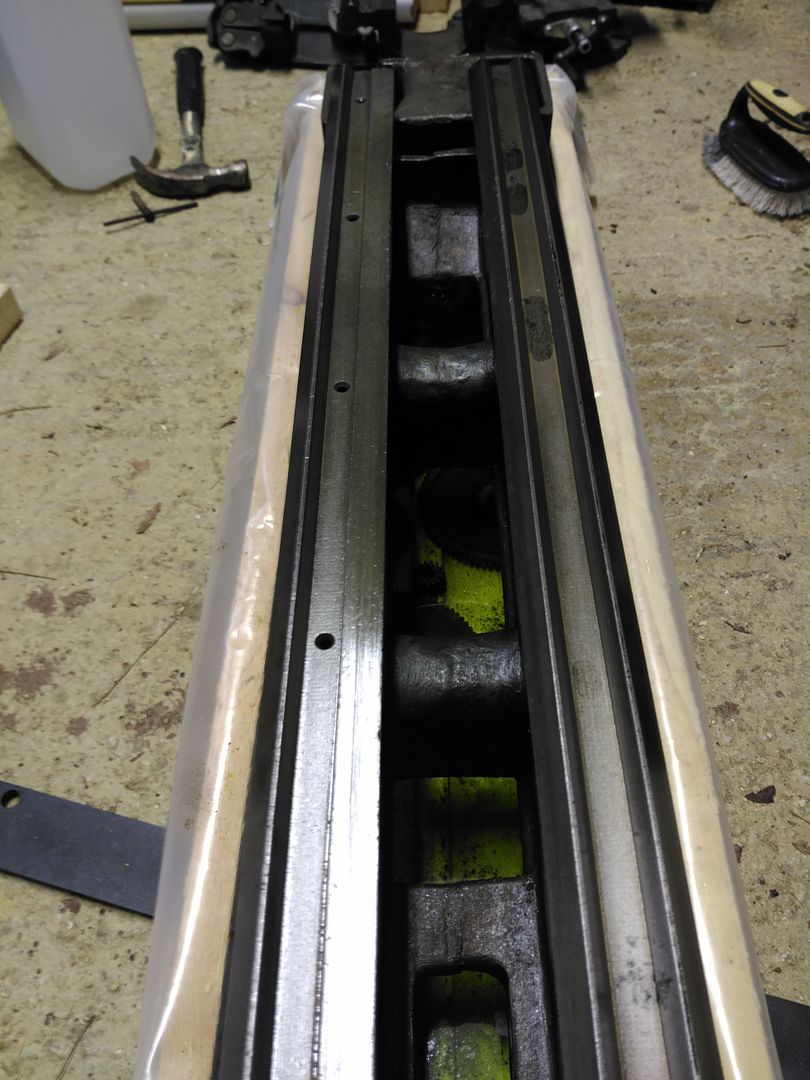
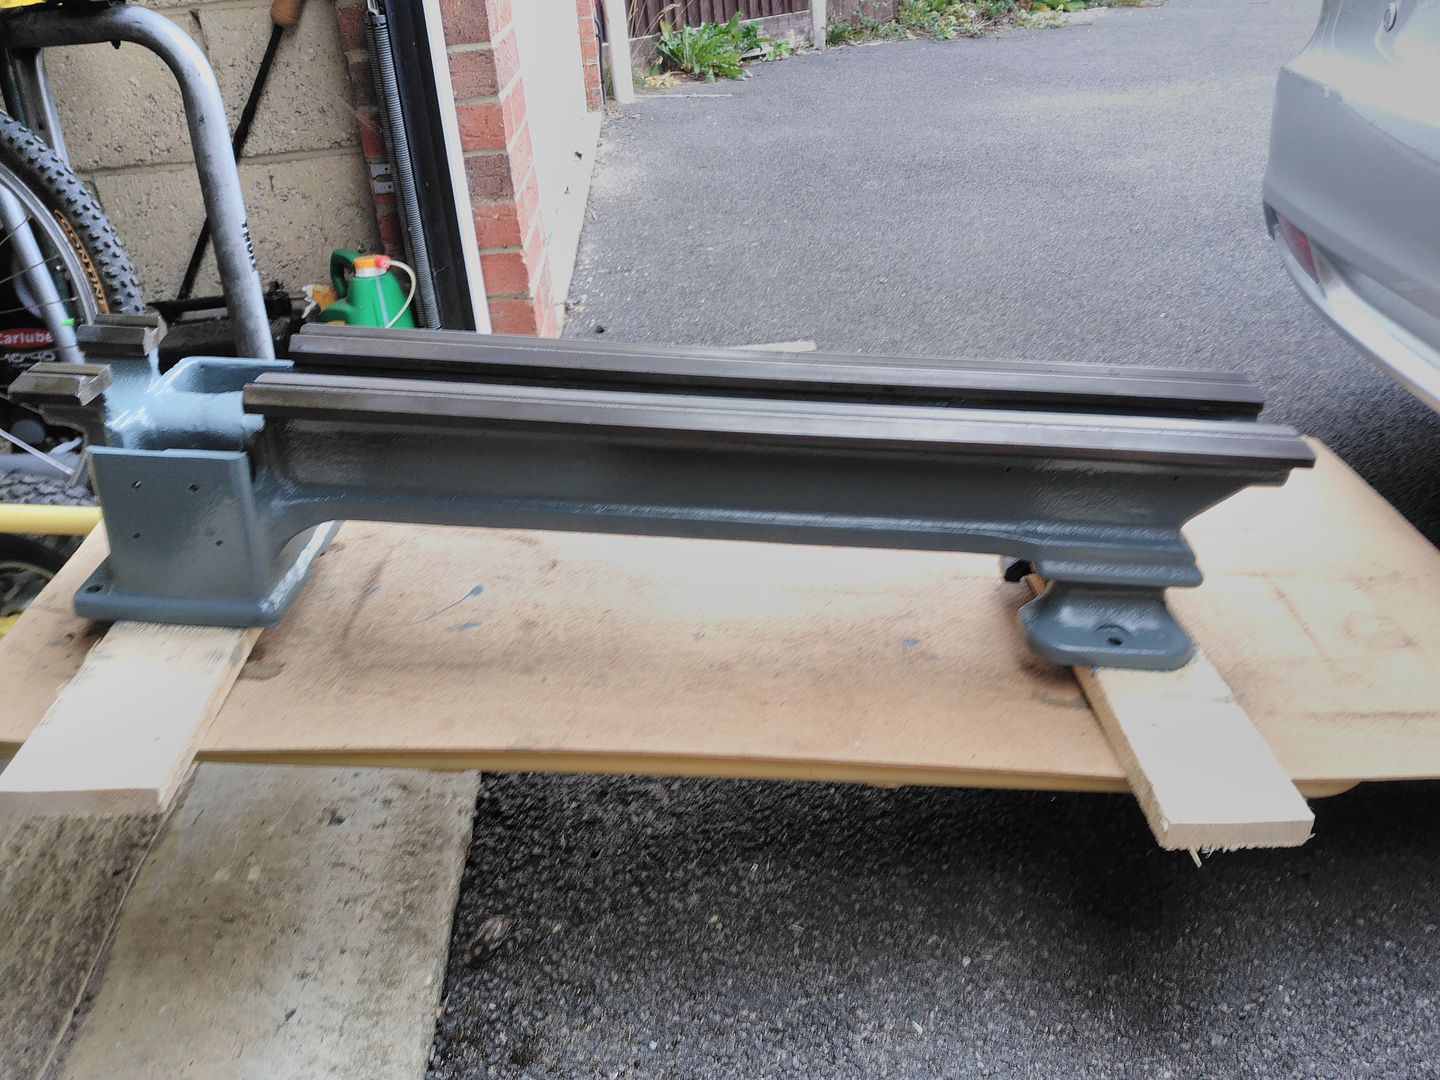
The ways looked like this after wiping the solution off

IMG_20160905_190746_zpsaqcg3d05.jpg


Really quite impressed with the results. The only odities are the 3 black ish marks on the right hand way in the pics. The rust remover solution turns the rust black and this it wipes off.. I did wonder if there were air pockets on the ways at these 3 points, but for now I am not worried.

The only thing I did notice at this point is that I didnt make the box long enough to take the leadscrew... I need to decide if I am gonna try to clean that up with a brass brush or come up with a way to submerge that in the solution I have left.

Next up, stripping down the cross slide.

Sid.
 
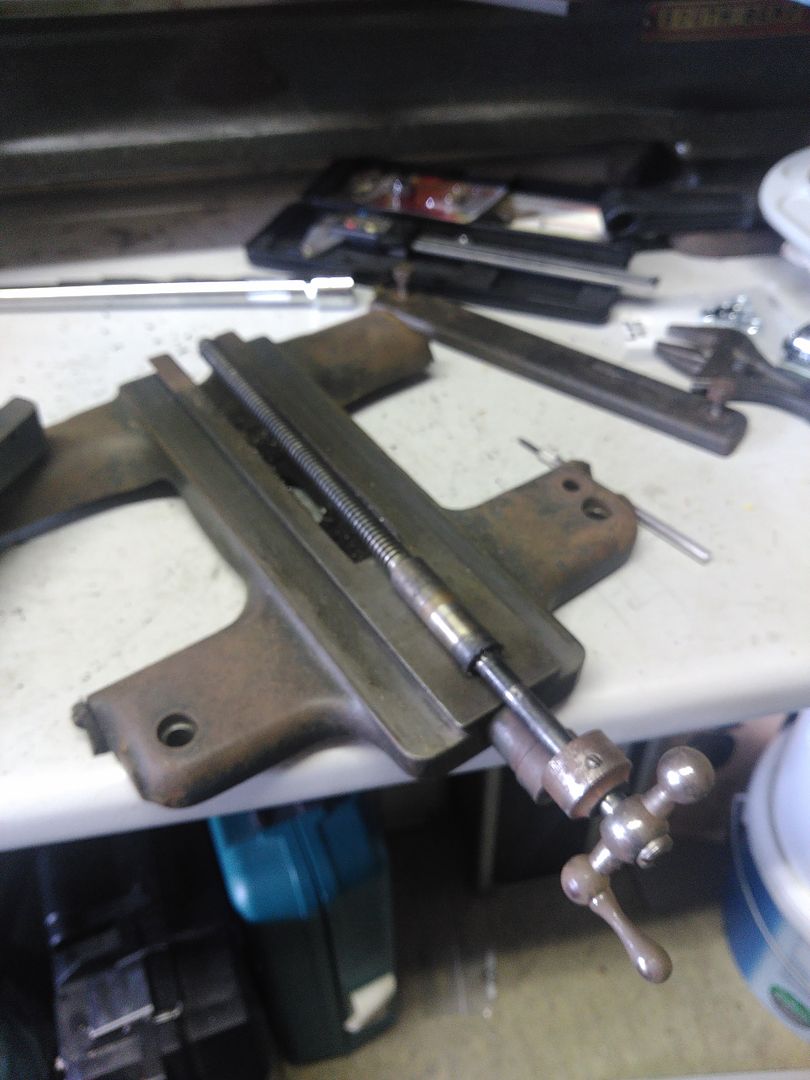
So the Saddle came off the cross slide easily enough, then the parts of the cross slide came apart with only minimal swearing.

IMG_20160603_153701_zpsyrdzur62.jpg


The slide surfaces look good and clean there is some wear on the screw threads but thats to be expected I think. Quite a lot of swarf and chips falling out of the parts as I dismantled it.

IMG_20160603_153721_zpsctkrwjlz.jpg


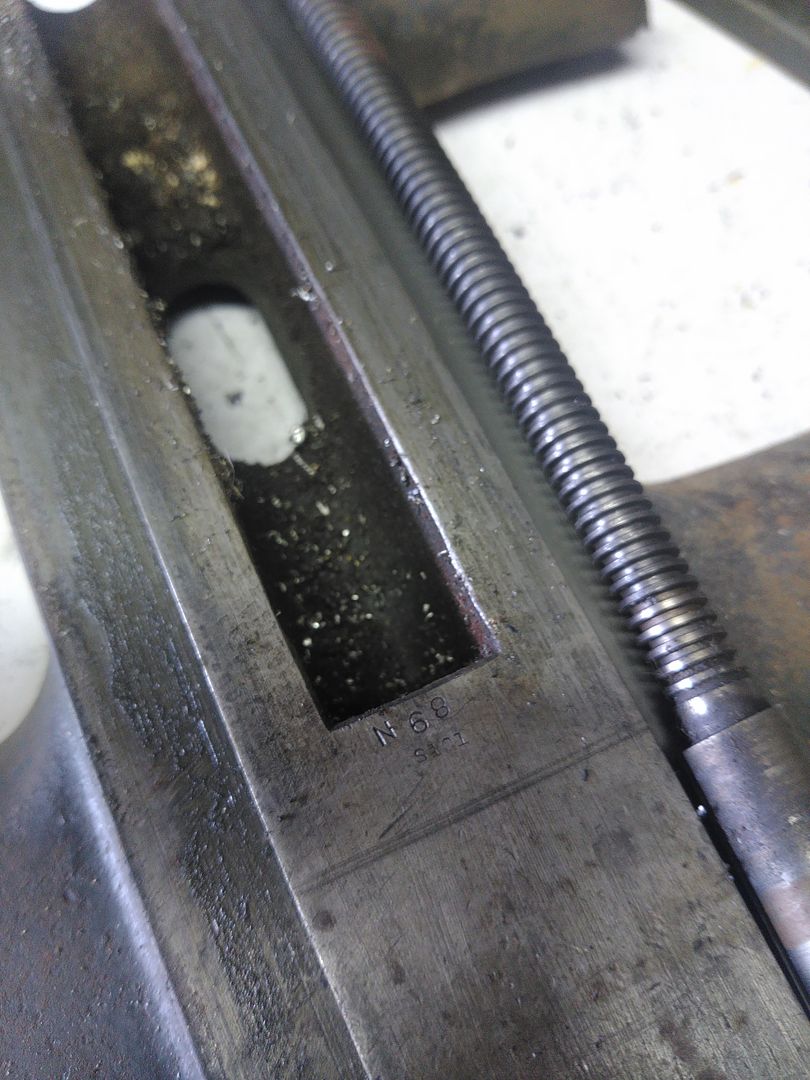
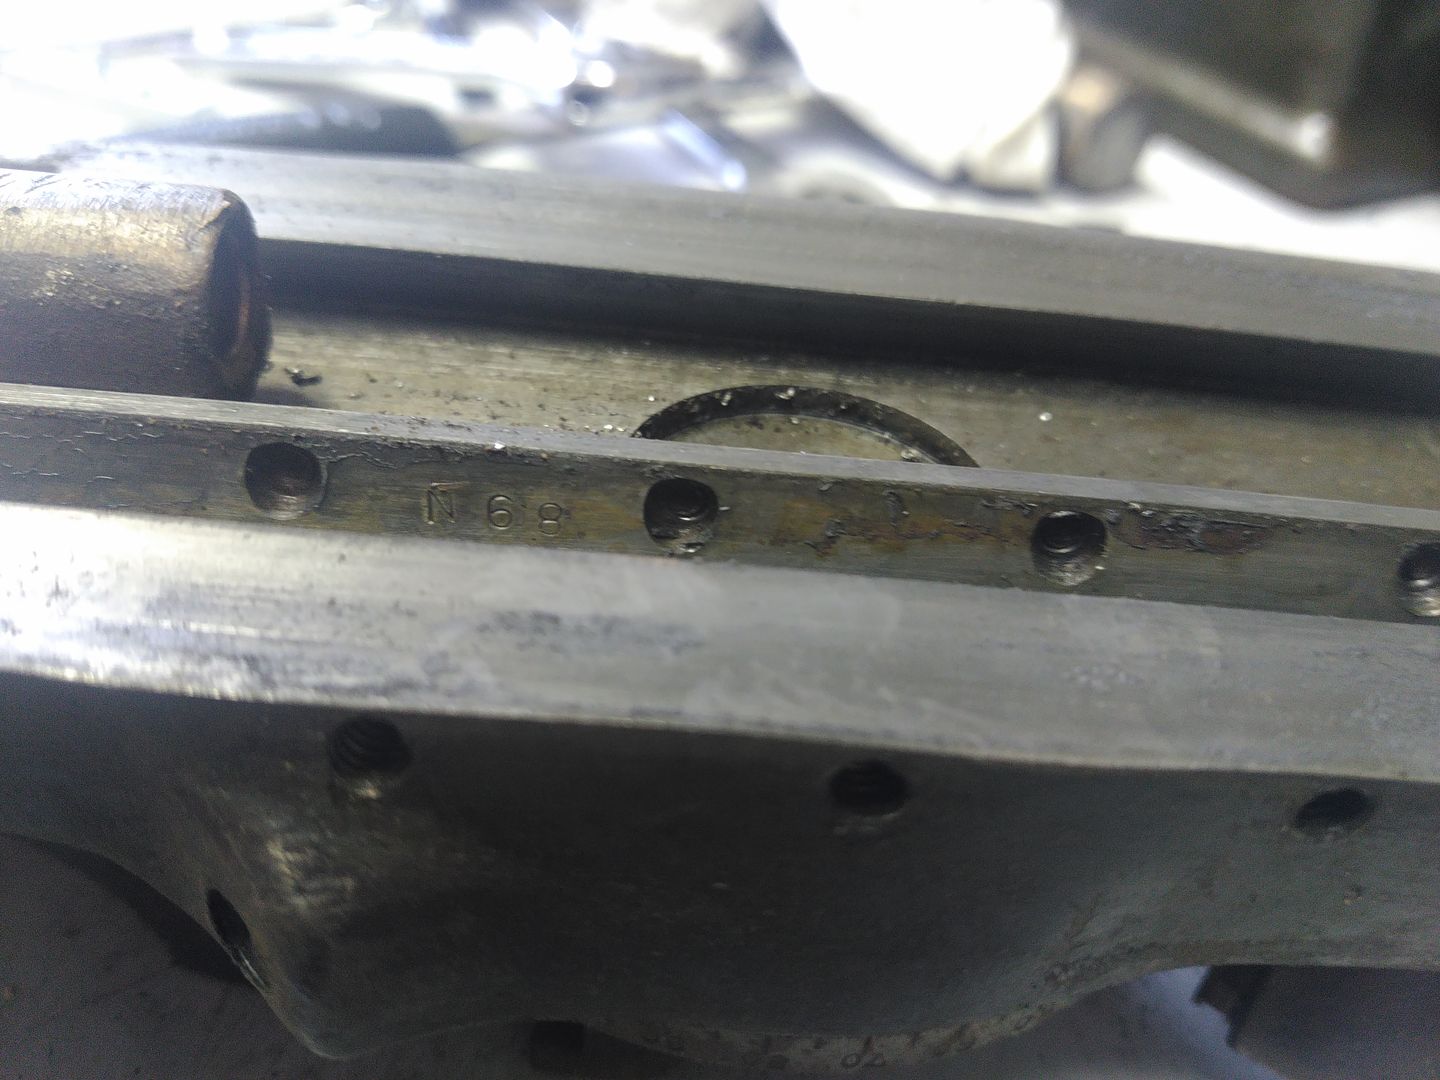
The numbers stamped in the parts show its an original set too. I had a run in with a friends lathe a while back that turned out to have parts from several machines and had a lot of play and rough spots in it.


IMG_20160603_153752_zpsmwmzmnbw.jpg


IMG_20160608_203001_zpsruszuhuy.jpg


The Gib strips other than being far from clean look good and smooth, so same process as the lathe bed with brass brush head in a drill and by hand. Also did the tail stock at the same time.

Results not too bad even if I do say so myself (possibly not quite up to the shiney shiney of wallace tho).

IMG_20160813_114511_zpstskoiejy.jpg


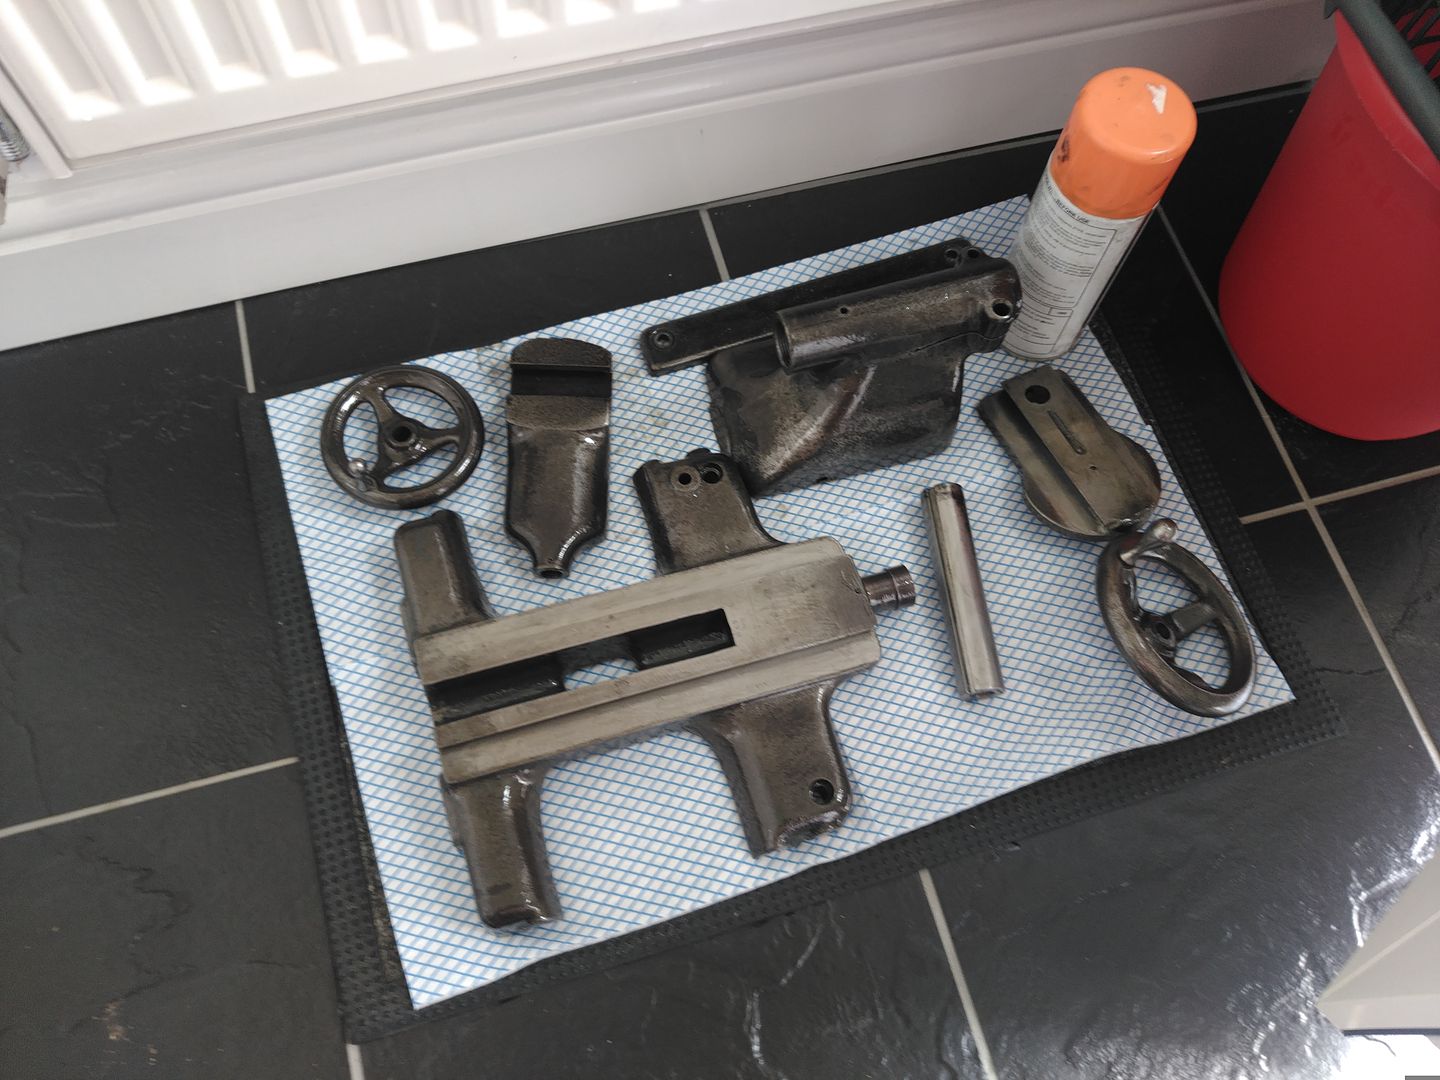
Set them aside for paint later.
 
Next up - Spindle and back gear...

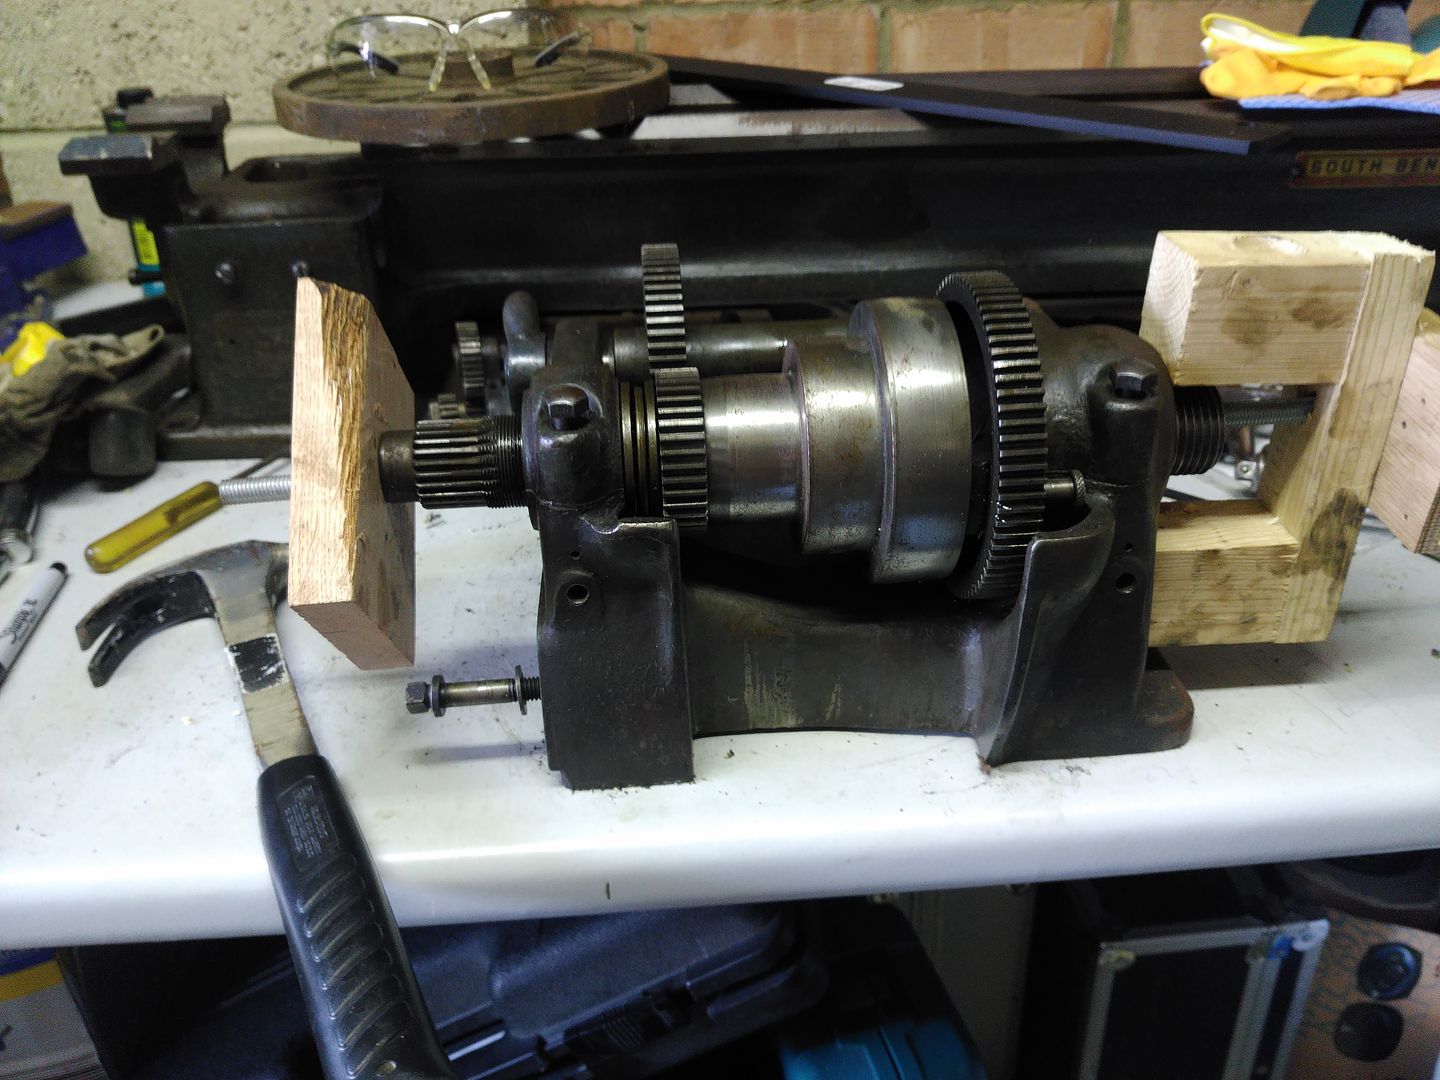
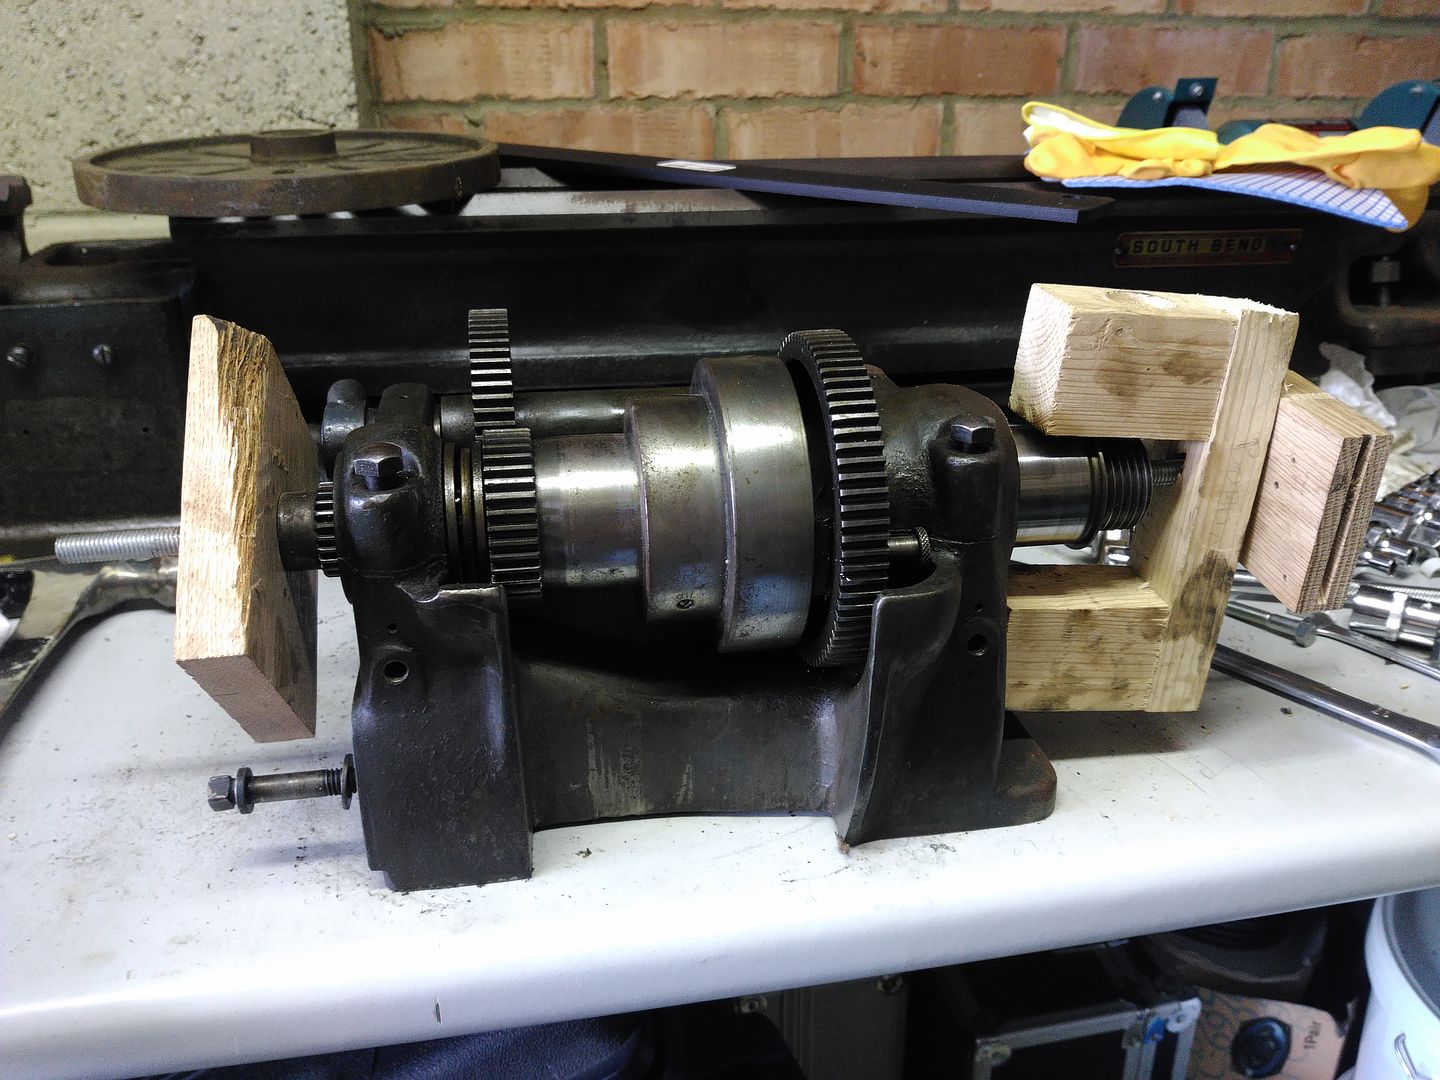
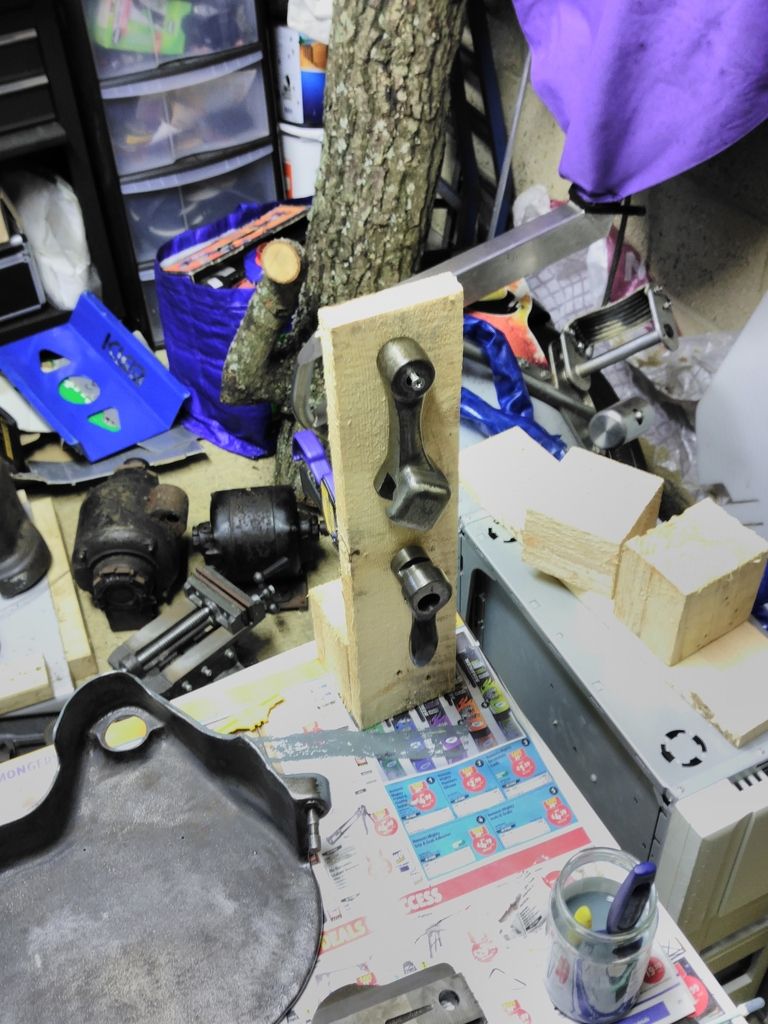
So getting the spindle out required more high quality woodwork from me...

IMG_20160603_124352_zpsmn7ptxkl.jpg


It required quite a lot of force to get that to slide - the nut on the left hand end of the threaded rod is still embedded in the piece of oak. The two vertical bolts are just sat in the headstock - they are completely loose I just hadnt removed them from the holes.

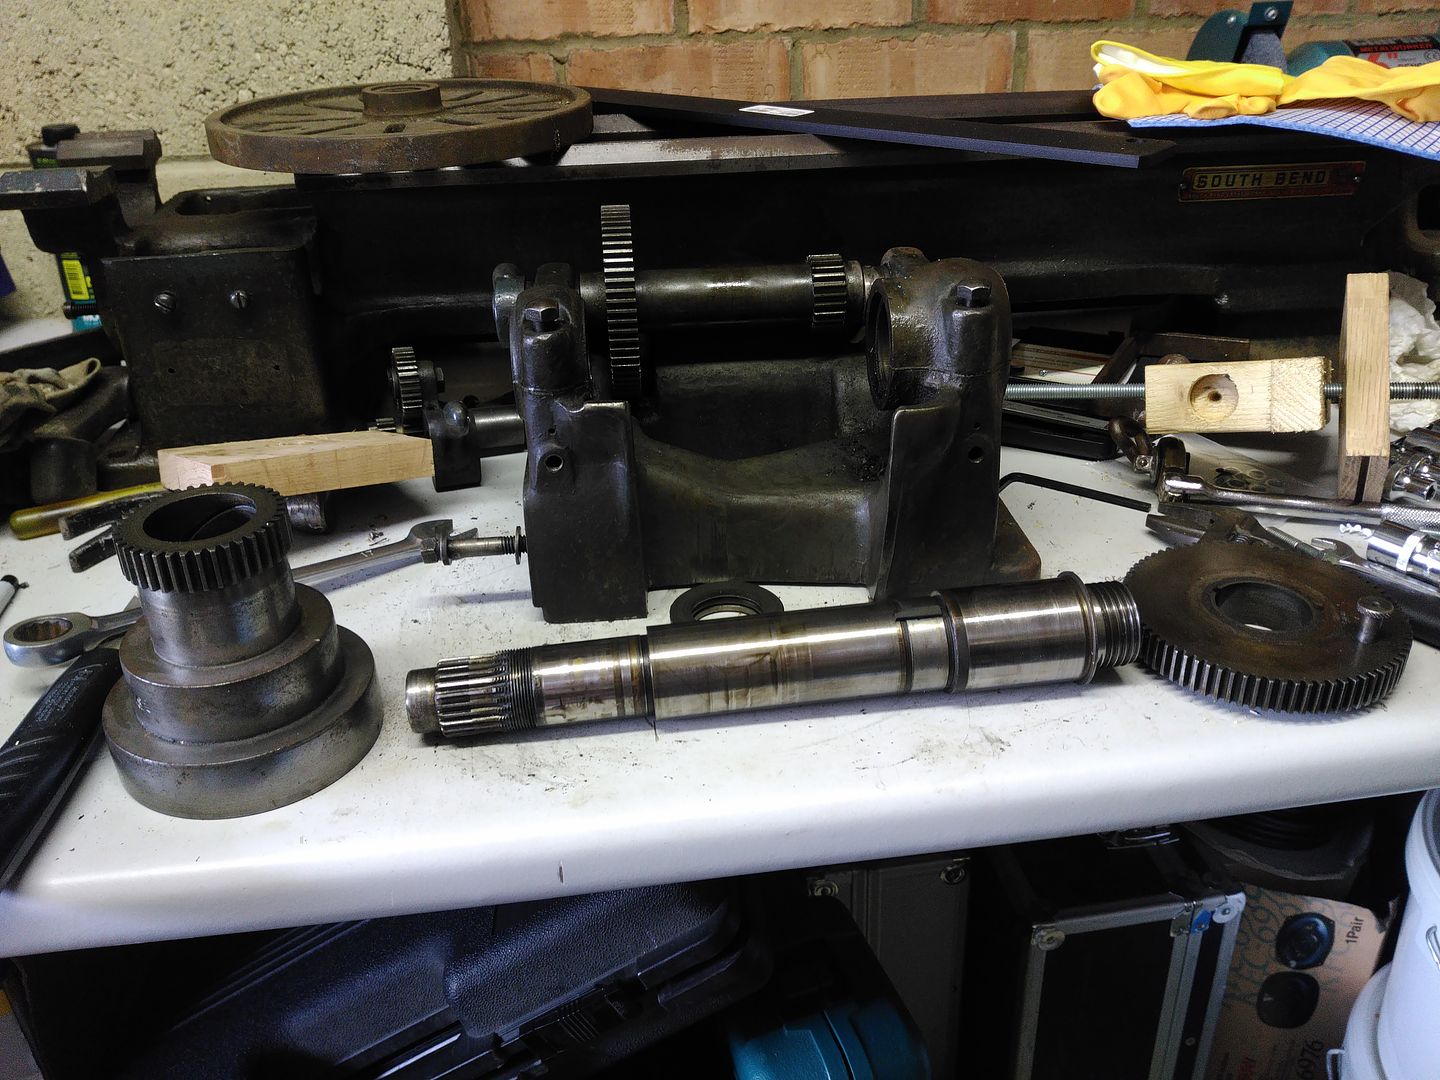
Some worried moments later and the key on the bull gear finally gave way
IMG_20160603_125230_zpsuf1vxbzl.jpg


IMG_20160603_125538_zps9kssc5ux.jpg


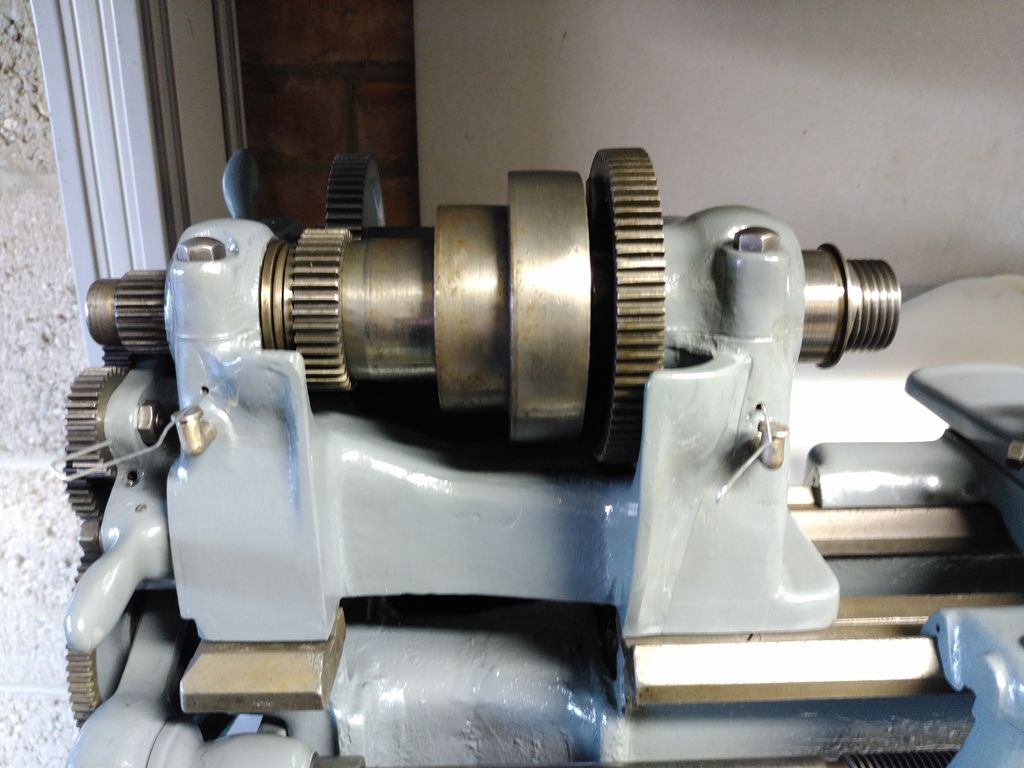
Its all come out pretty nicely, the spindle is clean, the bearings only show minor wear marks, the 2 spring loaded oilers may need replacing, I may try to clean them first because they are stupidly priced in the US - and as much again for postage.

Sid.
 
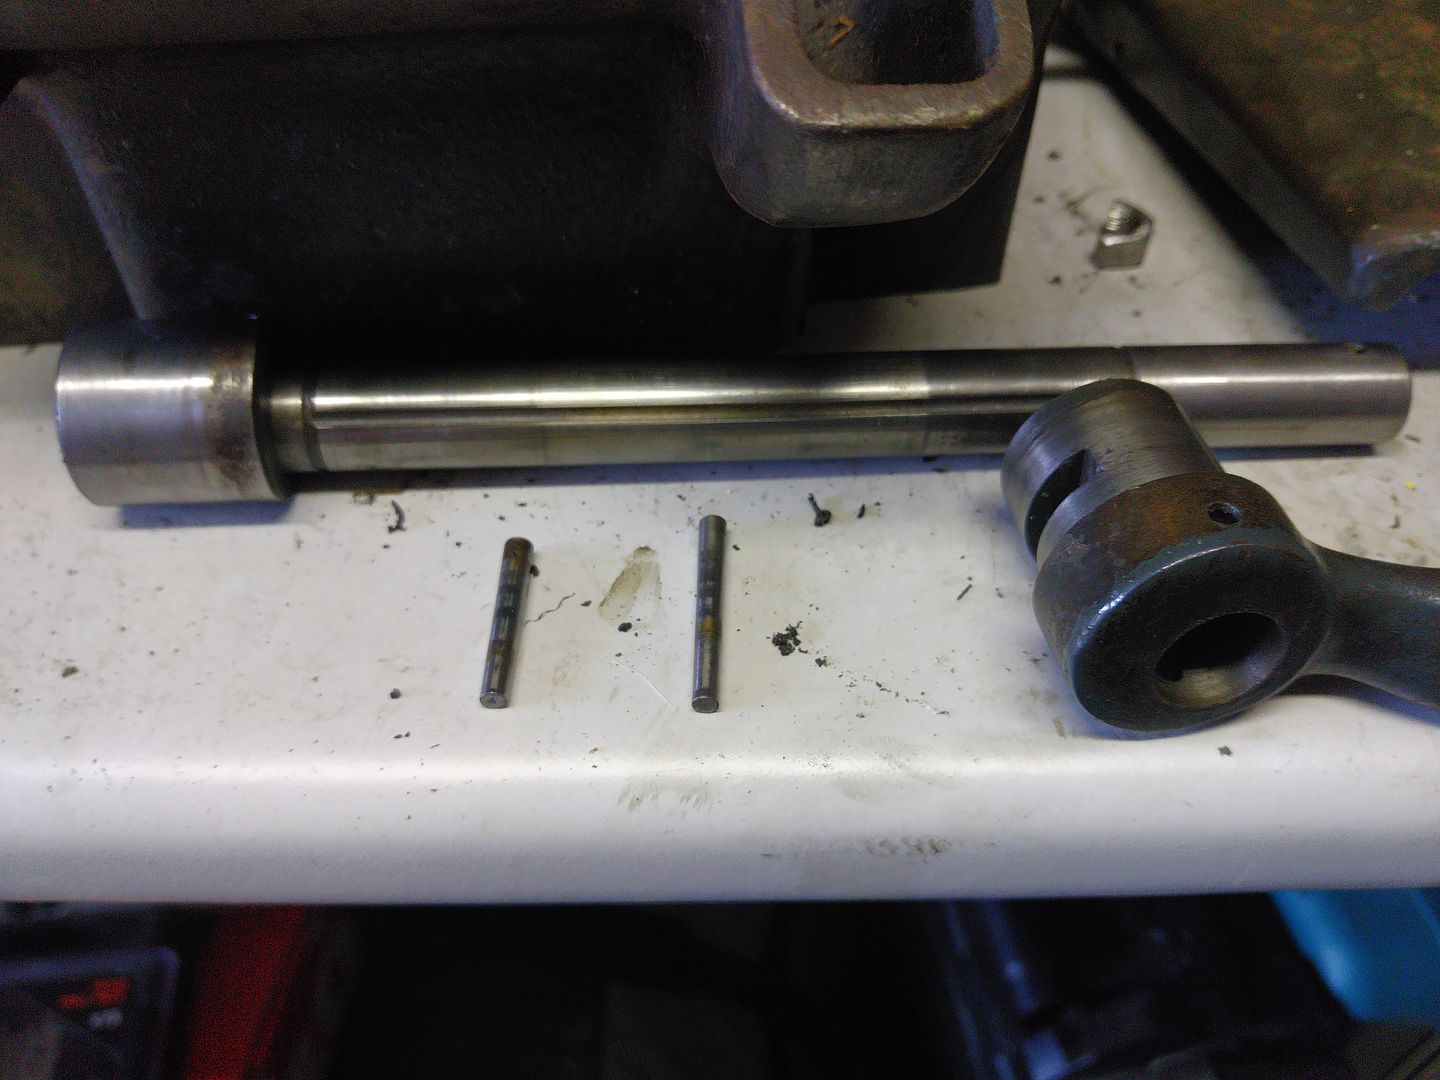
The Back gear gave me more issue. The handwheel on the tailstock was held in with a taper pin which knocked out really easily. The back gear is held in with 2... neither of which would budge.

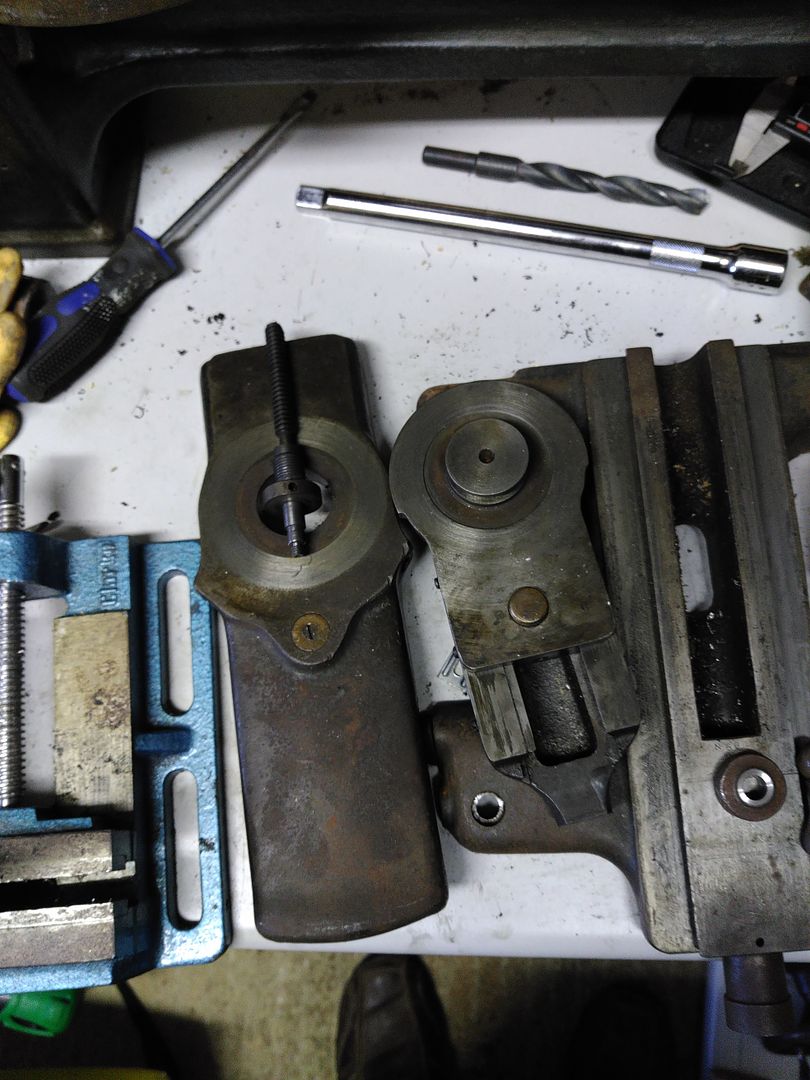
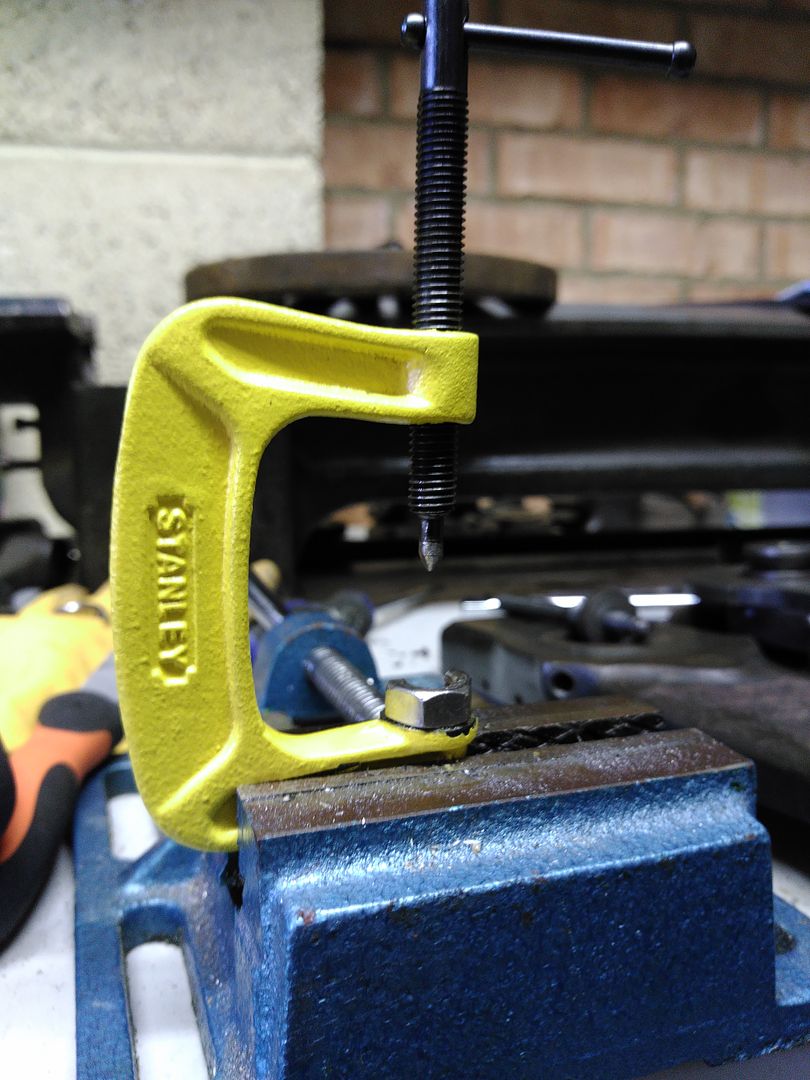
I dont have a press, and it would have been damn near impossible to get one in place anyway with the shape of the headstock casting. So some minor ammendments were made to this....

IMG_20160608_203023_zpsroc2gqsr.jpg


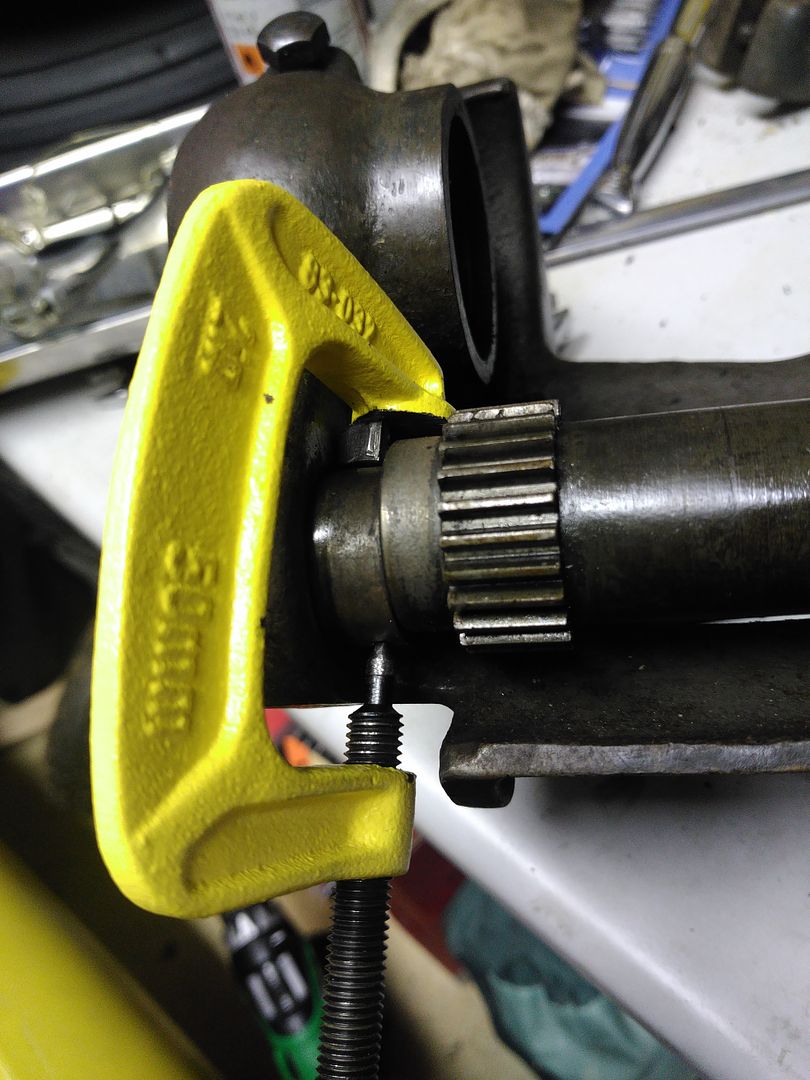
Fitted nicely inside the casing and gave me the possibility of putting quite a lot of pressure on the pin. Check check and recheck that I am pressing on the taper pin and crank it up tight...

IMG_20160608_212110_zpsullpypil.jpg


At the point that I had a pair of grips on the end of the lever to allow me to turn the screw I decided I needed to put safety goggles on.. It still didnt budge. In frustration I decided to head inside to do some more reading up on my options (I really didnt want to drill it out). It seems I left the clamp done up tight as I left, because as I got to the door of the garage the pin let go... the hole casting jumped about 2 inches across the bench - scared the **** out of me!

Thankfully the 2nd pin didnt put up quite the same fight (still needed the press) and the results...


IMG_20160613_183358_zpsistf90xi.jpg


IMG_20160613_183756_zpsfdqpfb8g.jpg


2 pins... near on 3 hours work!
 
Can't beat watching dirty lumps of metal become clean with no effort on my part at all :)

The pictures have a June date embedded in them so I'm guessing you have the full story to post. looking forward to the rest of it.
 
I knew I should have taken the date details out. No I dont have the full story to post - I am slowly working on getting more of the pics up. I have painted most of it now, but things like work and trips away got in the way of progress.

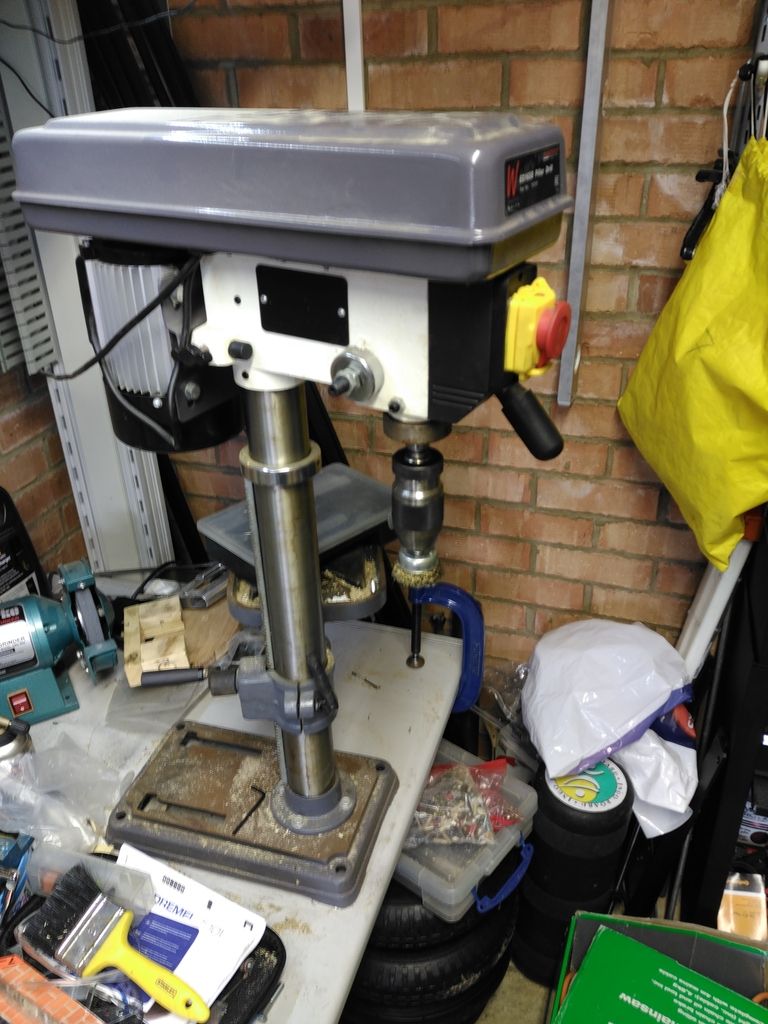
At this point I have a pillar drill that is in full swing as a wire brush spinner....

IMG_20161008_164409_zpsxcf4n0pg.jpg


I have found that to be really rather good for the smaller parts that needed a little more accuracy - I also resorted to a dremel with tiny wire bush heads for some pieces and hard to reach places - but the heads seem to shed wire like nothing I have ever seen - eye protection and gloves.... eye protection and gloves... did I mention the gloves?

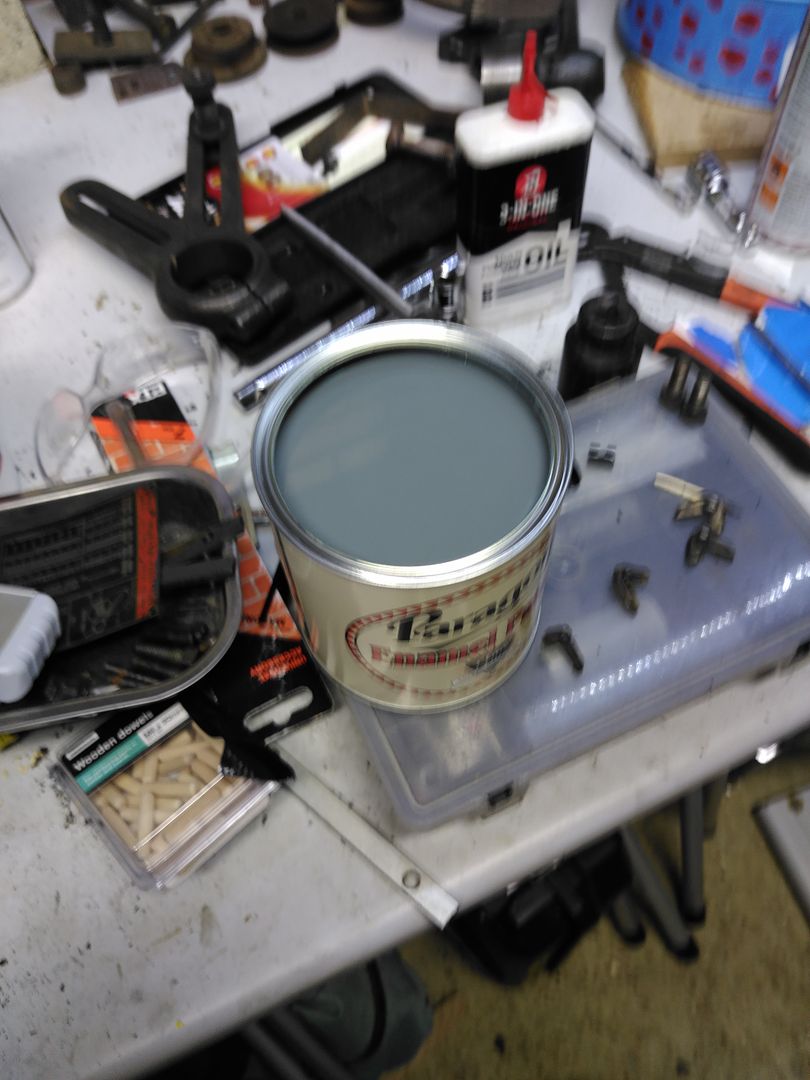
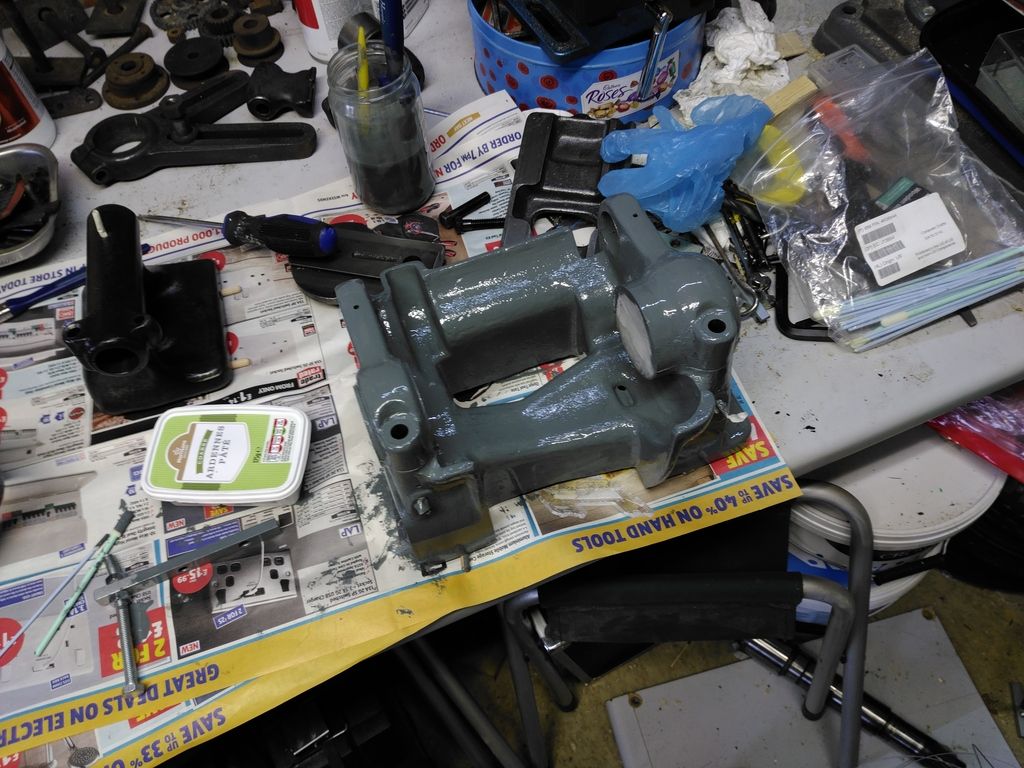
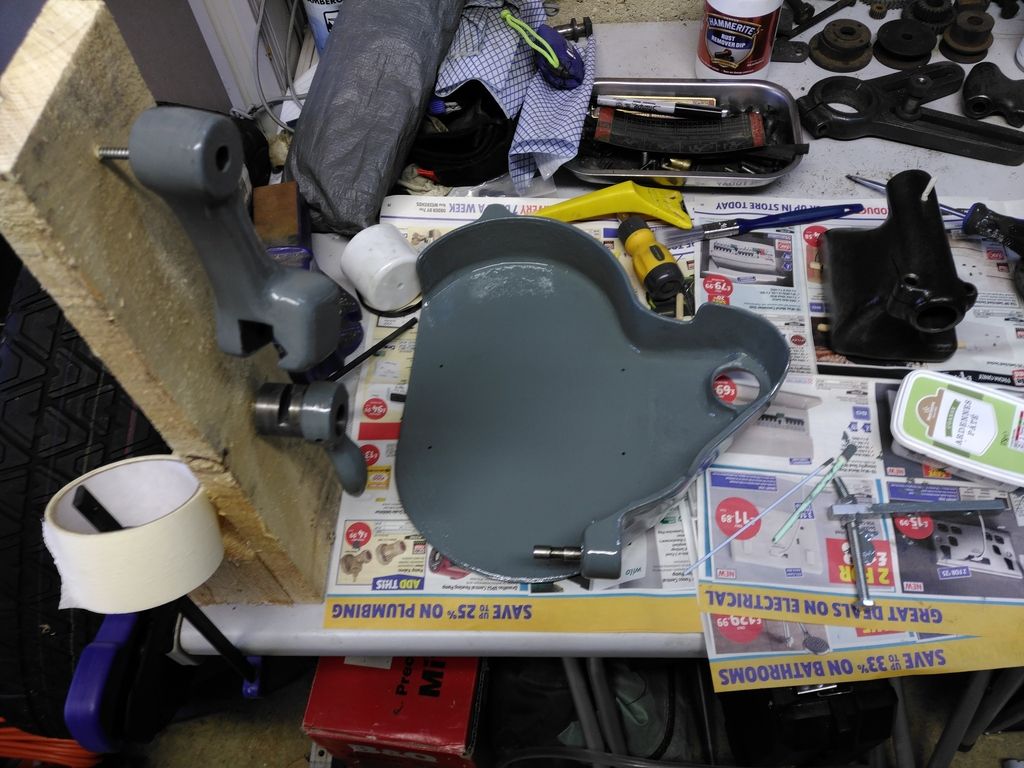
Anyway, I got to the point where I had some paint - paragon stuff... I couldnt decide on blue or grey - so I got their blue/grey to see what that is like...

IMG_20160905_190849_zpsjte0lhh1.jpg


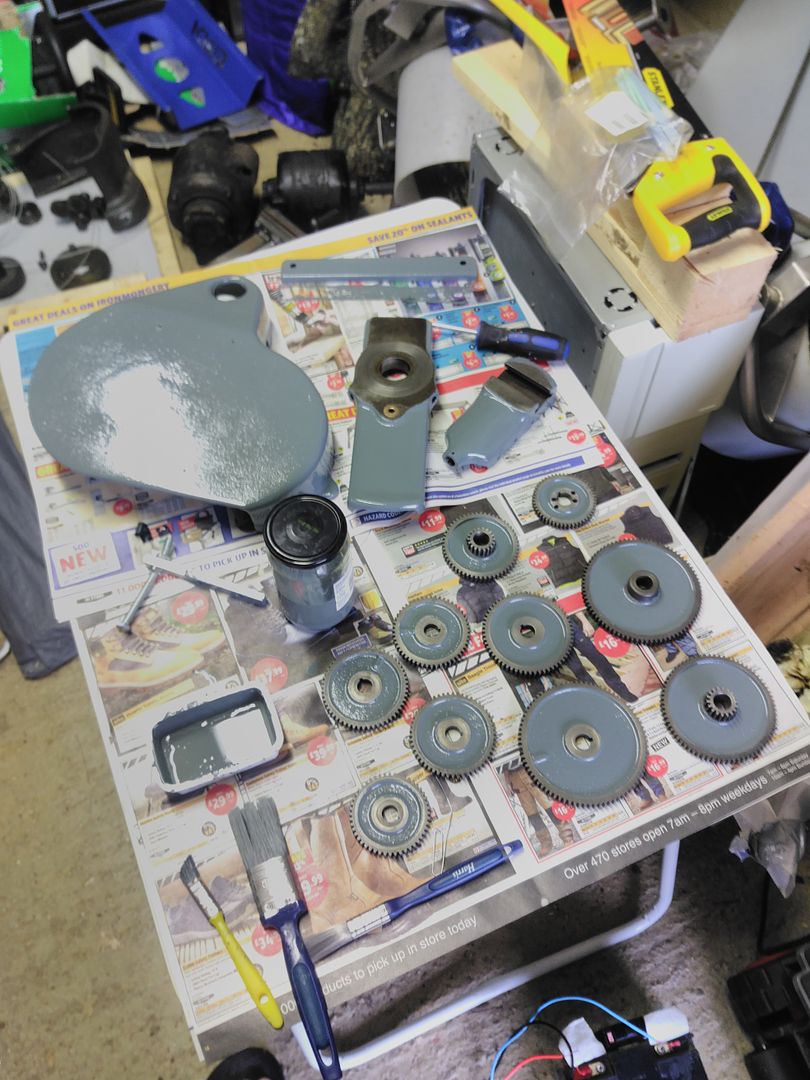
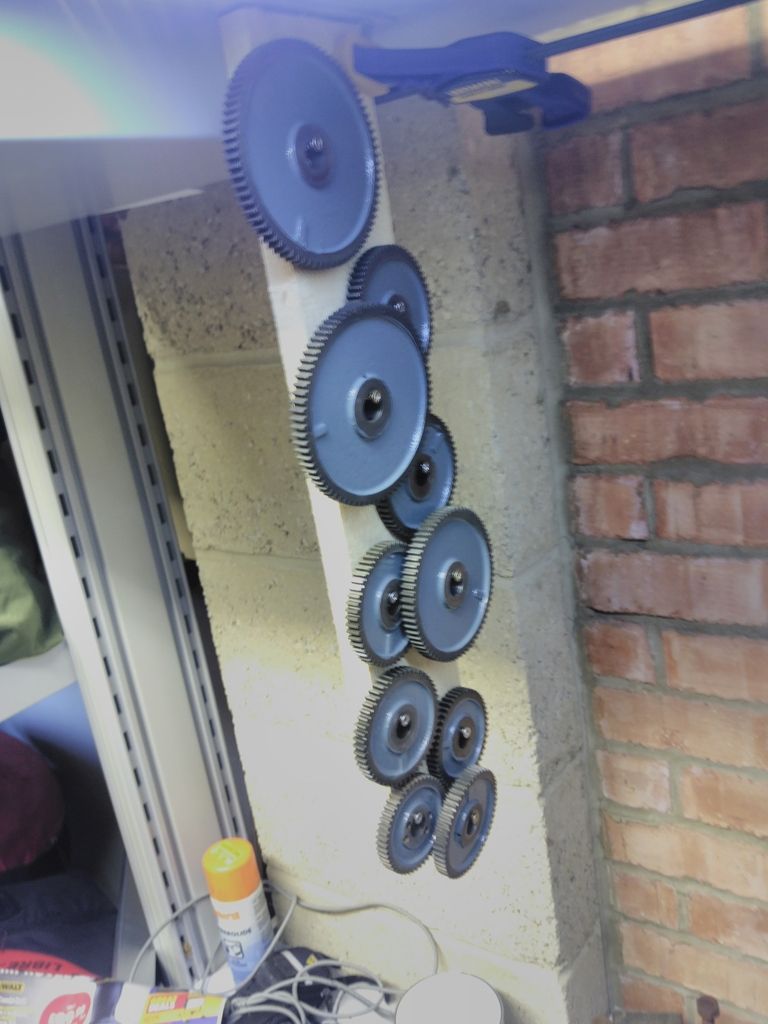
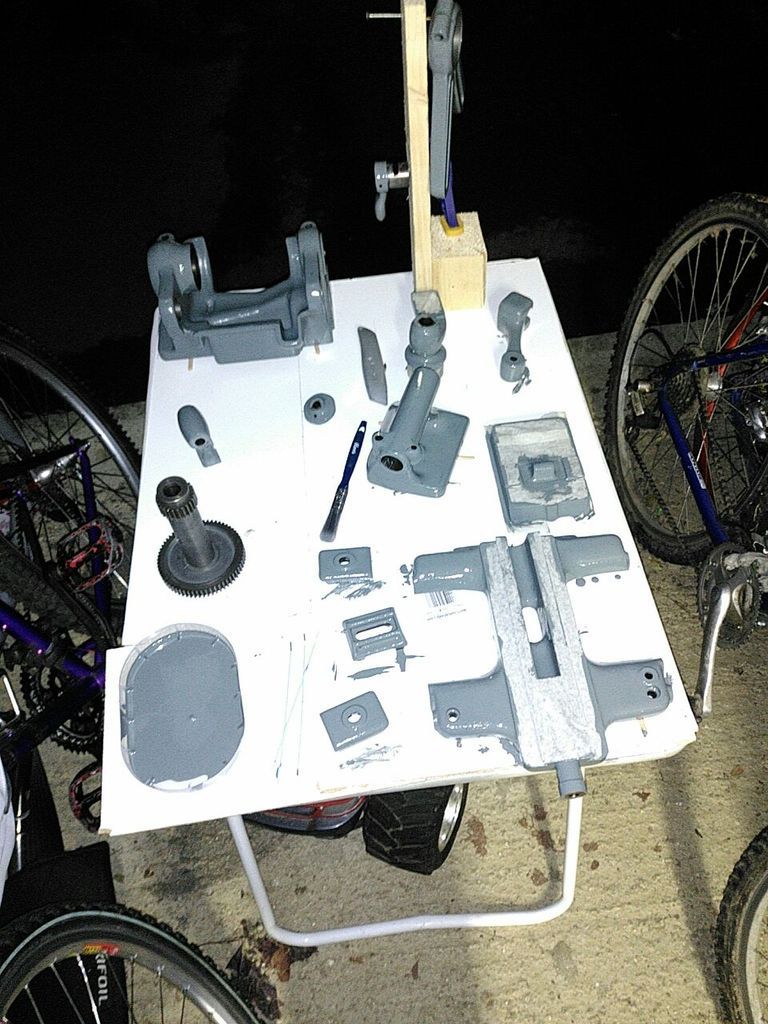
and set about applying it to the bits I had cleaned up.

IMG_20160912_160340_zpshmm8qbca.jpg


IMG_20160912_173755_zpsdztrem0m.jpg


IMG_20160912_174319_zpssqcdmcrf.jpg


IMG_20160914_185415_zpsibidkqsq.jpg


IMG_20160914_204445_zpsdioa75o0.jpg


IMG_20160914_204542_zpskjne3qqm.jpg


IMG_20160916_085949_zpsstilho67.jpg


IMG_20160916_085956_zpstu7l75xj.jpg


426325615_25094_zpsmwhqpqrr.jpg


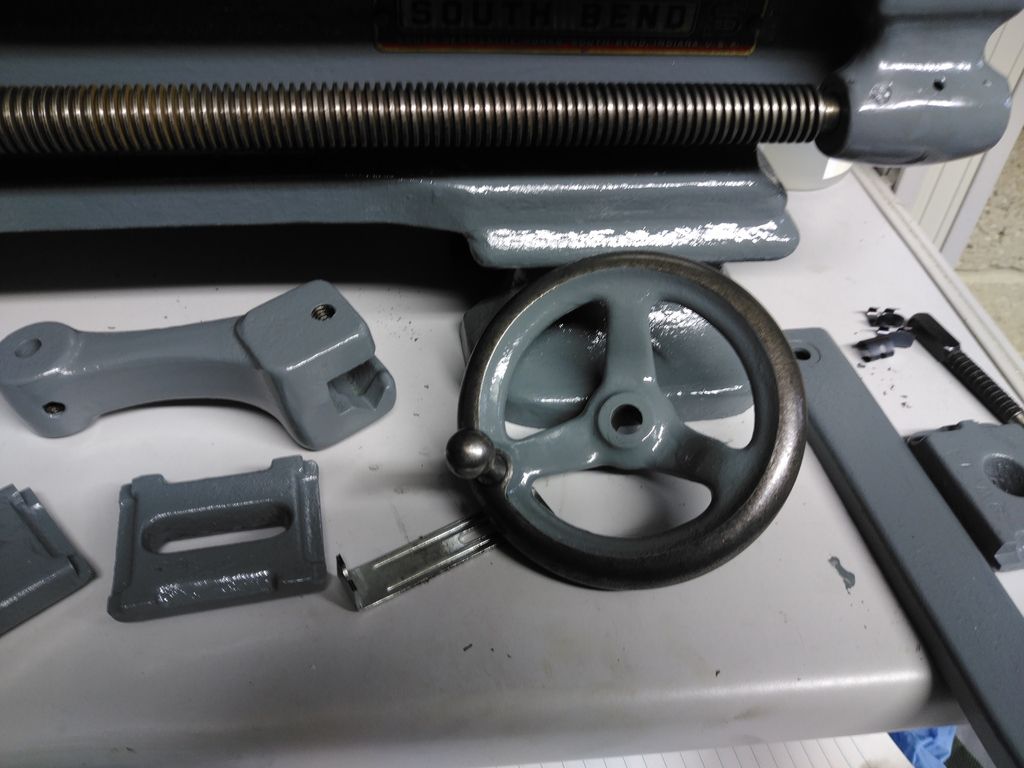
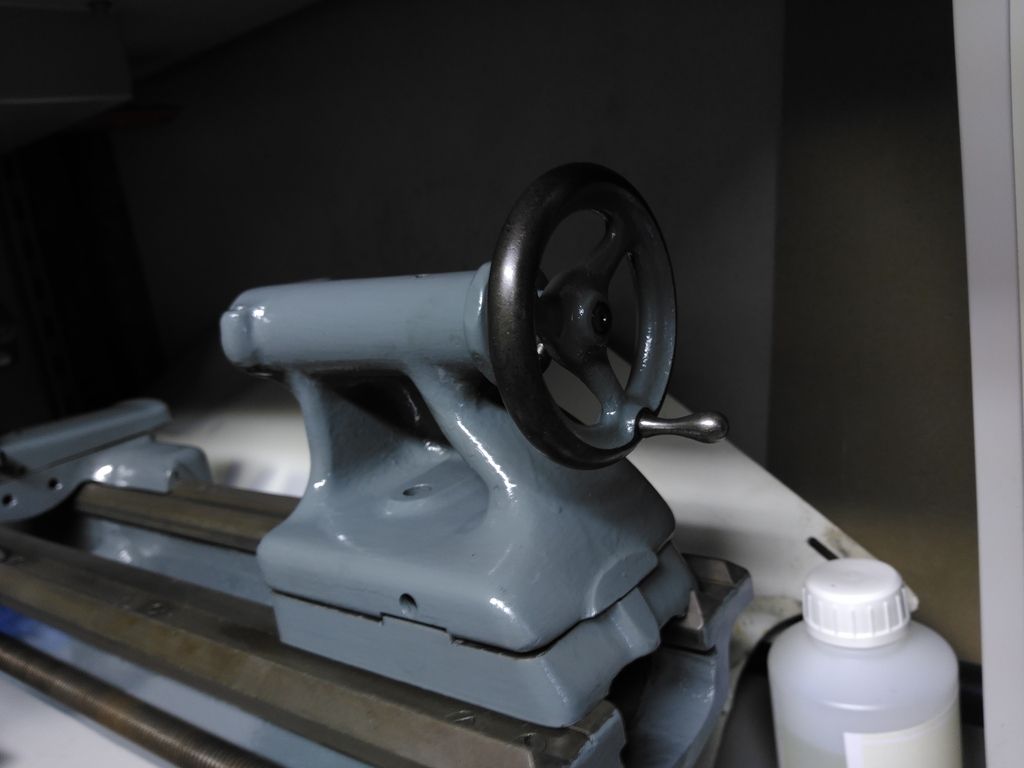
Once that lot had dried its been more recently into starting to put bits of it back together..

IMG_20161011_202504_zpstyzegryx.jpg


IMG_20161011_202450_zpso00yukeo.jpg


426117402_112458_zpszohxajm7.jpg


Thats pretty much me up to date - I do have the reverse gear assembly in pieces and awaiting paint but I dont think I have a pic of that, and I still have the entire saddle (minus the hand wheel) still in its original (to me) minging state.

More updates when I get time to do some more work. hopefully the weekend.

Sid.
 
Posting the pics on here is a darn site easier than cleaning the muck / paint off!

I feel like I should have tried a flapper disk as per some of the other threads on here, but I think I am too far through now to find out how much easier that would have been.

I recon that so far I have put about 40 hours all in (dont want to rush these things).
 
I want a metalworking lathe now!

No idea what I'd do with it but I'll not let that stop me thinking about it :)

I'd need computer readouts though..
 
Great job so far. The motors shouldn't be a problem. That vintage may have sleeve bearings, but it looks like they have oil ports and the layer of grunge tells me they were kept oiled at least most of the time. Yes, you'll probably have to replace the power cords, but that's not a big deal. It's really hard to kill a motor.

Kirk
 
Kirk,

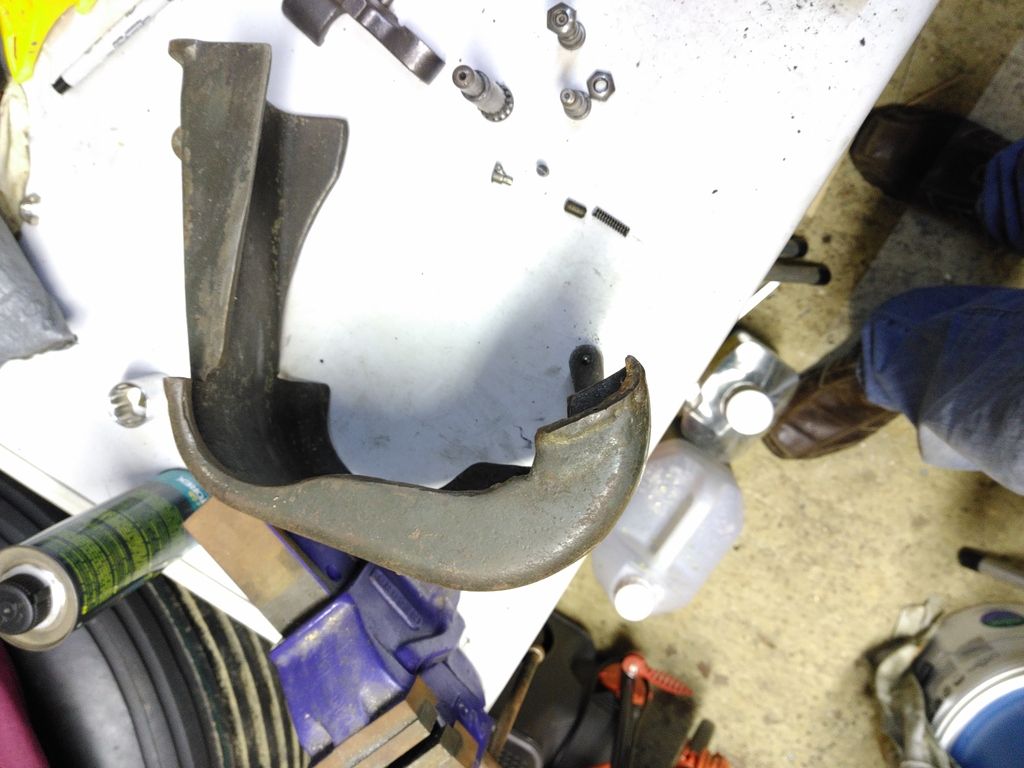
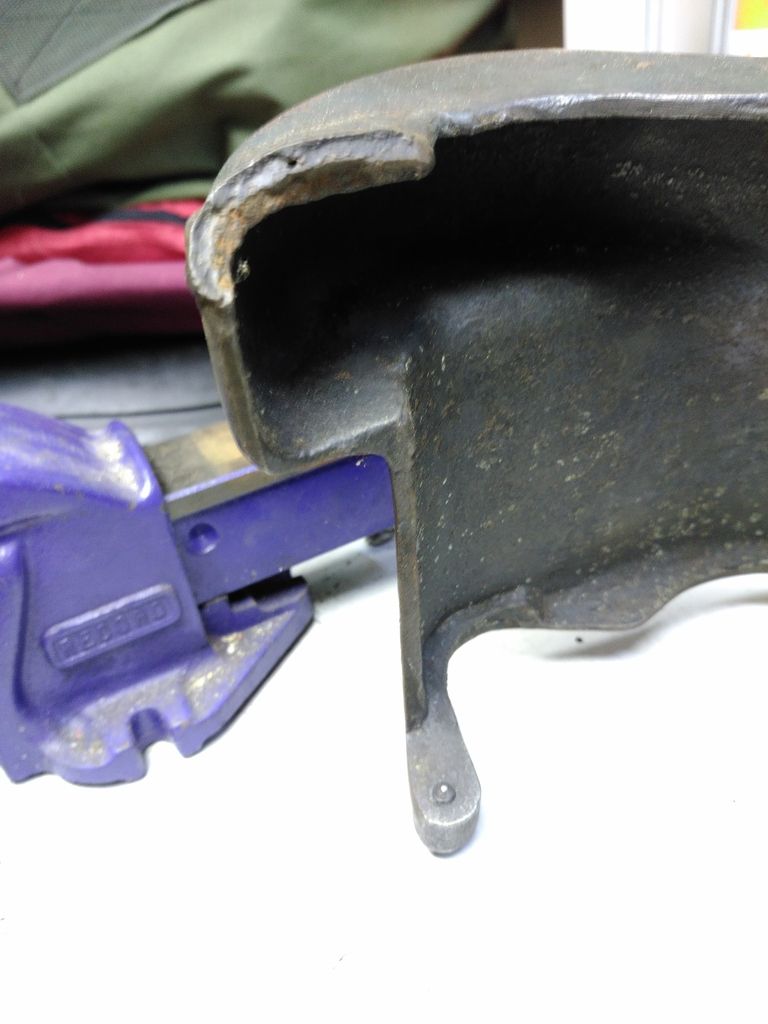
I have left that for a bit mostly till I can get the thing built up and clear some room. I also havent worked out if I am gonna continue to run it as an undermount (which will require me to permanently fix it down) or convert it to a rear drive. The rear drive option will mean changing the top cover (or leaving off), however the pics dont show that the top cover needs one of its side mounts creating and welding into place. Its one of the bits I havent cleaned up yet so there arent very many pictures of it.

I fully suspect that since the previous owner was a tool maker and all the oil ports I have come across (and the single felt I have found in the reversing arrangement (more later) all seem to be properly gunked. I have the felts soaking at the moment to see if I can make them look somewhere like new - I really dont want to have to order a set from us ebay because they are expensive for bits of felt and then the postage is even worse!

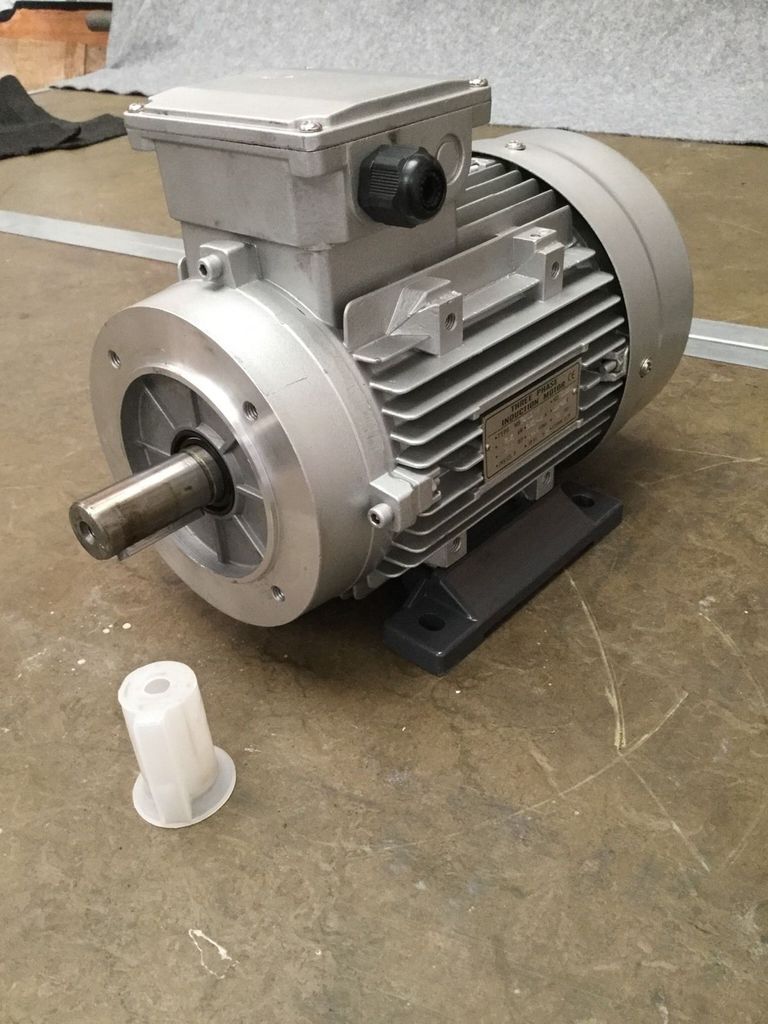
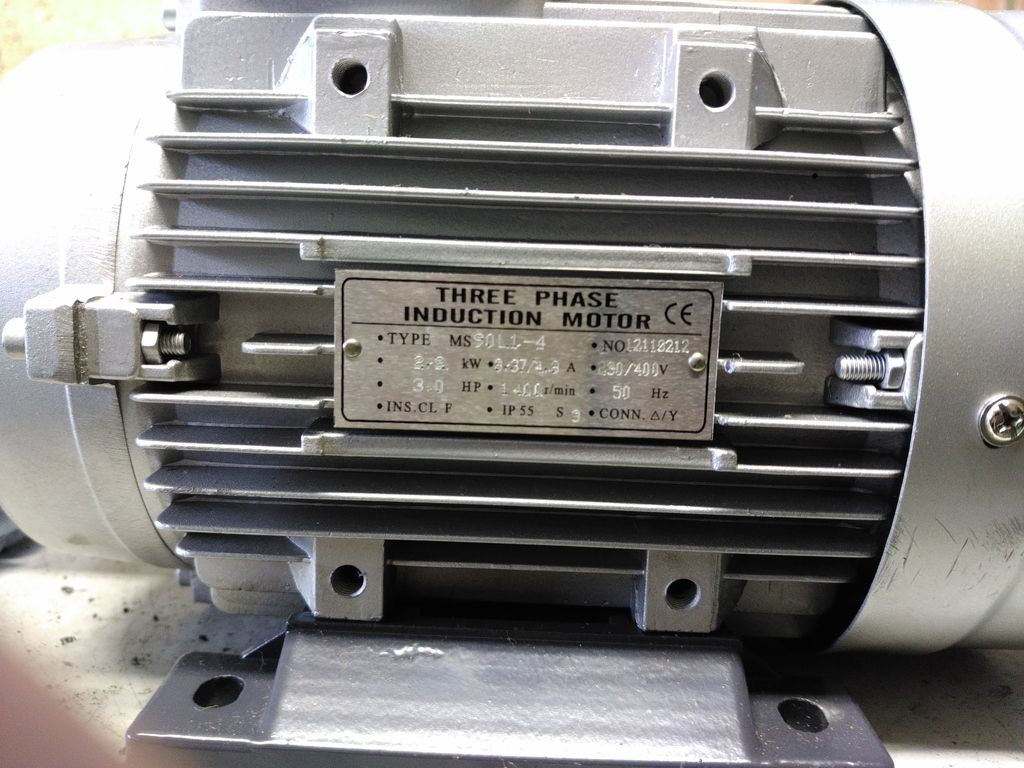
I have also acquired a 3HP new 1400 rpm 3phase motor (from a car scissor lift of all things) - the HP rating is a little higher than the ones that came with it but I figured it might be of use so its sat in my garage till I get to it. A vfd will give me quite a lot of flexibility I think, and hopefully with enough math I can figure out if I can do away with having to create a countershaft assembly and possibly just find a way to drive direct from a pulley or 2 from the motor to the spindle and still get the speeds I need.

I think my ideal solution would be to get the top cover welded with a new mounting lug (need to find out about the details required to weld cast iron), and to put the motor under the bench - keeps everything neat and out the way. That does leave me with needing to find a belt solution that I can cut/splice/glue/or otherwise thread through the lathe bed, because the original leather belt that has arrived with it doesnt look to me to be in too great nick!

If I have to create a counter shaft of some description then I am gonna need to create more space, so that will be an interesting thought process.
 
Really enjoyed that. I have welded cast with my mig welder with good results. I wouldn't use it on a load bearing or critical piece though. I used wick for a machine which had oil fed ways. You can still get felt for packing saw blades, is that the same stuff?
 
Wallace, first up - your machine rebuilds were what prompted me to post pics for this here so thank you.

All the sources talking about felts / wicks etc for a south bend 9" lathe seem to be for different models to the one I have - for a start there are supposedly 2 different lengths of spindle oiler wicks - with the undermount drives being considerably longer than the rear drive models. However my undermount definately has the shorter wicks in it.

Also there is a lot of talk about there being felts in places I dont even have slots cut for felts to go into. The one felt I have found is in the reverse gear assembly - its possible there is another one in the saddle setup but my initial look over didnt spot any.

As I said in an earlier post (or at least thought about writing), I currently have the felt and spindle wicks that I do have soaking in a small shaker bath to see if they will give up the grime without me needing to replace them. I think this is a little hopeful tho.

There are loads of oiler holes and I think I am gonna start by adding oil and see where is floods out and then work out what I can do to make the oil flow at a sensible rate. I also need to finish sourcing small quantities of oil that are recommened - spindle oil, way oil, everything else oil.... seems you can easily buy each in 20L vats - I really hope I dont need that much.

Sid.
 
Sid:

You can build a wooden cone pulley. It doesn't have to be the same size as the lathe's pulley, but the size difference between the steps needs to be the same as the difference between the lathe pulley steps. Here is a thread on the process, not detailed but perhaps enough info:
www.owwm.org/viewtopic.php?f=1&t=80809

3 hp on that lathe is probably overkill, but will still leave you with plenty of power when you have the speed turned down using the VFD, so that's all good.

For wicks, if you have to replace any, use wool felt, not cotton or any synthetic. Synthetic fibers apparently get wrapped around the shaft and are so tough that they don't wear off, just keep causing problems. I don't know what kind of industrial suppliers are available there, but this is the sort of thing I'm talking about:
http://www.mcmaster.com/#felt/=14lcrt8
One small piece (12" x 12") would certainly be all you would need. You would want to get fairly thick material, though.
I have successfully used wool felt from a sewing supply store. It was pretty thin, but I just rolled it up into a tube.

Kirk
 
This weekend has seen some more time to work on this.

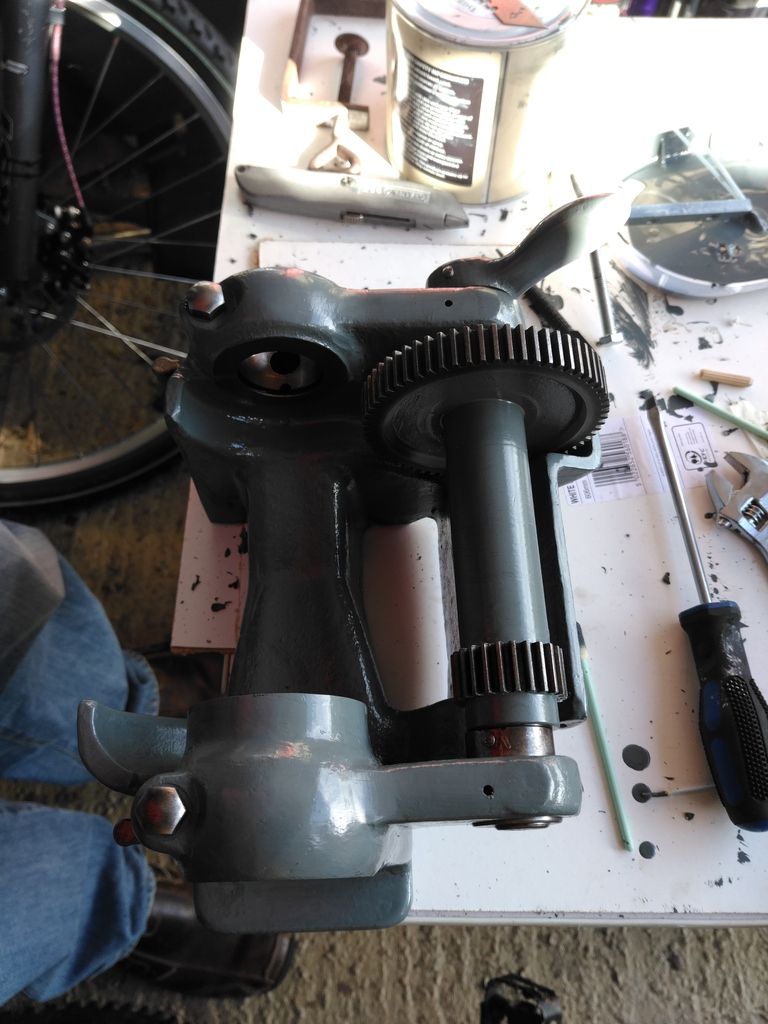
First up was putting the backgear back into place - all the parts had been painted and so it was just a case of a light oiling and pressing it back together before gently tapping the taper pins into place.

IMG_20161015_142132_zpsk2vhheku.jpg


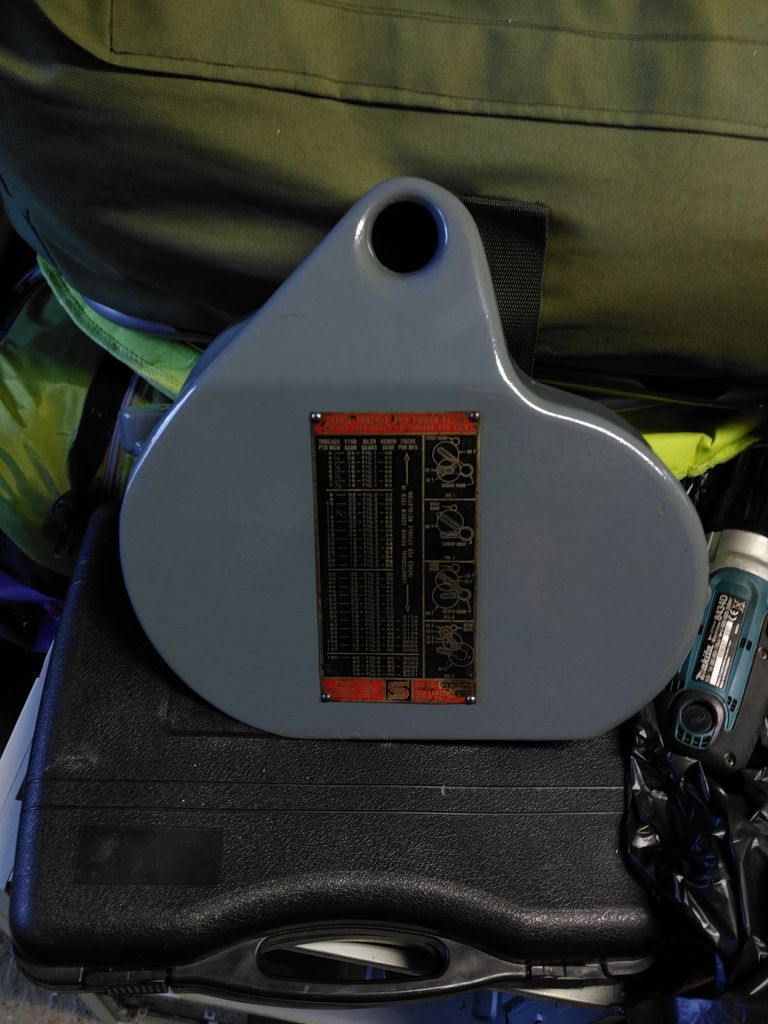
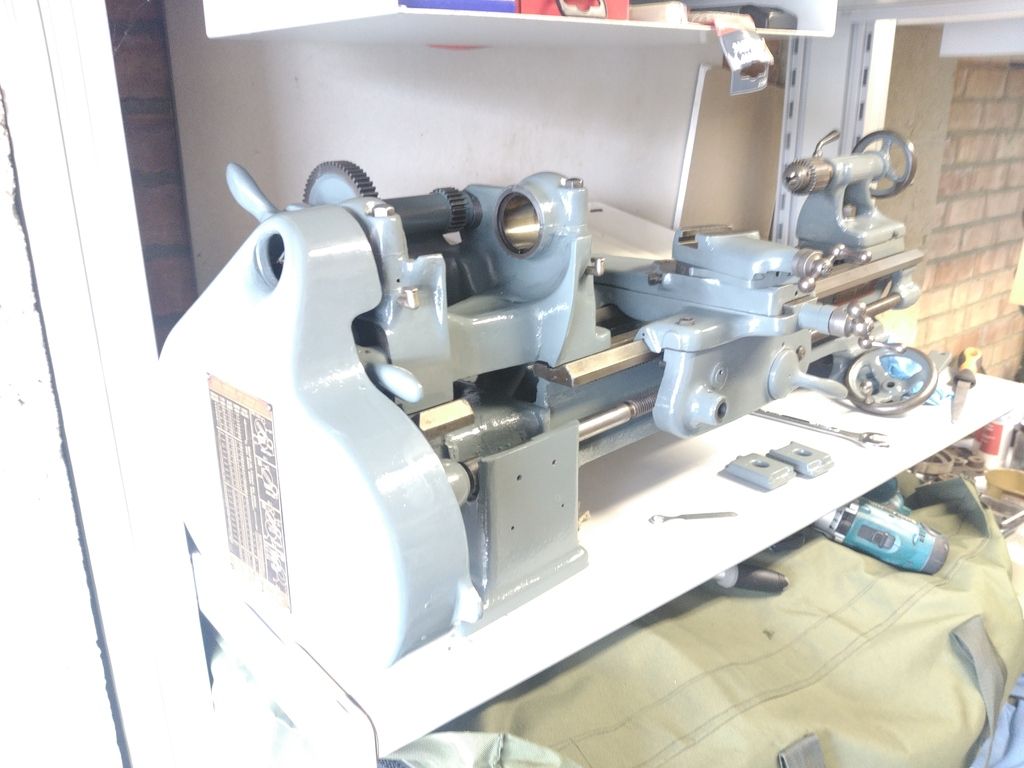
Whilst I was at it, I got around to adding the name plate and the gear chart back into place.

IMG_20161015_172949_zpsedyb4ry1.jpg


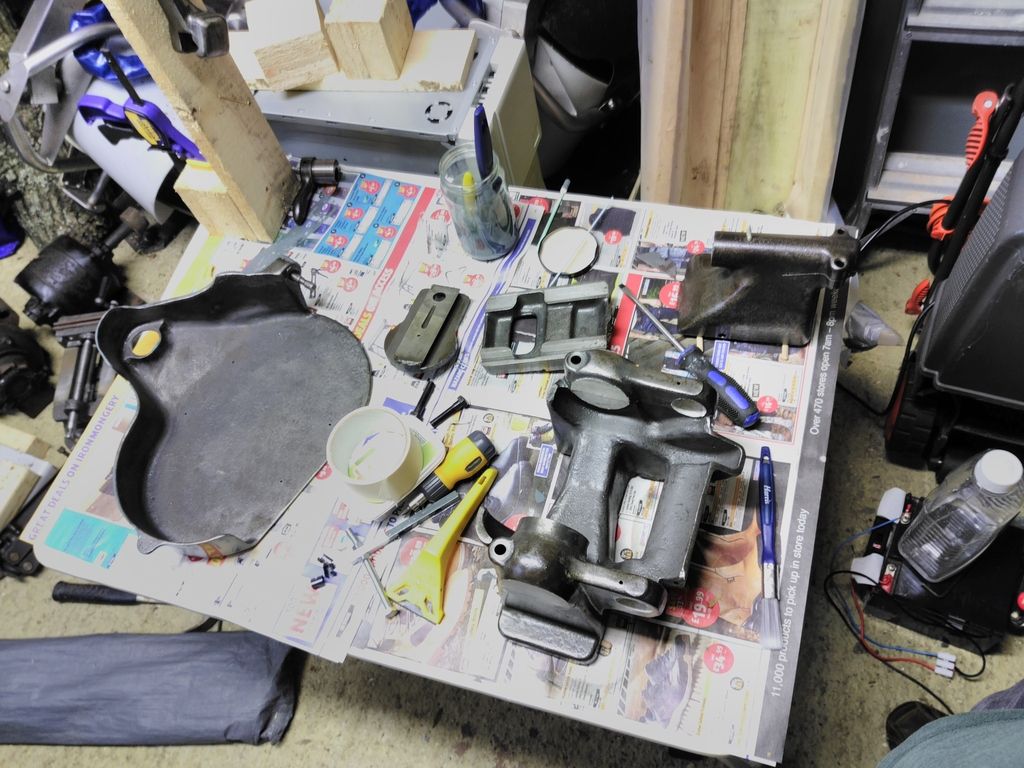
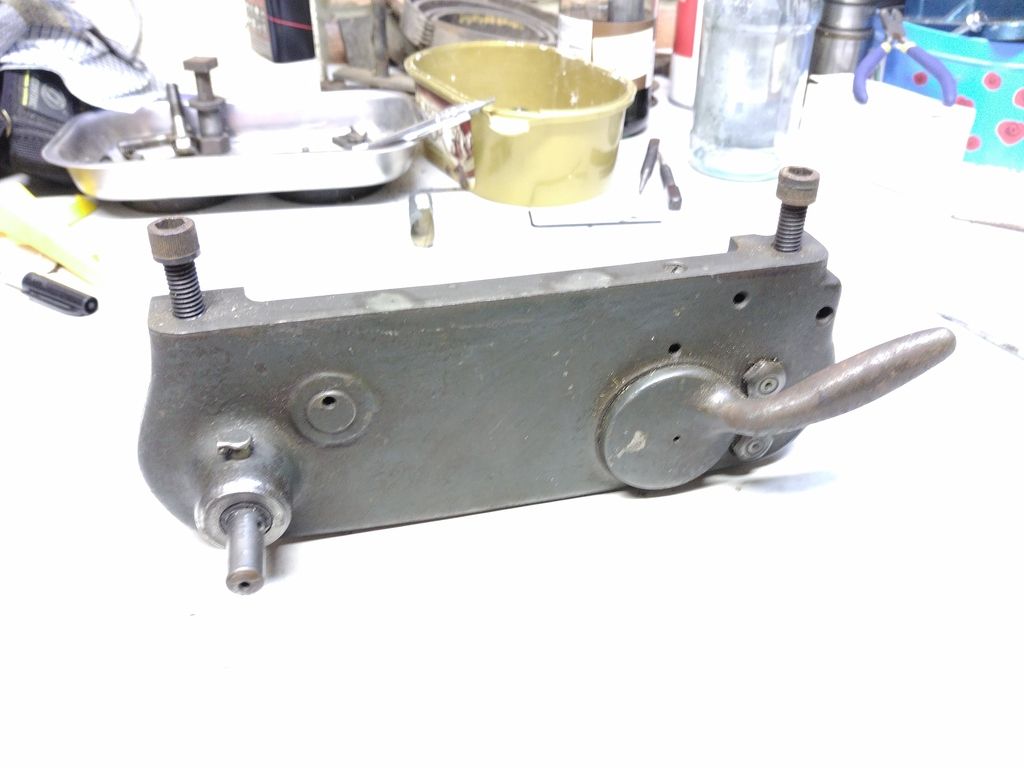
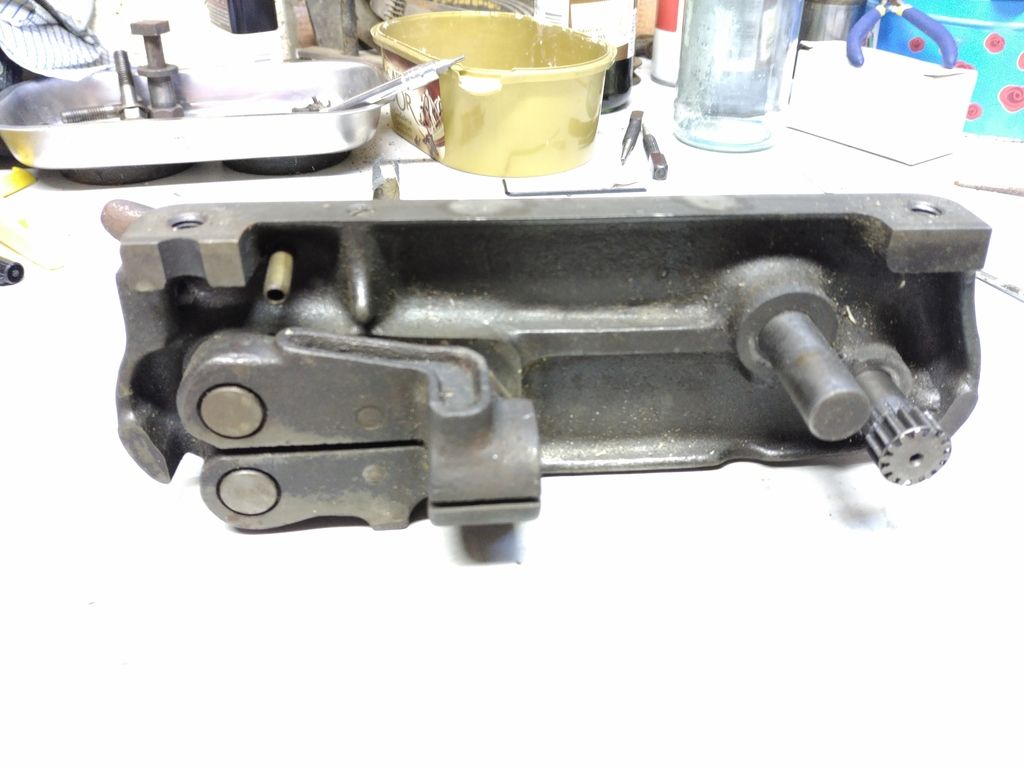
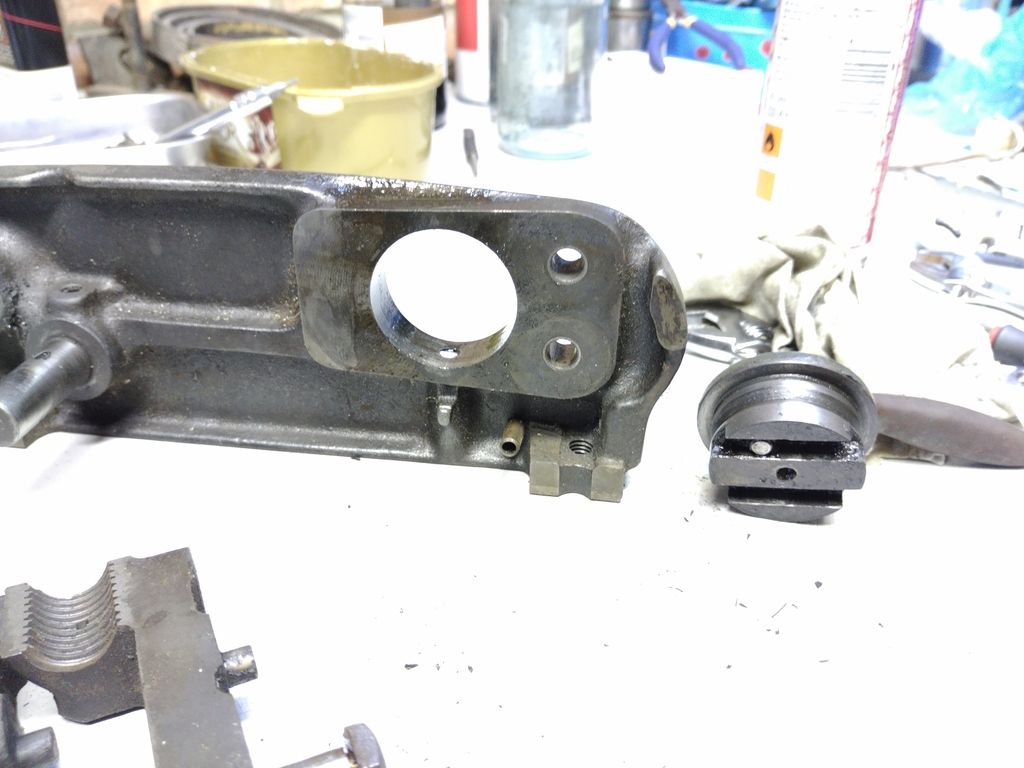
After that it was onto the saddle - this turns out to be less difficult to strip than I thought - still took too long to get it all cleaned tho.

IMG_20161015_175018_zpsvapnuplk.jpg


IMG_20161015_175041_zps4gczbdi3.jpg


IMG_20161015_175946_zpspj0rztyt.jpg


I also finished soaking the felts and wicks and I am pretty happy with how clean they have come out, so they have gone back in.
I have previously used sonic baths to really effectively clean things, since I am short of one of those, a jar of cleaning soution, a little wire rack in the bottom to lift the felts off the bottom of the jar, taped to the lid of the pillar drill whilst I was using that seems to have properly done the trick.

I have a couple of the gears still soaking in some cleaner to try to remove the properly stubborn gunk. A fit back in place makes it look much better!

IMG_20161016_140031_zpslwl6cf50.jpg


To finish off I had a bit of a better look at the gear cover. It looks to have been rewelded once and I dont have the equipment to do it myself, so I think I am off to have a look around for someone that can work some magic on it next week.

IMG_20161015_191243_zpsdpskbyb5.jpg

IMG_20161015_191326_zpsiptaftri.jpg


Sid.
 
Thanks for sharing Sid, It is always fascinating to watch these refurbs.

Are you an engineer by trade? What will you be doing on the lathe once it is finished?
 
Andy,

Far from an engineer - for my sins (and as my misses would say) I do "stuff" with computers.

I am quite practical and have turned my hand to most things over the years...
I raced radio controlled (silly toy) cars for a load of years - everything from 1/18th scale all the way up to 5th scale petrol ones. As a result I spent lots of time wishing that I had or had access to a decent lathe.

When I got the opportunity to acquire this one I took the chance. As for what to build with it.. Im not sure I have quite got to that - suggestions on a postcard. Still a way to go before then anyway - VFD needed, drive train needed, tool post needed, oh yes, and some cutting bits.

Its got a 3 jaw chuck which I think is 4" across, and as per the pics its got a drill chuck in the tailstock, so they will do for starters. I'd like to be able to do light/simple milling on it so I will probably be on the look out for a vertical slide at some point but we shall see. Also I suspect i have to have a look at the change wheel set and see what options they give me. I might invest in the imperial-metric change gear to give me metric screw options.

Sid
 
Steve, Its enamel - and the pictures do a good job at hiding my not great brushing skills. It actually doesnt look too bad, and whilst I did consider getting the airbrush out and spraying it, its work time is actually pretty good and the brush strokes do seem to even out pretty well.. Most of it doesnt even have a 2nd coat on it.

I still have about half a tin of paint too should I take large chunks out of anything.

I also hadnt realised there were quite so many forum members local to me :)

Regards,

Sid.
 
So I finally found what appears to be a decent UK based supplier for the recommended oils.. RHR tools are able to supply them for a reasonable cost in 1L bottles - which is much better than having to buy them in 25L quantities. I should have thought about the fact that the 1L bottles wouldnt have any way of pouring, but a quick trip round the local craft store provided me with several little fine tipped applicator bottles which seem to work perfectly.

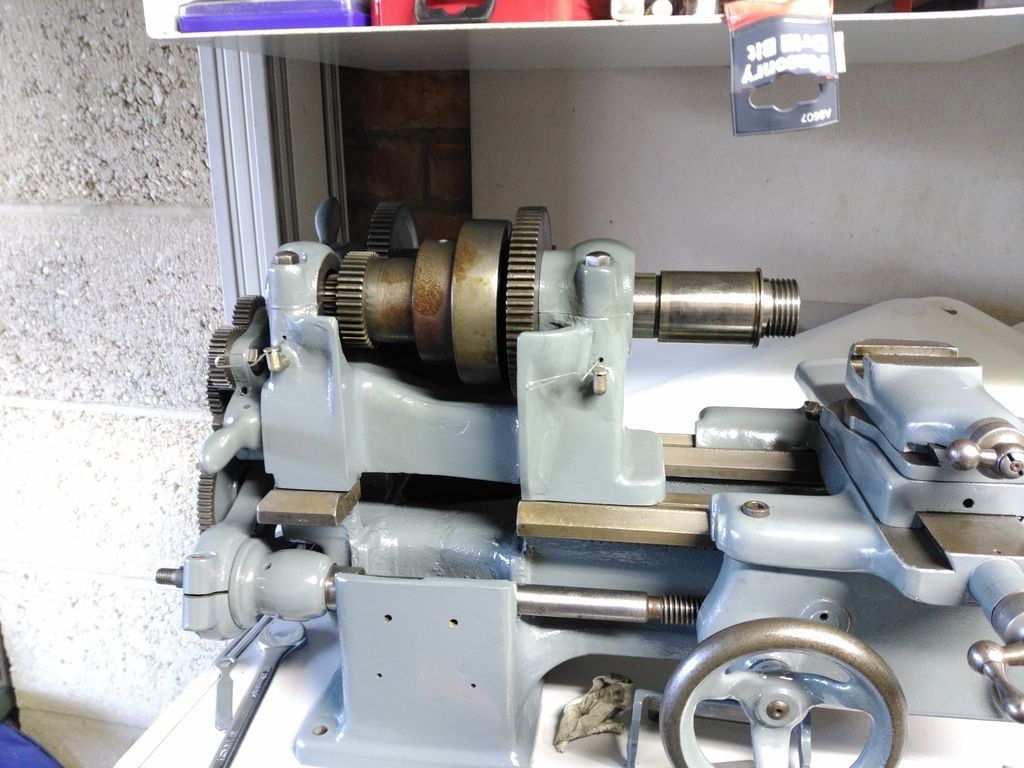
Next up - Spindle refit. After a few days soaking in cleaner with my mangineered shaker bath, the spidle wicks came out really far cleaner than I expected. A days drying and then a quick test to see how well they soak the new spindle oil has convinced me that I dont need to get replacements from the US (which is good because in my opinion the only ones I can find are stupidly over priced for what they are). They went back in, a generous helping of spindle oil both in the in oil wells, and around the bearings and spindle too.

Reinstallation was pretty much the reverse of removal - same wooden jigs, threaded rod.. slide it in from the tail stock end, seat the bull gear and pulley set, do not forget the thrust bearings.... Thread the rod through the spindle and tighten. When they describe the bull gear as an interference fit, they are NOT kidding...

IMG_20161022_173954_zpsfj9tjoer.jpg


Once its all sat properly screw the locking ring on and tighten into place and gently try to turn it. It spins nice and smoothly by hand, so the tumbler gear assembly can go back on along with a set of change gears.

IMG_20161022_174150_zpsjqpdpdiq.jpg


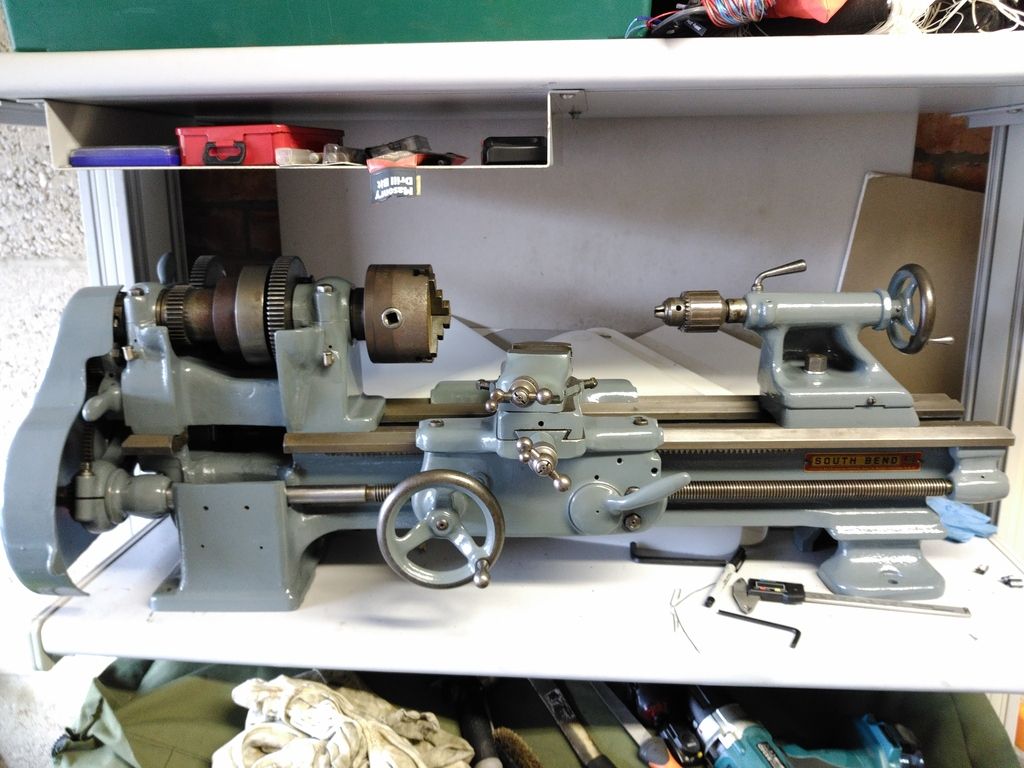
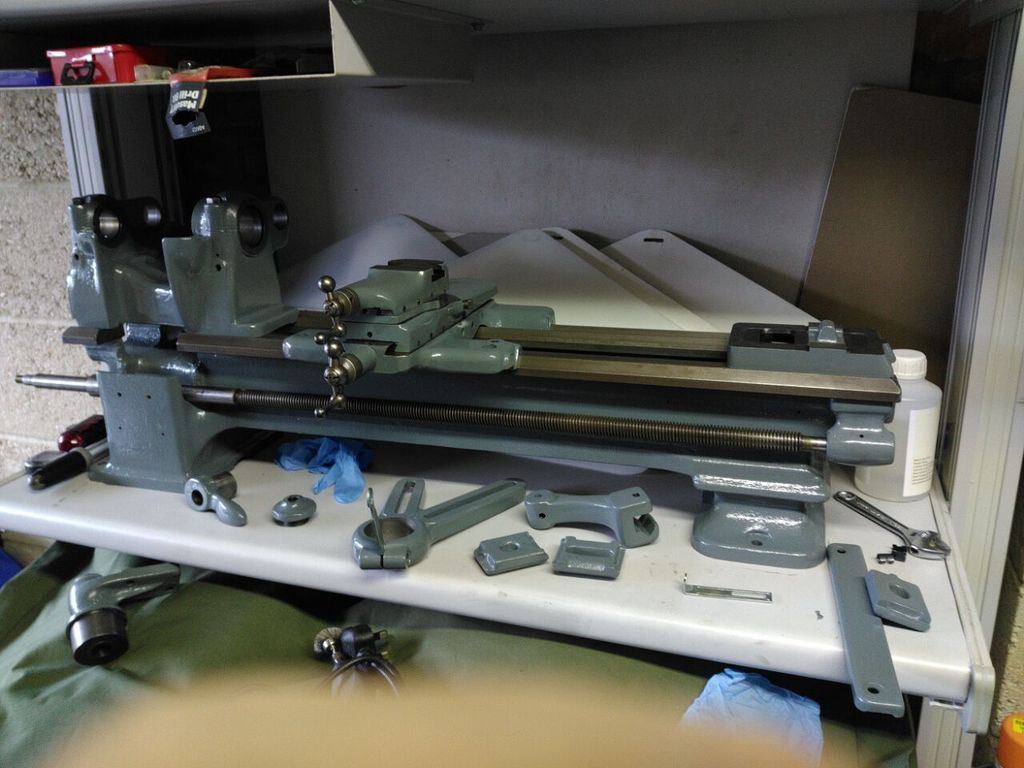
Thread the chuck back plate on, attach the chuck and it finally looks like a lathe!

IMG_20161023_153902_zps9sfwlers.jpg


And just for comparison... where it all began - Hasnt scrubbed up too badly I dont think.

IMG_20160528_141044_zps7zhkagbr.jpg


Thats as far as I have got whilst I figure out how to drive it and get the gear cover sorted. I am hoping to acquire a rear mount idler set this week, im not sure if I will run it rear mounted, but at least I will have options. I tried to do the math to work out if I could drive the spindle direct from the motor with one or 2 pulleys but I dont think it will have quiet enough range. I also had a look at the gear covers for a rear mount, but they wont fit the headstock that I have, so I suspect I will end up making it run as an undermount setup.

Things left to do:
Acquire idle shaft /pulleys
Acquire a tool post (there appear to be many options to this)
Mount the 3HP bargain motor.
s-l1600_zpsfl84gr8x.jpg

IMG_20161023_160736_zps899odhil.jpg


Find a VFD that will run the 3HP motor that I have (Bob - if you have any suggestions as to where I could find one that would be worth a thank you pint! ebay appears to be full of cheap chinese vfd's but I have seen mixed comments on them)

Make or acquire a pully to fit the motor shaft @24mm its a big bugger!

And finally adjust it all to be nicely inline before turning lumps of metal into (hopefully) rounder/smaller lumps of metal!

Sid.
 
Sid - that's looking gorgeous . I've had a hankering for many years to get a metal-turning set-up but I've never had a good enough excuse . I still havn't restored my old wood turning Myford ML8 which is in bits but your postings have given me a bit of a nudge .

Steve
 
Thanks all - I know its not exactly a woodwork related project but I enjoy the feedback on this forum and appreciate the helpful insights and knowledge.

I still have a way to go, but I am enjoying the work and hopefully it will inspire someone the way some of the other projects on here have inspired me.

Andy, I think the pictures make the paint job look better than it is in reality (but im not gonna complain about the finish). I can guarantee that it wont stay looking as shiney as it is at the moment. I have every plan to make it rapidly look like a machine that has done work.

Bob, thanks again for the PM - I know everyone on the board already see's your helpfulness but I figure a public thanking cant hurt.

Sid.
 
sidtsloth":1w43vgf3 said:
Thanks all - I know its not exactly a woodwork related project but I enjoy the feedback on this forum and appreciate the helpful insights and knowledge.

I still have a way to go, but I am enjoying the work and hopefully it will inspire someone the way some of the other projects on here have inspired me.

Andy, I think the pictures make the paint job look better than it is in reality (but im not gonna complain about the finish). I can guarantee that it wont stay looking as shiney as it is at the moment. I have every plan to make it rapidly look like a machine that has done work.

Bob, thanks again for the PM - I know everyone on the board already see's your helpfulness but I figure a public thanking cant hurt.

Sid.

My pleasure Sid,
Did you get the email I sent with the manual? if not it might be in your spam folder as it had a large attachment - pdf file

Bob
 
I got it, I will have a proper read once the trick or treaters stop hammering at my door.
 
Well its been some time since I did anything with this.

Firstly a MASSIVE thank you to Bob for spending time this weekend sorting me out with an inverter and a setup that works! I will post some pics of the wiring and controller bits when I get a chance.

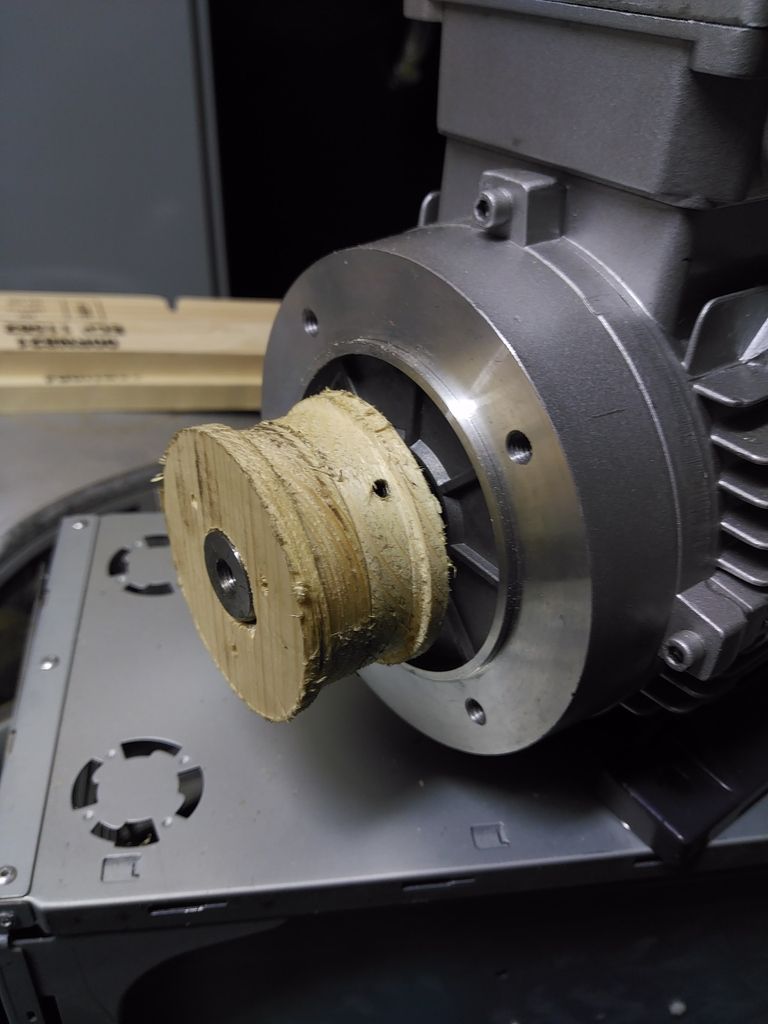
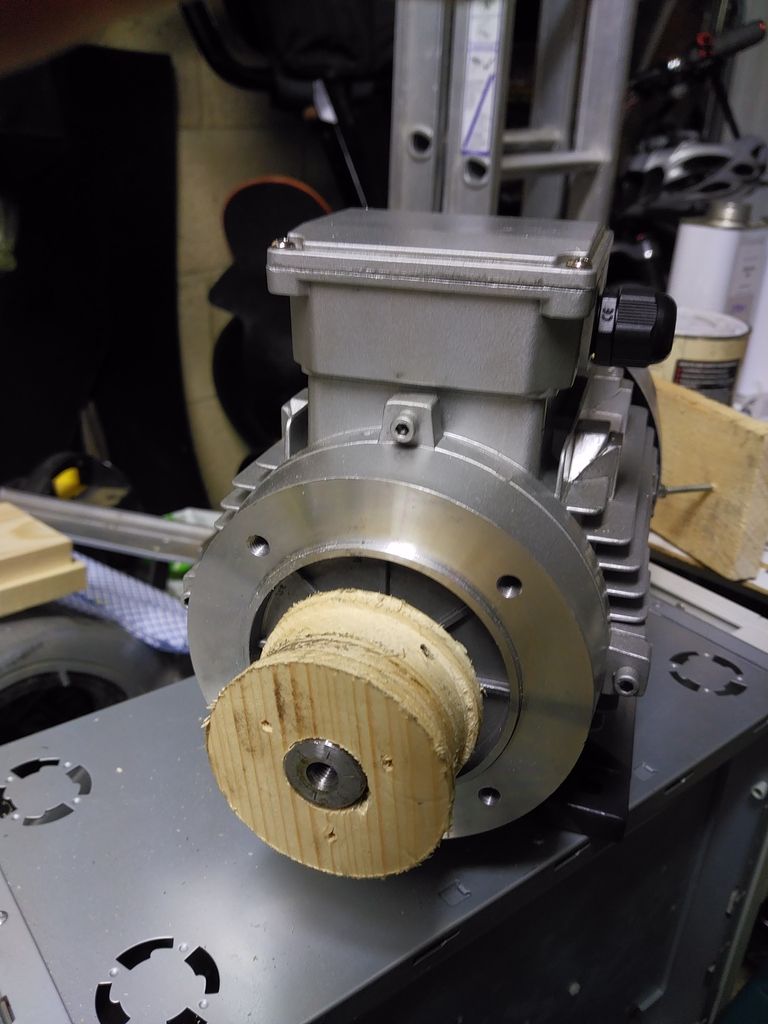
I just thought since this was a wood forum I would show the solution to my initial problem of not having any drive pulleys for it....

A bit of thought, a set of hole cutters, a 25mm spade bit, a pine slat from a decent pallet and a grub screw...

IMG_20170314_200802_zpsfoneyodt.jpg


IMG_20170314_200816_zpsrl2r7m10.jpg


It aint all that pretty - and it certainly isnt as true as something turned on the lathe, but it should allow me to get the motor mounted for a direct to the spindle setup - work out a belt length and then turn up some "proper" pulleys.... Wish me luck!
 
Back
Top