Pinch
Old Oak
Hello Chaps,
This project is for an existing client who lives in the village near the shop. He has an old wooden sailing vessel which he's going to give to a friend once the repair work has been completed.
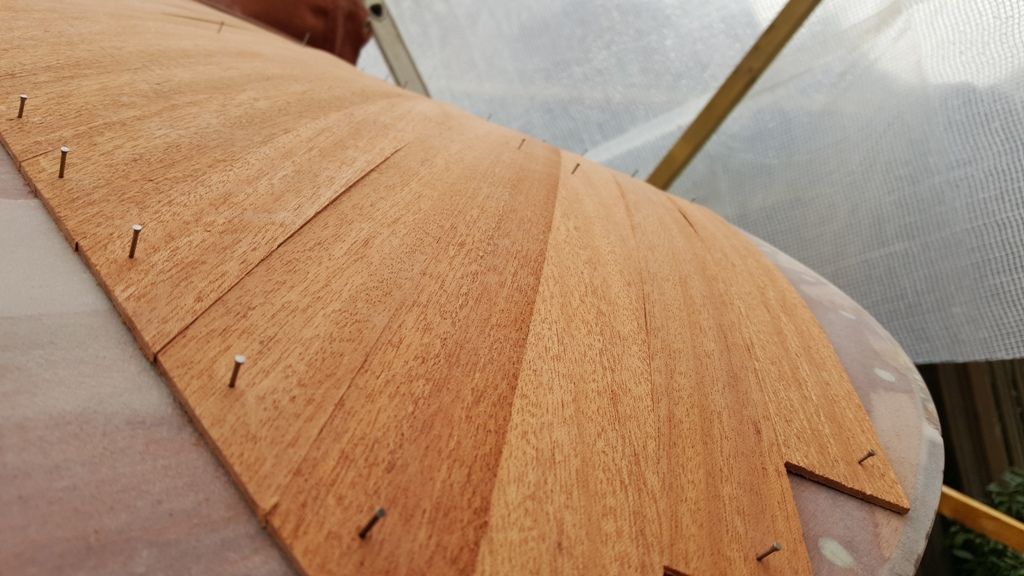
I was originally approached with this tricky little project last autumn and I spent 4 hours carefully removing most of the stern's clad, consisting of mahogany veneer and marine ply. I still have more to remove around the edges which is going to require even more care.
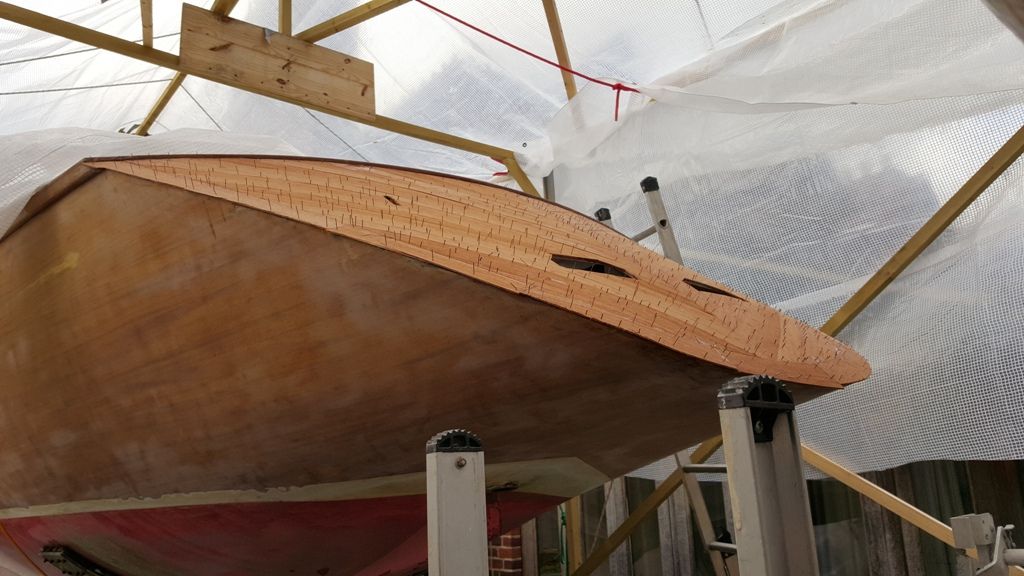
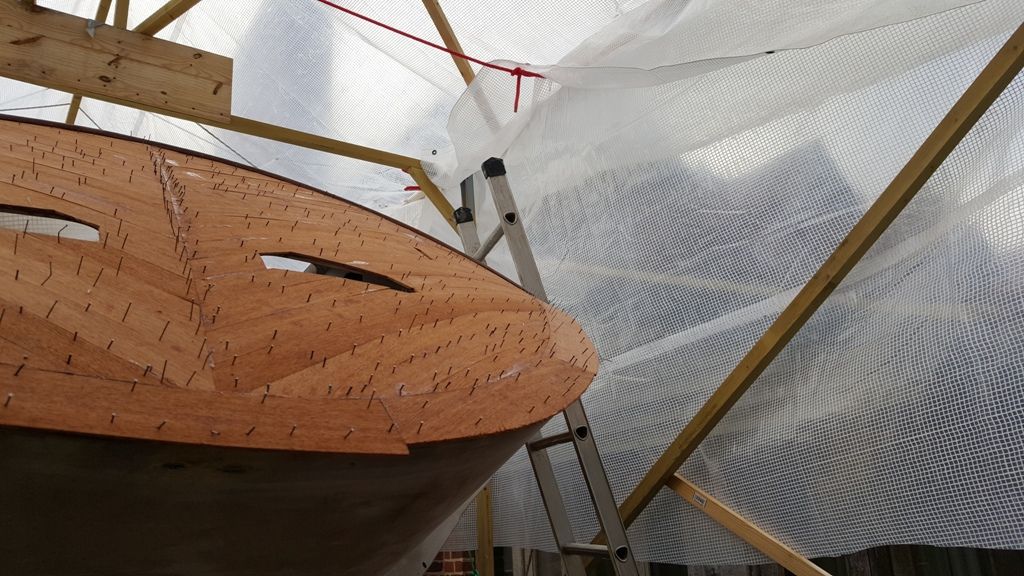
I took these two photos last autumn before the removal process began. The stern measures approximately 2.0M across where it meets the top edge of the deck, and 1.0M deep where it meets the hull.


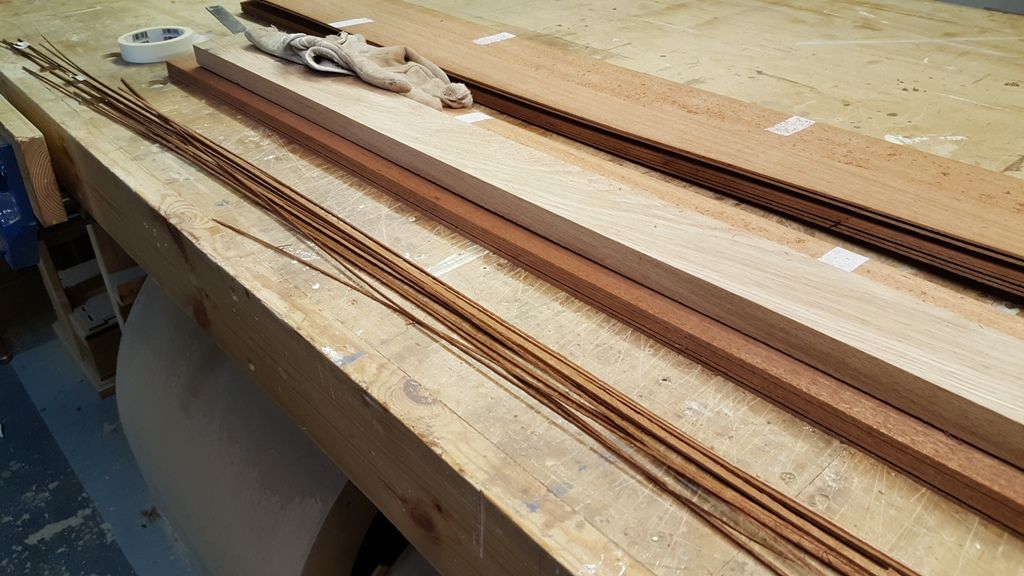
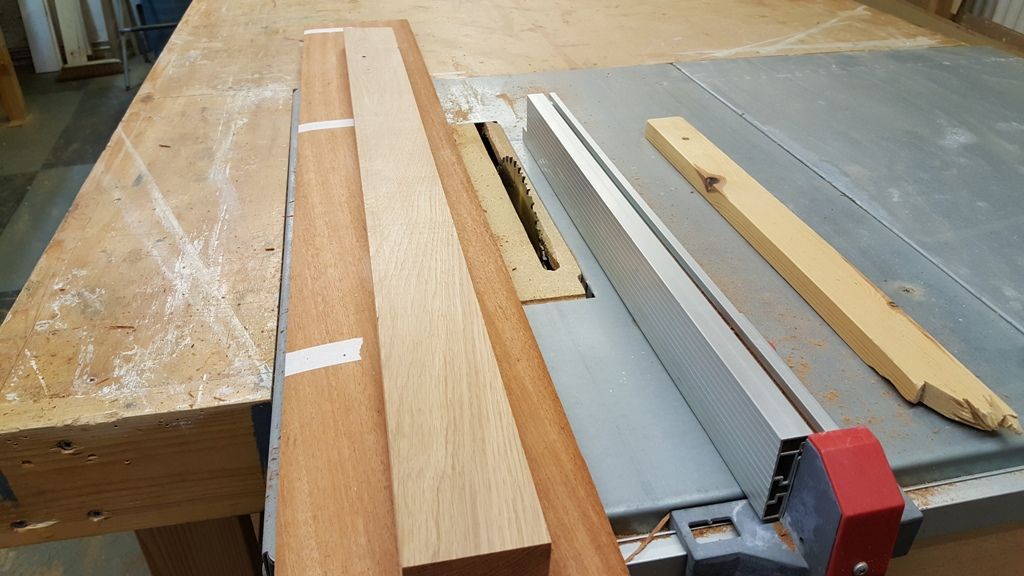
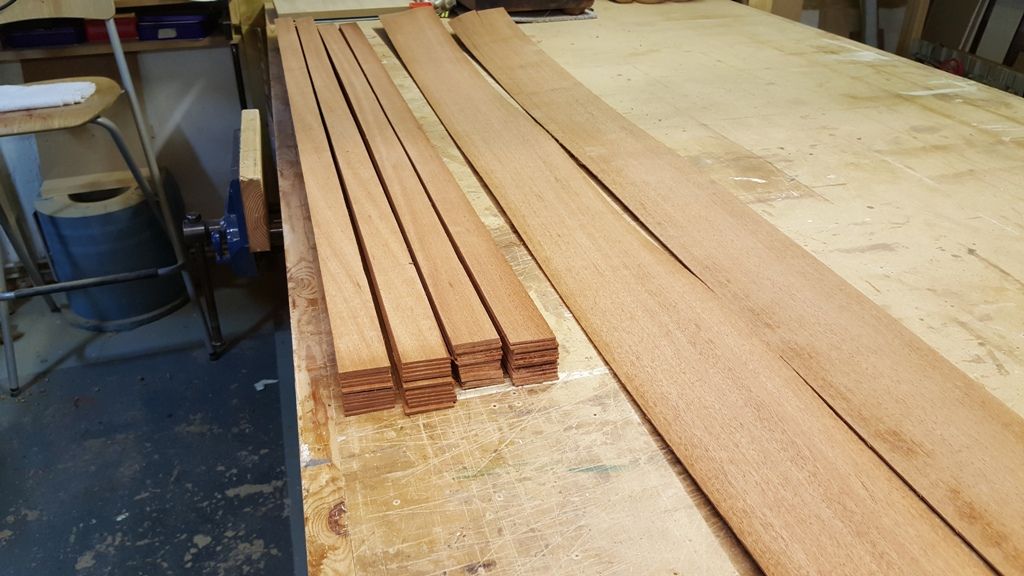
The materials (2mm mahogany construction veneer and 6mm mahogany marine 5 ply) arrived yesterday and today, I popped down to site to refresh my memory. The following photos were taken today.
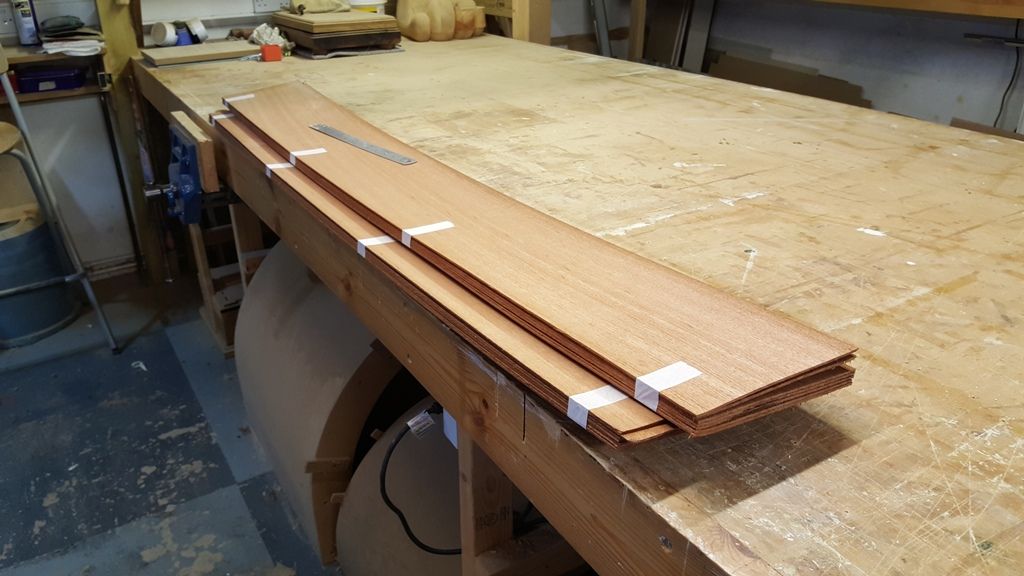
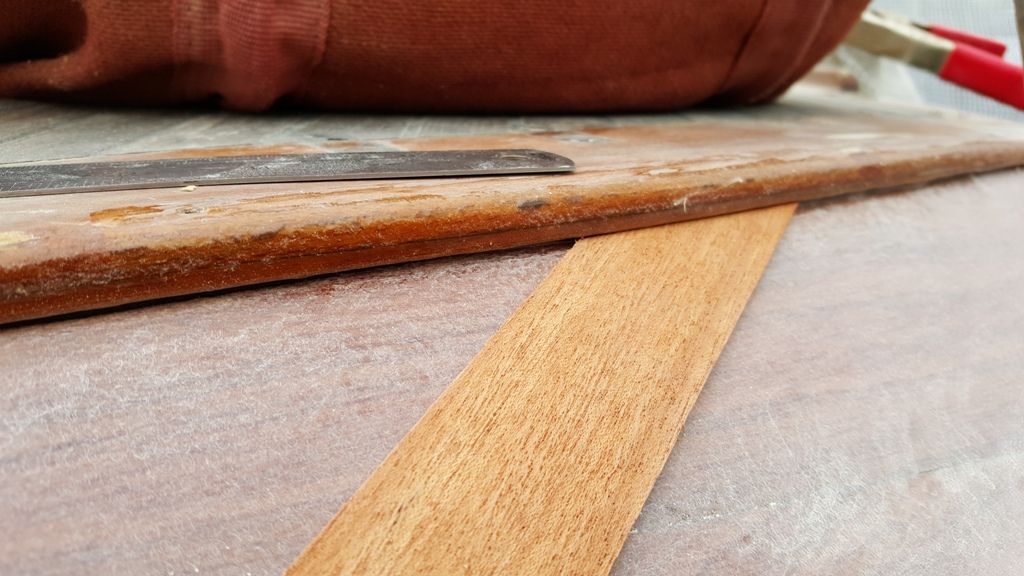
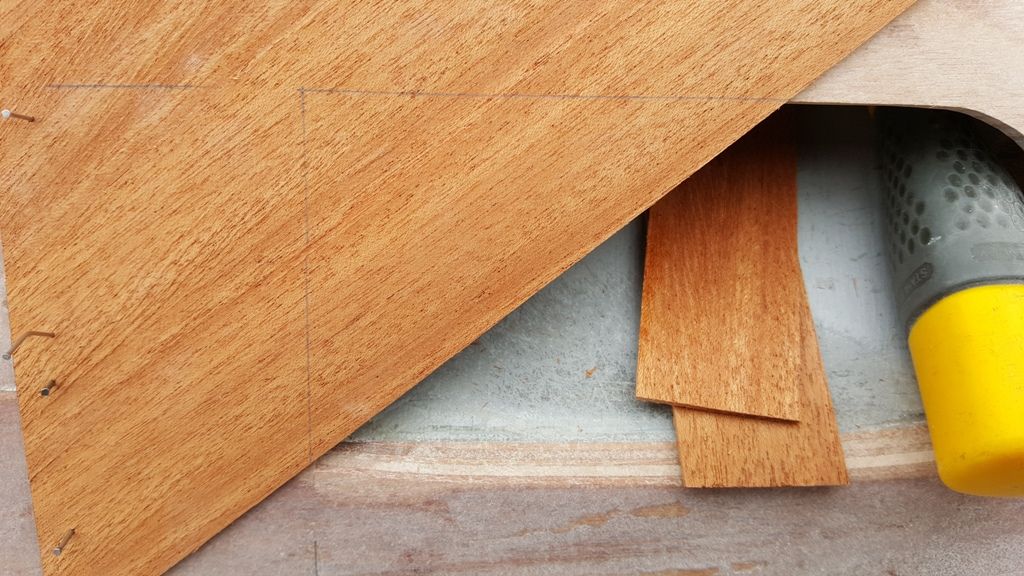
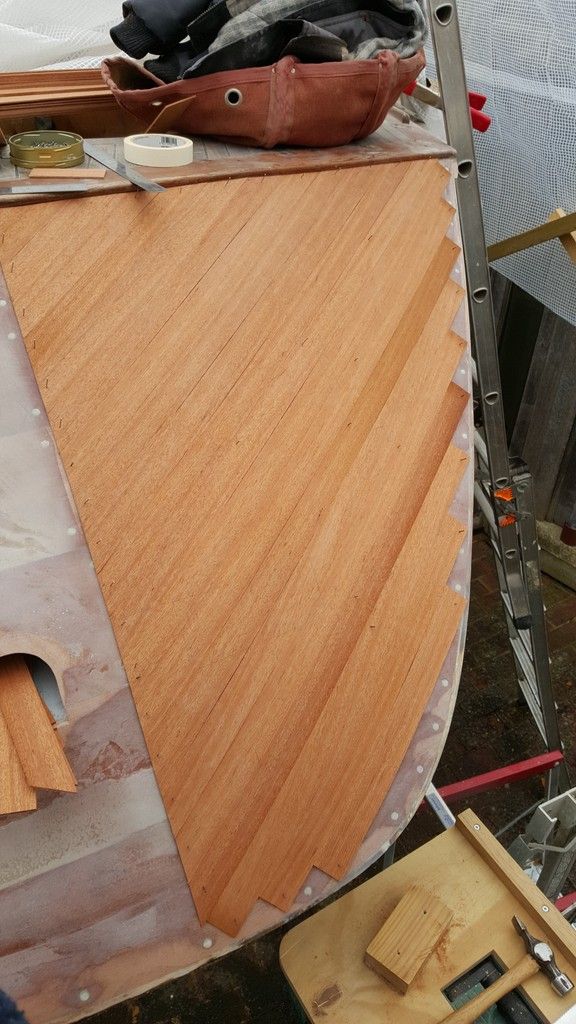
Firstly, here's the ply and veneer on the bench. The ply is 1220x2510 and very expensive.


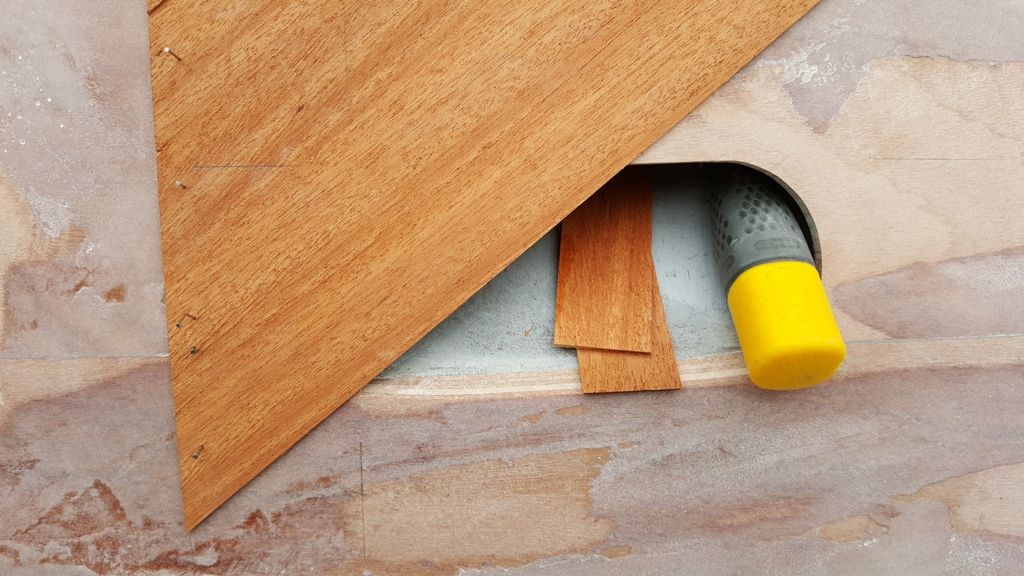
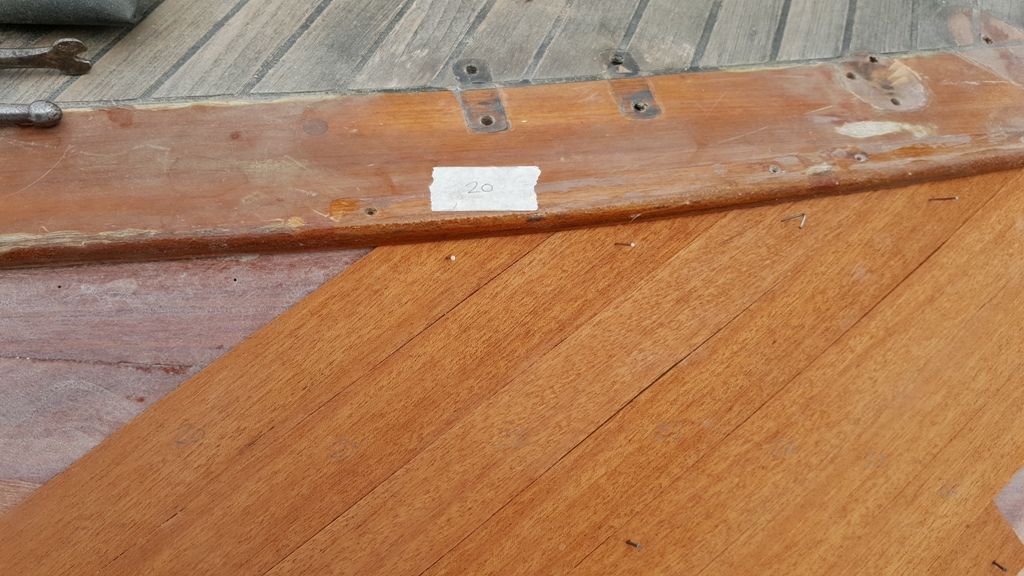
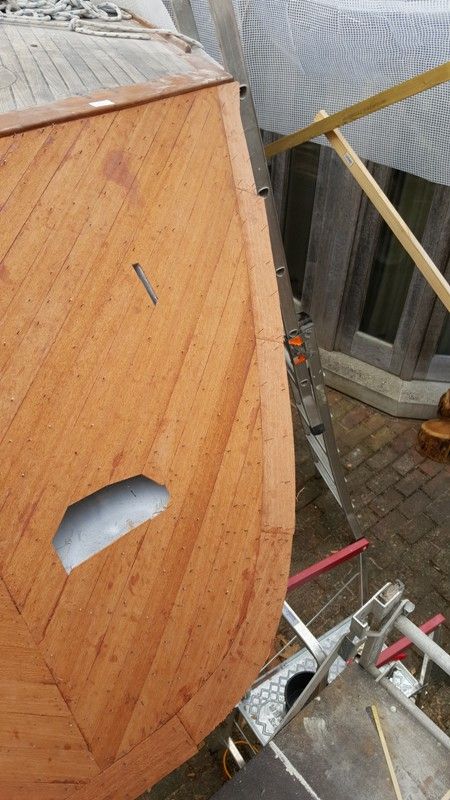
Here's a picture of a piece of material I removed last autumn from the stern. You can see the match isn't bad (surprising - considering how many years of sun it's had) and you can also see the original ply is 3 ply with a 2mm veneer. The new ply is 5 ply.


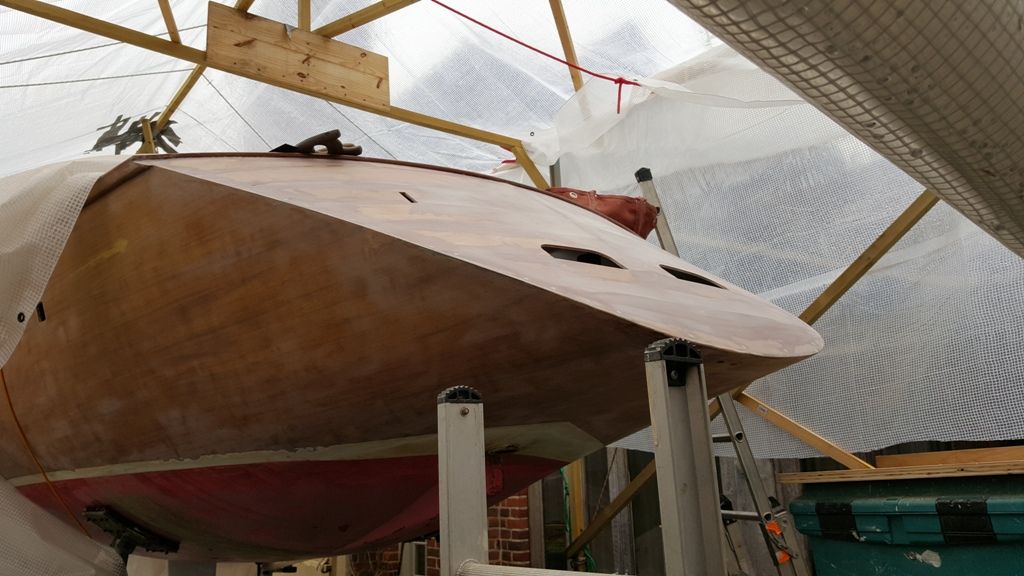
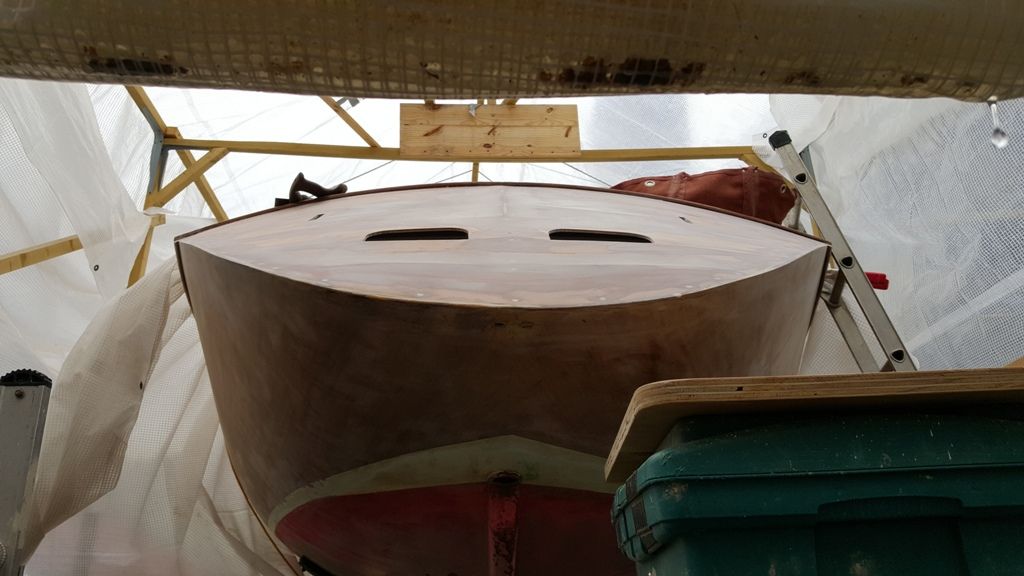
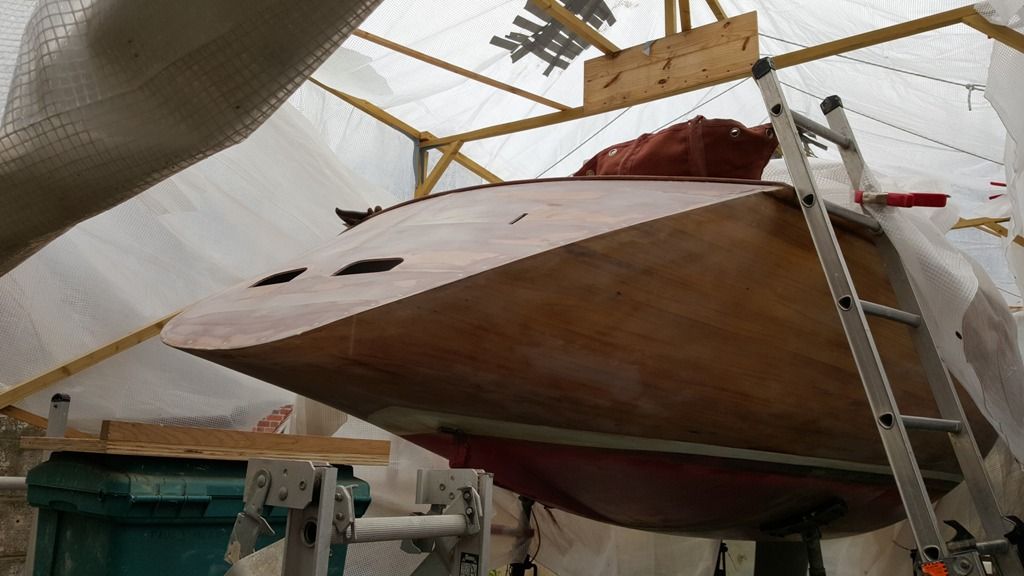
And now on site. Here's the old lady under wraps...

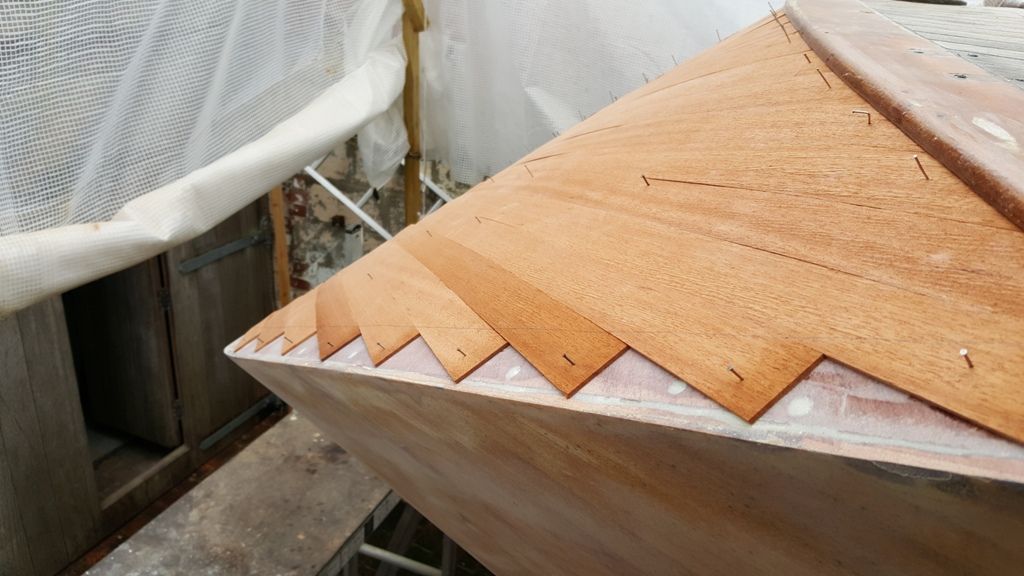
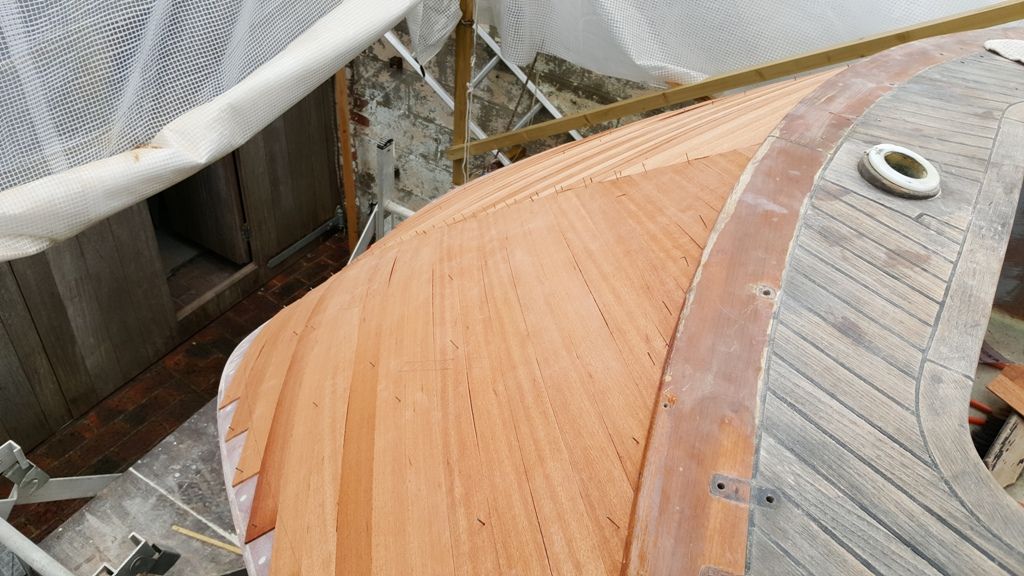
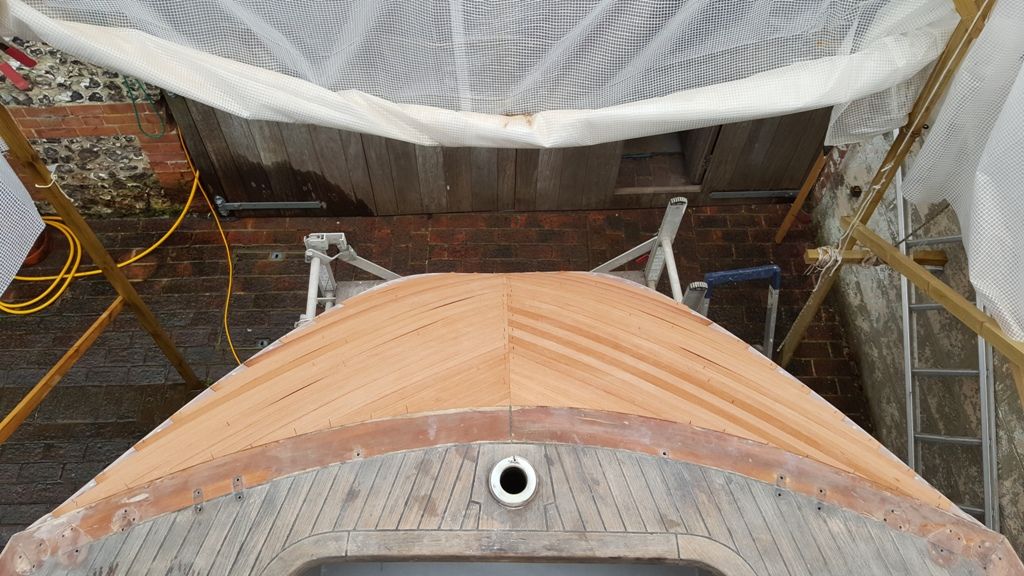
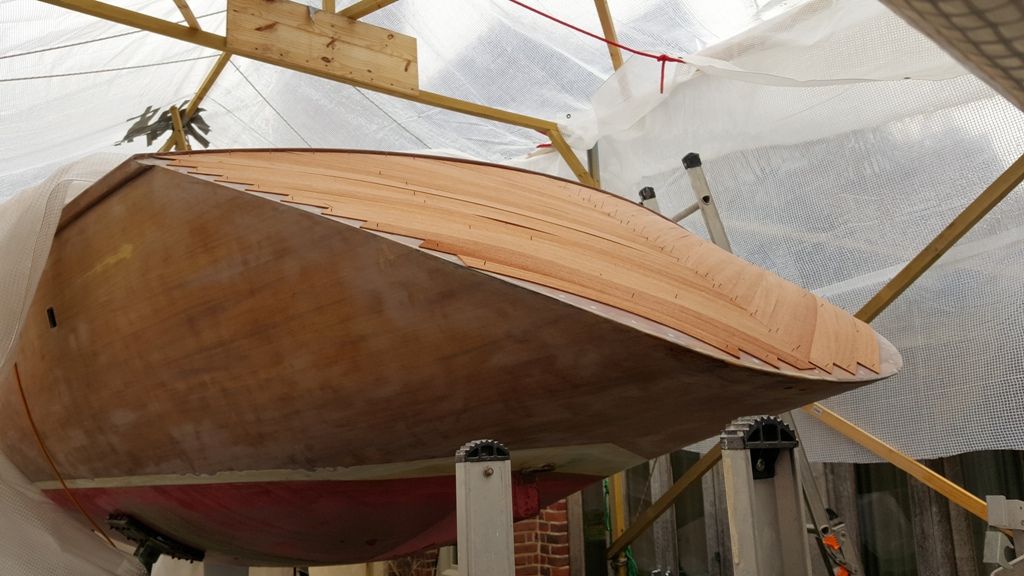
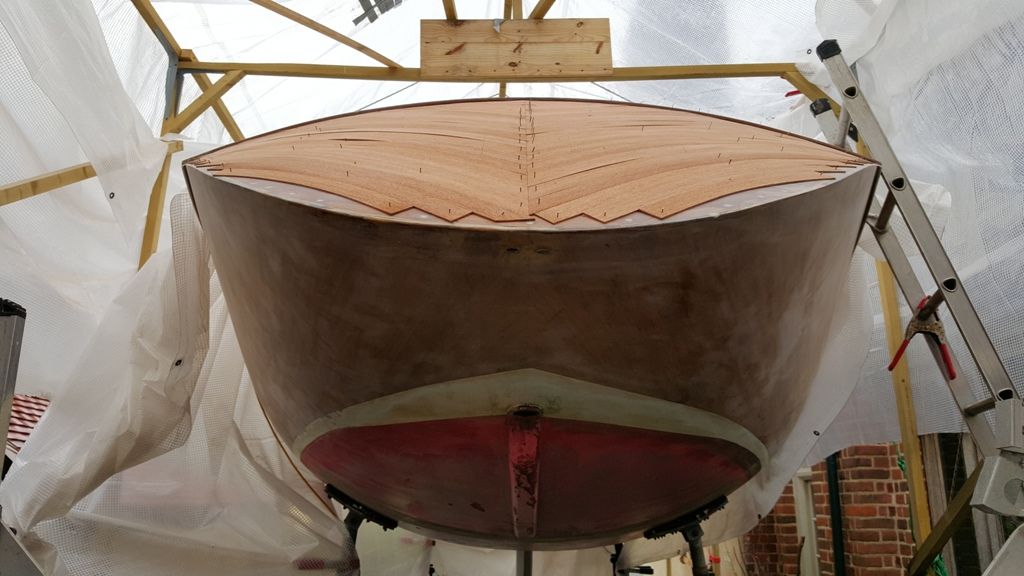
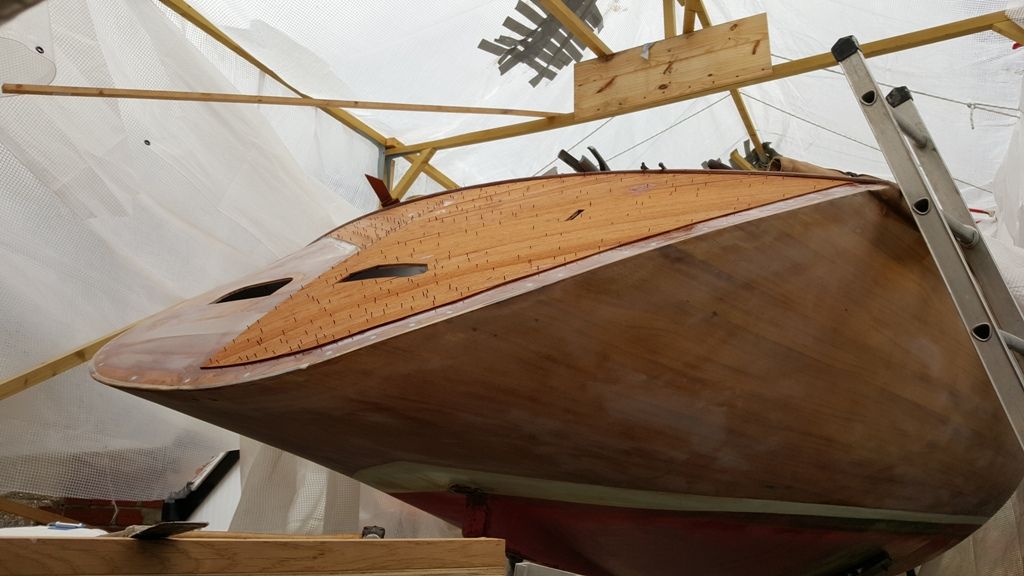
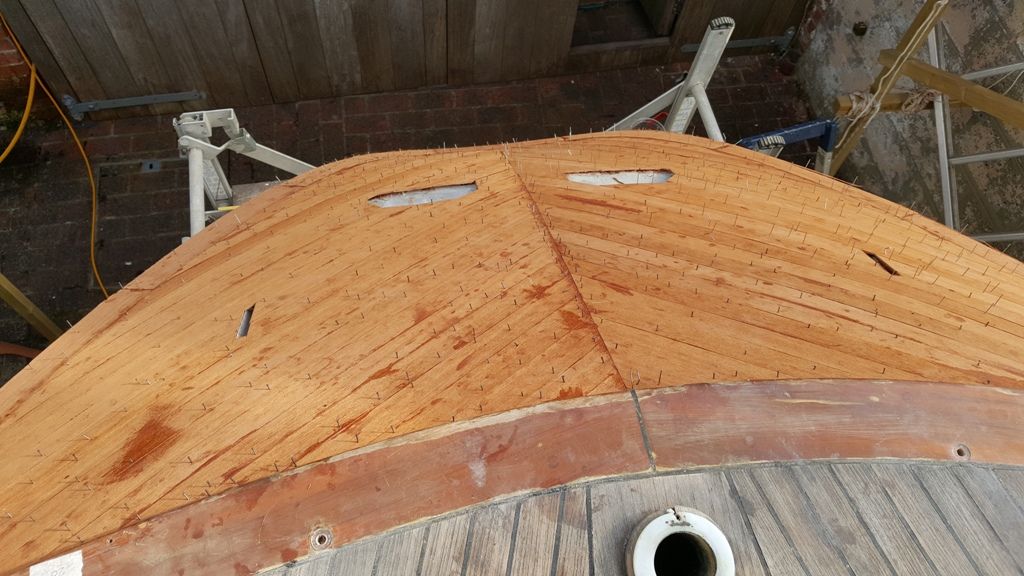
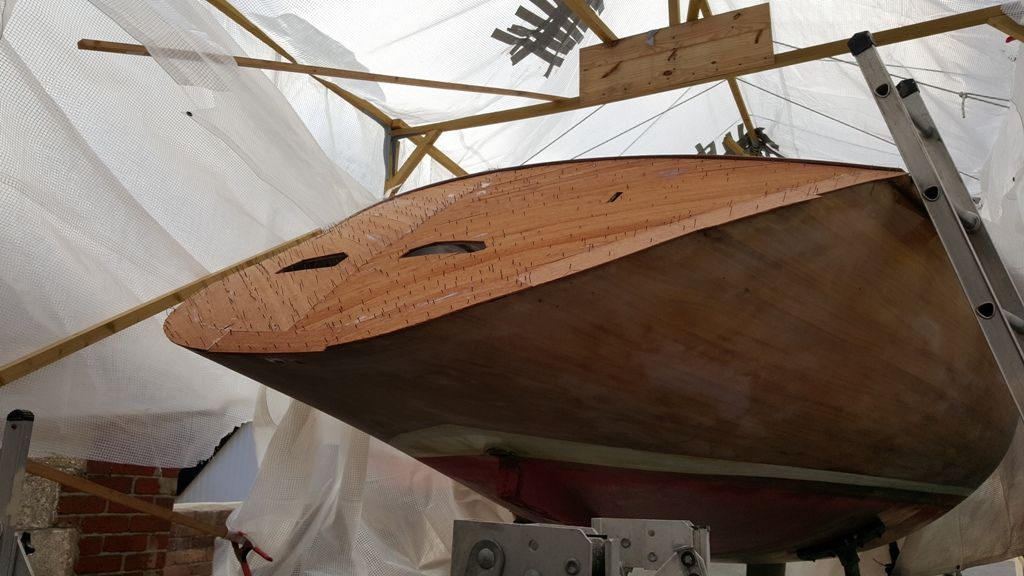
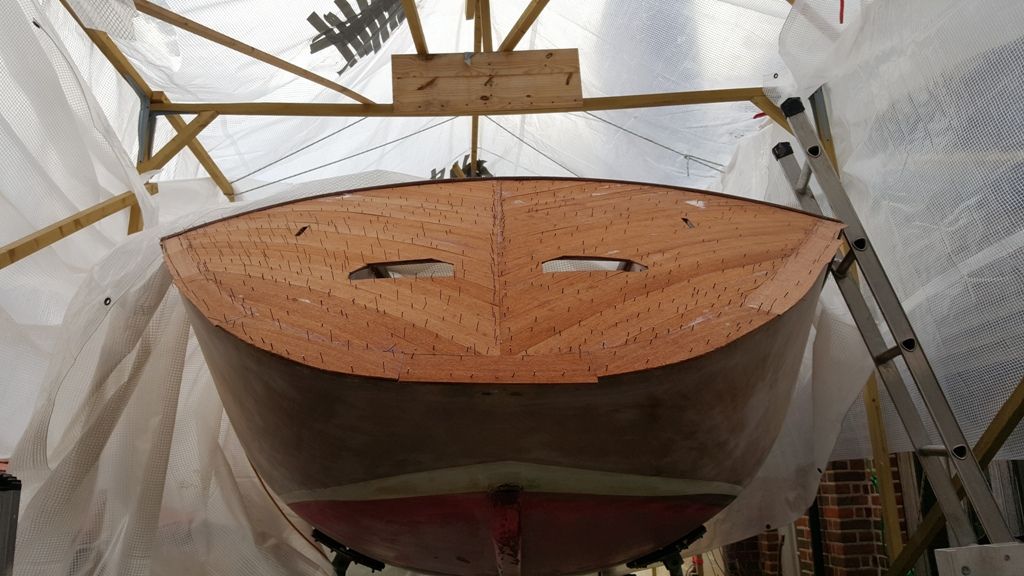
And here's the old girl's stern... Remember, the top edge measures 2.0M across.


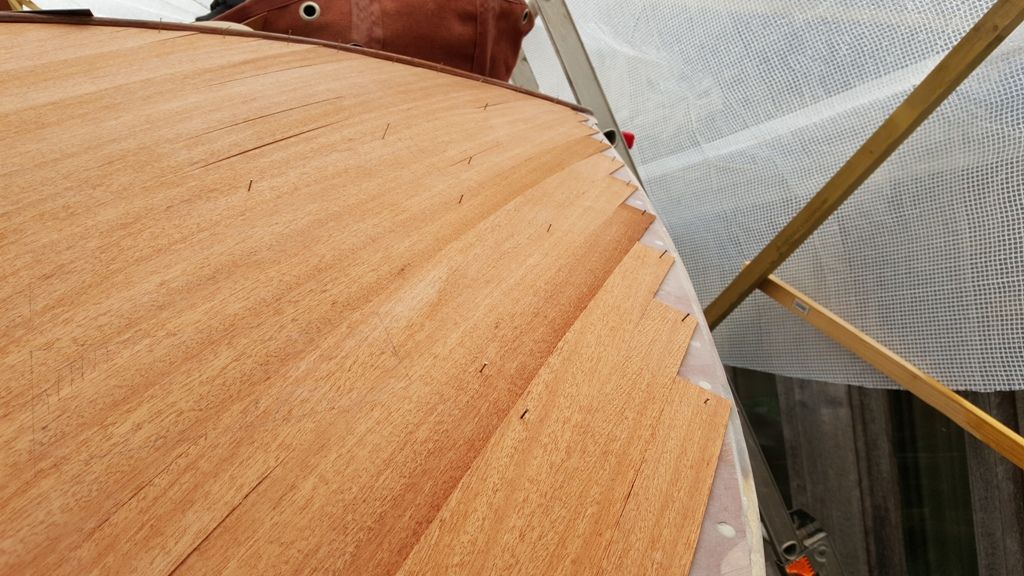
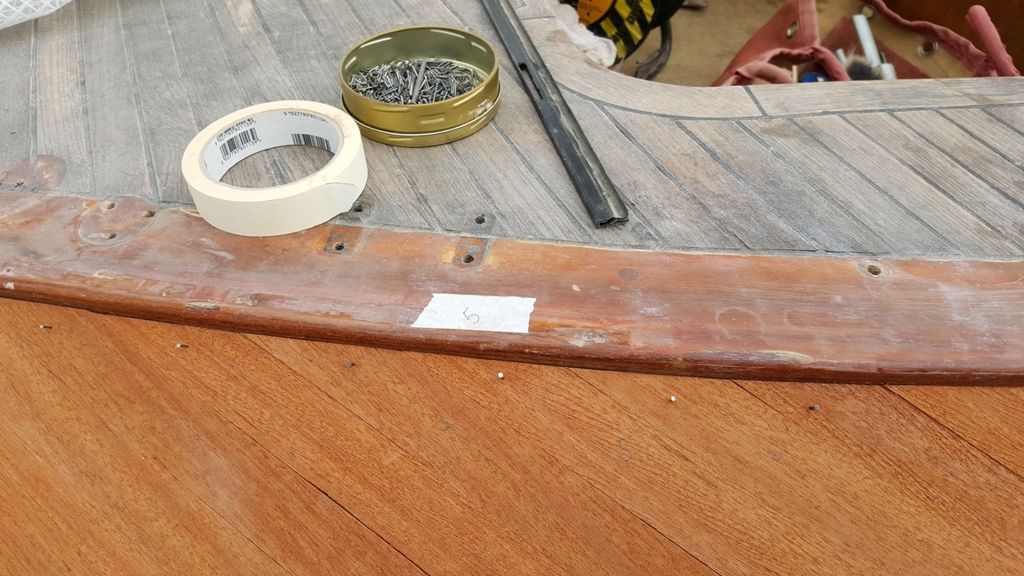
The top edge is concealed under the deck and I still need to carefully remove the old without disturbing the deck, which I'm going to have to do with a chisel and mallet. It's an absolute pig to get out.


Equally, the curved edges meeting the hull need to be carefully removed to avoid any damage to the hull's veneer work. It also looks like the stern's veneer was applied before the hull's veneer. This means I'm going to have to be extra extra careful so the stern's new ply butts against the hull's existing veneer. I can then run the stern's new veneer over the end grains of the hull's original veneer. A very tricky operation indeed.


I'll report back soon.
Cheers,
")
This project is for an existing client who lives in the village near the shop. He has an old wooden sailing vessel which he's going to give to a friend once the repair work has been completed.
I was originally approached with this tricky little project last autumn and I spent 4 hours carefully removing most of the stern's clad, consisting of mahogany veneer and marine ply. I still have more to remove around the edges which is going to require even more care.
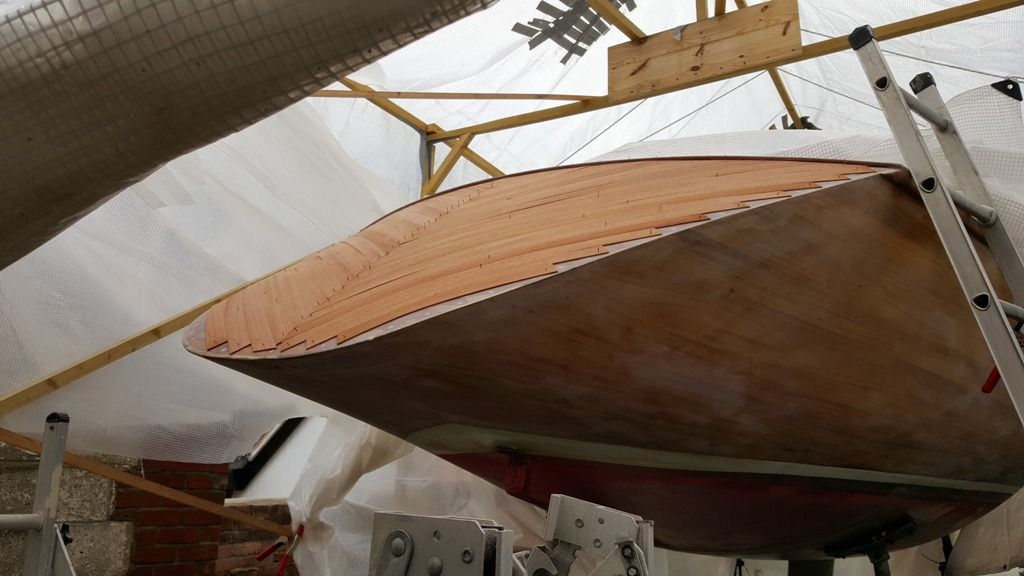
I took these two photos last autumn before the removal process began. The stern measures approximately 2.0M across where it meets the top edge of the deck, and 1.0M deep where it meets the hull.
The materials (2mm mahogany construction veneer and 6mm mahogany marine 5 ply) arrived yesterday and today, I popped down to site to refresh my memory. The following photos were taken today.
Firstly, here's the ply and veneer on the bench. The ply is 1220x2510 and very expensive.
Here's a picture of a piece of material I removed last autumn from the stern. You can see the match isn't bad (surprising - considering how many years of sun it's had) and you can also see the original ply is 3 ply with a 2mm veneer. The new ply is 5 ply.
And now on site. Here's the old lady under wraps...
And here's the old girl's stern... Remember, the top edge measures 2.0M across.
The top edge is concealed under the deck and I still need to carefully remove the old without disturbing the deck, which I'm going to have to do with a chisel and mallet. It's an absolute pig to get out.
Equally, the curved edges meeting the hull need to be carefully removed to avoid any damage to the hull's veneer work. It also looks like the stern's veneer was applied before the hull's veneer. This means I'm going to have to be extra extra careful so the stern's new ply butts against the hull's existing veneer. I can then run the stern's new veneer over the end grains of the hull's original veneer. A very tricky operation indeed.
I'll report back soon.
Cheers,
 bscene-drinkingcheers:
") I do know which end of a boat to find the stern, though. Nice sketch. :lol:
I do know which end of a boat to find the stern, though. Nice sketch. :lol:


")