• Hi all and welcome to TheWoodHaven2 brought into the 21st Century, kicking and screaming! We all have Alasdair to thank for the vast bulk of the heavy lifting to get us here, no more so than me because he's taken away a huge burden of responsibility from my shoulders and brought us to this new shiny home, with all your previous content (hopefully) still intact! Please peruse and feed back. There is still plenty to do, like changing the colour scheme, adding the banner graphic, tweaking the odd setting here and there so I have added a new thread in the 'Technical Issues, Bugs and Feature Requests' forum for you to add any issues you find, any missing settings or just anything you'd like to see added/removed from the feature set that Xenforo offers. We will get to everything over the coming weeks so please be patient, but add anything at all to the thread I mention above and we promise to get to them over the next few days/weeks/months. In the meantime, please enjoy!

Turning plywood - a vase

selectortone

Sapling
Joined
Jan 26, 2017
Messages
288
Reaction score
0
Location
Sunny Bournemouth by the Sea
Our competition this month at my woodturning club was to make something out of plywood.

I've never done this before, but we had a very informative demo from one of our senior turners and it intrigued me enough to have a go. One thing I have going for me is that, if they teach you one thing at luthiery school, it's how to glue lots of little fiddly bits of wood together!

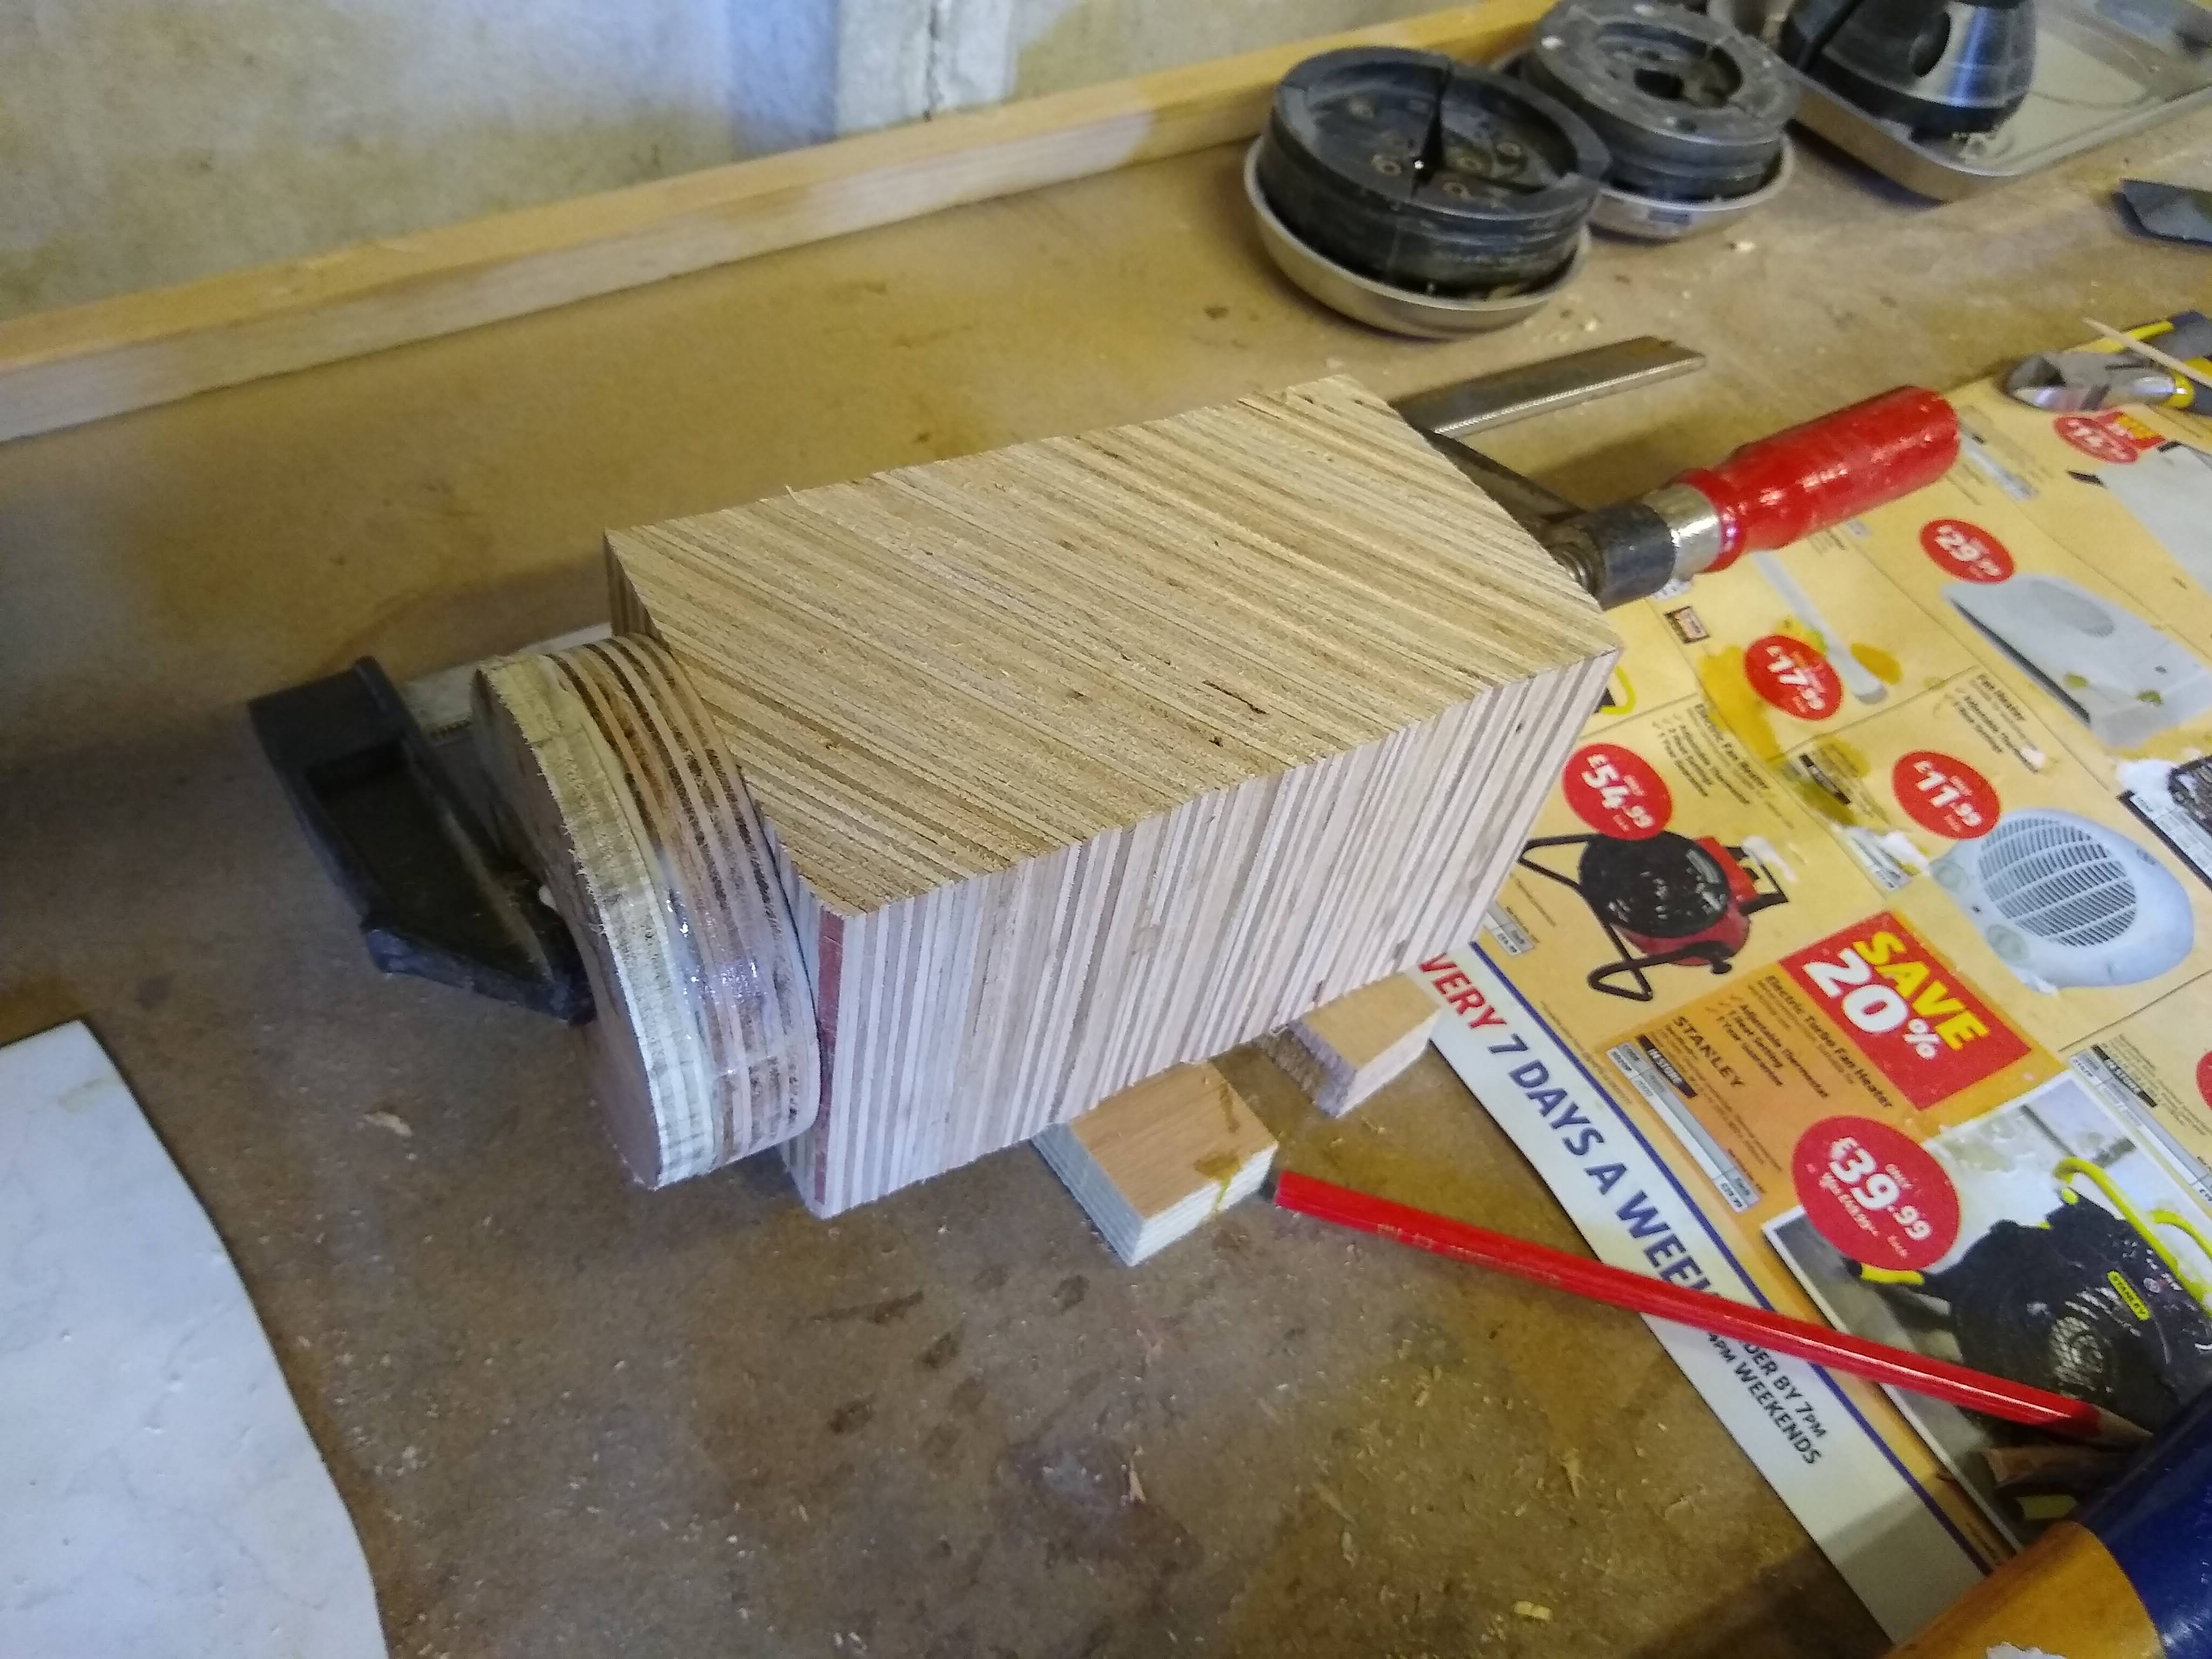
So: you start with a lot of this:

PV1.jpg


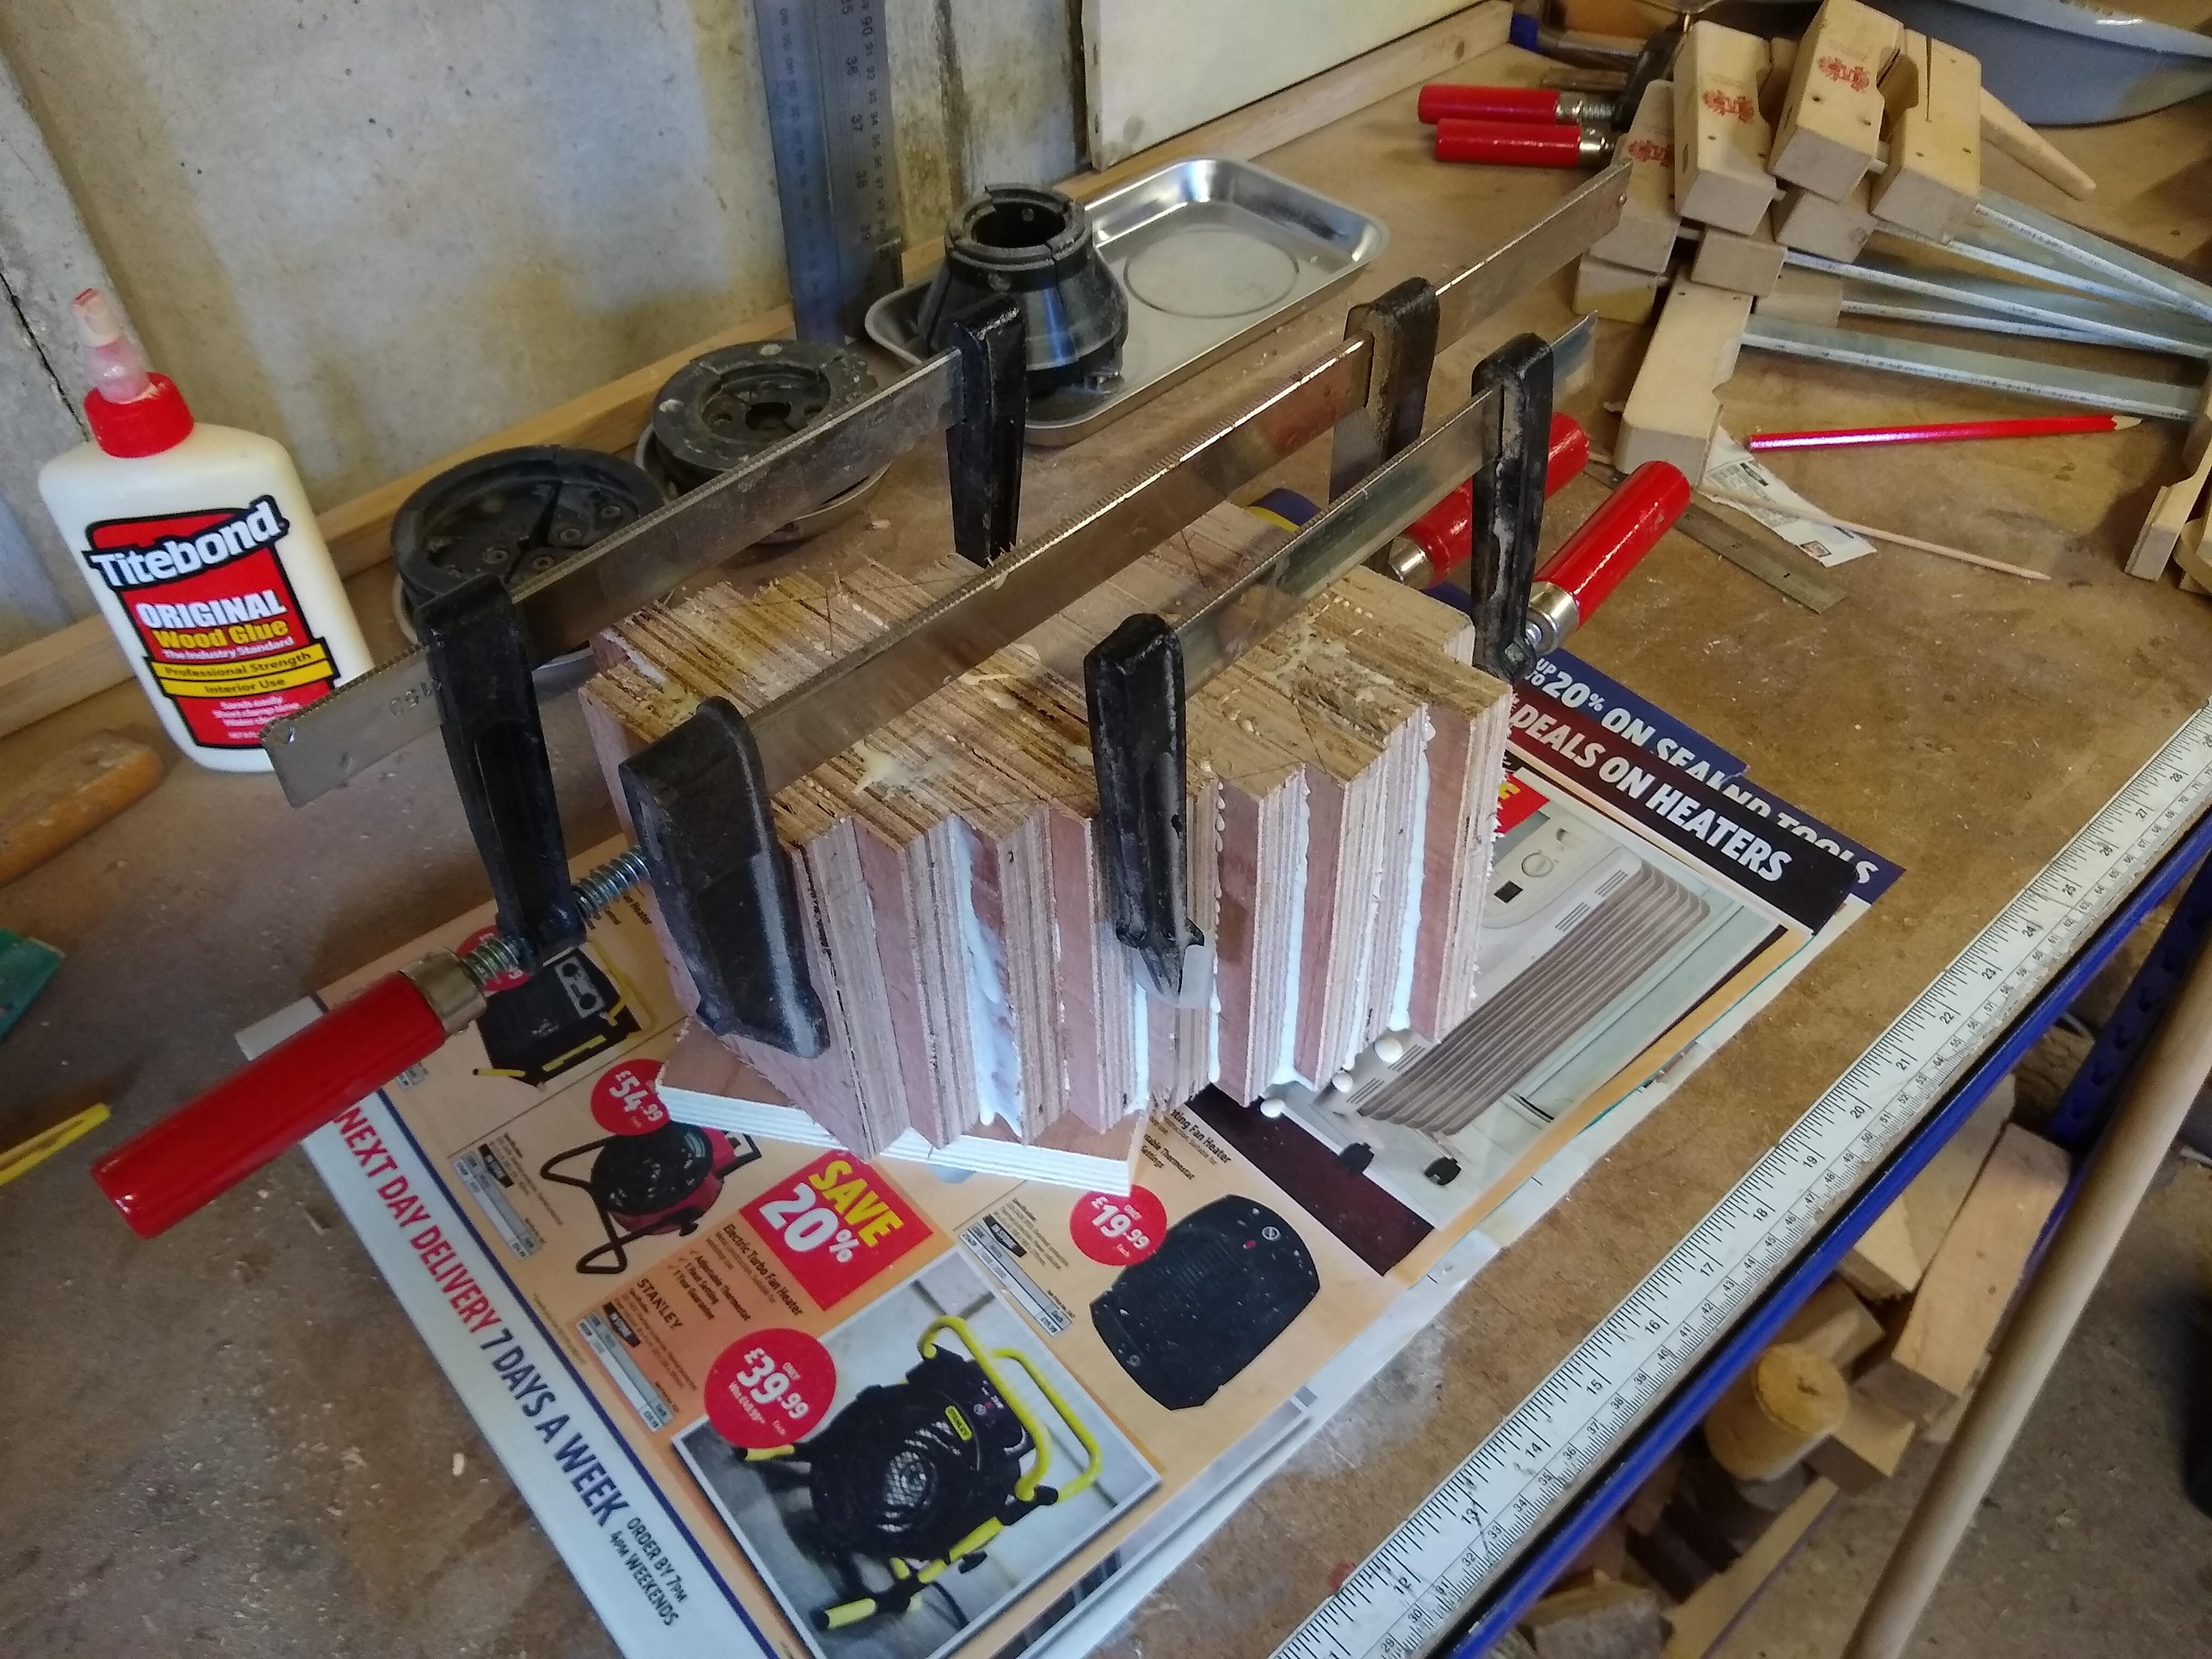
Cut it up, mitre it to bits and glue it all back together again:

PV2.jpg


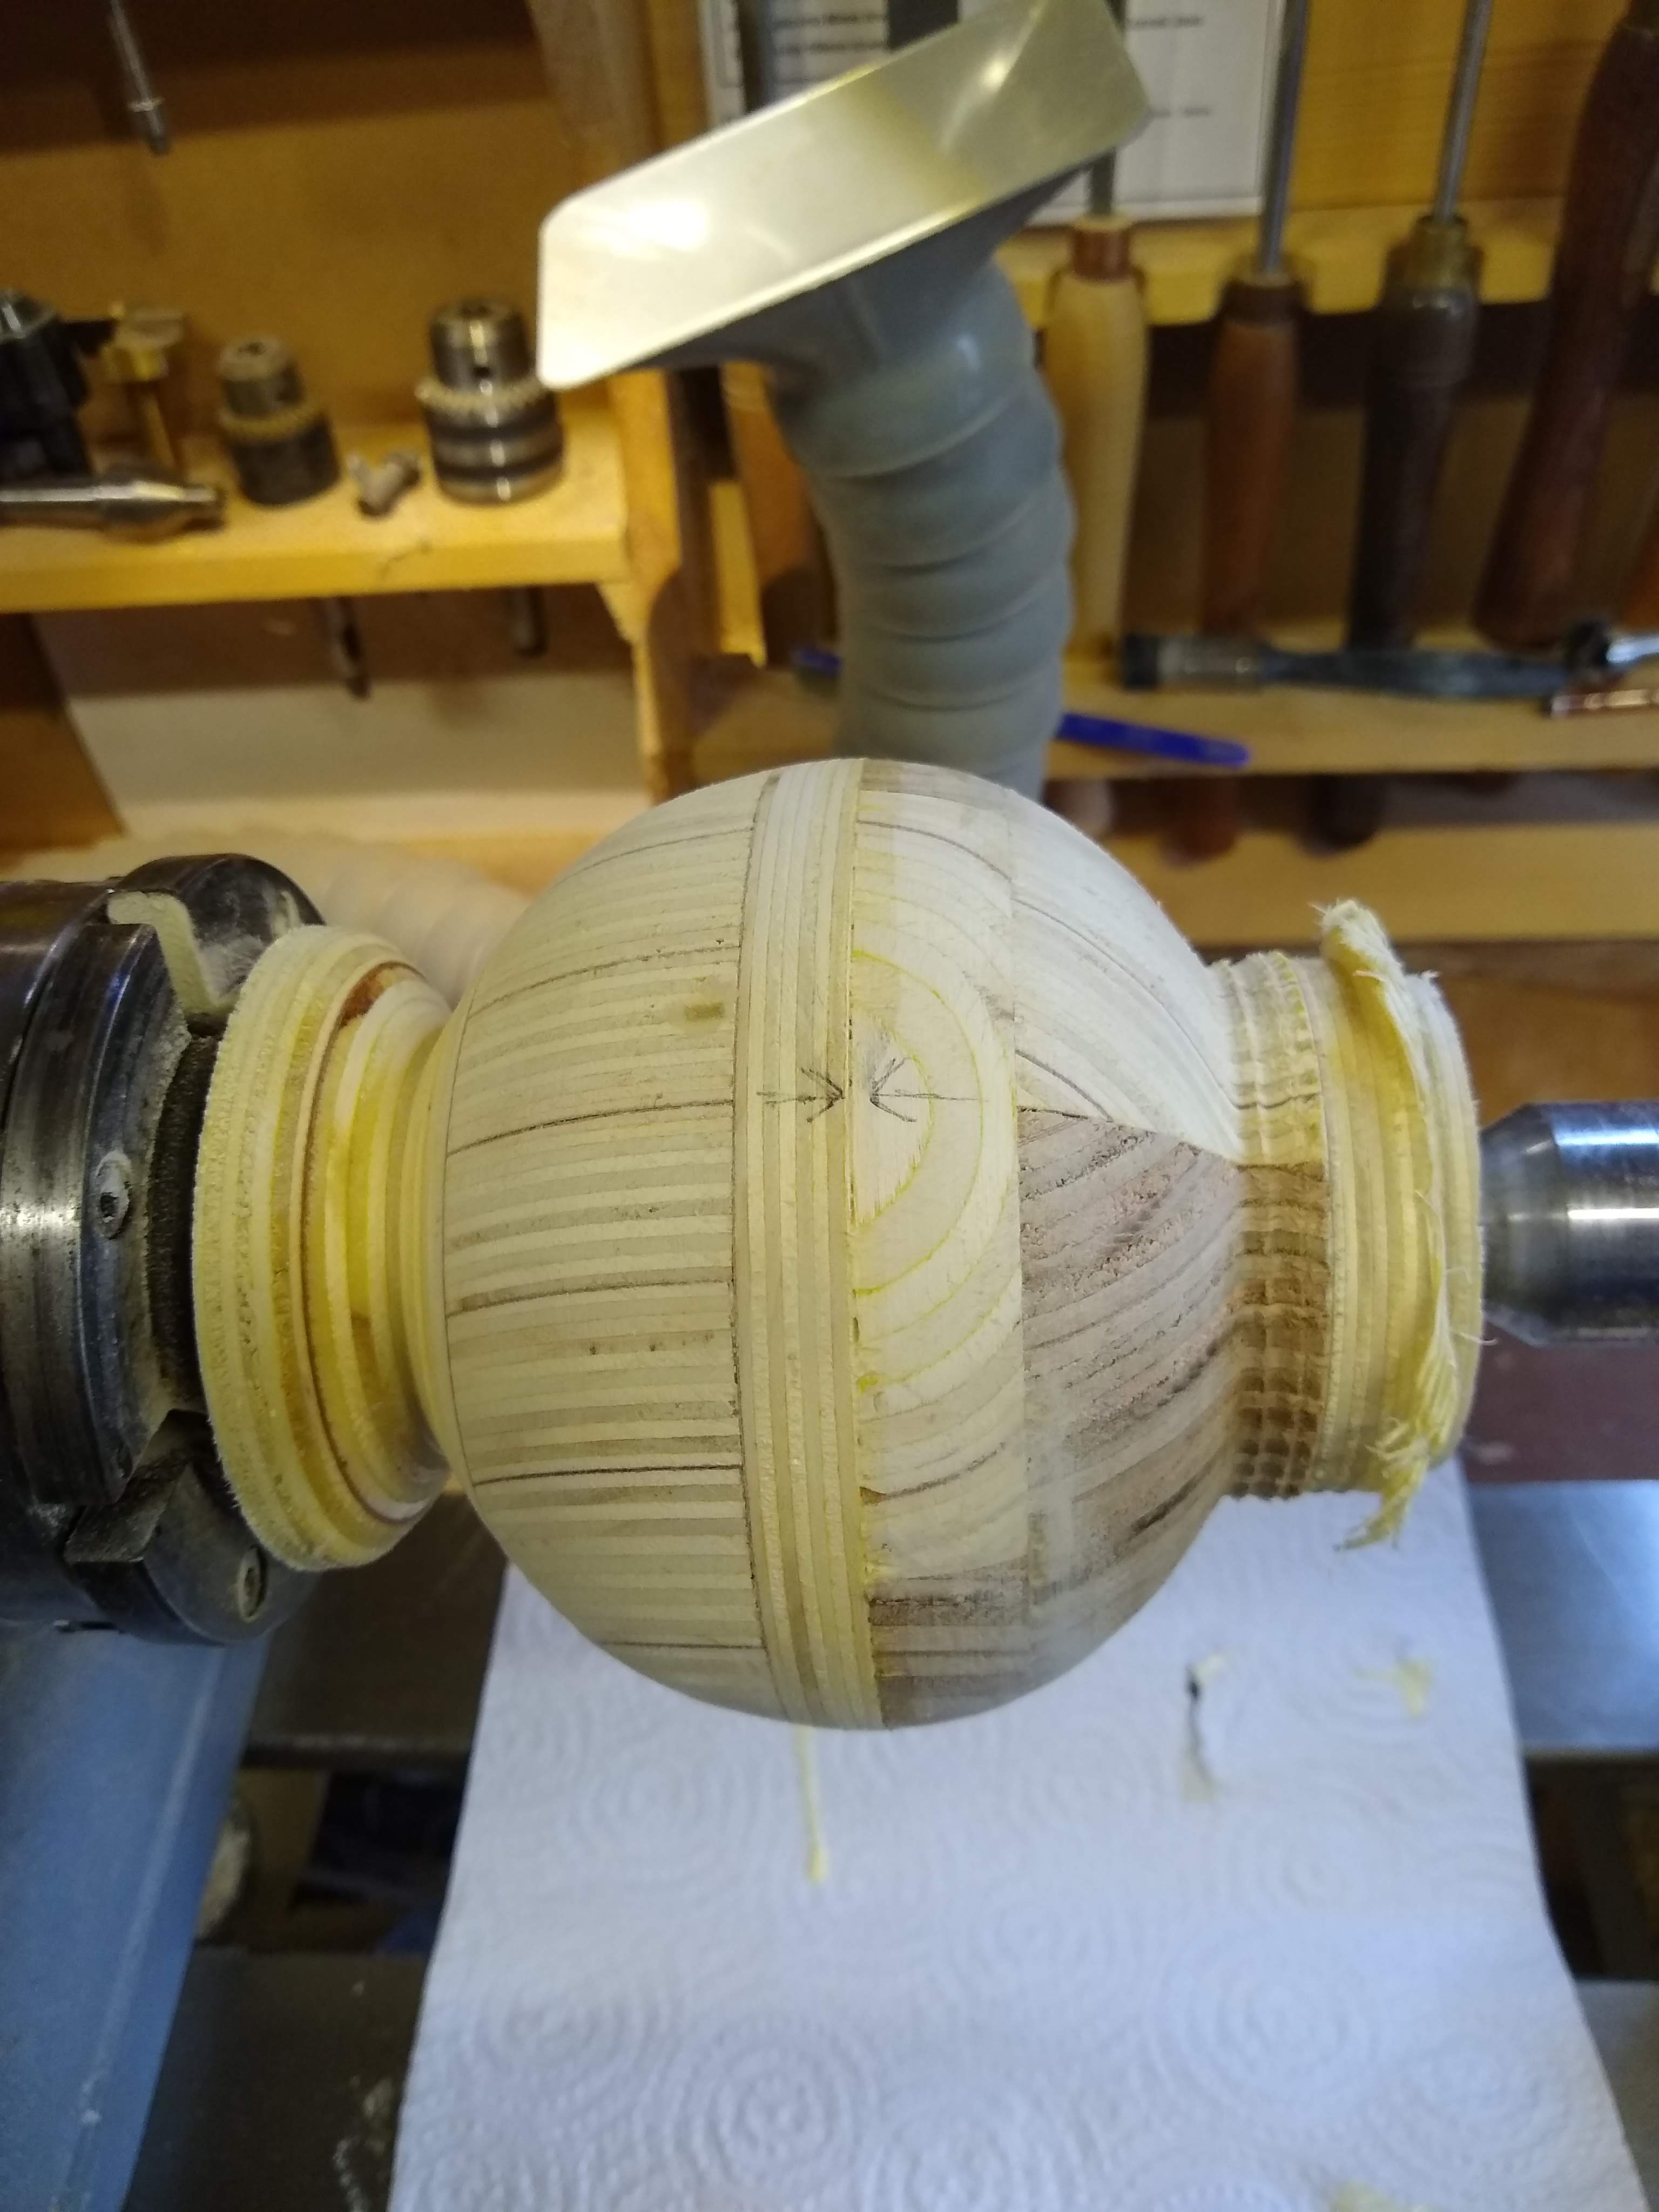
Some more glueing up, then turn the bottom half of the vase bowl:

PV3.jpg


Then the top half:

PV4.jpg


Glue them together:

PV5.jpg


Glue some more for a neck (offset to get a 45deg angle):

PV6.jpg


PV7.jpg


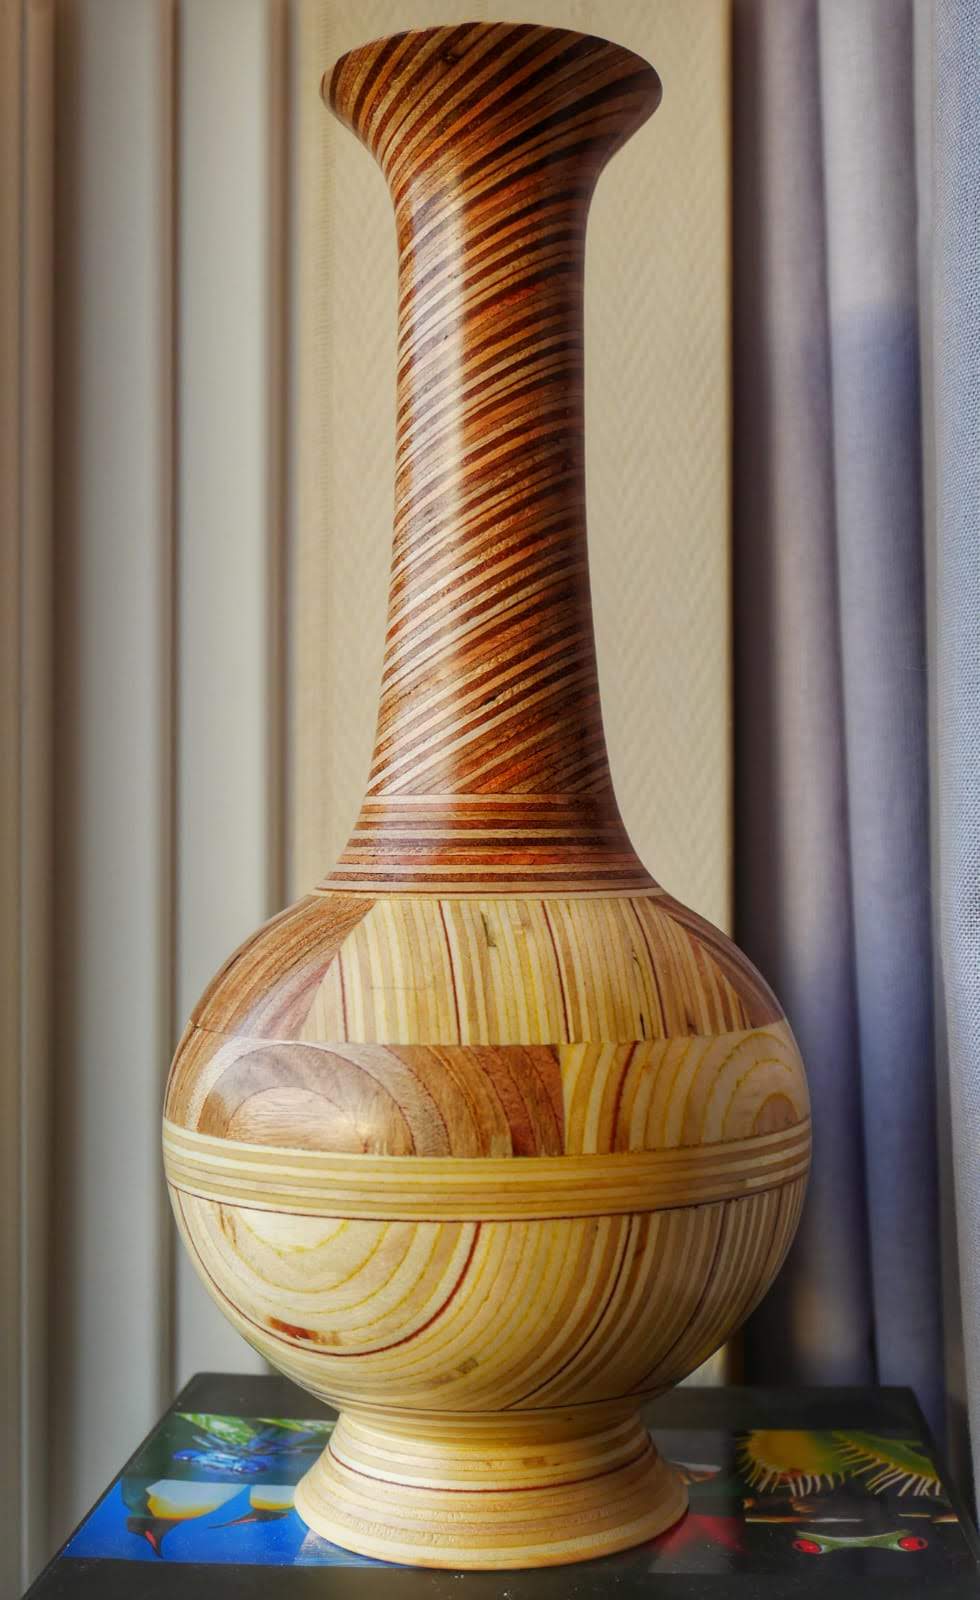
Turn the neck (sorry, no pic) and then glue that on and turn to the finished article:

PV8.jpg


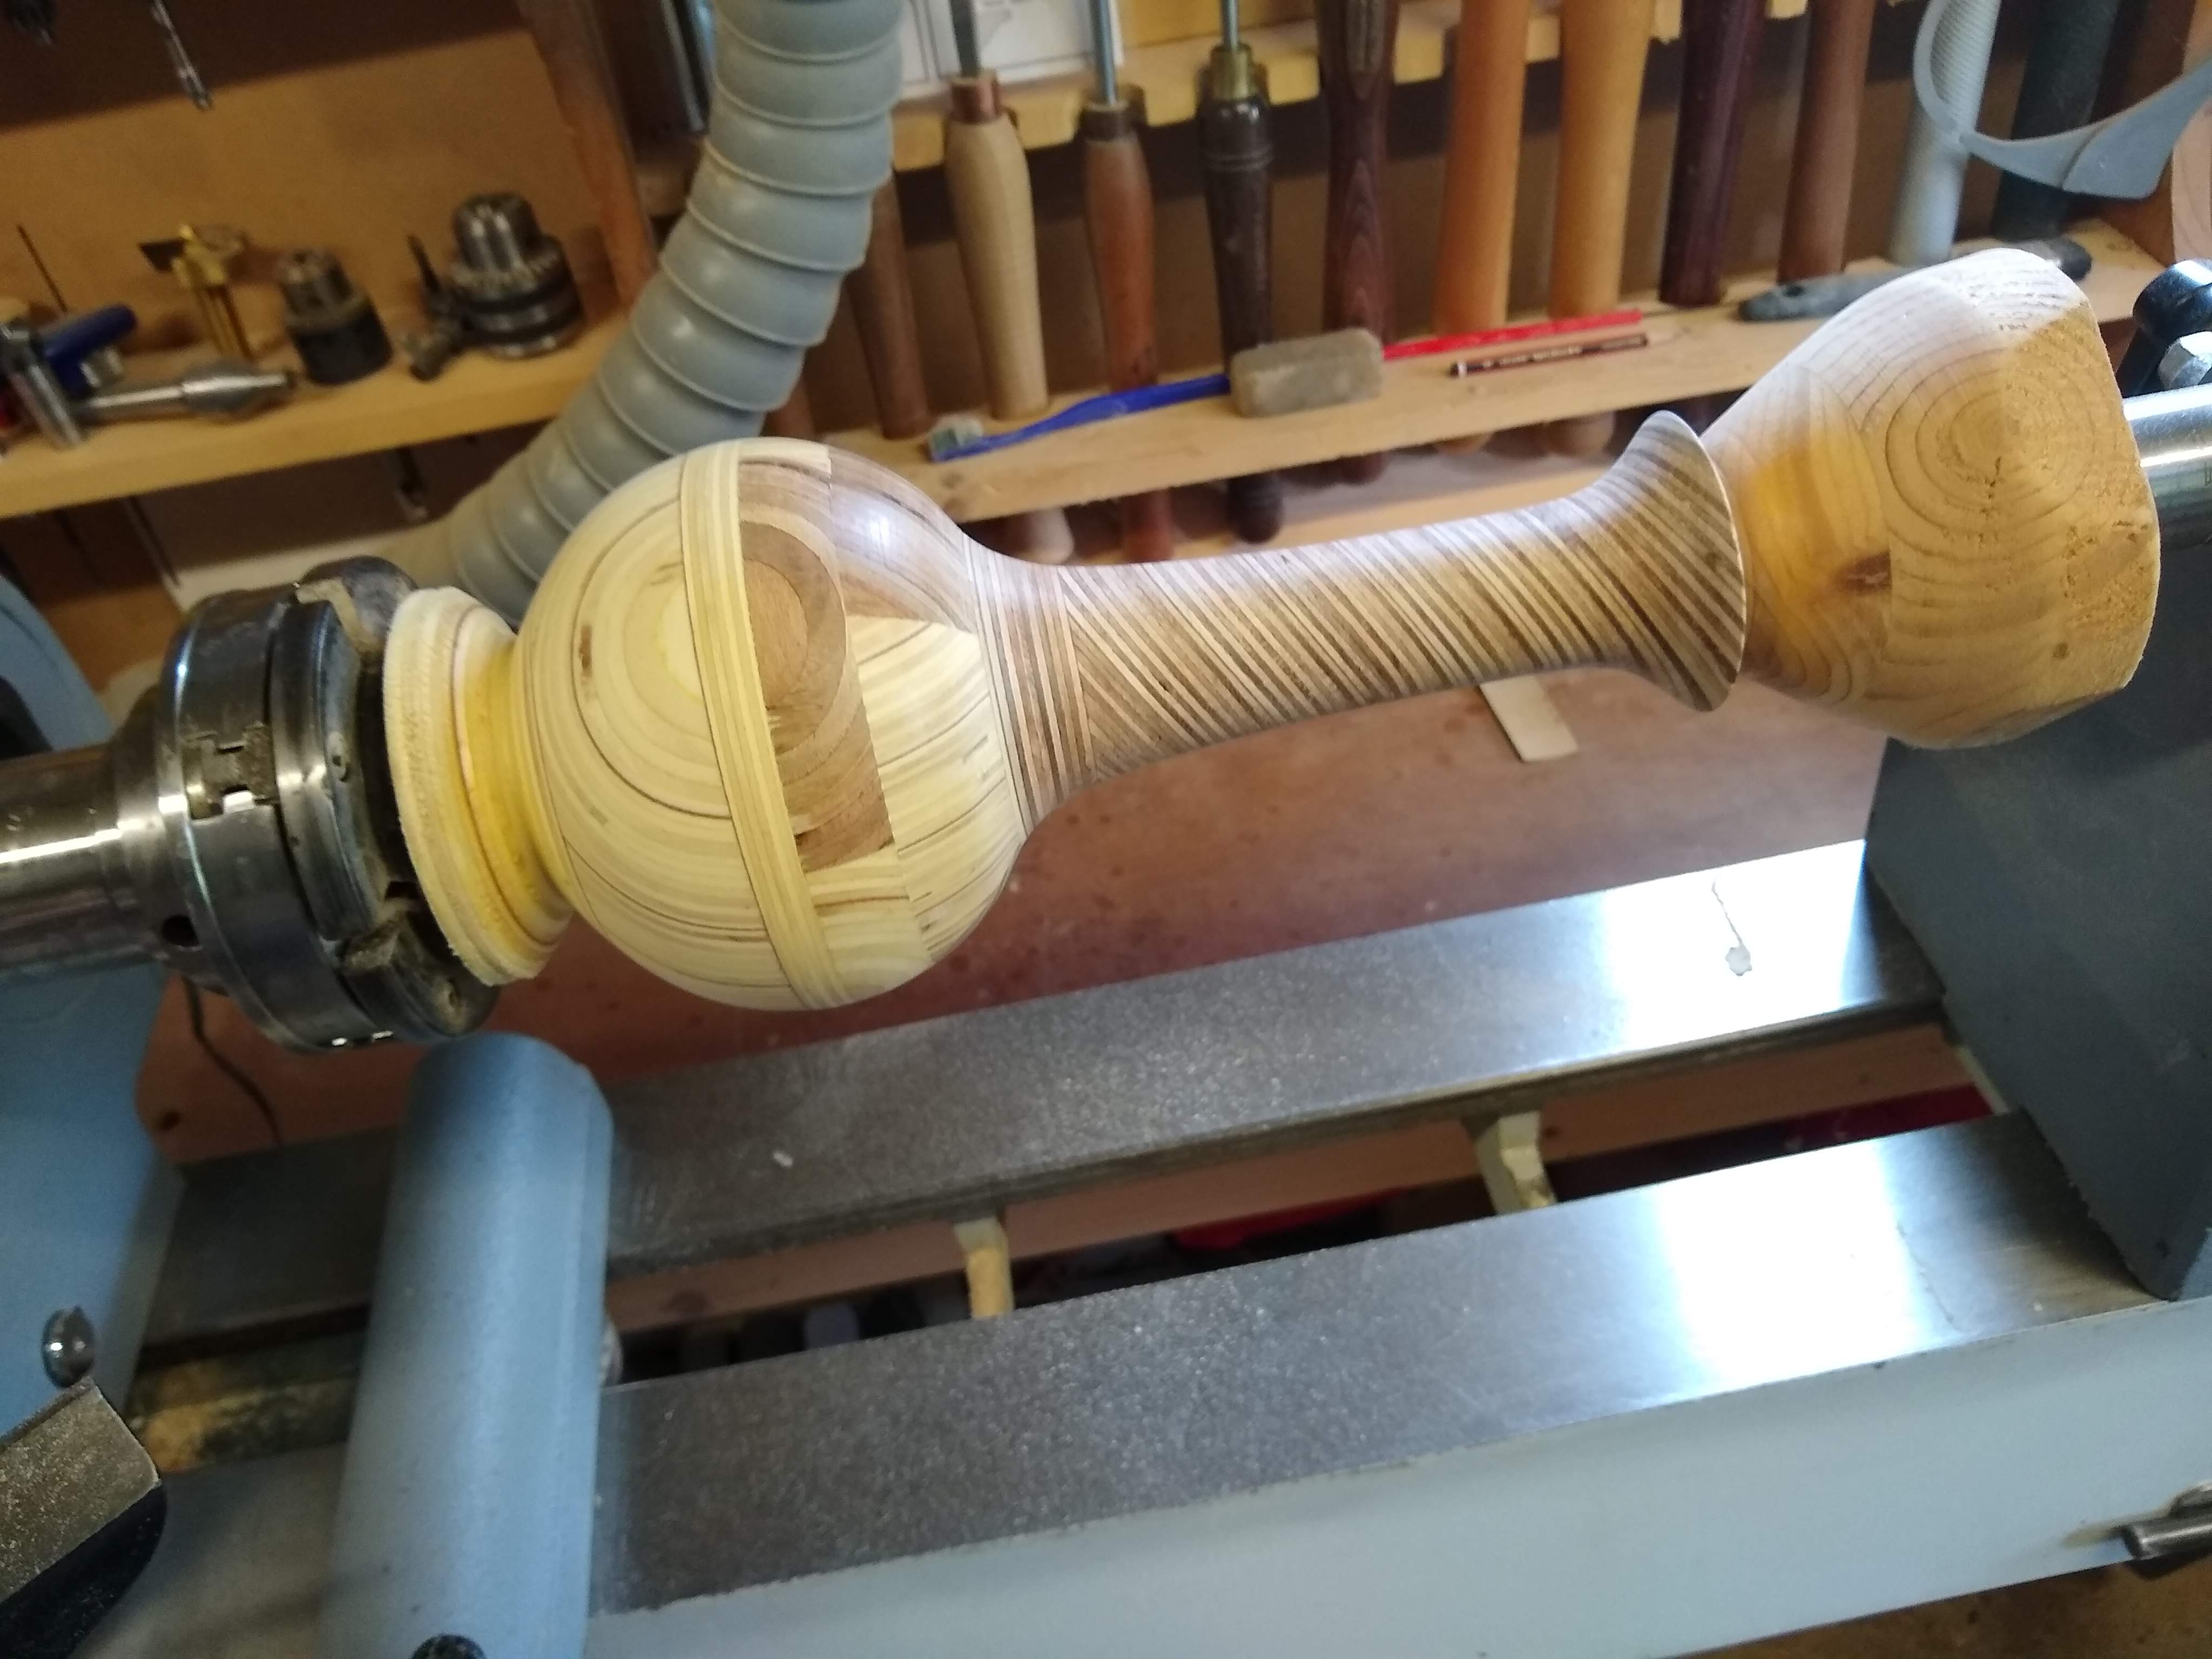
Slap on some paste wax, and voila:

PV9.jpg
 
Really nice.

I've got a couple of lamp bases bought from a charity shop of similar style.
 
And a worthy winner of the competition. ;)

Oh, and Titebond would be proud of you as well! :lol:
 
Clever. And I guess that is not B&Poo off the shelf plywood, ie I see no voids. Do let us know how you got on in the comp.
 
Andyp":2pd5jsf7 said:
I guess that is not B&Poo off the shelf plywood, ie I see no voids.

Actually it is - or similar quality. Definitely not marine or birch ply anyway. I bought a couple of 8 x 4 sheets of 18mm from my local builders merchant a few years ago when I was building benches for my workshop. The offcuts have been hanging around in there ever since, along with some 12mm that actually was from B&Q. Another useful thing they teach you at luthier school is grain filling. Rustins grain filler is your friend there.
 
Well done hope it does well.

The only thing for me is the top half of the round section It would look better if it mirrored the bottom and then have the neck as you have done. It just looks too fussy with all the different directions of the ply.

That still does not distract from the good glue-ups with no gaps and the shape of the whole is very pleasing as well as the finish looks good from the photo
 
Very clever. Andy Pickard over in Devizes does a lot of segmented turned stuff; quite an art to get all the segments in exactly the right place - Rob
 
No mention of a hole up the middle, so I'm calling this for what it is: a mallet. :)
 
:lol: :lol: Oh OK.....a hollow mallet. Filled with sand, that could be quite effective.
 
Back
Top