
Continuing to catch up on a few projects I didn't WIP, here's on I did for a family member last year.
Before, it was just a place to put stuff:
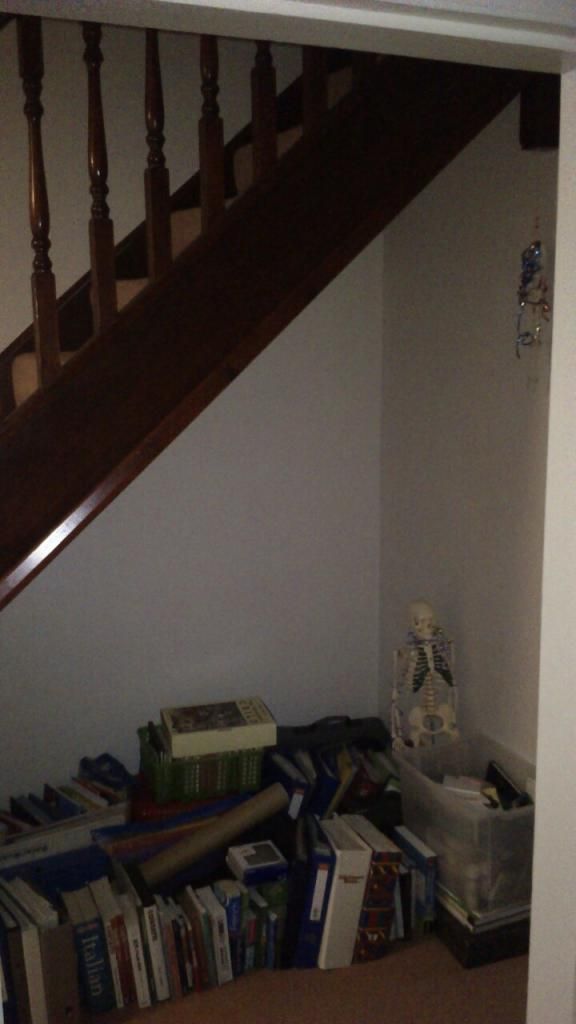
They'd seen a unit that was part cupboard, part bookshelf that wouldn't dominate the hallway so I followed that as the brief. My first issue was the plasterboard under the stairs was popcorn finish, I'd never be able to get a nice finish onto it. I could have sanded it but decided it was less mess to just take it down and replaster. Thick plaster board used as it's an understairs. Taking off the old:
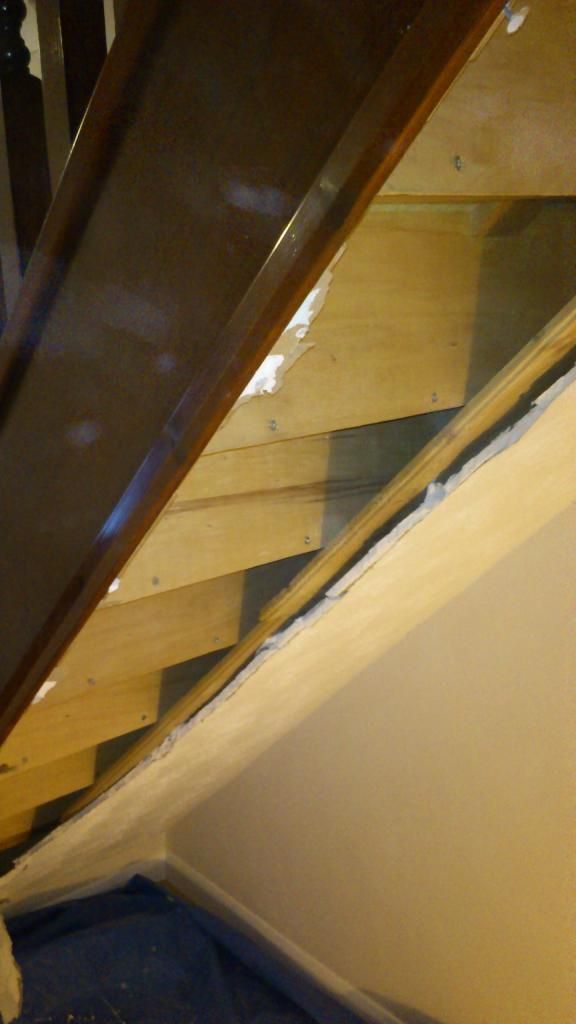
New board up and taped ready for plaster:
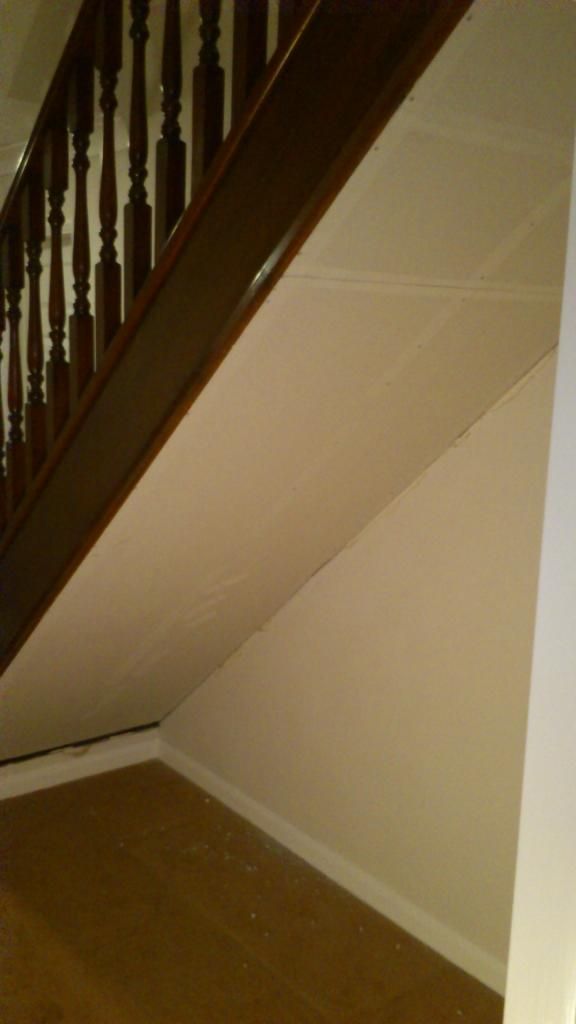
Plastered and paitned:
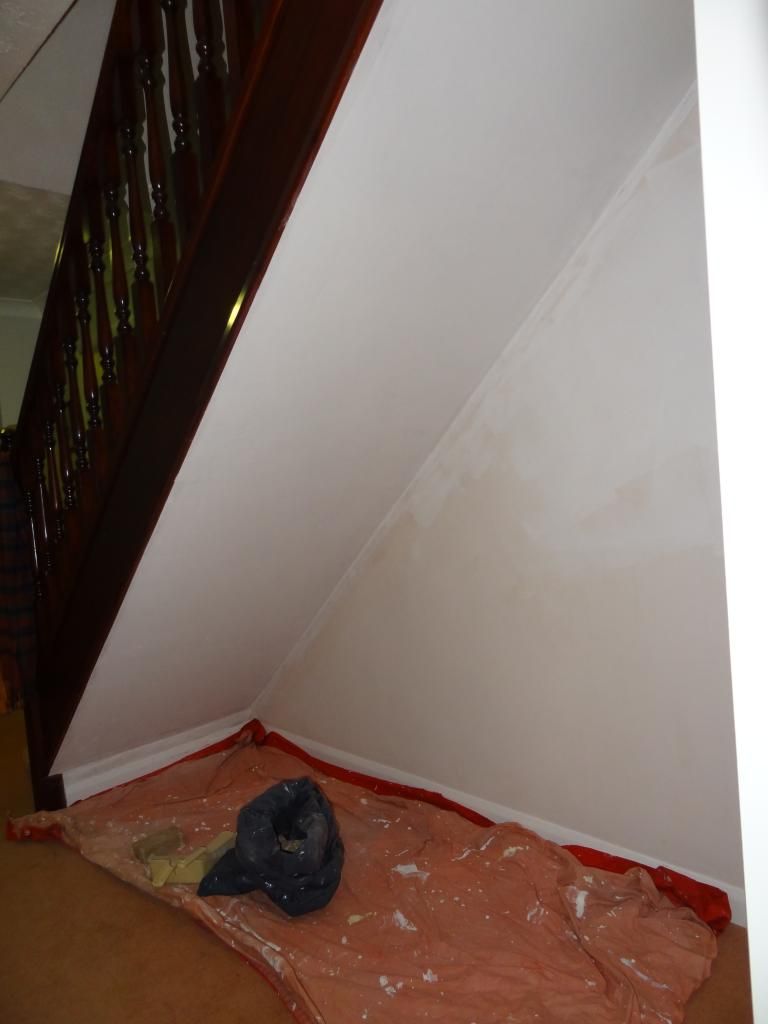
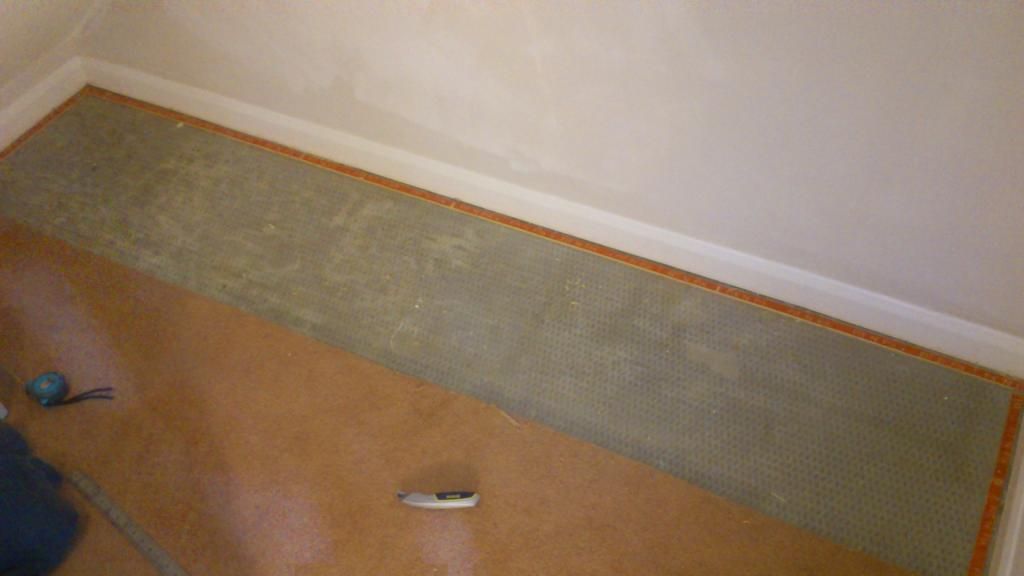
Next I cut away the carpet, this was mainly because they were going to re-carpet once the job was done and also as I prefer to have it sitting on the stable floor.
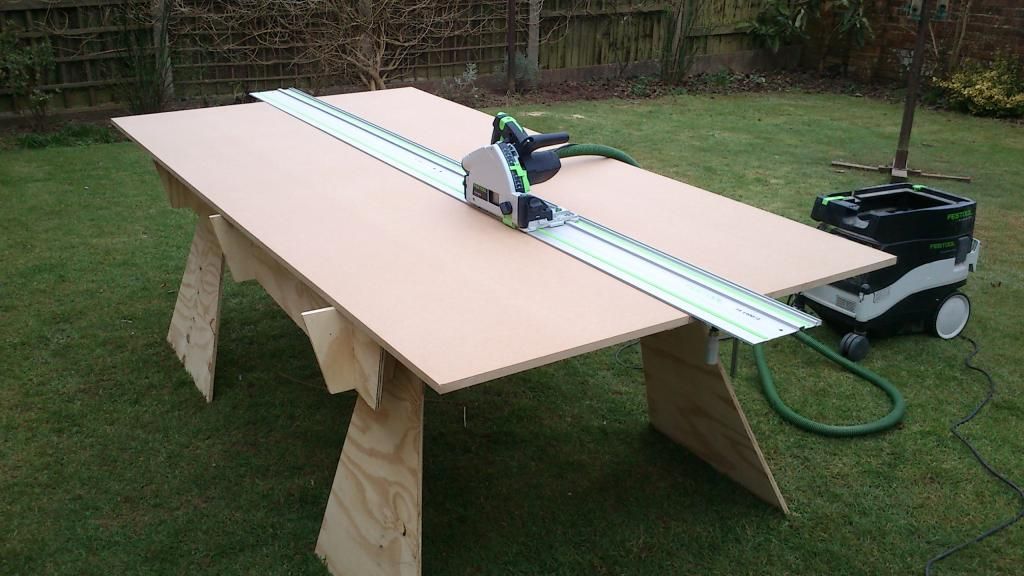
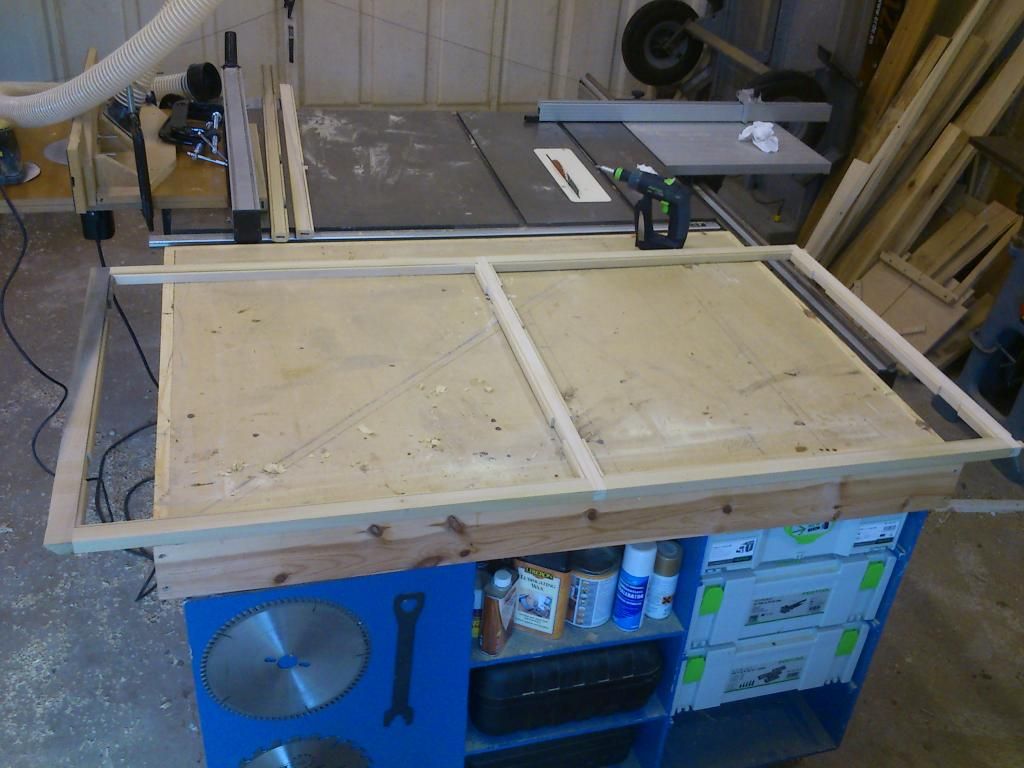
I did the majority of the building on site as it's always a major pain trying to do fitted things and bring them in to find they don't fit! So I made the cutting table that I think tiddles posted on wh1. You can make it from a single sheet of 8x4.
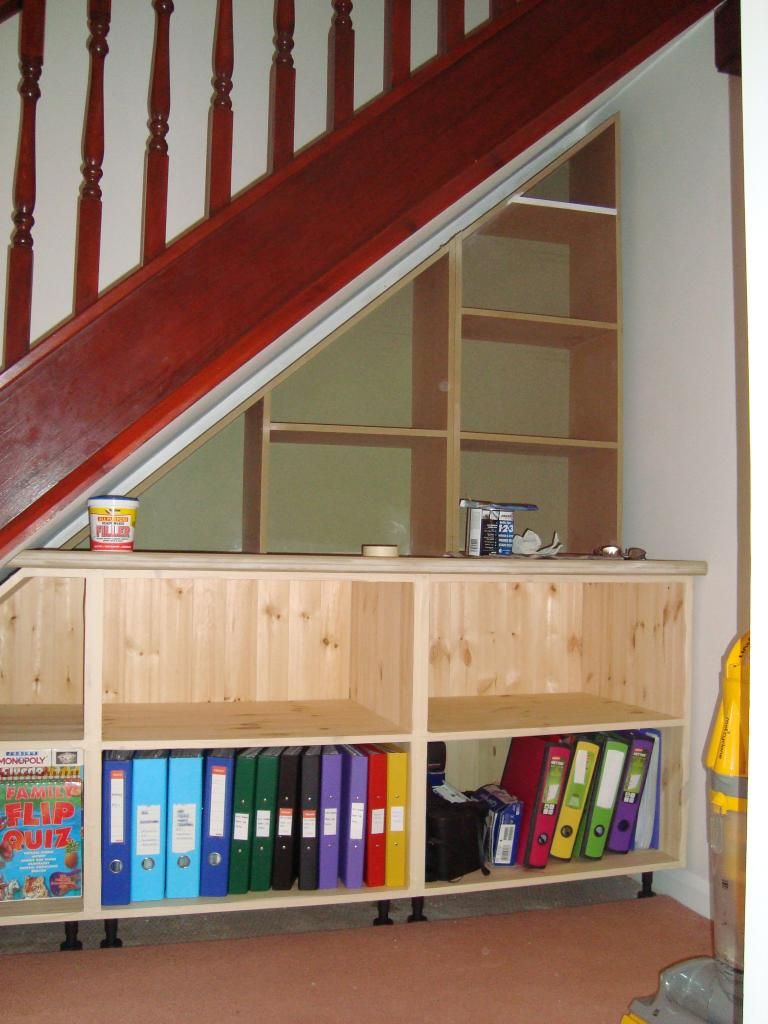
Two simple square carcass first. All screw, pockethole and some domino. I attached it to the wall by first fixing a batton around the wall and then screwing into this. The base units wouldn't be painted so used pineboard for them.
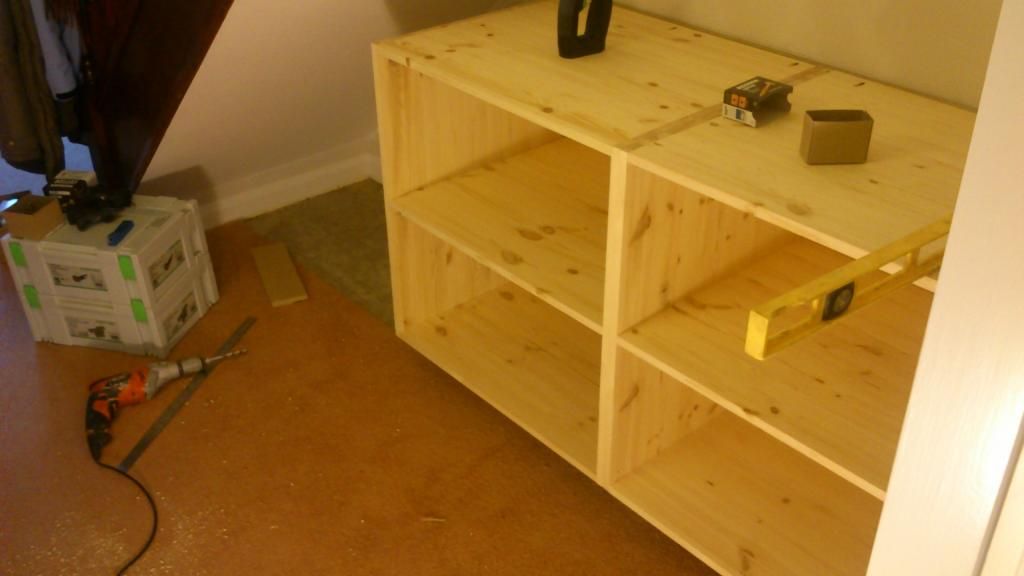
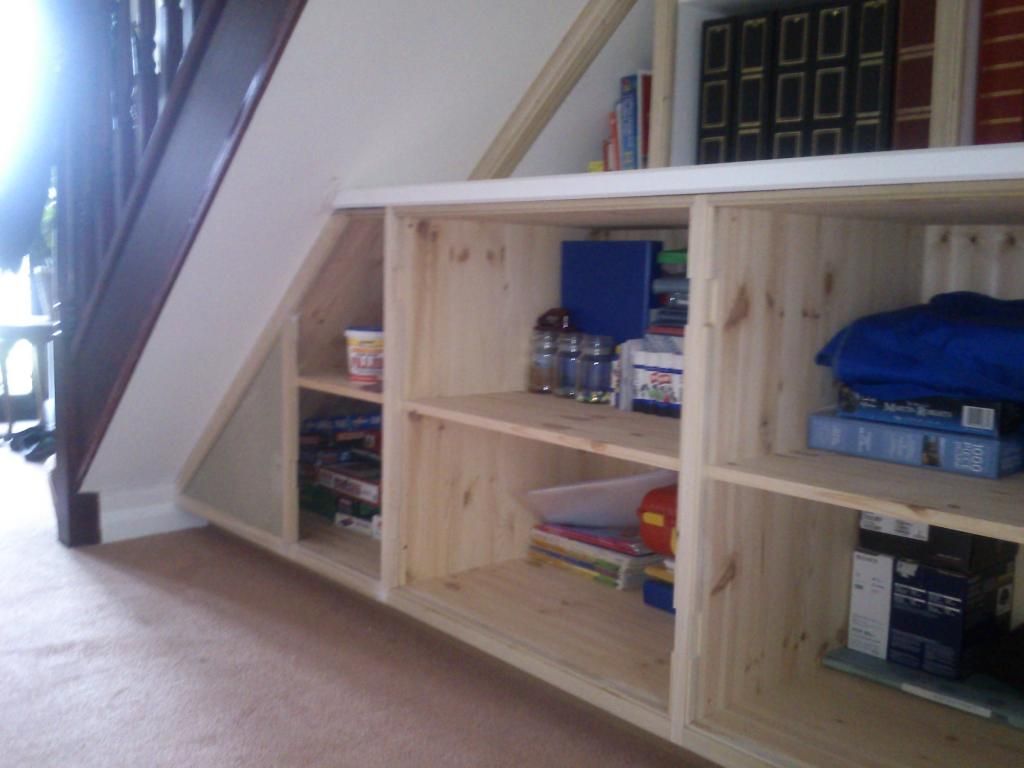
I then added the tricker angled end unit:
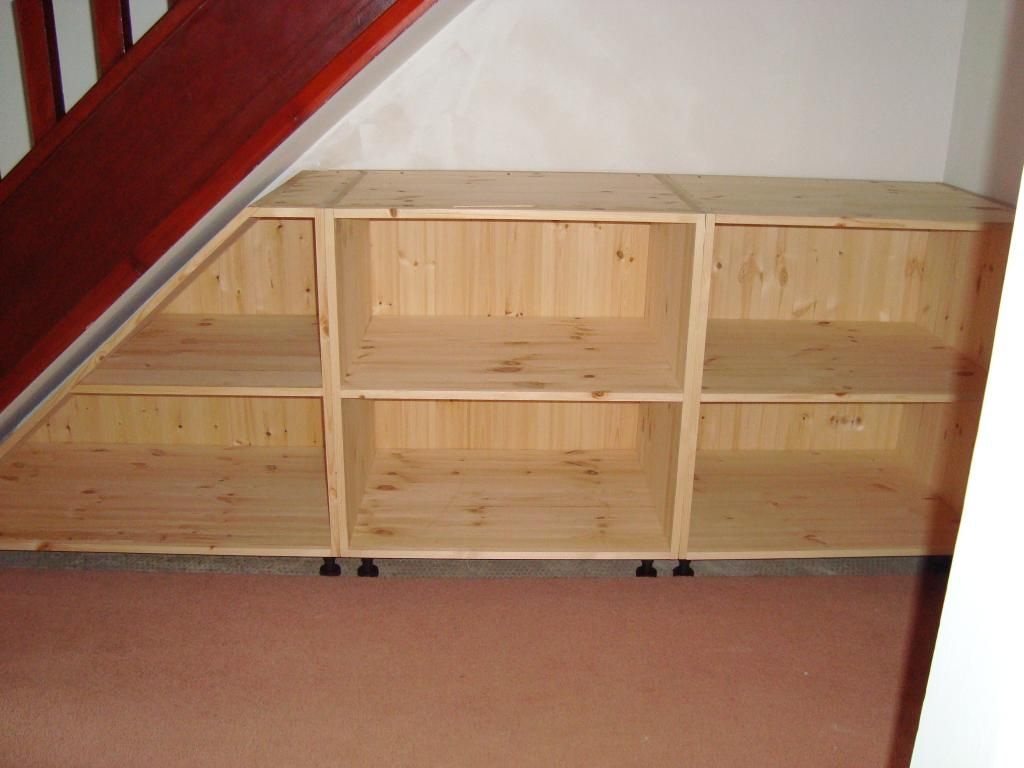
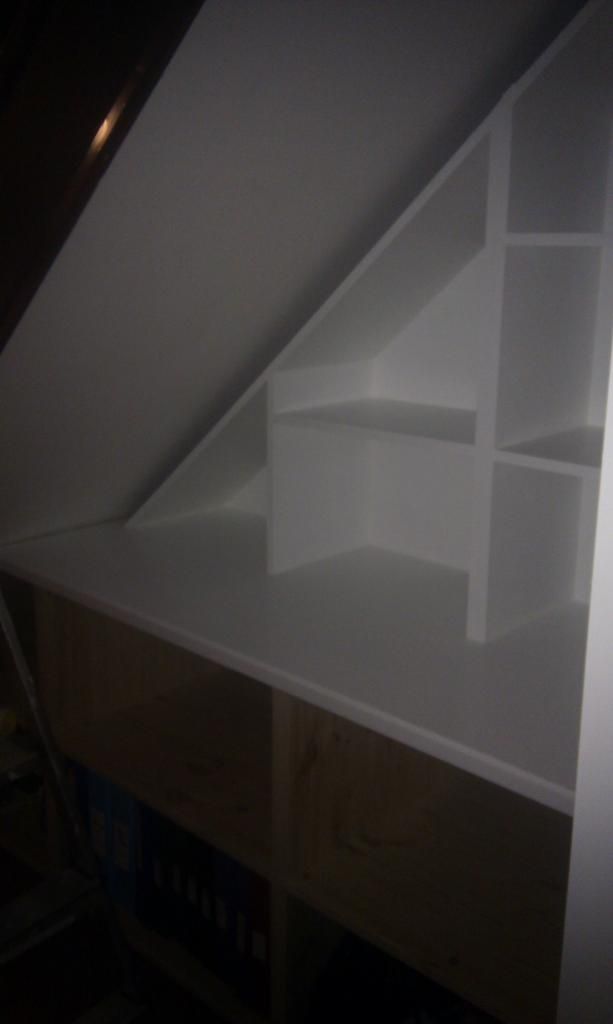
Then I added the worktop and upper bookshelf. 18mm MR-MDF, dominos and screws and 9mm back panel for the bookcase. I made the worktop by laminating two pieces of 18mm to get nice thick look. I did want to do a real wood top but the client wanted a painted worktop.
I didn't do any of the painting so that was great! The undercoat was Zinnser BIN with many top coats of water based gloss applied with a foam brush and roller.
I then started work on the faceframe for the top unit, made from poplar:
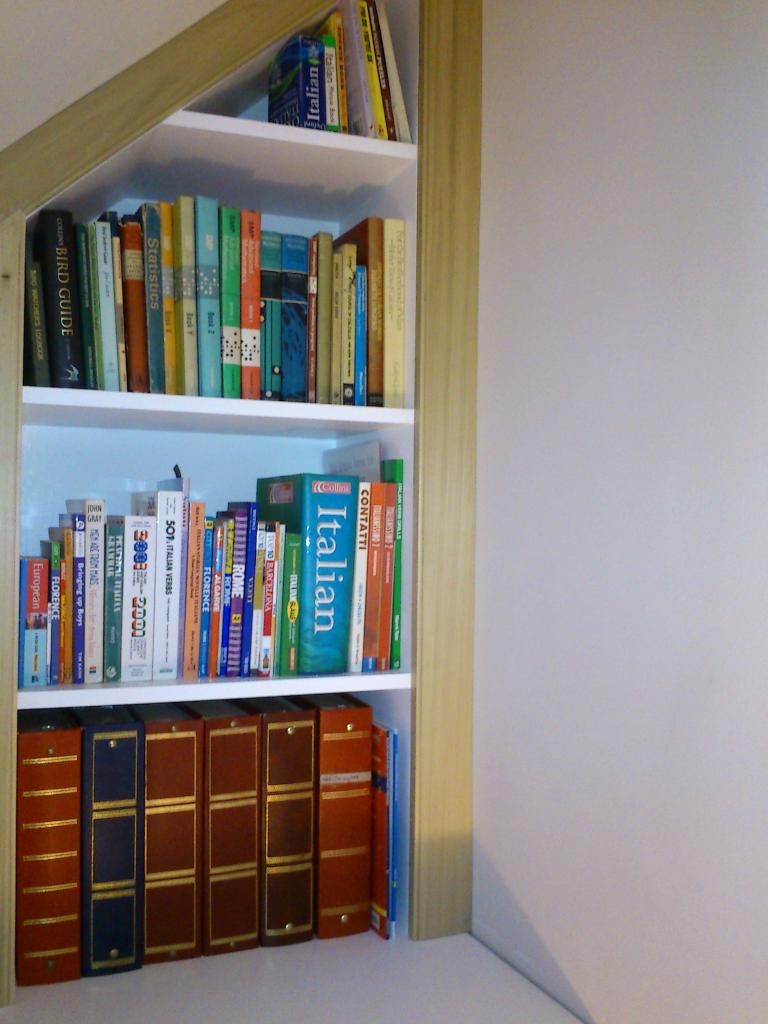
Some very tricky angled joints to cut by hand:
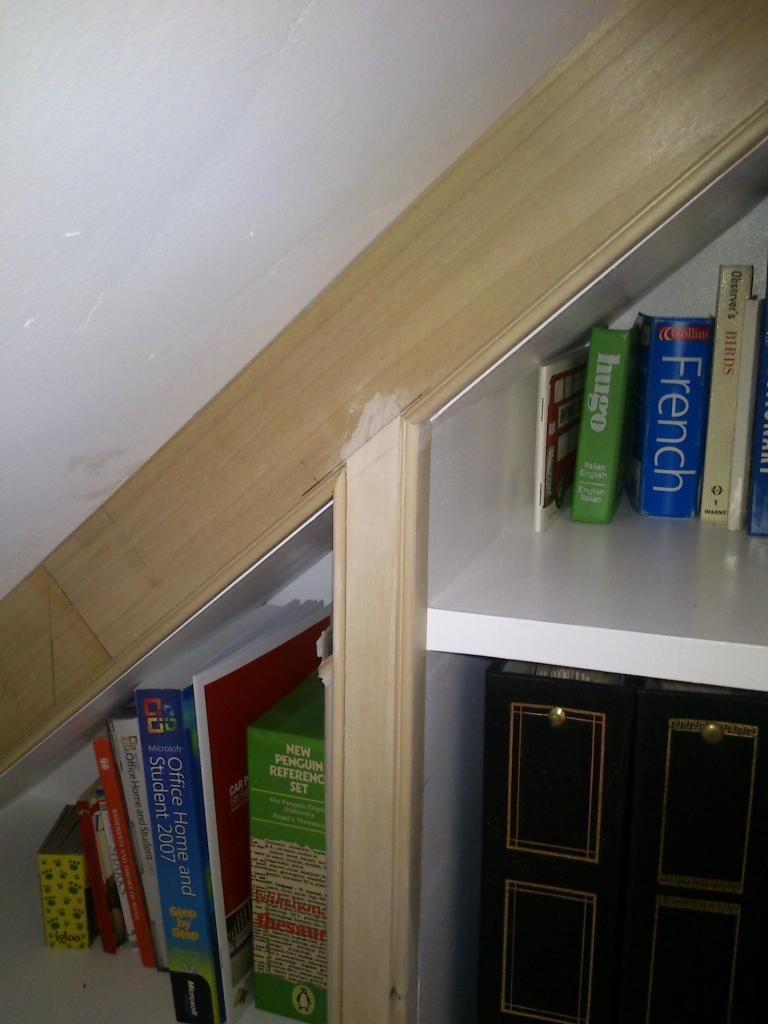
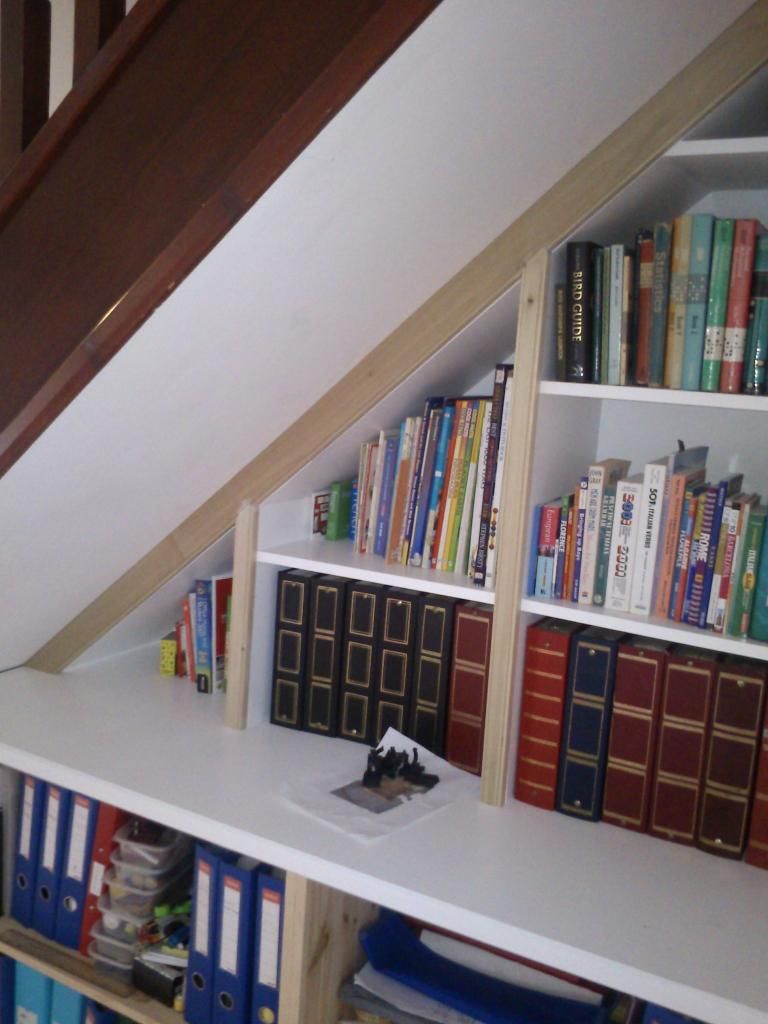
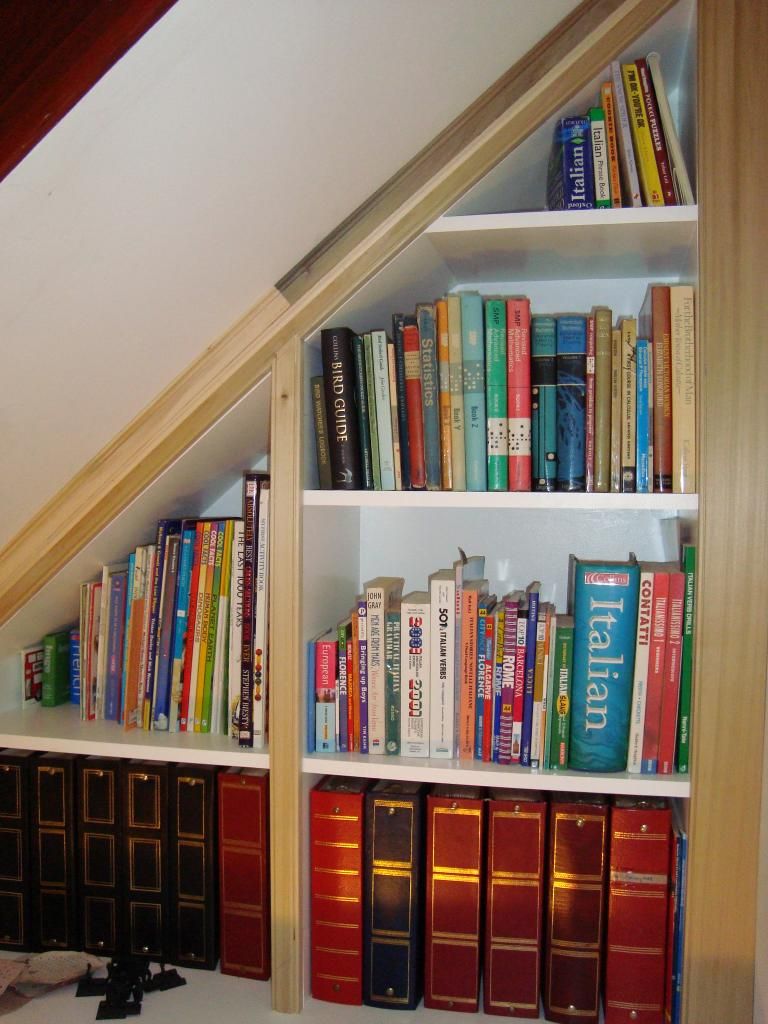
Scribing was pretty successful along the wall, I bevel cut the edges then just worked it in by eye with a combination of plane and sandpaper.
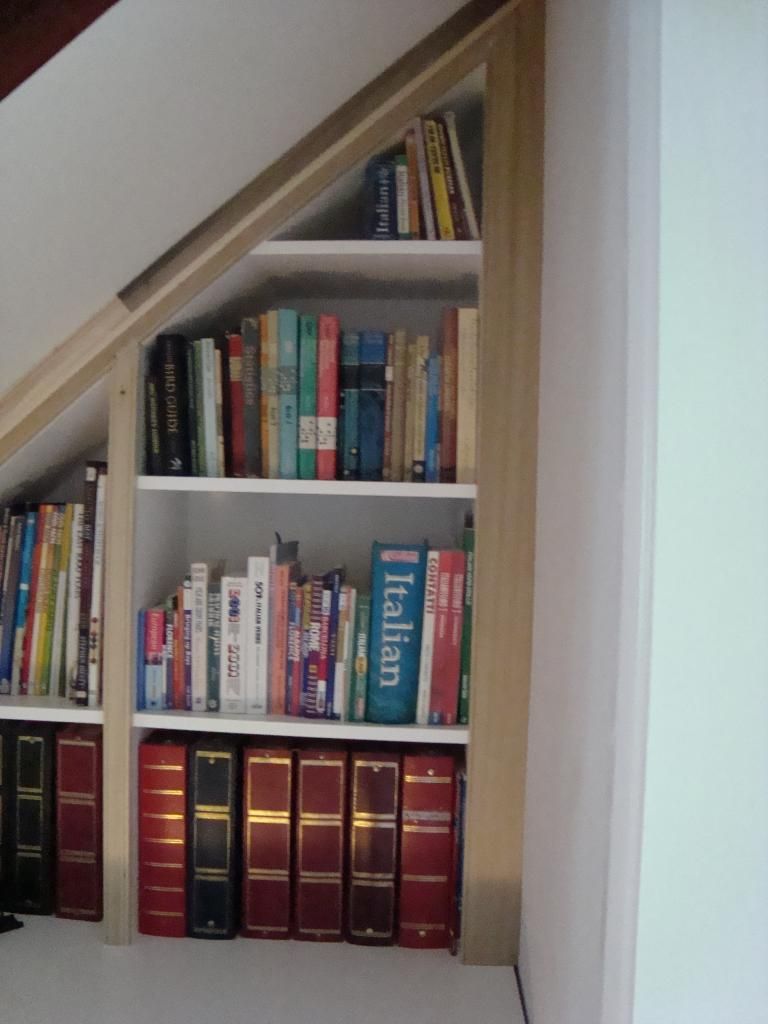
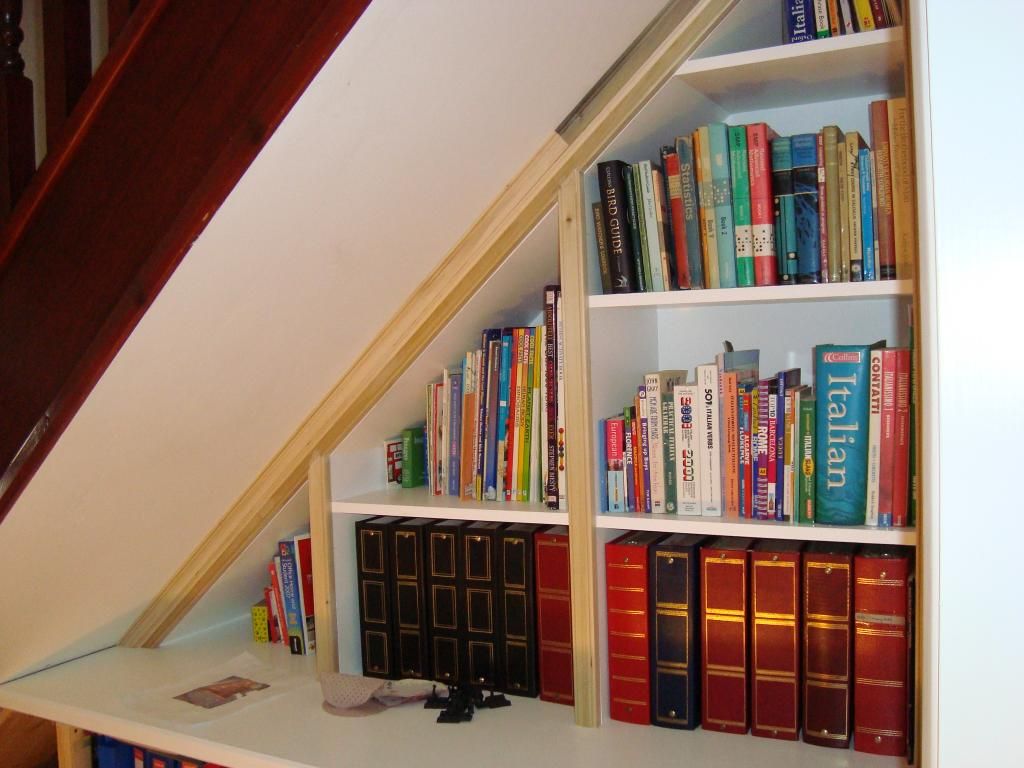
I didn't have any poplar long enough to do the top molding in one go so went with a join mid way. Really shows the different colours you can get with poplar.
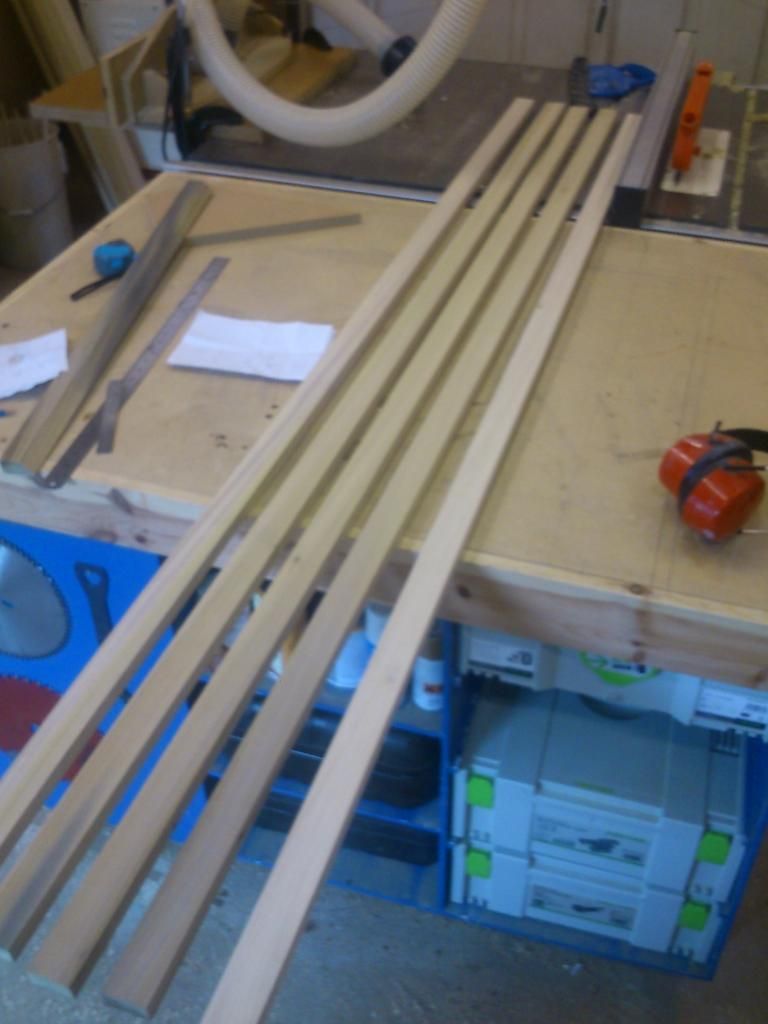
Next onto face framing the base units:
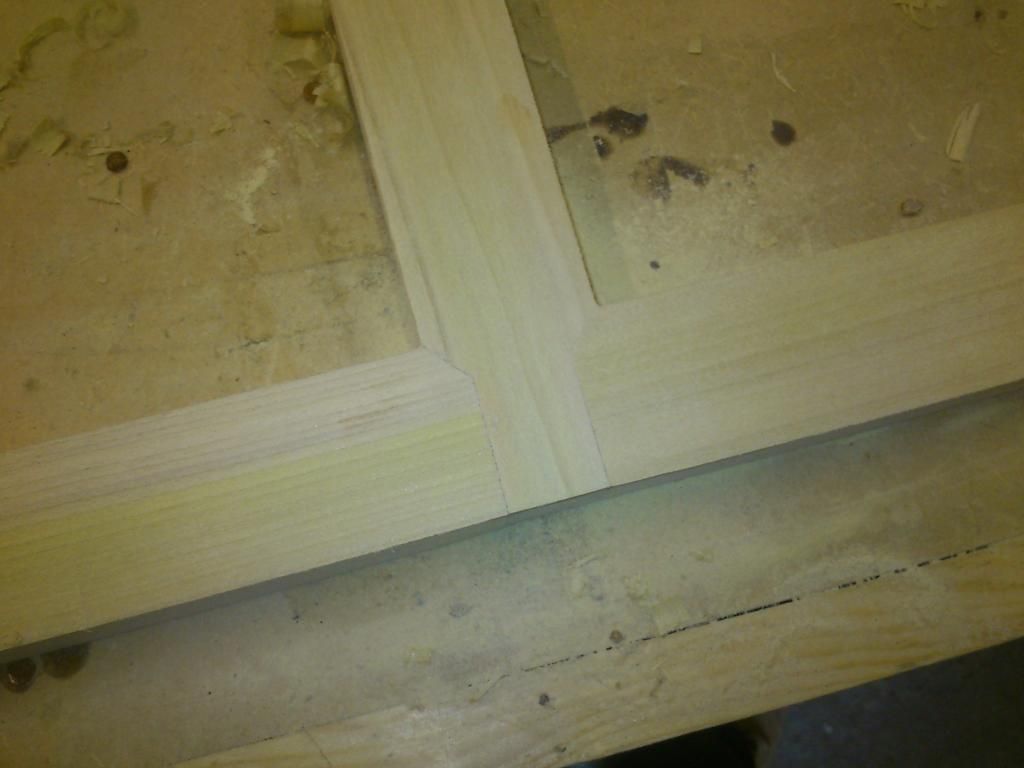
Recessed for 6mm hinges:
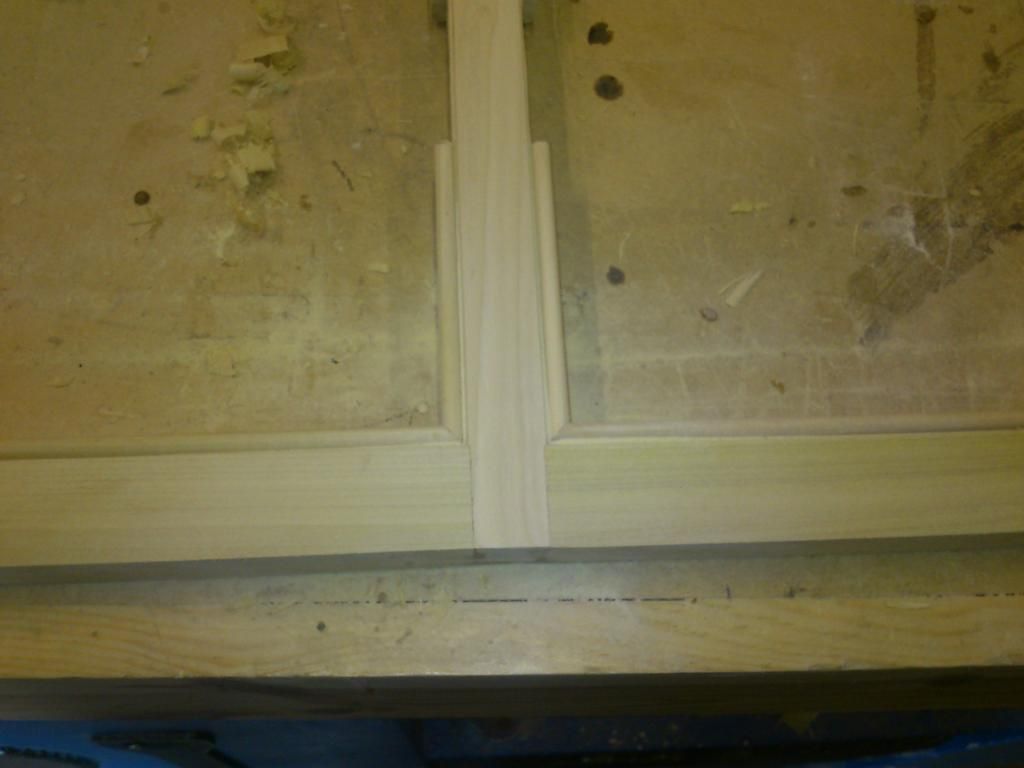
Dominos to fix it all together:
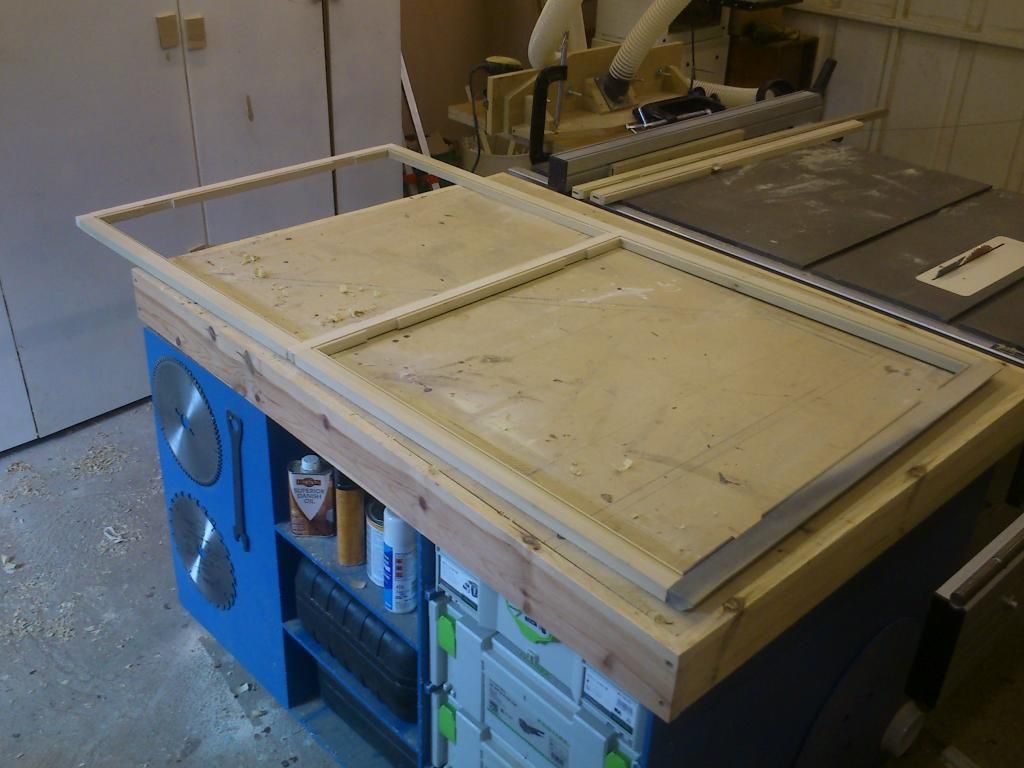
The angled end was again done on site to ensure it all fitted:
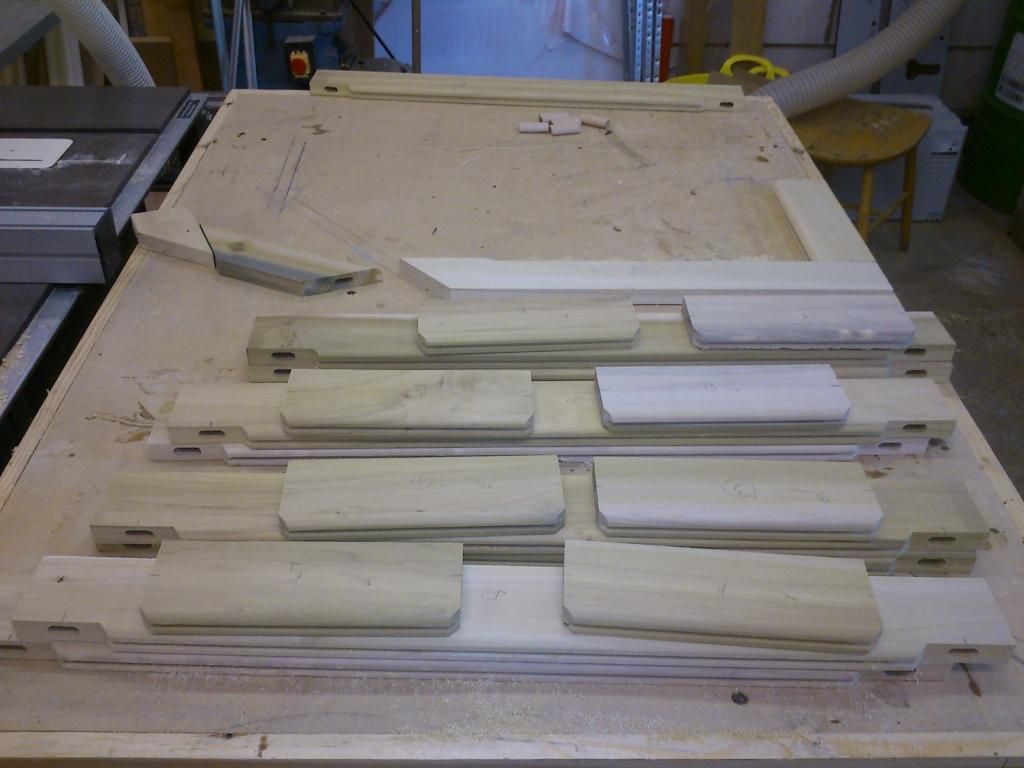
Finally the doors, poplar frames and panels, no idea why I didn't use MDF panel:
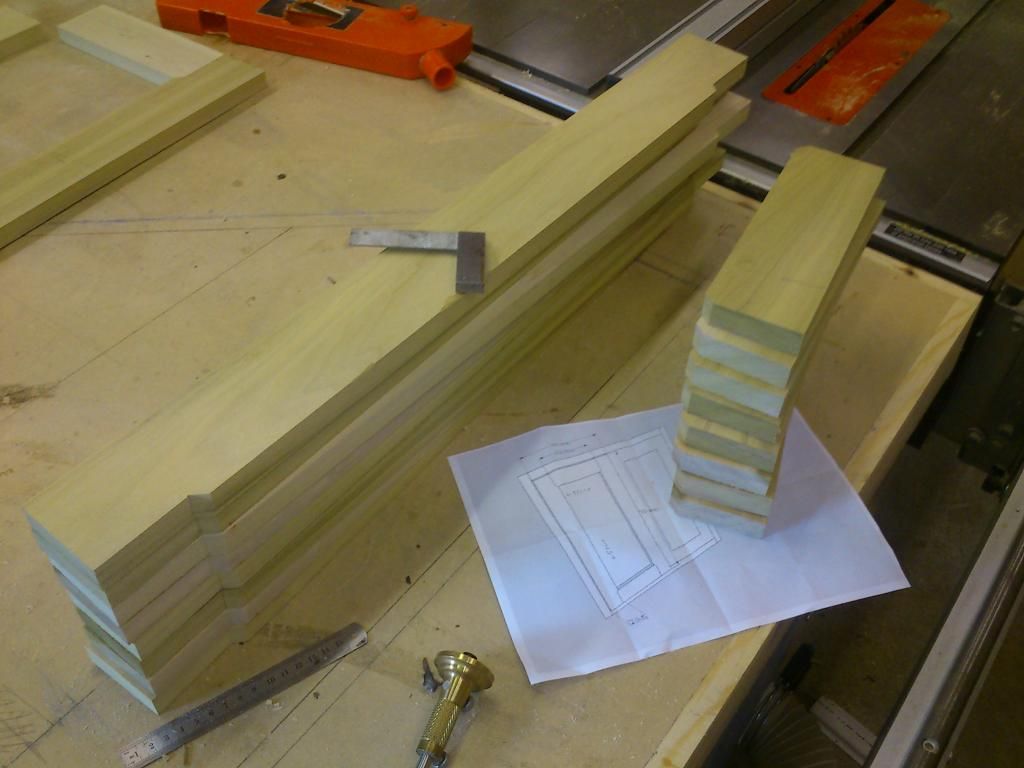
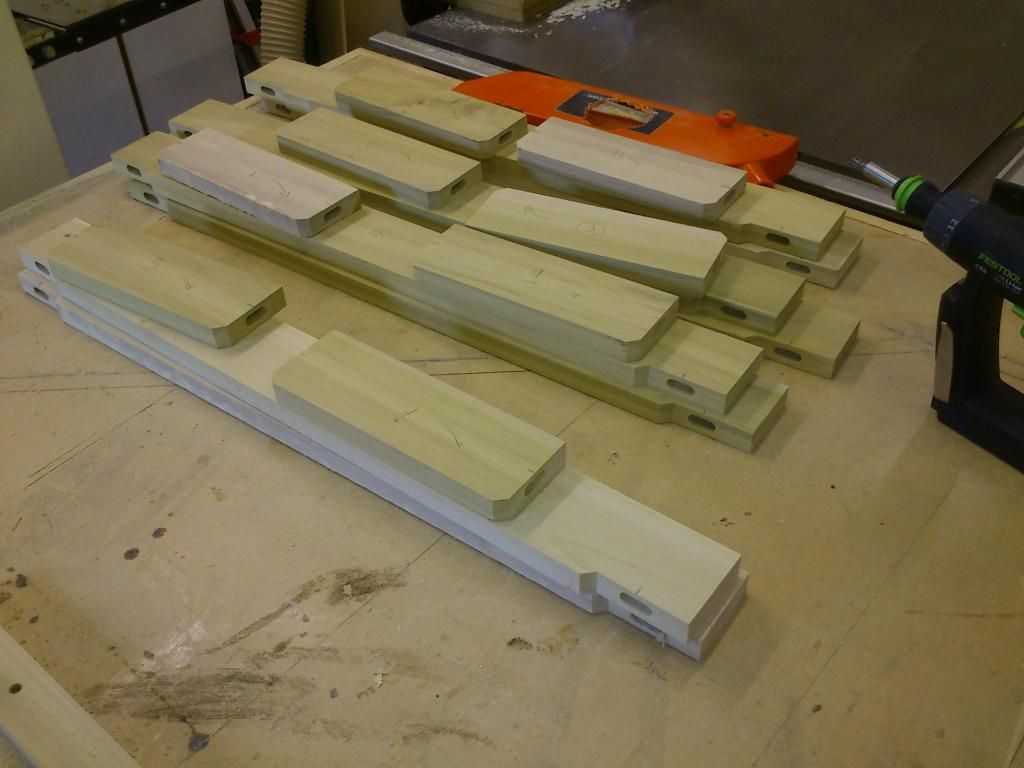
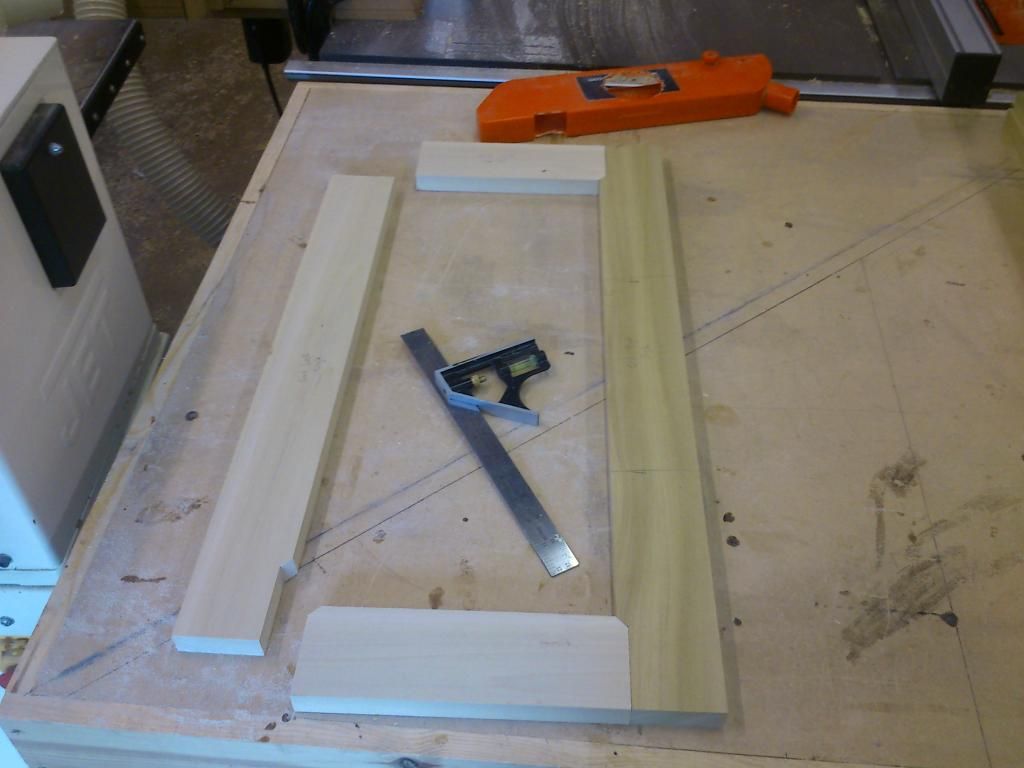
Angled door:
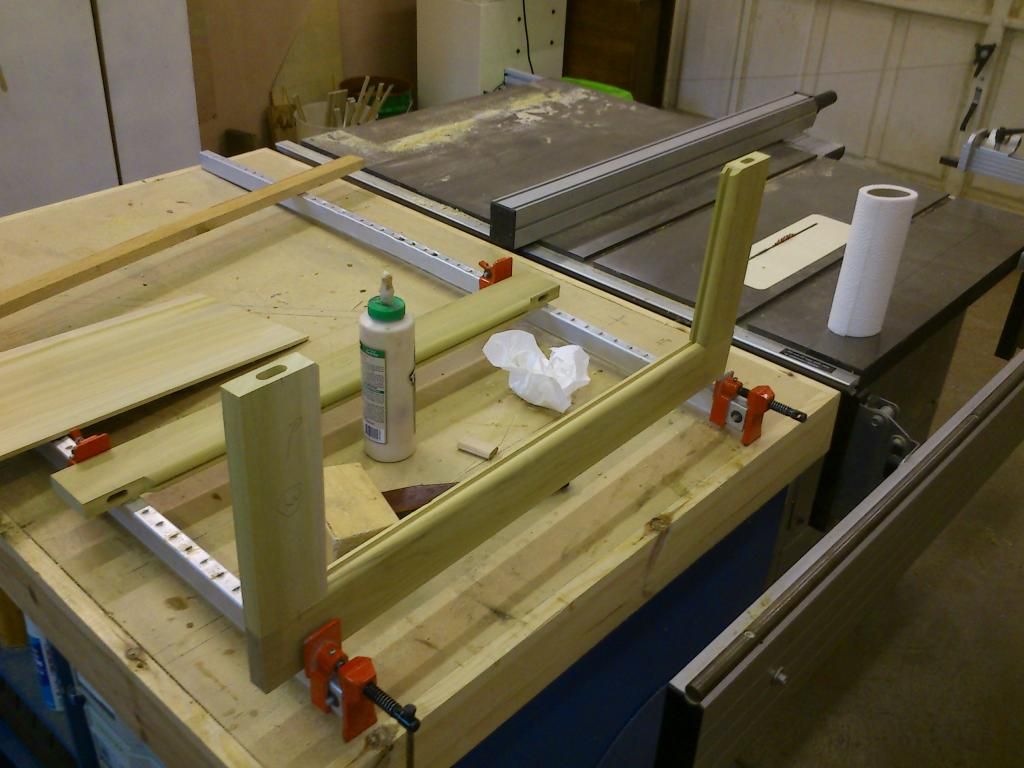
Glue up:
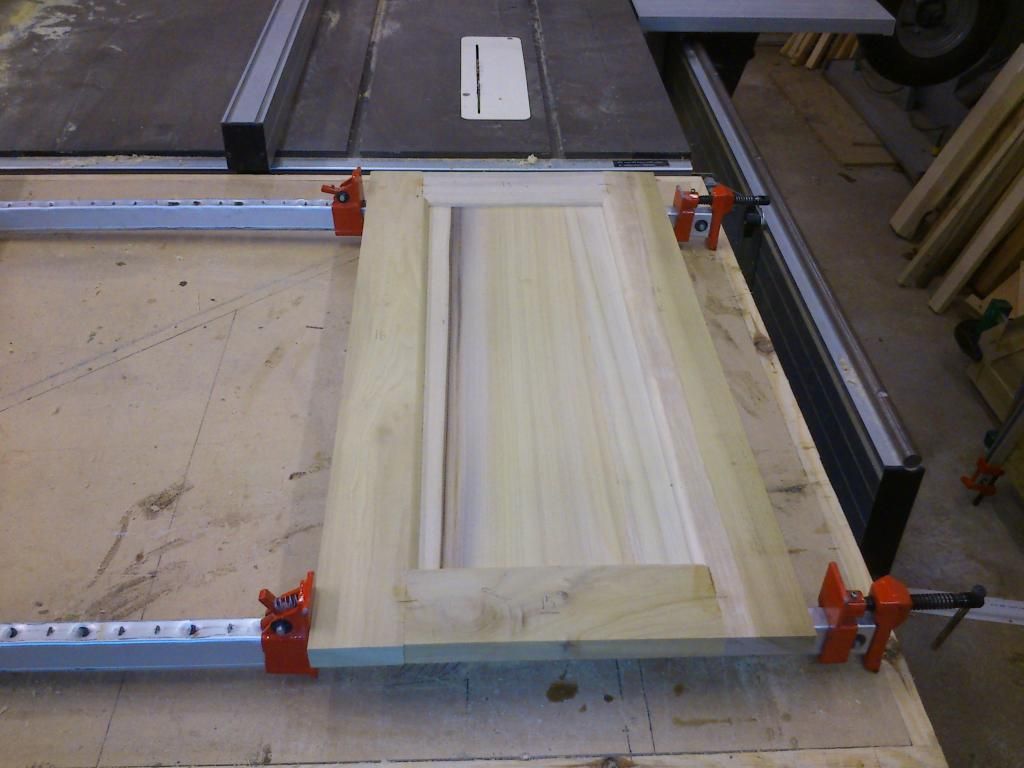
Doors fitted:
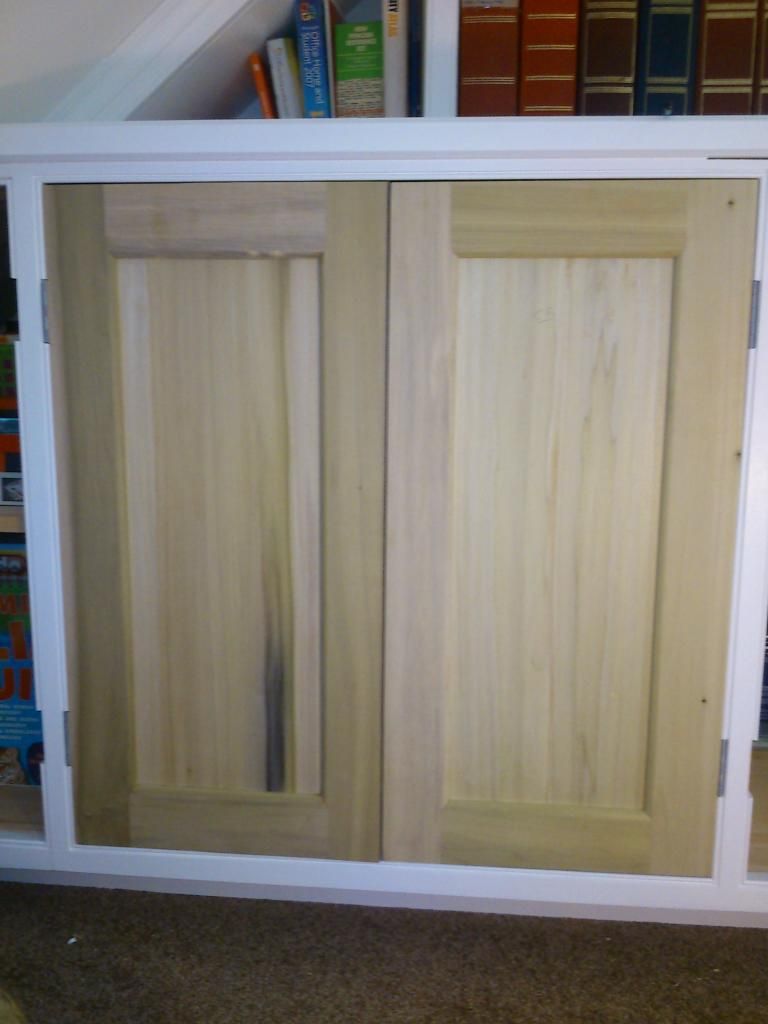
All doors fitted:
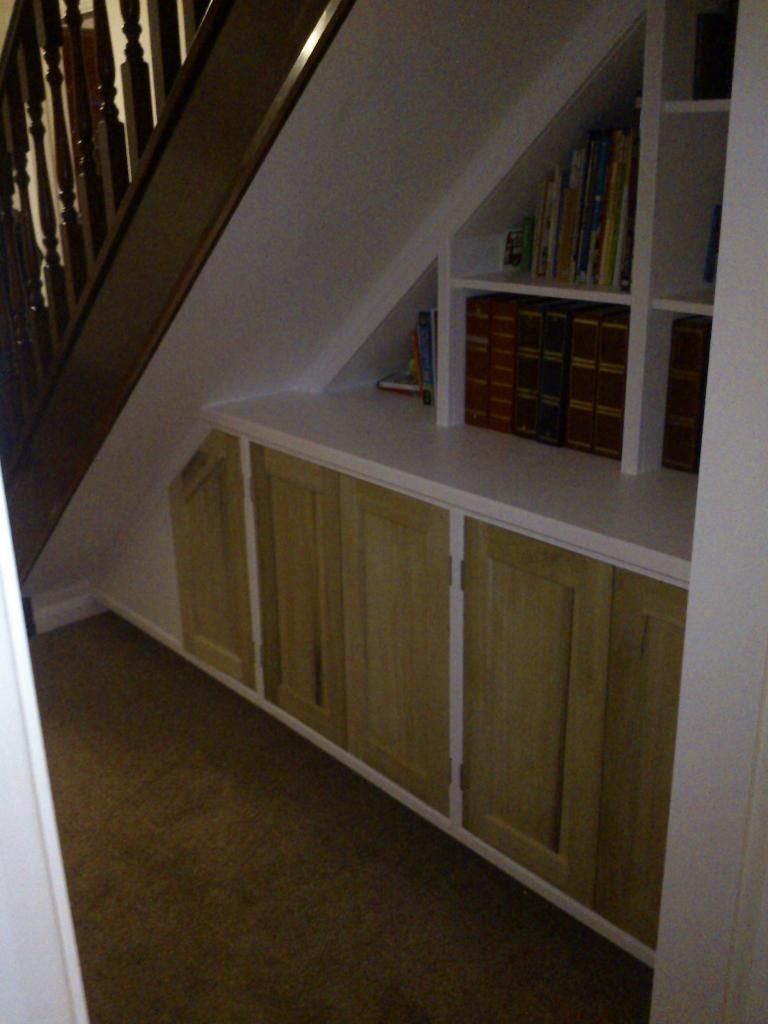
I made a full size template for the end door and still made it wrong!
The finish unit:
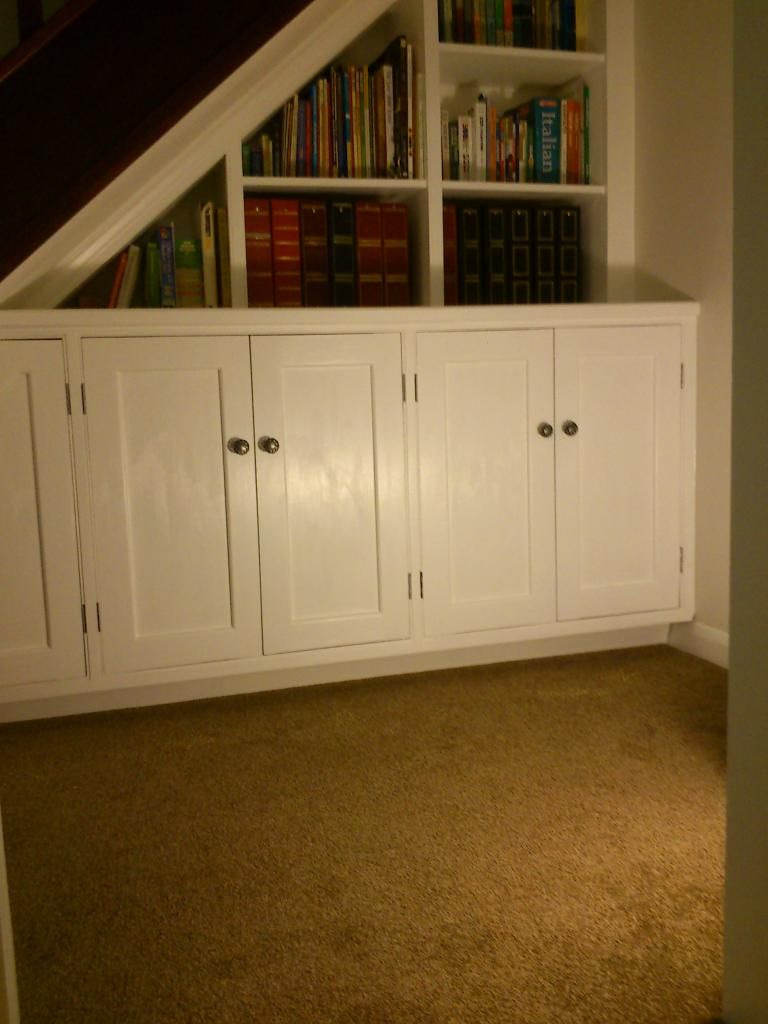
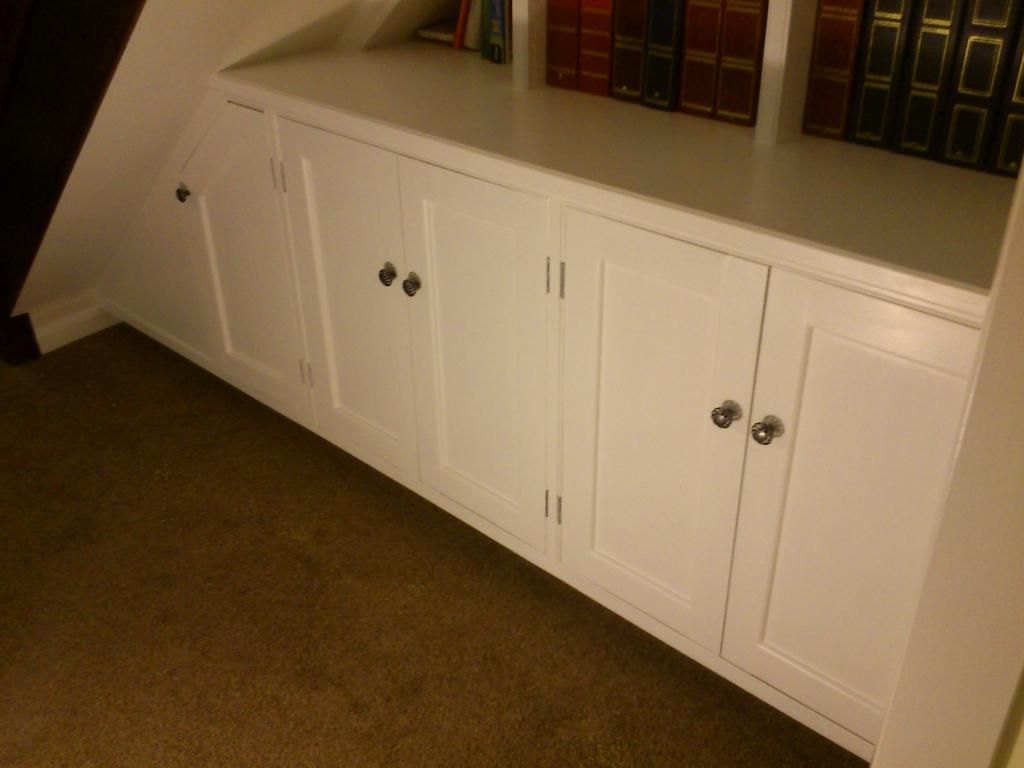
Apologies for the difficult camera angles, it's hard to get far enough away to get it all in.
Before, it was just a place to put stuff:

They'd seen a unit that was part cupboard, part bookshelf that wouldn't dominate the hallway so I followed that as the brief. My first issue was the plasterboard under the stairs was popcorn finish, I'd never be able to get a nice finish onto it. I could have sanded it but decided it was less mess to just take it down and replaster. Thick plaster board used as it's an understairs. Taking off the old:

New board up and taped ready for plaster:

Plastered and paitned:

Next I cut away the carpet, this was mainly because they were going to re-carpet once the job was done and also as I prefer to have it sitting on the stable floor.

I did the majority of the building on site as it's always a major pain trying to do fitted things and bring them in to find they don't fit! So I made the cutting table that I think tiddles posted on wh1. You can make it from a single sheet of 8x4.

Two simple square carcass first. All screw, pockethole and some domino. I attached it to the wall by first fixing a batton around the wall and then screwing into this. The base units wouldn't be painted so used pineboard for them.

I then added the tricker angled end unit:

Then I added the worktop and upper bookshelf. 18mm MR-MDF, dominos and screws and 9mm back panel for the bookcase. I made the worktop by laminating two pieces of 18mm to get nice thick look. I did want to do a real wood top but the client wanted a painted worktop.

I didn't do any of the painting so that was great! The undercoat was Zinnser BIN with many top coats of water based gloss applied with a foam brush and roller.

I then started work on the faceframe for the top unit, made from poplar:

Some very tricky angled joints to cut by hand:


Scribing was pretty successful along the wall, I bevel cut the edges then just worked it in by eye with a combination of plane and sandpaper.


I didn't have any poplar long enough to do the top molding in one go so went with a join mid way. Really shows the different colours you can get with poplar.
Next onto face framing the base units:


Recessed for 6mm hinges:

Dominos to fix it all together:


The angled end was again done on site to ensure it all fitted:

Finally the doors, poplar frames and panels, no idea why I didn't use MDF panel:


Angled door:

Glue up:


Doors fitted:

All doors fitted:

I made a full size template for the end door and still made it wrong!
The finish unit:


Apologies for the difficult camera angles, it's hard to get far enough away to get it all in.


