• Hi all and welcome to TheWoodHaven2 brought into the 21st Century, kicking and screaming! We all have Alasdair to thank for the vast bulk of the heavy lifting to get us here, no more so than me because he's taken away a huge burden of responsibility from my shoulders and brought us to this new shiny home, with all your previous content (hopefully) still intact! Please peruse and feed back. There is still plenty to do, like changing the colour scheme, adding the banner graphic, tweaking the odd setting here and there so I have added a new thread in the 'Technical Issues, Bugs and Feature Requests' forum for you to add any issues you find, any missing settings or just anything you'd like to see added/removed from the feature set that Xenforo offers. We will get to everything over the coming weeks so please be patient, but add anything at all to the thread I mention above and we promise to get to them over the next few days/weeks/months. In the meantime, please enjoy!

Another sewing machine, progress and help

AndyP

Moderator
Staff member
Joined
Jul 22, 2014
Messages
14,291
Reaction score
1,837
Location
14860 Normandy, France
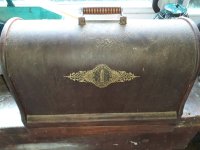
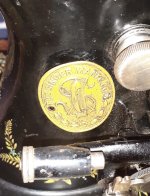
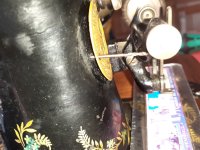
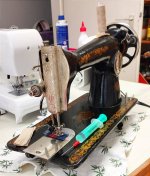
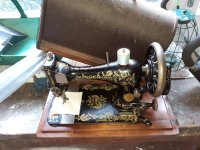
More in hope than expectation of being able to find a needle for AndyT I dug this out of the back my late father’s workshop.
20250803_174928.jpeg

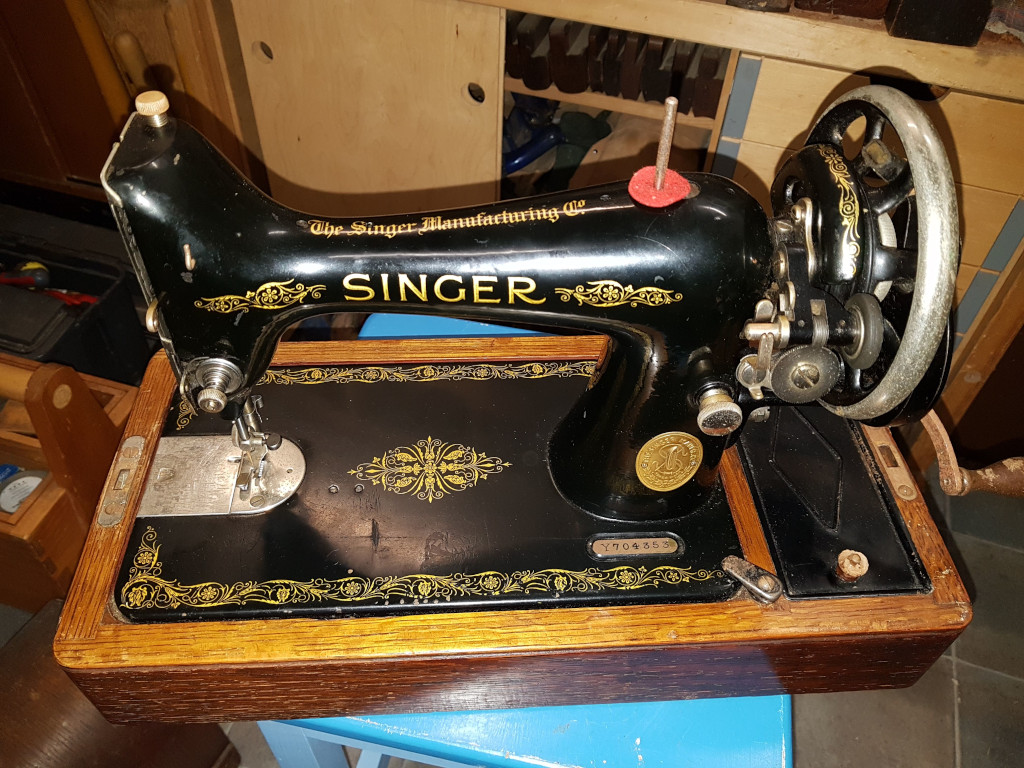
The serial number indicates made around 1894 and is likely to have belonged to my grandmother.

Alas the needles have a flat end where they are clamped and of no use to AndyT.

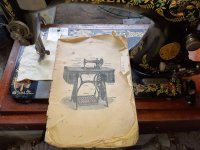
It has piqued my interest though and I will have a go at cleaning it and see if I can get it working.
20250803_175107.jpeg

20250803_175158.jpeg
The case should clean up easily enough but will have to wait until a future visit before I can get it back home.
 
Last edited:
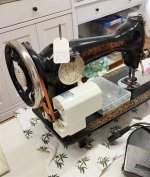
I inherited this one from my mother in law, who got it from her mother. It is a 1922 model according to the serial number.


A bit of light damage; the main turning handle was grated by something, the knob for the thread storage compartment broken, and a thread guide was missing. Sorted now. New knob and rivet:

Replacement thread guide:


BUT ... I do have the bentwood cover, but it is missing its lock, which has been forced open at some stage then removed. Need to find a replacement, or do a very crafty bit of metalwork !
 
I remember my dad's mum had one of those treadle driven machines back in the mid 50's when we went to visit as little'ns. I also recollect that when she wanted to used her 'leccy iron, the twisted braid cord was plugged into a socket on the ceiling lamp!
 
....... I also recollect that when she wanted to used her 'leccy iron, the twisted braid cord was plugged into a socket on the ceiling lamp!

That's how my dad's combined table saw and planer worked. To make it more interesting, there was a male plug on each end of the cable, so if you plugged it into the light first, the plug for the machine end became live. My father took a fairly casual approach to safety.
 
My wife uses sewing machines for her business, but in her spare time has a small collection of Singer machines! We have 4 in the house, one not used but the two hand cranks are used by my daughters. My wife has a Lotus flower design treadle which she uses for dress making. She pretty much only makes vintage clothes and likes to make them on old machines.
 
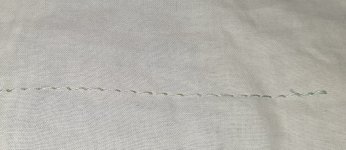
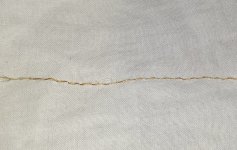
Well I’ve cleaned it gently, removed loads of fluff, oiled where necessary and it is running sweet as a nut. It can even make stitches with it.
Topside
20250816_132807.jpeg
Underneath
20250816_132846.jpeg
Fortunately there was already thread on the bobbin which was was just as well as the mechanism that winds the bobbin is in need of a new rubber wheel which has been ordered.

This leaves just one missing piece, probably the smallest part on the whole machine. The little rivet that holds the trade mark plate in place.
20250816_132212_resized.jpeg

God know where I can find one of those. I can’t find it listed on any of the UK nor US sewing machine spares sites. I am reluctant to try and remove the remaining one for fear of breaking it
 
Andy, if you have a set of small drills, you could see which size is the biggest that fits and estimate how far in it would go.
 
Yes, that's what I'd do (try drill bits).

Failing that, get the wood lathe running and turn a taper on a little piece of scrap. Then shove the taper into the hole and give it a twist.

Pull it out and measure the diameter at the mark. Then shove a pin in (or better, turn a scrap of hard wood to the right diameter & shove that in) to work out the depth.

It's probably just a tight fit brass thing that's been battered to hold the plate in (the brass will deform enough to hold it as long as the pin's a tight fit, even if it's effectively loose at the back).

However, if you can get at the back then it's probably a domed pin that's been pushed in from one side & bashed on the other. The "fancy" styling on the front makes me wonder if it's deformed at the back.

If you can get at the back the knowing the depth would be helpful: shove a pin in the hole and mark the depth with a pen.
 
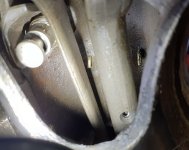
You are right Al. By removing a cover at the back I could see where the pins have been bent over to hold in place. The one I thought was missing is in fact broken, the pin end still visible, the one on the right. I was able to push it through and much to my surprise I found the head of the pin amongst the detritus under the machine.
20250816_181201_resized.jpeg
IMG_4315.jpeg IMG_4314.jpeg

As suggested a 1.5mm drill fits in the hole
20250817_103129_resized.jpeg
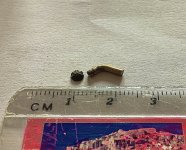
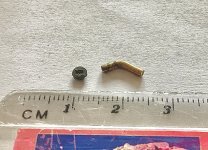
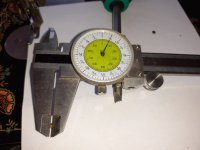
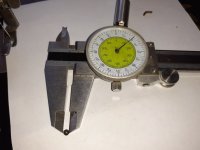
But now I have the bits I can measure accurately
20250817_103323_resized.jpeg 20250817_103422_resized.jpeg

Would this have been made in one piece of the head soldered or glued on?

I cannot imagine how something so small could be turned .
Brass pins of that diameter seem to be readily available, in quantities of 100😱, without the decorative head of course.
 
I'm pretty sure that pins like that would have been made by machine. Brass wire would be fed in through a pliers-like gap which closed up to grip it. A hollow punch, with the decorative pattern on the inside, would then have bashed down onto the exposed end, spreading it out and shaping it in one operation. Then the wire would be cut to length and a bit more pushed forward for the next one.
The brass could have been soft enough to work cold.

To repair your machine, I'd be tempted to use superglue or a general purpose glue such as UHU to stick the label on, then glue the salvaged head in place with the same.

For a more authentic challenge, you could try hammering the pin straight and soldering or glueing the head on again.
 
I think if I were trying to repair that, I'd stick the decorative head in a collet or soft jaw in the lathe and drill a shallow 1.6 mm hole in the back. I'd then turn a new pin (or get some 1.6 mm brass bar for laziness - it's on ebay for £3.50 for 200 mm) and solder it into the hole.

Of course, that depends on having a metalworking lathe to hand! If you want to send it to me I can have a go for you, but postage might be a pain (although if you do it quickly, I could post it back to you when I get to St Malo in a few weeks).

The decorative head is the difficult bit with making anything new, so it'd be worth trying to salvage it somehow.

Gluing it all together as AndyT suggested is definitely the easiest option.
 
From 1911 - 1917, Singer had invested in the Russian economy, building and operating a Singer Sewing Machine Works, in Podolsk, near Moscow.

Podolsk erste Fabrik.jpg
The original plant

Low and behold, the plant was nationalized after the 'October Revolution' and eventually renamed the 'Podolsk Mechanical Works' (ПМЗ).

Logo PMZ Podolsk Singer Works.jpg
Logo

In fact, the very popular Singer Model 15, was continued in production there, through out the 1950's! But strangely enough, Socialism did not allow the use of serial numbers! 🤦🏻

It was indeed operated by a hand-crank, or could be mounted in a table, for foot power.
Therefore, the lack of electrical power in the land was no problem.

Podolsk Fabrik neu.jpg
The Podolsk Mechanical Works
(Note the electrical trolley bus!)

Here is my wife's Model 15 — Podolsk, with the new 90 Watt motor, which I installed on it.

Singer Model 15 — Podolsk.jpg

Singer Model 15 — Poldolsk — Remotored.jpg


Singer Model 15 — Podolsk — 2.jpg
It is the same as a Singer Model 15, and most Model 15 parts fit it.

It is a very nice 'free wheeling' machine. But the old fashioned thread tension adjustment is indeed primitive and quirky.

Singer Model 15-30.jpg
Original threading guide

The bobbin cartridge also runs in the reverse direction, to what is normal.

But my wife still only cares to sew on this machine, although we have eight!

Podolsk Logo.jpg
Original advertising illustration

Since both my grandpa, and great grandpa on my mum's side of the family, were both tailors, I also learned to layout my own patterns, and make good quality work clothing for myself.

Charles
 
Last edited:
My wife's machine originally had a hand-crank on it, but her dad installed a motor on it, which I replaced years later with a nice, new 90 Watt motor, with a new foot-pedal.

But when my then 'wife-to-be' immigrated to Germany, to marry me, she had this heavy machine stuffed inside of one of her large suitcases!!! 🤦🏻Goodness! 🤣
 
Wasn't it clever of the original machine designers to leave space for an electric motor!

My mum's very similar Singer was modernised with an equivalent outboard motor, in discrete brown bakelite, in the same position.
 
Back
Top