Dr.Al
Old Oak
If you've come to this thread expecting something like a Clickspring Skeleton Clock, you'll be sorely disappointed 
This is going to be a very short (two-part!) build write-up as there really wasn't much to it and I made my life a bit easier by using power tools for some jobs.
In our bedroom, we have a wall clock. It has a mechanism that updates the time automatically from radio broadcasts. The mechanism was a silent one that moves the second hand continuously rather than ticking, which I prefer for a bedroom clock. However, gradually over the last year or two it's got louder (if I had to guess I'd imagine that some dust has got into the mechanism and is affecting the smooth motion). I might have a go at taking it apart at some point but I thought it might be a nice excuse to make my own one.
A quick search on amazon found what looks like an equivalent mechanism: quiet motion and radio updated. I bought a couple of them so I have a spare.
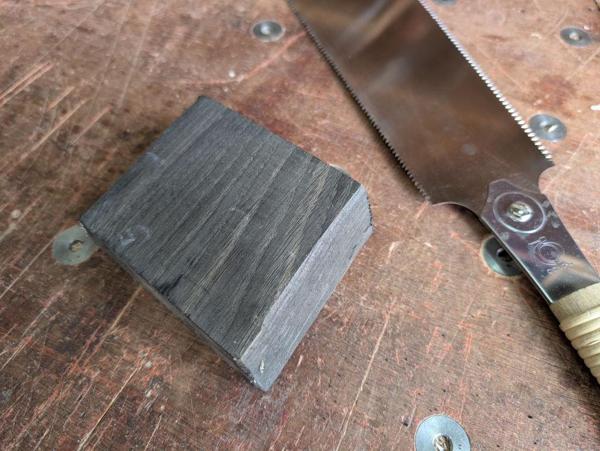
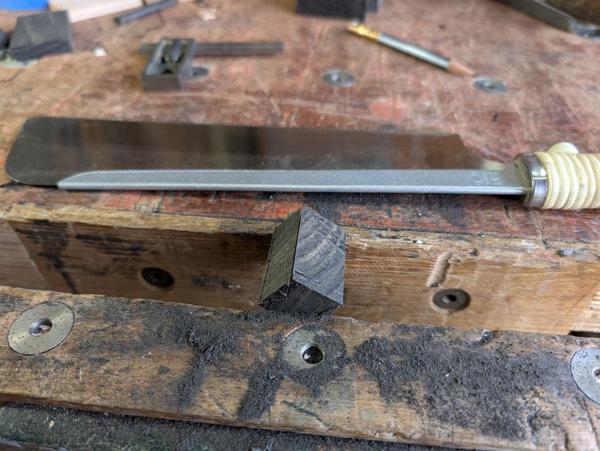
I started off with a lump of Ash that I'd picked up from Wentwood Timber a while ago. I started by bandsawing off one of the rough edges so I had a reasonable reference surface to place down on the table of the bandsaw:
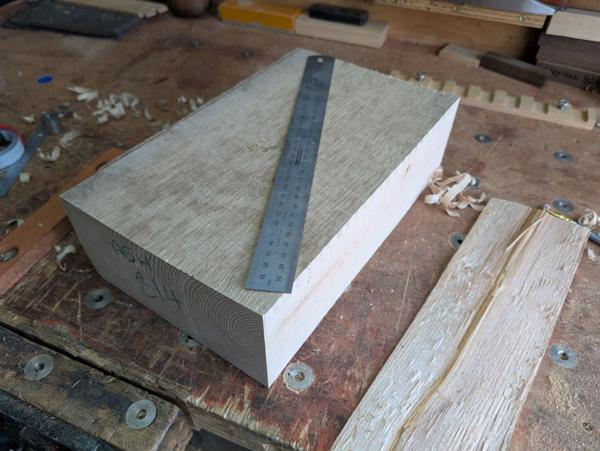
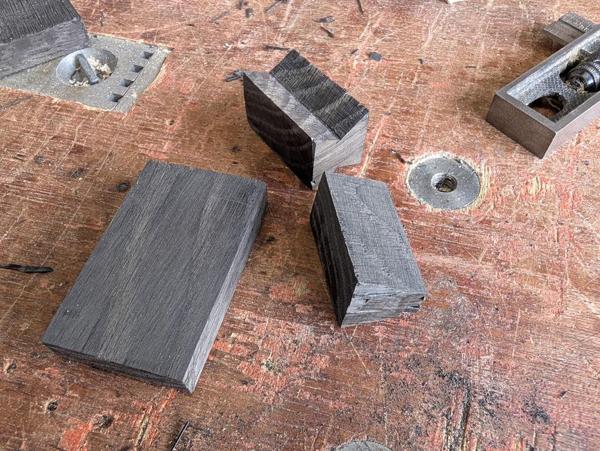
It then got ripped into a few pieces:
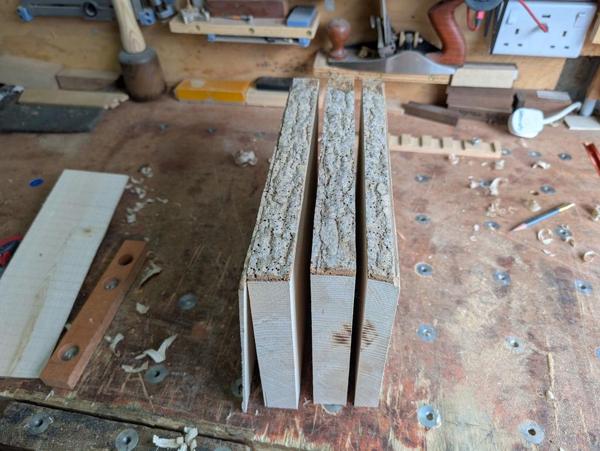
I don't have a surface planer (although I'm pretty sure I'll get one when we eventually move house and I have a bit more space). For now though, getting a flat face means hand planing, which I do quite enjoy a lot of the time, but less so when dealing with a wood like Ash:
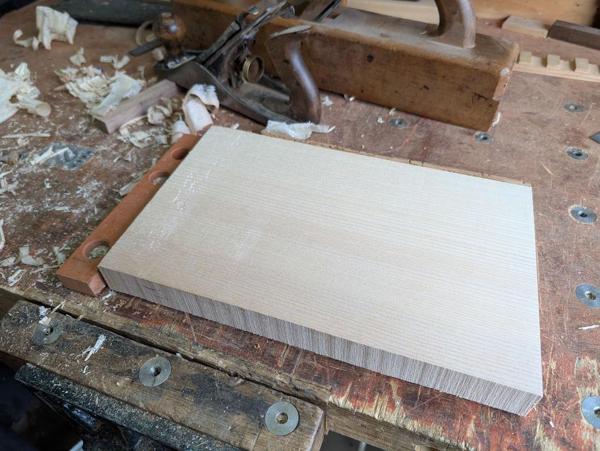
There's a lot of tear-out at one end of the plank (and likewise on the other piece) due to the changing grain direction, but in this case it's fine as I'll be cutting that bit off later.
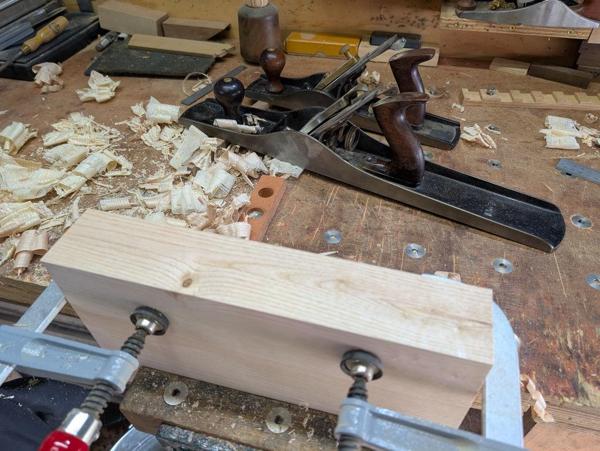
After clamping two of the pieces together, I planed an edge using the #7:
The two pieces then got glued together and left overnight:
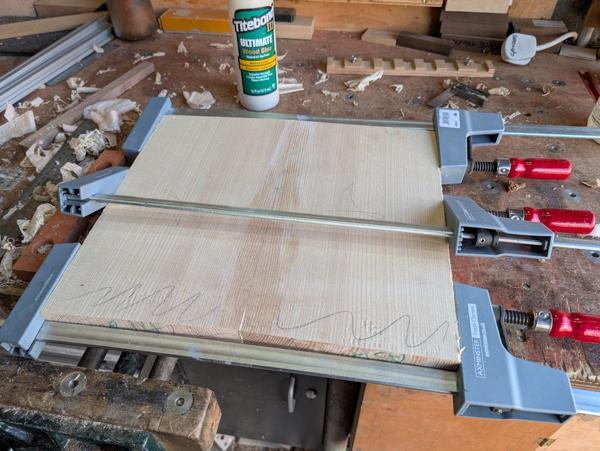
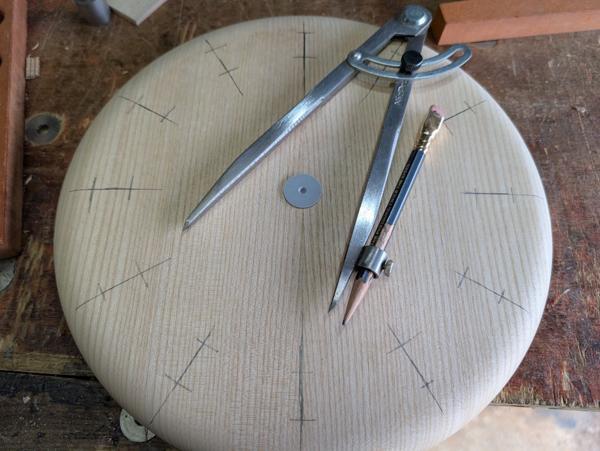
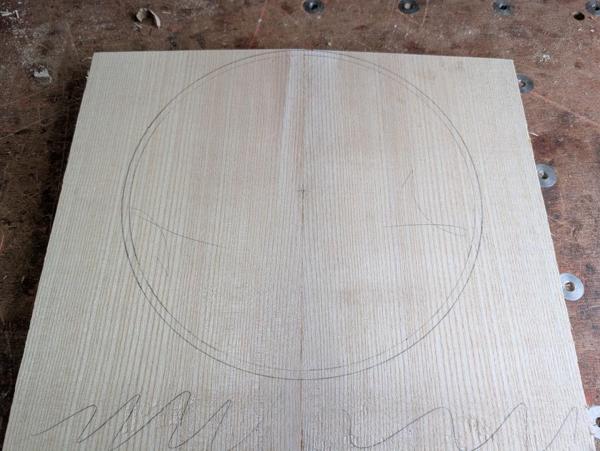
I was still a bit undecided about overall size, but I drew some circles on the plank with a pair of compasses:
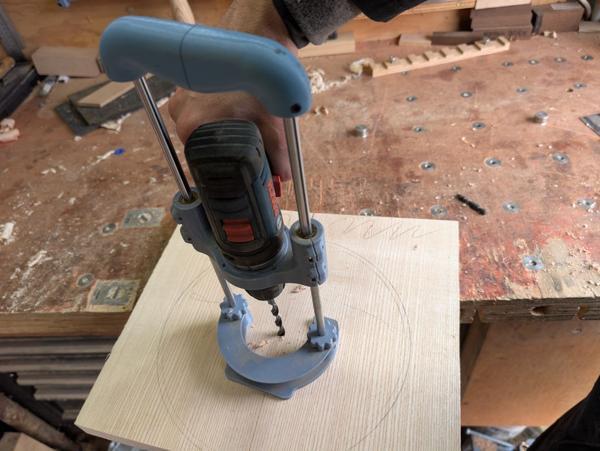
The distance from the edge of the circle to the centre was (just) too much for the throat depth off my pillar drill, so I used this little 3D-printed hand drill stand to drill the 8 mm centre hole:
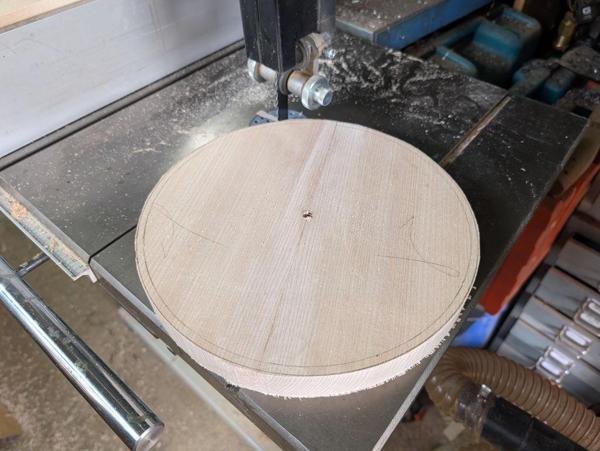
It was then the turn of the bandsaw again to rough it out round:
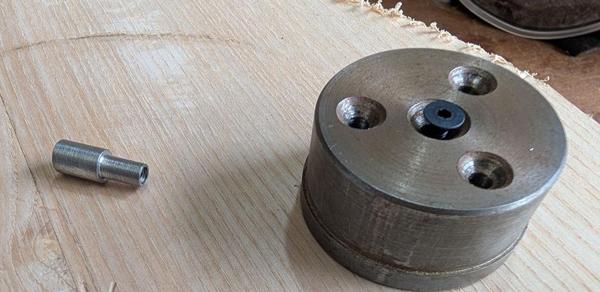
I'd pondered using the screaming monster (electric router) to make it into a smooth circle, but I hate using the electric router (although you'll see in a bit that I did use it for one job) and also I wanted the rim to have a fairly generous fillet (round-over). Instead, I used the metal lathe to turn a very small pin (seen on the left in the next photo) that had one section that was a snug fit in the centre hole of a face-plate/screw-chuck thing I have and the other end a snug fit in the 8 mm hole I'd drilled in the Ash. It gets held into the face plate with a little M4 countersunk screw, the pin dropped into the centre hole and then three woodscrews hold the face plate to the Ash blank:
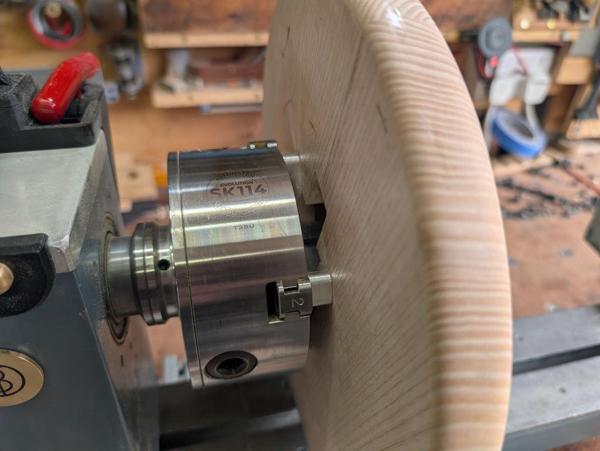
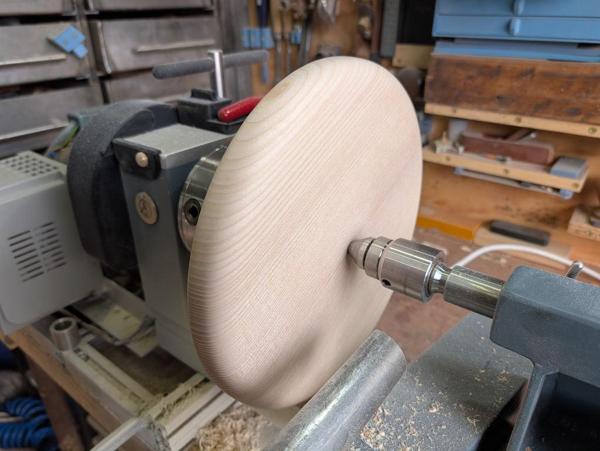
After heaving the wood lathe back off its home hanging from the rafters, I could then mount the blank on the lathe, turn the outside diameter smooth and then round off corners:
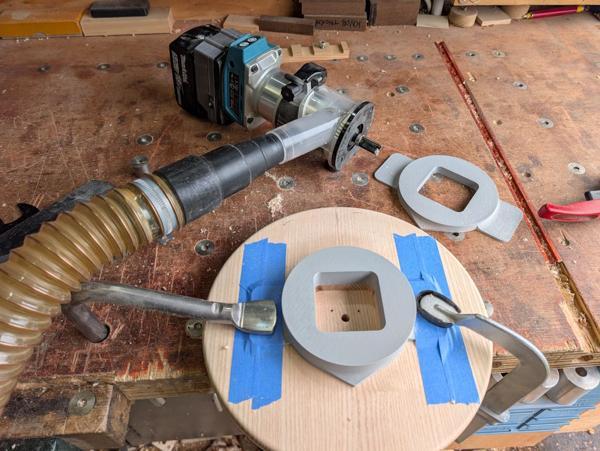
To make the pocket for the mechanism (which needs to be quite deep due to the thickness of the wood), I decided to use the screaming monster (along with my wireless vacuum cleaner starter). I 3D-printed a couple of templates to guide a flush routing bit, with one template thicker than the other so I could get the full depth without taking too much off in one go:
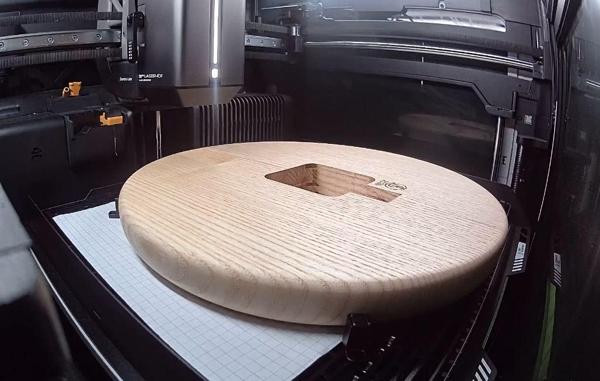
The resulting pocket:
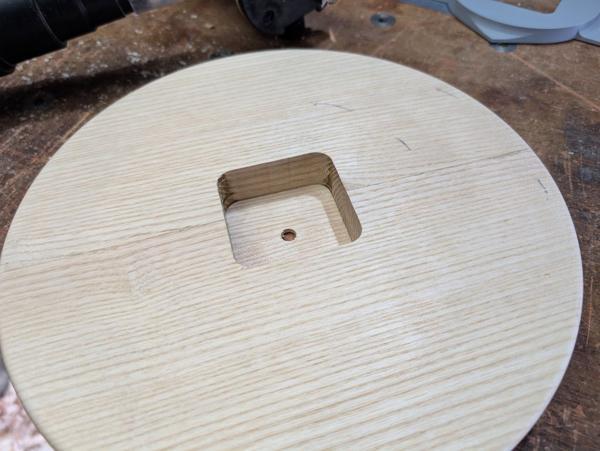
That left enough space for the mechanism itself, but it needed a little bit more removing for the hanging hook. I could have just routed a key-hole slot in the Ash directly, but I figured it was just as easy (and a lot quieter) to chisel out a bit extra and use the provided hook.
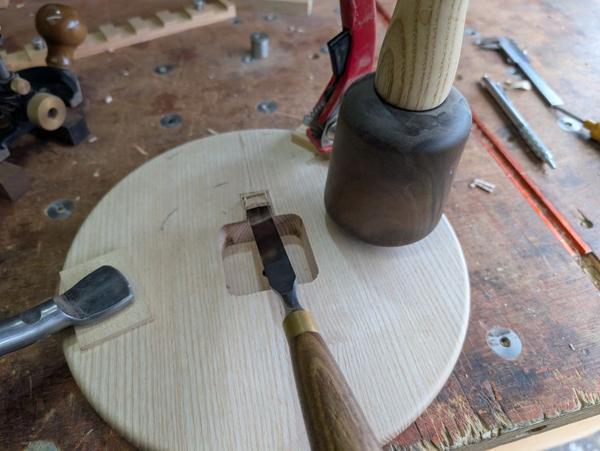
For chiselling, I decided to try out my recently made turned mallet for the first time:
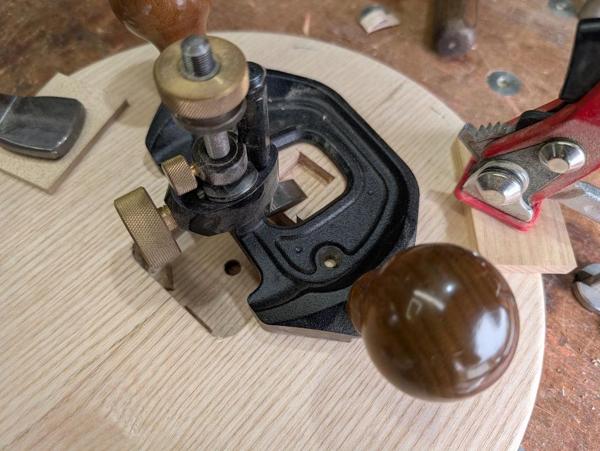
I cleaned up the bottom of the pocket with one of my favourite tools:
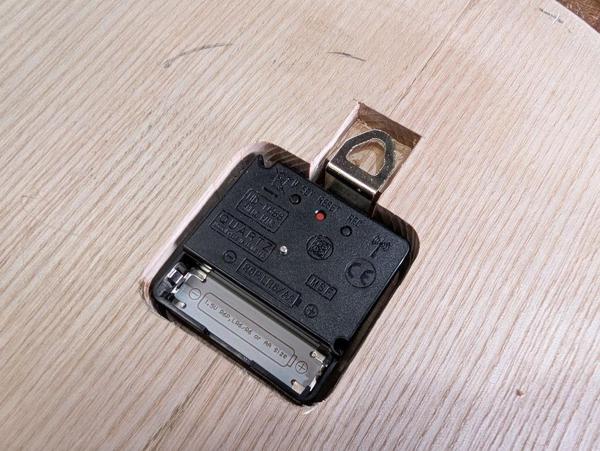
The mechanism fitted:
This is going to be a very short (two-part!) build write-up as there really wasn't much to it and I made my life a bit easier by using power tools for some jobs.
In our bedroom, we have a wall clock. It has a mechanism that updates the time automatically from radio broadcasts. The mechanism was a silent one that moves the second hand continuously rather than ticking, which I prefer for a bedroom clock. However, gradually over the last year or two it's got louder (if I had to guess I'd imagine that some dust has got into the mechanism and is affecting the smooth motion). I might have a go at taking it apart at some point but I thought it might be a nice excuse to make my own one.
A quick search on amazon found what looks like an equivalent mechanism: quiet motion and radio updated. I bought a couple of them so I have a spare.
I started off with a lump of Ash that I'd picked up from Wentwood Timber a while ago. I started by bandsawing off one of the rough edges so I had a reasonable reference surface to place down on the table of the bandsaw:
It then got ripped into a few pieces:
I don't have a surface planer (although I'm pretty sure I'll get one when we eventually move house and I have a bit more space). For now though, getting a flat face means hand planing, which I do quite enjoy a lot of the time, but less so when dealing with a wood like Ash:
There's a lot of tear-out at one end of the plank (and likewise on the other piece) due to the changing grain direction, but in this case it's fine as I'll be cutting that bit off later.
After clamping two of the pieces together, I planed an edge using the #7:
The two pieces then got glued together and left overnight:
I was still a bit undecided about overall size, but I drew some circles on the plank with a pair of compasses:
The distance from the edge of the circle to the centre was (just) too much for the throat depth off my pillar drill, so I used this little 3D-printed hand drill stand to drill the 8 mm centre hole:
It was then the turn of the bandsaw again to rough it out round:
I'd pondered using the screaming monster (electric router) to make it into a smooth circle, but I hate using the electric router (although you'll see in a bit that I did use it for one job) and also I wanted the rim to have a fairly generous fillet (round-over). Instead, I used the metal lathe to turn a very small pin (seen on the left in the next photo) that had one section that was a snug fit in the centre hole of a face-plate/screw-chuck thing I have and the other end a snug fit in the 8 mm hole I'd drilled in the Ash. It gets held into the face plate with a little M4 countersunk screw, the pin dropped into the centre hole and then three woodscrews hold the face plate to the Ash blank:
After heaving the wood lathe back off its home hanging from the rafters, I could then mount the blank on the lathe, turn the outside diameter smooth and then round off corners:
To make the pocket for the mechanism (which needs to be quite deep due to the thickness of the wood), I decided to use the screaming monster (along with my wireless vacuum cleaner starter). I 3D-printed a couple of templates to guide a flush routing bit, with one template thicker than the other so I could get the full depth without taking too much off in one go:
The resulting pocket:
That left enough space for the mechanism itself, but it needed a little bit more removing for the hanging hook. I could have just routed a key-hole slot in the Ash directly, but I figured it was just as easy (and a lot quieter) to chisel out a bit extra and use the provided hook.
For chiselling, I decided to try out my recently made turned mallet for the first time:
I cleaned up the bottom of the pocket with one of my favourite tools:
The mechanism fitted:
Last edited: