• Hi all and welcome to TheWoodHaven2 brought into the 21st Century, kicking and screaming! We all have Alasdair to thank for the vast bulk of the heavy lifting to get us here, no more so than me because he's taken away a huge burden of responsibility from my shoulders and brought us to this new shiny home, with all your previous content (hopefully) still intact! Please peruse and feed back. There is still plenty to do, like changing the colour scheme, adding the banner graphic, tweaking the odd setting here and there so I have added a new thread in the 'Technical Issues, Bugs and Feature Requests' forum for you to add any issues you find, any missing settings or just anything you'd like to see added/removed from the feature set that Xenforo offers. We will get to everything over the coming weeks so please be patient, but add anything at all to the thread I mention above and we promise to get to them over the next few days/weeks/months. In the meantime, please enjoy!

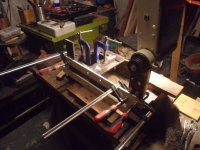
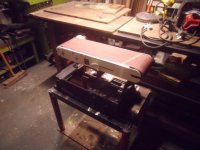
A belt sander revamp?

TomTrees

Sapling
Joined
Aug 19, 2014
Messages
380
Reaction score
98
This might be fun, hopefully that is! :)
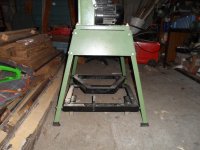
Been planning on getting rid of the huge splayed legs for the thing for a while, super annoying.
Might as well try and improve things whilst I'm at it.
Quite a bit of pondering needs doing... in order to make this machine most usable...

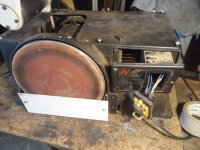
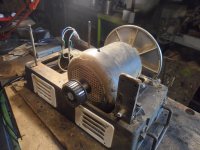
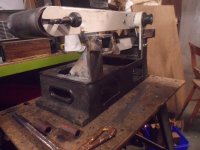
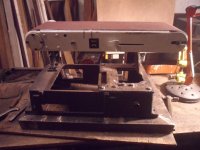
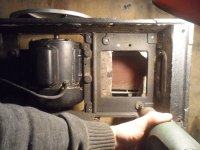
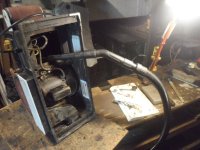
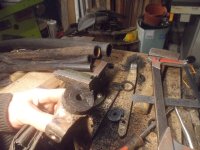
First things first I suppose, whip off all the plastic junk and see what's what.
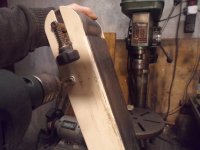
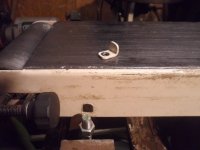
SAM_9388.JPGSAM_9399.JPG
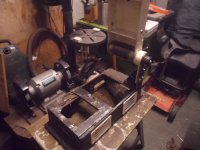
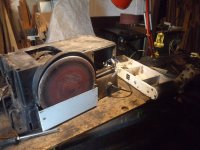
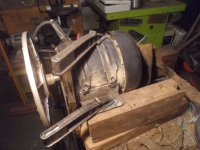
The platten? required to be dismantled in order to remove the plastic cover.
I had a fair idea it was going to be that way, as I tried removing it in a hurry before, when it caught on fire.
You might note one of the openings, what was necessary to incorporate into the design due to such.
Not the most sensible of designs, what were they thinking! :geek:
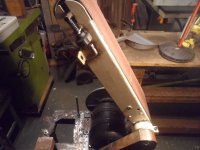
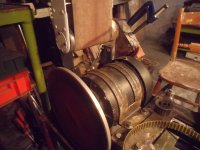
SAM_9400.JPG

SAM_9401.JPG

SAM_9406.JPG
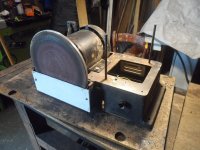
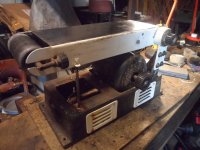
Should be stripped down enough by now.
Lots of procrastination on how to mount this thing "better"...
Hopefully I'll have enough steel for the job.
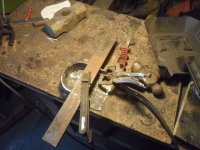
SAM_9407.JPG
Should keep me busy.

All the best
Tom
 
Last edited:
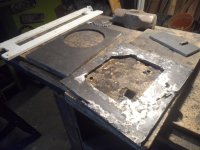
Not got much done since last posting, but might as well give ye a wee bit of an update.
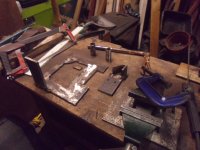
Used up all the 8mm offcuts I've kept, as I didn't want to use up the good stuff.
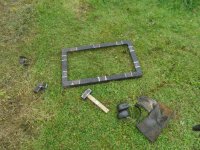
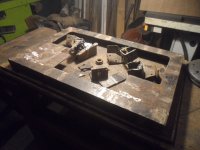
25 little pieces in that rough looking thing below and counting.
SAM_9457.JPG
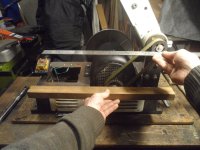
Making sure the machine runs with the bracket parallel with the casting.
Nice not to have to fettle anything with a file, with a nicely milled finish.
1725608734430.jpeg

Got the other bracket tacked up in situ
SAM_9475.JPG

Pipe cut for some tubing was next on the list
SAM_9482.JPG

In order to figure what stock needed to be cut.
Waiting for me li'l Liddle to cool down at the moment.
SAM_9485.JPG
 
Last edited:
I have one of those, bought new from Axminster I can't remember how many years ago, though I don't remember splayed legs it's more than likely I just didn't use them. I have it mounted on a heavy cupboard fitted in to a mobile wheel base so I can shift it but it's reasonably solid.

It's been well used both for wood and metal and I'm careful not to allow wood dust to build up in case sparks set fire to it (DAHIKT :cry:) Dust extraction isn't great but a paintbrush and second shop vac helps as well. I have had the belt plate and plastic cover off for deep cleaning but never felt it necessary to beef it up so finding your project interesting. Thanks for posting
 
I have one of those, bought new from Axminster I can't remember how many years ago, though I don't remember splayed legs it's more than likely I just didn't use them. I have it mounted on a heavy cupboard fitted in to a mobile wheel base so I can shift it but it's reasonably solid.
@Lons Much the same story I have with mine, first machine I ever bought, probably near 15 years ago I suppose.

What a recipe for a mess having nothing but a belt sander haha!

Chose this one, cuz the folks were visiting the south of England, though I wasn't expecting the base, which was an extra (IIRC) that the folks gifted me.
It's been well used both for wood and metal and I'm careful not to allow wood dust to build up in case sparks set fire to it (DAHIKT :cry:) Dust extraction isn't great but a paintbrush and second shop vac helps as well.

Seems like I'll be ditching all the plastic, as it was very good at hiding practically inextinguishable molten globs of plastic,wood,
and metal...enough that I had to cut two big holes in the thing, taking it out of the shed since it couldn't be disassembed,
bar the four mounting bolts,

I've been looking at some vids of belt sander extraction, and not got the impression the plastic mystery box helps much either.
I have had the belt plate and plastic cover off for deep cleaning but never felt it necessary to beef it up so finding your project interesting. Thanks for posting
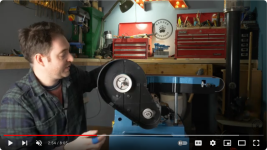
Very much hoping I don't have to beef it up Bob, well at least for a decent amount of time anyways,
Though TBH, there doesn't seem much I could do in that regards anyways,
perhaps the motor mount could do with a gusset or two welded on,
and changing the pulleys to facilitate a v-belt if need be, but those things can wait.
First objective is to make it more usable, and see how it fairs up.
Not even thought about any frills like nicer tables or whatnot, though early days yet.

Cheers
Tom
 
I remember it wasn't a cheap machine at the time I bought mine but seemed solid compared to what else was available.
You've made me think now that I could adapt the extraction end by converting it to be removeable with just a few screw or wingnuts, I'll have a look at that in due course. I'm not sure whether to thank or curse you for putting that idea in my head as I've enough to do :ROFLMAO:

Unlike you I won't be beefing it up as if you saw the results of my welding attempts you would understand. ;)

Watching with interest.
 
I did note that similar(ish) machines, seemingly has lesser provisions for extraction than this Axi one,
so there's more reasoning for getting rid of the plastic.
Though that's possibly dependent on whether one might call the Clarke version similar or not.
For instance the cast "bed"?... isn't as generous as on the Axi machine,
so it seems perhaps, I did make the right choice after all!.

Dust collection solutions will be interesting, should I get that far, that will be a revisit for sure,
I guess that might be quite the challenge for what's in store.;)

Screenshot-2024-9-3 Setting up the Clarke CS6-9D 6x9 Belt Disc Sander.png

I just wasn't impressed by the pulleys originally, preferring v belts what might have better longevity,
and though I haven't inspected the shafts on this, not wanting to shoot myself in the foot,
should something or another be ceased or better off left alone, I'll cross that bridge if need be should the time come
to replace the belt, as it might be worth weighing up the cost of the cogged belt vs v-belt and pulleys,
which has surely been a subject of some procrastination, but as far as that goes, rightly or wrongly,
I came to the conclusion that I had enough clearance for a higher profile v-belt.

Re-the welding, I guess you haven't heard that old metalworkers saying...
A grinder and paint, makes you the welder you ain't!
SAM_9434.JPG

Cheers
Tom
 
Sorry no real update yet, the sheds out of bounds for a bit, just about managed to take a photo for ye.
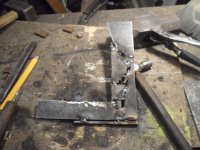
Cut that little extra bit off the bracket, and going to slice into two next, in order to weld onto the plate.
There's two threaded holes for the ground/earth on the sander base casting, along with some more,
and all these tapped holes have a bit more meat on the underside to play with.
Sorry I don't have a good shots of that, but it's where those offcuts are going.
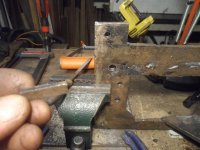
SAM_9441.JPG
Little bit more cutting, welding, grinding, likely a wee touch of persuasion, and this will be ready to drill, tap and assemble.
T'would be nice to muck around with things at that point, rather than at this stage.
SAM_9500.JPG
Hopefully will be able to get back to it soon.

All the best
Tom
 
I did note that similar(ish) machines, seemingly has lesser provisions for extraction than this Axi one,
so there's more reasoning for getting rid of the plastic.
Though that's possibly dependent on whether one might call the Clarke version similar or not.
For instance the cast "bed"?... isn't as generous as on the Axi machine,
so it seems perhaps, I did make the right choice after all!.

Dust collection solutions will be interesting, should I get that far, that will be a revisit for sure,
I guess that might be quite the challenge for what's in store.;)

View attachment 28452

I just wasn't impressed by the pulleys originally, preferring v belts what might have better longevity,
and though I haven't inspected the shafts on this, not wanting to shoot myself in the foot,
should something or another be ceased or better off left alone, I'll cross that bridge if need be should the time come
to replace the belt, as it might be worth weighing up the cost of the cogged belt vs v-belt and pulleys,
which has surely been a subject of some procrastination, but as far as that goes, rightly or wrongly,
I came to the conclusion that I had enough clearance for a higher profile v-belt.

Re-the welding, I guess you haven't heard that old metalworkers saying...
A grinder and paint, makes you the welder you ain't!
View attachment 28453

Cheers
Tom
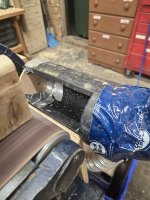
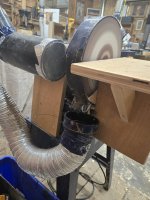
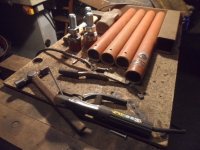
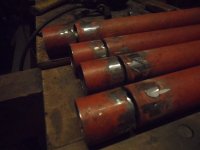
This is what I have for dust extraction. Maybe of help?1000002882.jpg1000002883.jpg1000002884.jpg
 
@duke Interesting bit with the pipe, I may have to steal that idea. :)
Not too pushed about dust extraction yet, as I've only got a "shop vac" for the time being,
so I guess it'd be somewhat wishful thinking, but even if I had decent extraction,
I don't do CAD drawings, nor have I done otherwise on this project,
and not smarts enough to figure out what would need to be done, in order to account for the potential versatility.

Perhaps easier pondered when the machine is done, though I suppose some consideration will likely be made
along the way.

Cheers
Tom
 
Quite the project you have going, something I wouldn't tackle , way beyond my pay scale. :)
No choice really, as far as I'm concerned, as the shed is getting tight.
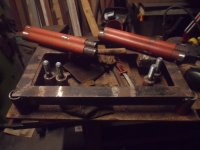
A base with retractable casters is necessary, as the original splayed sheet metal legs just ain't worth putting wheels on,
and as such the machine can't find a place.. so the reasoning is that it might be able to go somewhere after putting some other things on wheels.
For this base, I'm hoping I can find some more 2" pipe at the folks place, since I've got some already.
The bench for the pillar drill turned out to be just about the right height, so it should be hopefully able to tuck away
between bandsaw and tablesaw, or infeed or outfeed for either, if some mocking up might prove useful.
SAM_9300.JPG

And some kinda arrangement like the saw at me folks, but perhaps with a better latch design,
since there's no steep driveway to account for.
39142-SAM-1202.JPG
39220-SAM-1239.JPG

Have an old base from another saw, which should make a decent top...
That is, once I figure out the dimensions what it needs to be.
SAM_8747.JPG

All the best
Tom
 
Last edited:
Got perhaps just enough done for a preview?

Drilled out those tapped holes, and re-tapped them to accept larger M8 threads
SAM_9505.JPG
That's just about all the steel I need, well... at least to get on with the job.
Though perhaps, some more bits from an auld gate might be utilized.
1726536793651.jpeg

Cheerio for now
Tom
 
Last edited:
A wee bit done since, just needs a clean up and some clouts to flatten out the plate again, but things are progressing.
SAM_9518.JPG
Eager to get working on the base, as this thing is an obstacle in the shed at the moment.

Tom
 
Hello again, been a while since I posted anything on this,
but thankfully progressing a wee bit on things.

Stripped a previous machine base which I was keeping for this job, and some nice bits for another project.
SAM_9526.JPG

After some procrastination, I figured this size seemed about right...
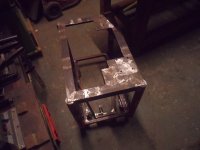
SAM_9571.JPG

Still not sure yet, I could've made it a bit shorter I suppose, we'll have to see.
SAM_9577.JPG
Changed my mind about the location of the sander after some more consideration...
Those remaining bits of metal will likely come in handy in a bit.
SAM_9588.JPG

The placement seems a bit more sound now, as I originally planned on it sitting a bit more forward.
With it set back a bit, the disc won't get damaged if I wheel it into something.
SAM_9604.JPG

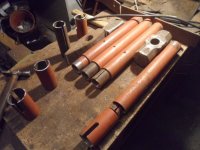
Rummaged under the huge bench at me folks, as the pipe I had seemed a bit skinny, and found some short bits,
so made a start on the adjustable feet, welding up some M24 bolts.
SAM_9626.JPG

Christmas crackers!, @duke you were asking in the "post a photo" thread,
thought some pics would make more sense.
Hopefully these will prove to have adequate elevation, and adjustment...
though makes the retractable castor system, ala Holmgren, all the more interesting!:unsure:
SAM_9630.JPG

Tom
 
Last edited:
Do you have a drawing or photo of where this is going, Tom? I'm interested as I have a similar sander that I just started thinking about/ working on to make it more useful.
 
Do you have a drawing or photo of where this is going, Tom? I'm interested as I have a similar sander that I just started thinking about/ working on to make it more useful.
Not quite sure where it's going Chris, perhaps in-between the saws, or possibly an in-feed,
but it should hopefully be able to wheel out easily when I need it most.
Hopefully things will work out, though very much unsure yet as it's a bit of experimentalisim,SAM_9634.JPG
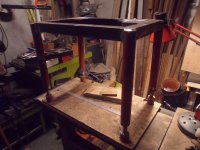
and I'd rather get the legs welded up before testing...

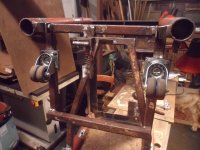
The retractable castors might need become a structural element, as it were doing a bit of an Elvis'en about
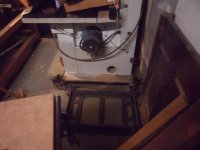
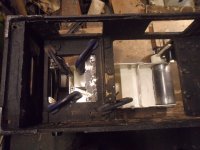
whilst getting the upper sections of the legs tacked up.
Was going to picture things once I got the welds a bit tidied up, but that's how things are at the moment.
SAM_9640.JPG

All the best
Tom
 
Hello again.
I've since got things cleaned up enough to press on with it.
SAM_9642.JPG

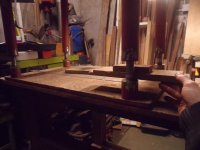
Plenty of adjustment, which should be plenty for two sheets of 3/4" ply, plus accounting for some floor discrepancy.
SAM_9645.JPG

With things partially assembled, I was somewhat able to check how the legs adjusted with some weight...
Seems I'll be drilling holes for a tommy bar, as an M24 thread is far too slow,
though it does the job of fine adjustments for leveling nicely.
SAM_9661.JPG

...Next job apart from some niggles, is sorting out materials for the retractable castor system.

Happy Christmas folks 🎅
All the best.
Tom
 
Last edited:
Hello again folks
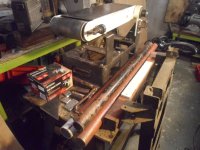
Thought I'd post a little update on things, as I've got the thing on wheels now,
but have other stuff to do, so it'll be a while before I can get back to it.
SAM_9678.JPG

The latch design is extremely successful, though there's a slight knack to using it.

I didn't foresee that whilst making up the levers, and if I were to make it again...
I'd make the latch in the centre of the lever, with enough space for a foot each side instead...
i.e a wider "pedal" for want of a better word, as the latch design requires a ramp on the underside of it.
Perhaps this will explain it better for ye.
SAM_9696.JPG

The hinged latch seems like it would lend itself well to a dual latching design, say for both sides of a workbench
or something else what would be best usable like such, without boxing oneself in.
I've found so on my workbench, and consider it a failure not to be able easily move the bench to a safer location,
and not have to risk a big metal frame crash down on me bandsaw table!

(Thankfully such trustworthy Italian cast iron came out unscathed)
SAM_9700.JPG

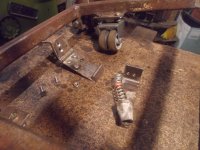
Without having any sort of stock of rubber, I wondered how successful this might be, seems fairly solid so far.
This being fundamental to get the machine at working height, and took some rummaging to find it all the pipe.
Been waiting to get that done so I could happily wheel the thing out of the way...
1740101642429.jpeg and wheel back out to ponder about the next phase of things.
Hopefully that won't be too long, but have a fair list of non workshoppy things to get done in the meanwhile.

All the best
Tom
 
A little more work done since, turns out some "beefing things up" was starting to making sense,
so some linkages from the old couch were put to good use (which I thought would never get used!)
SAM_9734.JPG

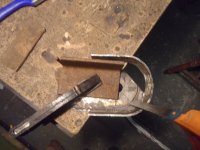
Another wee job was making a new belt guard, seeing that the belt pulley was in danger of getting a knock whilst on the move.
Some more couch brackets, and some pipe were utilized, which tidied up my metal shopping basket nicely.
SAM_9748.JPG

Some mucking about was necessary, in-between making the rest of it...
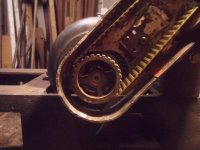
Turns out the pulleys need to be tipped away from each other, in order for the belt to track nicely... (which required some fettling of the motor mounting holes) to get the belt platen parallel with the base.
Once that was done, onto making the rest of the guard up.
SAM_9758.JPG

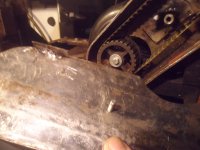
Things were a bit too snug, so some bits needed cutting away.
That radius were too tight for me hacksaw blade to get away with!. 😅
SAM_9762.JPG
SAM_9767.JPG

Tried my hand again at some "curved flange" work for the cover...
Learned some things like leaving enough, (i.e a good inch of material) extra, to get the shape right.
Was getting close to about half way, the stainless steel being quite forgiving,
and upon offering it up, turned out that clearance issues required a re-think on things,
so cut away the flange, and just about managed to tack on a tab to keep the lid secure, without melting through.
SAM_9781.JPG

Getting closer to finishing up things, shouldn't be too much else what needs figuring out.
That's all for now folks

Tom
 
This really looks like a silk purse/sow's ear situation. Nice!
Perhaps Kirk, fingers crossed, as I've not tested it yet to find out if it'll work out...

Another little job done since was getting a new platen stop sorted.
Drilling and tapping for some M12 stainless threaded rods...

SAM_9817.JPG

And a new "keeper" bracket to suit
SAM_9822.JPG

SAM_9829.JPG

Which required a little motor adjustment since there was no slop in the platen now.
Some slight fettling was required to suit the new pulley alignment position.
SAM_9831.JPG

There'll be no sagging now that it's nice and snug.
SAM_9837.JPG

Just a few more jobs to get done, before thinking about where to put the switch. :unsure:
SAM_9847.JPG

That's all there is to see for now, as me camera is still out in the shed.
 
Getting closer to the final bit'o welding of the base...just need to figure out what to do about a prop
for the auxiliary table, nothing planned yet as I'm plonking ahead making it adjustable.
Forgot to post some pics of some earlier work.
SAM_9884.JPG

Some brackets for the table...
SAM_9793.JPG
SAM_9801.JPG

and sized things up with some cardboard thereafter, which might be a tad large...
though I'll see if I can make provisions for trimming the ends off at a later date,
should it be a bit of a hindrance to tuck the machine away.
SAM_9856.JPG

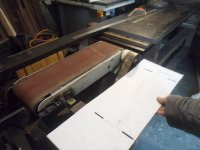
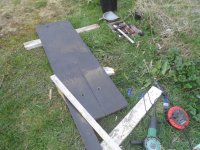
Tested one of those multi-purpose discs I got with the grinder, and found it to work well for this composite stuff,
though found it was more than happy to gobble up the edge of a clamped up stick....
Took me a day to scrape the stuff, as I didn't wish to cut it with me tablesaw.
Perhaps I should'a bought a circular saw, or fabbed up some similar style base to use with a straight edge,
without nibbles!, as it would have been easier than scraping this stuff.
SAM_9869.JPG


With that horrible job done, I could ponder a bit more on mounting the plate to those brackets.
Still working on this bit yet, now I've a better clue of things.
SAM_9873.JPG

Spent the day cleaning up welds, as I've added some more metal since,
and figured out what stuff to use to bolt onto the table.
Not many nice bits of steel left, so using up the last offcuts from the base.

Cheerio
Tom
 
I can't help thinking you'd have an easier time on this project if you had a really good, tough, metal working belt sander...
 
I can't help thinking you'd have an easier time on this project if you had a really good, tough, metal working belt sander...
Hard to beat having an angle grinder Andy, especially with a new disc, and a nice new pair of safety glasses
strictly kept in a box for the tricky jobs.
This job at the moment in particular wouldn't have suited, as things went a bit bendy with the un-equal welding for a T track kinda thing...
SAM_9886.JPG
SAM_9888.JPG
Though admittedly something transportable would have been quicker for the composite stuff.
A bit of saw plate and a chisel was slow going, (sorry I didn't take some photos of that job)
That said, my grinder is still a bit stinky from it, even after a good scrub, and I'd likely still have done things the hard way.

Definitely going to have to make a universal base of sorts for slitting this stuff, "universal" as me grinder has being doing some arc sounds on start up...
That is, when I choose to use some more of it, which I likely will, though no plans for any of the rest yet.

All the best
Tom
 
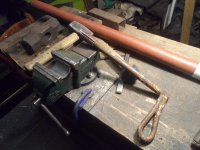
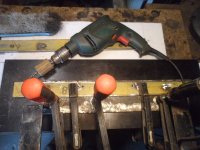
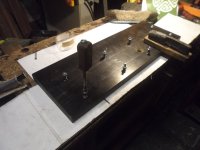
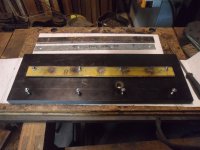
Well, that job took ages to get done... and it's not even finished yet!
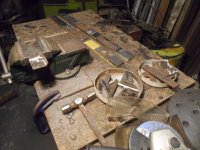
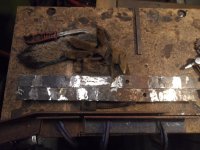
Spent the week using the remaining 6mm off cuts to make two runners.
SAM_9893.JPG

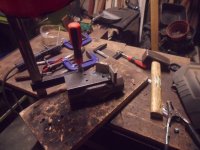
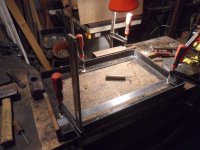
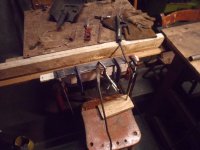
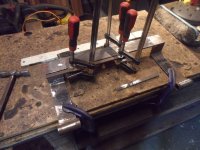
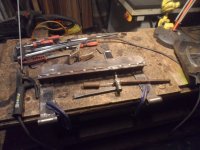
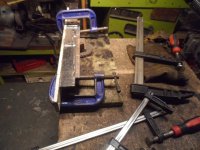
G-Clamped up a welding jig... using a bit of flat bar and some angle iron, used with the f-clamps to stop the metal contracting.
I learned a lesson regarding welding along the length, and should have welded that beforehand.
SAM_9909.JPG

As you can see with the angle iron, bending rig underneath...
SAM_9933.JPG

And outside for the grinding thereafter
SAM_9934.JPG

Another wee bit of wrangling
SAM_9939.JPG

and some filing
SAM_9945.JPG

Welding the thinner stuff to retain the runners, nearly out of suitable rods, so using up some thin ones for now...
Definitely using the new glasses for this one!
SAM_9947.JPG

Depth stop for tapping
SAM_9962.JPG
Cont...
 
Epoxy-ing in some threadbar after tapping
SAM_9964.JPG

A bit of shim stock needed
SAM_9968.JPG

Might have been better off with a wear strip, and bending the shim stock for the runners...
SAM_9976.JPG

as things wern't easy to slide, as seen with all the scuffing.
SAM_9984.JPG

It slides fairly nicely now...after a bit of elbow grease!
SAM_9986.JPG

Might weld on a tab for a locking screw, should it ever get loose...
Though first I need to figure out how to prop the table... :unsure:
SAM_9989.JPG

Once I get that done, I can get on to sorting out the switch, and seeing if/how it'll work...
(fingers crossed that is!)

Cheerio

Tom
 
Last edited:
Back
Top