• Hi all and welcome to TheWoodHaven2 brought into the 21st Century, kicking and screaming! We all have Alasdair to thank for the vast bulk of the heavy lifting to get us here, no more so than me because he's taken away a huge burden of responsibility from my shoulders and brought us to this new shiny home, with all your previous content (hopefully) still intact! Please peruse and feed back. There is still plenty to do, like changing the colour scheme, adding the banner graphic, tweaking the odd setting here and there so I have added a new thread in the 'Technical Issues, Bugs and Feature Requests' forum for you to add any issues you find, any missing settings or just anything you'd like to see added/removed from the feature set that Xenforo offers. We will get to everything over the coming weeks so please be patient, but add anything at all to the thread I mention above and we promise to get to them over the next few days/weeks/months. In the meantime, please enjoy!

Kitchen and Two Bathrooms Renovation.

duke

Old Oak
Joined
Dec 18, 2020
Messages
3,224
Reaction score
1,939
Location
Field, Ontario, Canada
Name
Scott
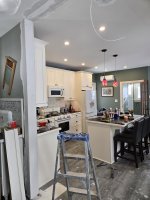
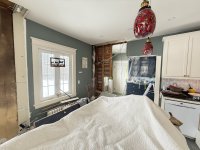
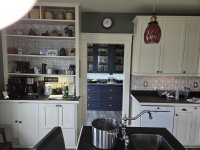
Prior to travelling to the Attic job I met with my client (Chris), to review his kitchen renovation work. The main area of work is the unit on the left. 1000002182.jpg
 
Last edited:
I installed this kitchen in 2017. Initial thoughts were to modify this unit to match the one in the background which I did in 2021. Not blue but a cream colour.1000002180.jpg
 
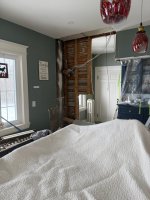
Upon a long discussion he suggested he was open to removing the cabinet to open up the kitchen. I agreed and since the wall behind this unit is not load bearing and only a partition wall no support beam is necessary.
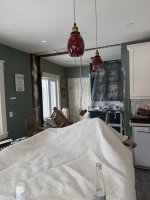
Also not shown is another cabinet which needs to be removed to have better access around the table.
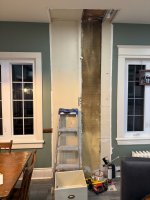
So while I was away Chris did the demolition.
Monday I will start with drywall repairs etc. and follow up removing the floor for new slate tile. Need to do something between stages of wall and ceiling repair.
 
Last edited:
Oh, the cabinet which was removed was what I call a built in, done around 120 years ago, I had only added a slate counter and dressed up the shelving area above.
 
Last edited:
Busy busy duke, good for you to have some indoor work at this end of the year, but not an easy job making good that sort of ripping out, always a worry and hoping the walls line up when removing an interior wall.
 
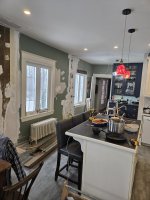
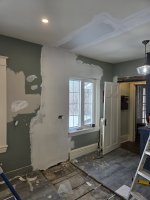
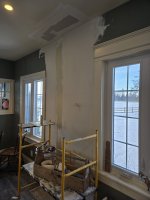
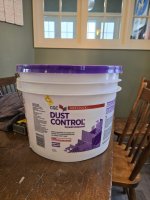
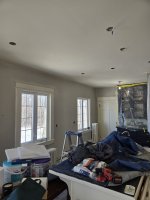
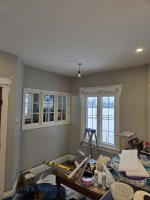
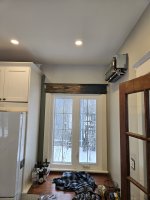
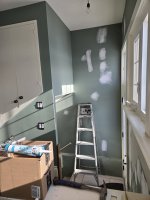
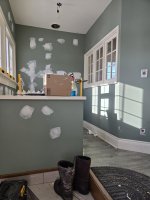
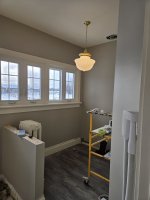
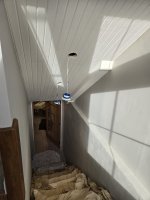
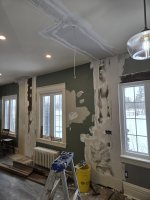
Applied paper tape on the ceiling joints and fibre cloth on the walls. Managed to get a coat of all purpose dust control compound on the walls.1000006686.jpg1000006687.jpg
 
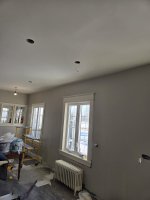
Nothing too exciting other than this past Friday did the final sand on patches and primed and 2 coat of ceiling paint and one for the walls.1000006751.jpg1000006752.jpg
 
It is looking tidy but still a lot of bits to do.

Lath and plaster, I have not come across that for a long time now. It is very dirty and dusty work taking down a lath plastered wall or ceiling, when I did it I used to come home looking like a coalman LoL

Nice to see what you are up to Duke.
 
Yes, so much more to do. I will be enlarging the fridge cavity width by 3". The upper cabinet, side panels and crown mould should arrive the first week of February. Also a 48" wide base cabinet is on the way too, it will go on the outside wall between the window and rad close to where the wall was.
What has surprised me is the cabinets etc., style , colour are still available. I was expecting to build to match.
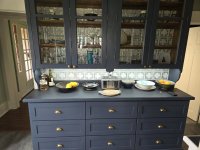
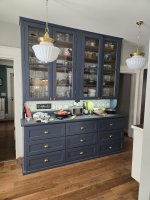
The only remaining "built in" is the blue coloured dresser/pantry which I rebuilt by removing all the base doors and drawers and changing the layout and making three new banks of drawers.
The upper glass door cupboard was a mess. Nothing was square, different widths of doors and warped. Needed to cut many kerfs, glue in wedges to straighten all four doors, all while the glazing was still in place.
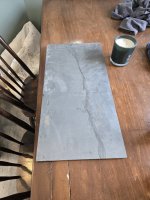
The counters to this kitchen are unique, salvaged slate chalk board from a local school.
 
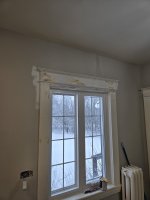
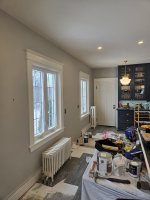
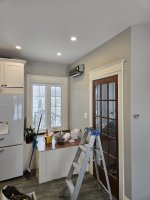
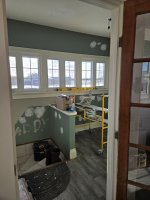
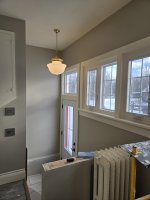
Almost finished the trim painting, maybe a half day tomorrow. Walls are painted except over the upper cabinets.1000007424.jpg1000007425.jpg
 
Last edited:
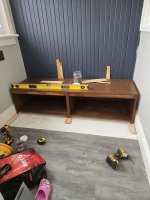
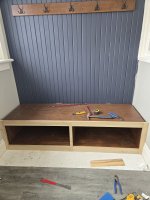
Tomorrow the work will shift to the mud room. Plaster repairs, painting, removing laminate floor and ceramic tile. Ready for new slate tile.
 
Am I seeing this right, Duke.............you're filling in between existing tiles, so that you can tile over the whole thing? In other words, you're not taking up the existing, but you'll just tile straight over the top? If so, does that work OK at the thresholds?
 
Very interested to see what happens next. What’s going on top? I have an uneven tile floor on which I’m going to put wood flooring. I’ve been thinking about using levelling compound, but I think I’ve decided to use wood shims for levelling instead.
 
Am I seeing this right, Duke.............you're filling in between existing tiles, so that you can tile over the whole thing? In other words, you're not taking up the existing, but you'll just tile straight over the top? If so, does that work OK at the thresholds?
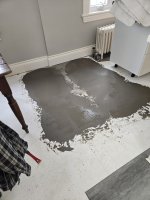
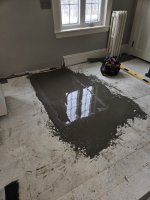
The existing click plastic flooring has been removed and the white surface is painted plywood over top of the original wood floor boards.
We did a build up of plywood where the built in cabinet was and needed to level the remaining void with the self levelling material.
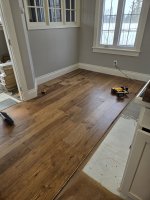
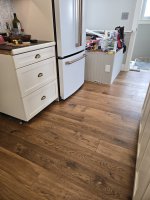
The owner changed his mind from the natural stone tile to an engineered hardwood.
The thresholds will be very close to being even. Hope this makes sense.
 
Very interested to see what happens next. What’s going on top? I have an uneven tile floor on which I’m going to put wood flooring. I’ve been thinking about using levelling compound, but I think I’ve decided to use wood shims for levelling instead.
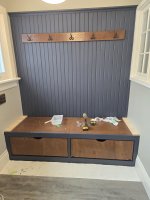
We are installing an engineered hardwood floor. Starting to lay the floor today.
 
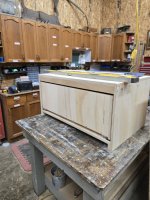
That looks great, Duke. What's going on top of the drawer unit?
 
Back
Top