• Hi all and welcome to TheWoodHaven2 brought into the 21st Century, kicking and screaming! We all have Alasdair to thank for the vast bulk of the heavy lifting to get us here, no more so than me because he's taken away a huge burden of responsibility from my shoulders and brought us to this new shiny home, with all your previous content (hopefully) still intact! Please peruse and feed back. There is still plenty to do, like changing the colour scheme, adding the banner graphic, tweaking the odd setting here and there so I have added a new thread in the 'Technical Issues, Bugs and Feature Requests' forum for you to add any issues you find, any missing settings or just anything you'd like to see added/removed from the feature set that Xenforo offers. We will get to everything over the coming weeks so please be patient, but add anything at all to the thread I mention above and we promise to get to them over the next few days/weeks/months. In the meantime, please enjoy!

'Makebloke' Chest of Drawers WIP - DUN

Woodbloke

Sequoia
Joined
Jul 22, 2014
Messages
7,527
Reaction score
1,648
Location
Salisbury, UK
Some of you chaps have indicated that you wanted to see a WIP of the next job, SWIMBO's big Makepeace chest of drawers, or my interpretation of it thereof. The original had 18 drawers, but the top four were too shallow, so I've kept the overall dimensions but decreased the number of drawers to 14, thus making each bigger.

I always start of with a full size, half size or 1:5 working drawing.
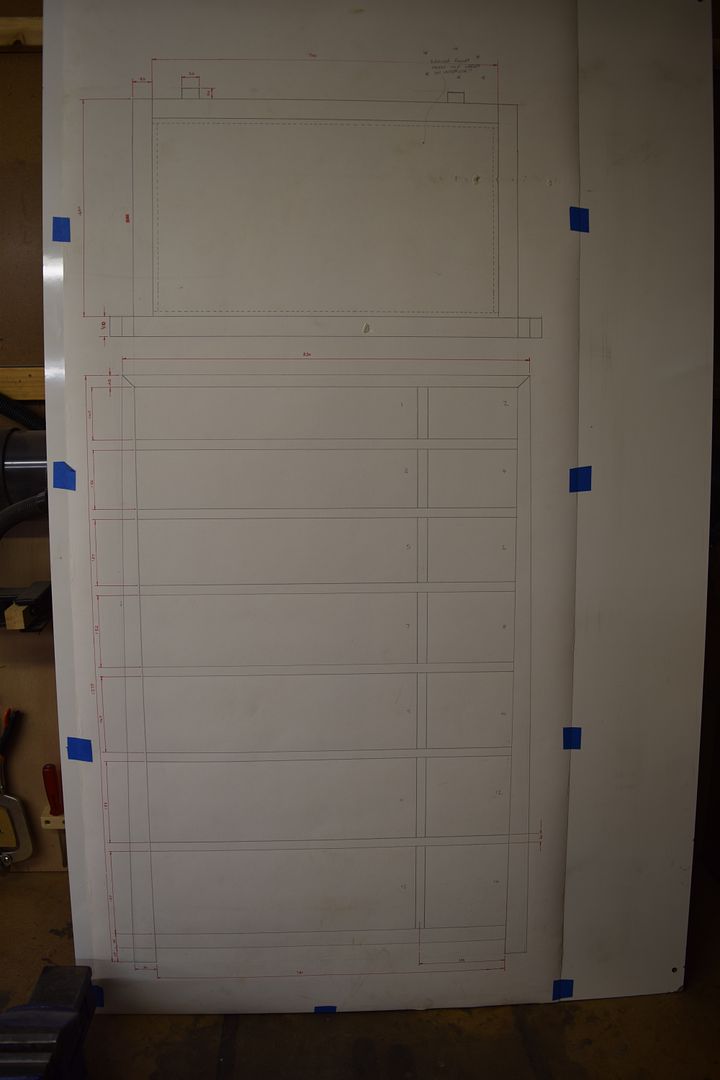


I use a bit of wallpaper lining paper, taped to a backing board to do the drawing and this one's a 1:2 showing a front and top elevation, dimensions done in red.

Where needed, I always do detail drawings and full cutting lists...
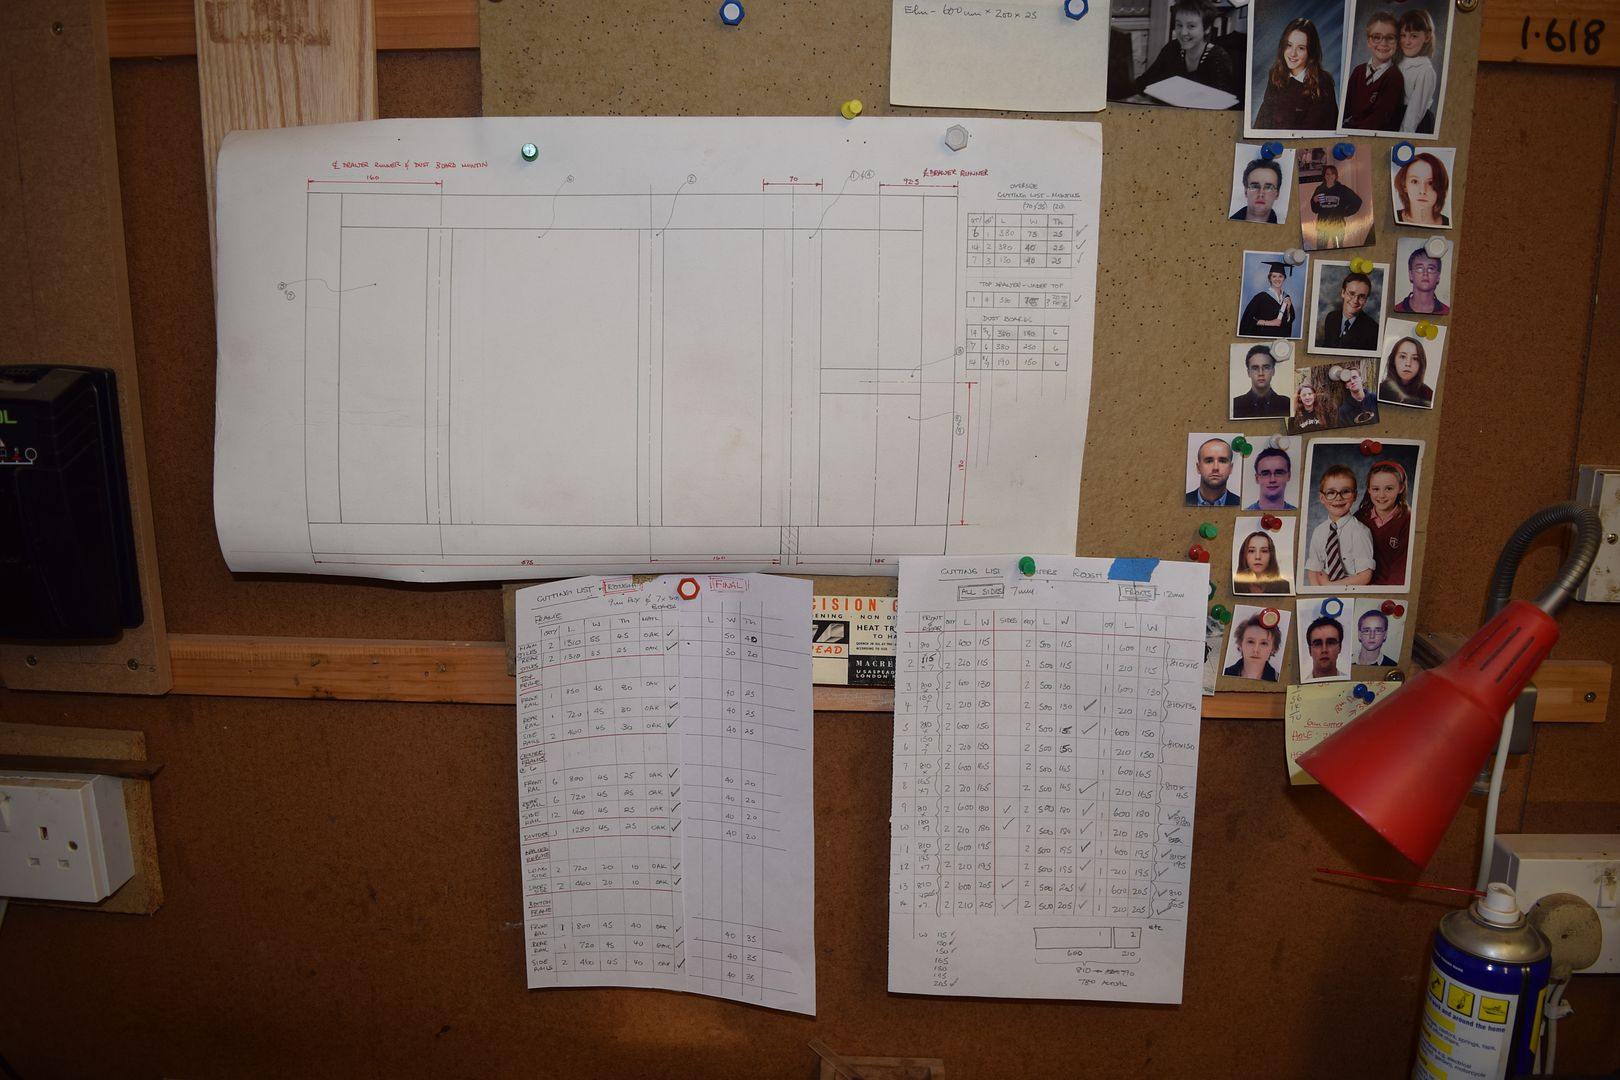


...pinned to the 'shop notice board, along with all the mug shots of the kids :D from when they were very little to last month (spot the crew cut No1 son)

The oak for the frames has been secondary conditioning for several years now in the 'shop and I've just machined it to final sizes, a smidge over size (0.25mm) to allow for a skim with a sharp No.5.
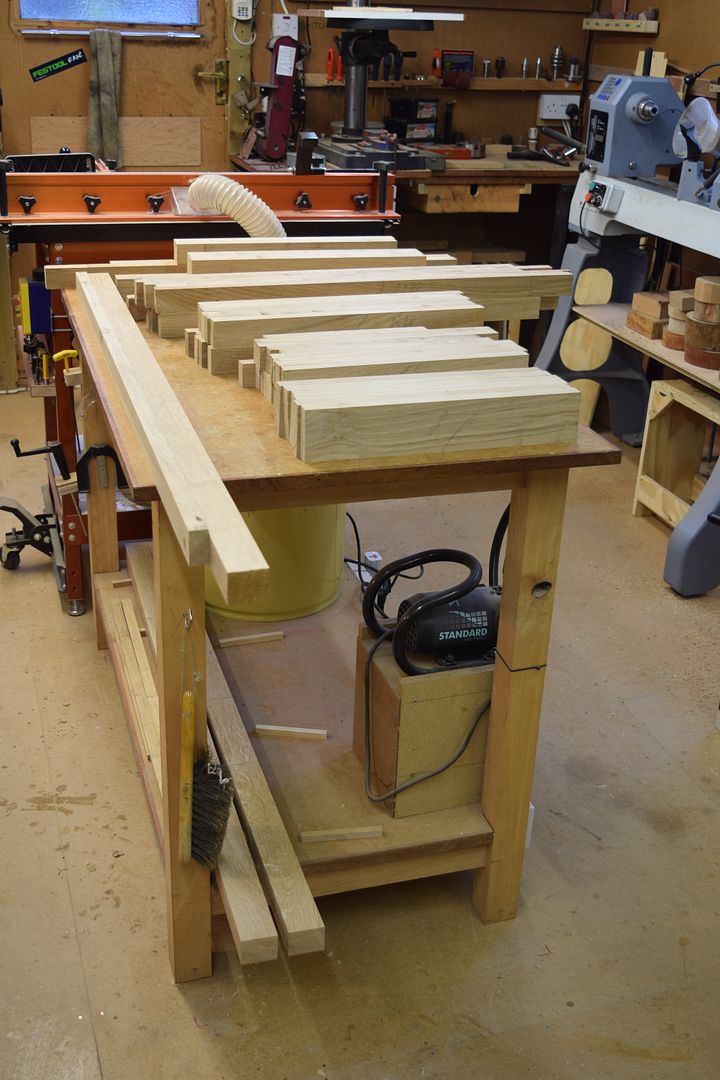


The walnut drawer sides and fronts were...
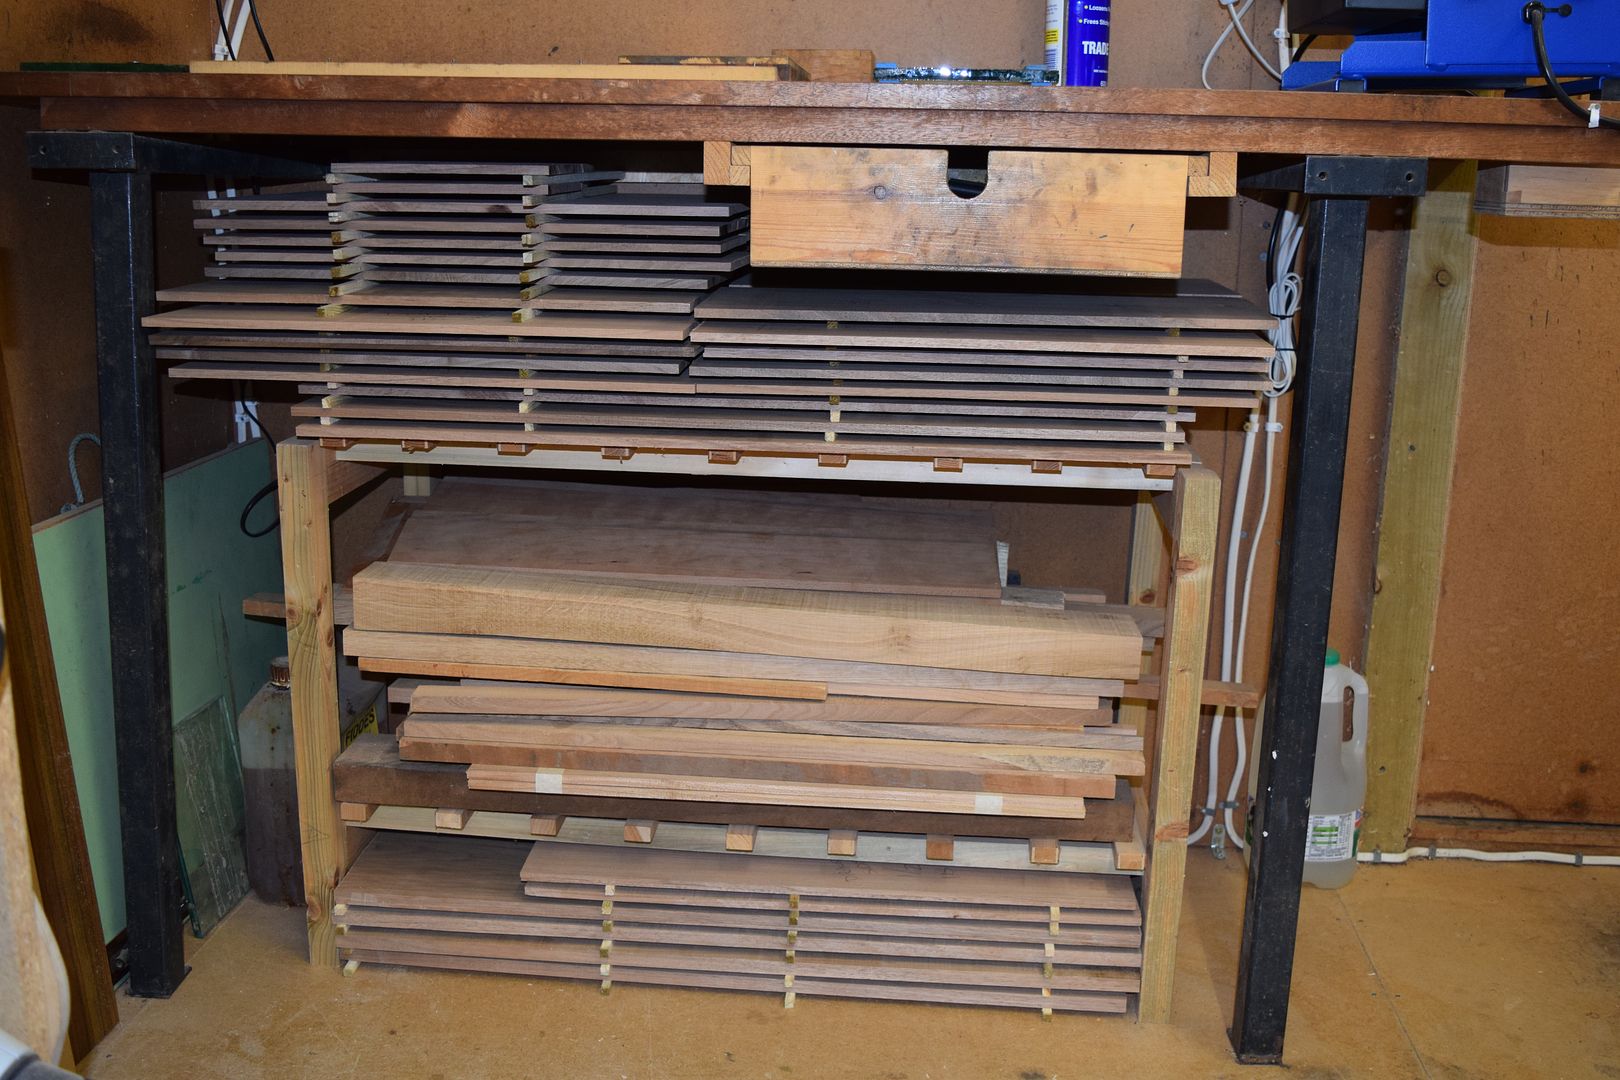


...machined over size some weeks ago and are just doing their own 'thang'...the stuff in the middle is just offcuts. Next job is to skim all the bits with a jack place and start shooting all the components for the frames to length. Each of the frames is more or less the same and will be dominod together, with oak faced dust boards, so there's going to be quite a bit of repetitive work - Rob
 
Looking forward to this Rob

Can you please consider the rest of us though and be a little more bloody disorganised!! [emoji6]

Cheers
Mark
 
Rob,

Quick question, looking at the drawing and piles of pre-prepared wood, what sort of timescale from initial idea, to drawing preparation, pre-sizing wood and conditioning, before you actually start work on a piece?

Looking forward to seeing this progress.

Ian
 
Stargazer":9jpwfyim said:
Rob,

Quick question, looking at the drawing and piles of pre-prepared wood, what sort of timescale from initial idea, to drawing preparation, pre-sizing wood and conditioning, before you actually start work on a piece?

Looking forward to seeing this progress.

Ian
Depends really on the project, but SWIMBO picked this one from some Google pics so there was little if any designing to do. but I like to leave the wood as long as possible to condition in the 'shop. The walnut's been in there for around two years and was pretty dry when I bought it, the oak was definitely longer - Rob
 
Progress is on going on this one, but this morning I came across an unexpected problemo in that for some strange and bizarre reason :eusa-doh: the shooting board was no longer cutting square. I checked the frog and blade on the No51 for grunge and that was set up spot on. It transpires that over the last few years I'd used the shooting board so much that the constant pressure had worn away part of the acrylic runway.


Three strips of thin card underneath the runway have now trued it again and it's working prefick :D

The first part of this job is the construction of eight identical horizontal frames (only the top and bottom ones are slightly different) and the pile of timber shown below:


...on a temporary table is all the stuff for those frames wot's been skimmed with a long try plane and the ends shot square where needed.

I'm currently in the marking out phase:


...with all rails (the back one's here) being cramped, marked and shot to the right length - Rob
 
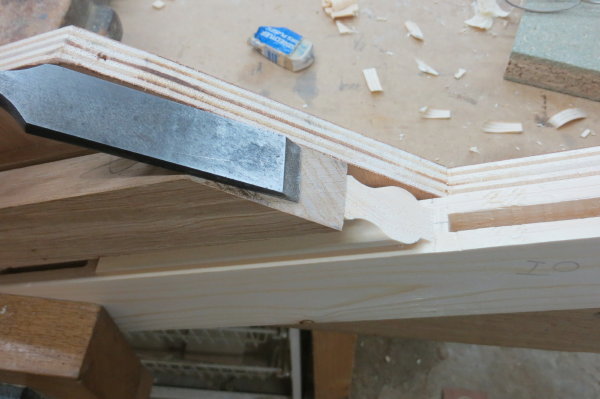
All horizontal frames have been done, including the top frame, which is slightly different to the others as it will have the walnut veneered panel inset into it. The pic shows the underside with one half of the mitred bridle joint:


Jointing was done on the router table with an 8mm cutter and then cleaned up, mitres made using a long Jap paring chisel and 45deg chiseling block - Rob
 
That is a lovely looking joint. Do you have a photo of your paring jig, Rob?
 
Mike G":2udrhgv4 said:
That is a lovely looking joint. Do you have a photo of your paring jig, Rob?
It's nothing fancy Mike, but I'll see if I can sort a pic out tomorrow - Rob
 
You could just cut a mitre and domino it together. :lol:

OK, I'll get my coat! :text-imsorry:

Loving this thread.
 
RogerM":1vw4o6z4 said:
You could just cut a mitre and domino it together. :lol:

OK, I'll get my coat! :text-imsorry:

Loving this thread.
Thought about that one Roger, but it's too difficult to set the machine up as I would have had to cut the Dom slots in an area about 50 x 35mm. A traditional joint was the easiest way, but it needs to be super accurate :eusa-pray: for everything to line up - Rob
 
I aspire to this! To someone who is new to all this - it staggers me that this can be cut so accurately. :o Sorry to ask but what is a 45 degree chiselling block? - I've looked it up and the only reference I can find is re paving slabs? :D
 
Dan0741":2wemhxs4 said:
I aspire to this! To someone who is new to all this - it staggers me that this can be cut so accurately. :o Sorry to ask but what is a 45 degree chiselling block? - I've looked it up and the only reference I can find is re paving slabs? :D

It's a lot less fancy than it sounds...;)

A lump of wood planed square and with a 45deg angle cut on one end. Clamp it to your work where you need to pare at 45 and slide your chisel along it until you have your subject timber on the same flat plane as the 45deg block. Simples.

I'm sure there are many different and more ornate ones but that's it in its most basic form.

One day Rob will be practiced enough to pare to the line without one :eusa-whistle:

Cheers
Mark
 
Beauty Rob :eusa-clap: :eusa-clap: :eusa-clap: :eusa-clap:

TrimTheKing":1wyma5t0 said:
It's a lot less fancy than it sounds...;)

A lump of wood planed square and with a 45deg angle cut on one end. Clamp it to your work where you need to pare at 45 and slide your chisel along it until you have your subject timber on the same flat plane as the 45deg block. Simples.
Shame, saw the opportunity to make another jig instead of doing some woodwork :(

TrimTheKing":1wyma5t0 said:
I'm sure there are many different and more ornate ones but that's it in its most basic form.
Phew, that's OK then :lol: .
 
Terry if you really want to you cold make a mItre jack or mitre shooting block like this.

DSCN3669-709641.jpg


I think that my father still has a couple in his garage that my grandfather made. I'll try and get some photos after Xmas.
 
TrimTheKing":14ua11ep said:
Dan0741":14ua11ep said:
I aspire to this! To someone who is new to all this - it staggers me that this can be cut so accurately. :o Sorry to ask but what is a 45 degree chiselling block? - I've looked it up and the only reference I can find is re paving slabs? :D

It's a lot less fancy than it sounds...;)

A lump of wood planed square and with a 45deg angle cut on one end. Clamp it to your work where you need to pare at 45 and slide your chisel along it until you have your subject timber on the same flat plane as the 45deg block. Simples.

I'm sure there are many different and more ornate ones but that's it in its most basic form.

One day Rob will be practiced enough to pare to the line without one :eusa-whistle:

Cheers
Mark


Indeed, nothing fancy. My double-ended mitre chiseling block is shown resting on a block of gash ash, ready for mitring, as well as the big Jap paring chisel. They're sitting on the top, now veneered with 9mm ply and 4mm thick English walnut, book matched veneers. I've just machined the 6mm wide groove all the way round for the ebony line to fit...tomorrow's job.

Mark...is there an smilie for the middle digit? If not, we need one :lol: - Rob
 
Dan0741":1nr4pg4o said:
I aspire to this! To someone who is new to all this - it staggers me that this can be cut so accurately. :o Sorry to ask but what is a 45 degree chiselling block? - I've looked it up and the only reference I can find is re paving slabs? :D

No-one can saw that accurately, but you can chisel to the line VERY accurately using one of these shooting blocks :

shootingbd%20002_1.jpg


Mine is being used here to mitre the mouldings on a door.
 
I see the science, but remains very impressive even with the help of a block, I think it looks fantastic. :D
 
First 'dry run' of the skeletal framework


The 18mdf spacers have been machined dead true and parallel on the router table and are a matched pair as well as being exactly the same width as the oak centre stile. All held together with some of Axminster's finest and longest sash cramps :eusa-dance:
It's mostly co-planar but there's a lot of 'wiggle room' which means that it can be adjusted for squareness relatively easily. Next job is to take it apart again and machine the domino mortices in the ends of the horizontal panels, then comes scraping, sanding and polishing of each individual panel in turn. The other half of the mitred joint on the front leg has also got the be done - Rob
 
Some time ago I sorted out the two vertical legs at the front and got theme fitted:


...all jointing with Doms.

Couple of detail shots of the corners:


The mitres on each corner have pulled up spot on and all the drawer openings are square. In the process at the moment of masking off and Osmosing all the individual horizontal rails which is taking a long time to do, but almost there with just a couple to finish off - Rob
 
You leave yourself quite a lot of cleaning up to do post-gluing, Rob. How do you set about the inside of the corner in your last-but-one photo?
 
Mike G":73yttnxj said:
You leave yourself quite a lot of cleaning up to do post-gluing, Rob. How do you set about the inside of the corner in your last-but-one photo?
Carefully :eusa-whistle:
Seriously, the inside of the mitre needs only the barest scrape with a hand scraper to bring it level, then I'll use purpose made sanding blocks where you shoot a small rectangular block with dead square edges and d/s stick with 180g and 240g on opposite sides. This means that you can get right into a corner to sand without touching the adjacent face - Rob
 
Why not do all the surface preparation prior to gluing?

Rather than sanding, I think I'd be scraping carefully.......out from the corners.
 
Mike G":3vt8vmok said:
Why not do all the surface preparation prior to gluing?

I do where possible. The mitres need to be flushed after gluing (in the same way as you'd level a picture frame) so the ones at the front are easy enough to do with a smoother. The ones at the back are a lot more difficult in that there's restricted access so a small hand scraper and sanding block is the only way to do it - Rob
 
Are we talking about the same faces? I meant these:

us6MTHG.png
 
Mike G":1ysbm0ys said:
Are we talking about the same faces? I meant these:

us6MTHG.png

I see where your at Mike. Yep, of course. This was the first fit to see if everything went together so before gluing in place they'll be Osmo'd as well - Rob
 
Ah, right. It was a dry fit...... I thought it was glued up.
 
Front legs glued in place, which was trés difficult :shock: but not too bad. A little bit of gappage round the back but only 'cos I couldn't get cramps in place. Mitres at the top have gone up perfectly. Scraped and premlimary sanded in these shots to 120g


Side view of rear legs which have been temporarily screwed in place as they act as skids 'cos it's been tipped on it's back so the front can be cleaned up. Some more work to do on the front leg tapers as they're not equal at the moment and there's some tearout shown in pencil. Coming along though :eusa-whistle: - Rob
 
Lovely as ever Rob, your a clever chap :eusa-clap: .

Just noticed that your footer has changed, when did that happen? If it matters a jot I think that approach is much better than no comment, because sometimes you will be able to give helpful info without doing anything inappropriate.

Terry.
 
Wizard9999":3439l1qm said:
If it matters a jot I think that approach is much better than no comment, because sometimes you will be able to give helpful info without doing anything inappropriate.

Terry.
Indeed. Sometimes it's useful to be able to talk about stuff without giving away 'classified' Ax information, especially if it helps others to make an informed decision about our products - Rob
 
Drawer boxes made, that's 8.56 metres of dovetails in English Walnut.


Boxes next to be fitted to openings, slips and centre muntins fitted, then the drawer fronts, so not finished yet by a mile :( - Rob
 
Back
Top