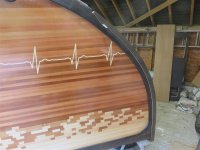
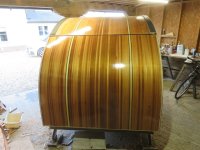
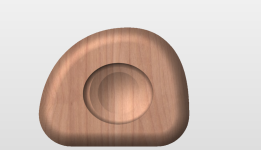
It's finished, with qualifications, of course.
I haven't posted for the last few weeks because watching varnish dry isn't terribly exciting. Anyway, it turns out there was a lot more to do than I thought.
We left things with most of the epoxy work done. I needed to get to hatch to the same level of "finished" as the rest of the teardrop, which meant doing the oak trim and ebonising it. You previously saw it under construction in the workshop, so here it is bent into place and epoxied onto the hatch:

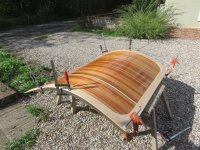
I then ebonised it in place, a couple of times, wiping down soon after applying the vinegar & steel-wool solution. I let this dry for a couple of days, then applied the first coat of epoxy...then took the dog for a walk. When I got back, this had happened:

Those are blisters in the epoxy, and needless to say, they shouldn't be there. After a bit of thought, I applied a second coat. I did this because I knew that I'd have to be sanding all those blisters out, and I didn't want to sand through the epoxy and damage the ebonising. It worked out sort-of alright-ish, if you squint. There are two or three minor places where bare wood got exposed. I built up 3 or 4 more layers of epoxy, so now the entire cedar-stripped part of the exterior was at the same stage: epoxied, and ready for, varnish. I did the black edge details with epoxy, too, and had to mask off the black from the cedar beforehand:

I had worried about the seal grooves for quite a while. How was I going to prevent them being filled in with epoxy? I bought some plasticine:


It turned out to be an absolute nightmare trying to fully fill the grooves, cut off the excess, and smooth to level with the surface of the wood. One groove in one door took an hour for 2 of us. I abandoned that plan, and went for hot glue instead. I started with just glue, and then swapped to string-plus-glue, on the grounds that it might help with removal, and it certainly reduced the amount of plastic glue sticks I was getting through:
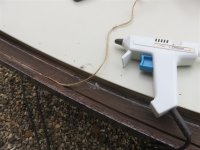

That amounted to losing a day, in a day...
The following day I applied only 2 coats of epoxy in these non-exposed locations, but with the temperatures falling as we moved into autumn, that was about the limit for a day of epoxying anyway. It just dries slower as the weather cools.
It then took half the following day to strip the glue and the plasticine out of the grooves (the plasticine was a dream to remove). I wish I had used stronger string, because I kept breaking it:

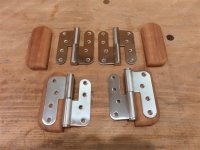
In the midst of all the epoxy shenanigans, I made some packers for the door hinges. These I could epoxy in the workshop, with the heater on, and thus I got 3 coats on quickly:

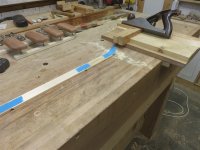
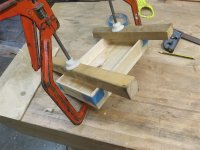
And again, whilst waiting for epoxy to dry, I made a little cover for the electrics in the hatch (you'll see those later). Here's the box/ lid thingy:
Epoxy is never a finish finish. It isn't UV resistant, and to be honest, no mater how carefully you apply it and "tip" it, it doesn't run out nicely like true wood finishes do. I was going to be applying Epifanes 2 part high-gloss polyurethane varnish, with is another marine product. You prepare epoxy for a finish by sanding.
And sanding.
And sanding.
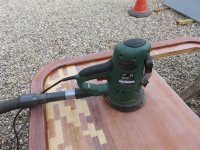
Eighty grit, then 120, then 160, then 220. It's an endlessly tedious job, made easier by DaveL's (huge) random orbital sander:
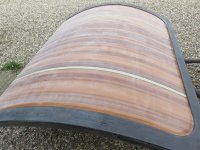
I did 3 coats of the varnish, which doesn't need sanding between coats unless you leave it more than 48 hours from the previous coat. You're watching the weather really closely at this stage, because there are temperature limits to consider, but humidity is far more important. You just can't apply it if it is raining, or is going to rain in the drying period. The result looks pretty good in photos:


....but to be honest, I'll be sanding down and re-finishing some time next summer.
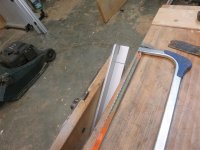
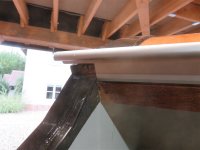
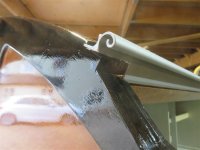
When the hatch varnish had dried I could move on to the final assembly of all the various components, starting with the hurricane hinge (AKA a snail hinge, or a catering hinge). It consists of 2 continuous aluminium extrusions which interlock in a clever and watertight manner. These need cutting and drilling prior to fitting:
I've over 50 photos left to post, but the forum is running so slowly that I'll leave the rest until things are back to normal. This post has taken nearly 2 hours to put together.

 Well, there's 2 flat bits built in. I wouldn't want you to get it wrong.