A scalpel is a useful sort of tool, to anyone who makes or mends things and needs a reliably sharp edge from time to time. But they are not easy to store safely.
Some time ago, on the online woodwork chat Benchtalk 101, Scott Anderson showed us a simple but elegant solution - a slip of wood, cut in two and hollowed out, then stuck together again. The scalpel stays in the slot because its handle is tapered and can just be wedged in, if you make the slot the right shape.
I fancied a few hours in the workshop today, so I selected a suitable sized bit of cedar wood and set about making one for myself.
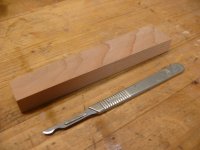
It's pretty obvious how to go about this, so I shall mainly let the pictures tell the story.
I split the wood in two on the bandsaw, planed it smooth and drew around the scalpel. I defined the shape with chisels.
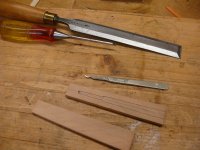
then hollowed out on both sides. And before you ask, yes I did realise that it would have been simpler to split the wood off-centre and do all the hollowing on one side, but only after I had started, so being lazy I just carried on, instead of starting again.
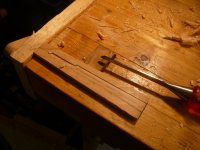
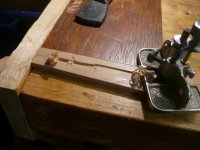
I used my little Stanley 271 router, with its just-narrow-enough cutter. On this first side, the grain ran the easy way to take smooth shavings.
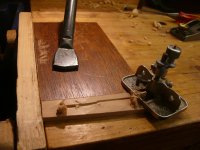
On the second side I needed to work the other way round. I also found an easier way to hold the work.
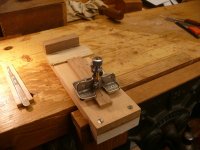
That got me to this stage, ready for a little sanding with an abrasive-covered lolly stick.
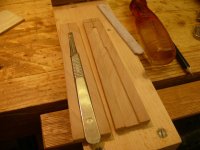
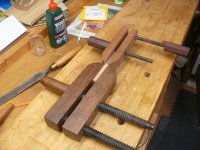
Then it was time for a smear of glue on each side. I used PVA, so I could carry on after lunch the same day.
I drew some curves on the ends and cut them out with a little antique jeweller's saw.
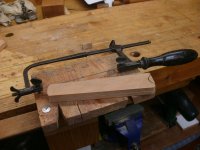
I've had those practice dovetails kicking around for several decades now. Living proof that joints can be serviceable even when crudely nibbled from the wood.
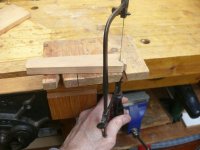
Here's an obviously posed picture of me sawing left handed, when the piece I was cutting had already been detached.
After that it was simply a case of going over it with some abrasive paper, easing all the arrises.
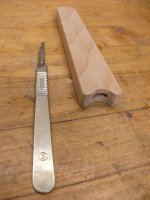
And with a little oil on, it now looks like this:
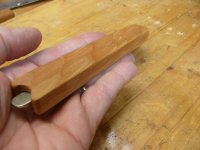
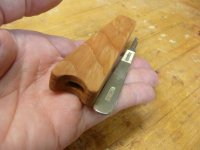
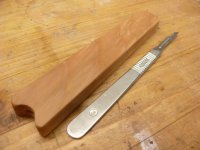
The scalpel stays safely wedged inside but can easily be pulled out when needed.
So, if you fancy making a little something, that doesn't need tons of expensive materials or machinery, why not give it a go? Every home should have one!
Some time ago, on the online woodwork chat Benchtalk 101, Scott Anderson showed us a simple but elegant solution - a slip of wood, cut in two and hollowed out, then stuck together again. The scalpel stays in the slot because its handle is tapered and can just be wedged in, if you make the slot the right shape.
I fancied a few hours in the workshop today, so I selected a suitable sized bit of cedar wood and set about making one for myself.
It's pretty obvious how to go about this, so I shall mainly let the pictures tell the story.
I split the wood in two on the bandsaw, planed it smooth and drew around the scalpel. I defined the shape with chisels.
then hollowed out on both sides. And before you ask, yes I did realise that it would have been simpler to split the wood off-centre and do all the hollowing on one side, but only after I had started, so being lazy I just carried on, instead of starting again.
I used my little Stanley 271 router, with its just-narrow-enough cutter. On this first side, the grain ran the easy way to take smooth shavings.
On the second side I needed to work the other way round. I also found an easier way to hold the work.
That got me to this stage, ready for a little sanding with an abrasive-covered lolly stick.
Then it was time for a smear of glue on each side. I used PVA, so I could carry on after lunch the same day.
I drew some curves on the ends and cut them out with a little antique jeweller's saw.
I've had those practice dovetails kicking around for several decades now. Living proof that joints can be serviceable even when crudely nibbled from the wood.
Here's an obviously posed picture of me sawing left handed, when the piece I was cutting had already been detached.
After that it was simply a case of going over it with some abrasive paper, easing all the arrises.
And with a little oil on, it now looks like this:
The scalpel stays safely wedged inside but can easily be pulled out when needed.
So, if you fancy making a little something, that doesn't need tons of expensive materials or machinery, why not give it a go? Every home should have one!