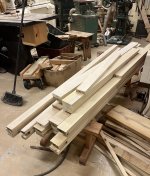
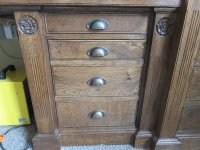
I made some drawer boxes for the 4 filing cabinet drawers. These were too deep to make out of proper wood, so I did them out of ply instead:


One of them was going to have a bottom in it and be useable as an orthodox drawer, so I ploughed a groove with a little Record 43:


It's only got the one blade, but it happened to be the right size. I also took a rebate off the top outside edge of the boxes, and made up an experimental section in oak:

That seemed to work OK, so I made up enough for all the top edges, and glued them in place:




The corners, of course, required mitres (we need a gnashing-teeth emoji):

The open boxes got some diagonal bracing:


On to the drawer fronts. I'm sure you've all worked it out by now. I prepared a whole lot of oak, and rough-cut them to size. I then marked out for the sliding dovetails:

And started removing the waste:



As always, I used an infallible depth gauge to keep my paring accurate:



Here's a dry fit:

The sliding dovetails were hammered home, dry, and cut off top and bottom. The dry-fitted drawer fronts were then taken in to be adjusted to fit perfectly into the opening. This involved at least 4 or 5 trips in for each of 5 drawers fronts, with about 80 metres per round trip......or about 2km of plodding back and forth to remove a shaving here and there.
Next job was to dis-assemble the dry-fitted pieces, and run a groove around for the cock beads:


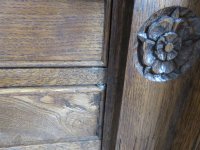
I had pre-stained the cock beads when I made them up months, if not years, ago, so they look a bit odd in this photo:


And that photo shows you the 13 pieces involved in this one drawer front.
I then glued all the cock-beads on (without even mentioning mitre-ing once!

):

Is the tape recycleable, I wonder:

Final dry fit:

Then a glue up, taking great care to avoid squeeze-out on the front face:


This was a nice glue-up, in that it didn't require any clamping at all:

Once they were dry, I routered out a detail on top inside, to allow clearance for the overhanging bit of the files (you'll see):

Then we were into finishing. Firstly, the stain:

Then a day later, the normal jollop:

.
For the first time ever, this didn't go well. Particularly the second coat. Normally each coat dries completely in 24 hours, but this was still a bit tacky after 48 hours. I ended up wiping down thoroughly with white spirit, allowing everything to dry again, and then adding a thinner coat of the mixture for the final coat. My theory is that this was due to using some very old linseed as the oil. It was quite thick in its container. Anyway, we eventually got a finish, and moved on.
I had some cornicing to make:

I started with planing up some off cuts, and marking out a rough profile:

I then hogged out the waste on the router table, using the cutter which happeded to be in there:

Before getting to work with a moulding plane:



And finishing with sandpaper and scraper (in that order):

I roughed off the chamfers on the bandsaw:

Before finishing with a plane, cutting the mitrres, and gluing together ready for a finish:


Finally, I screwed the drawer fronts into place on their boxes:


Here's how that groove works:

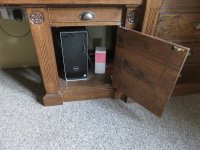
The door in this next photo (the smaller set of drawer fronts) is just standing in place awaiting the arrival of some hinges: