Dr.Al
Old Oak
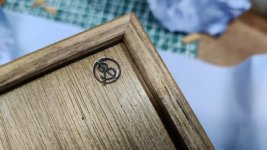
As part of the regeneration of my website and with a bit of help from a friend, I've created a logo (based on my three initials, ASB, superimposed together). To use the logo in more than my website, I have ordered some branding irons / stamps. However, I also wanted to do something a bit different for those projects (like the travel tool chest) that I considered to be particularly special.
For the special projects, I thought it would be nice to have an inset metal disc with the logo marked on it.
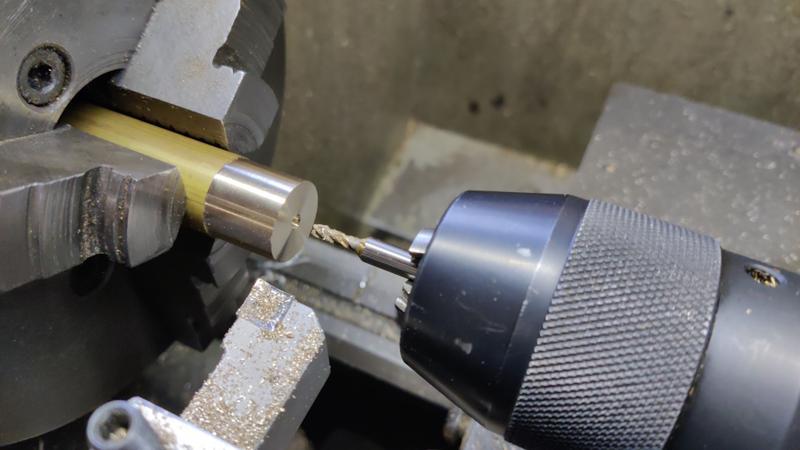
I started with a length of brass that was slightly over 20 mm in diameter. I turned it down to exactly 20 mm, faced the end and used a centre-cutting end mill to drill a shallow hole in the face.
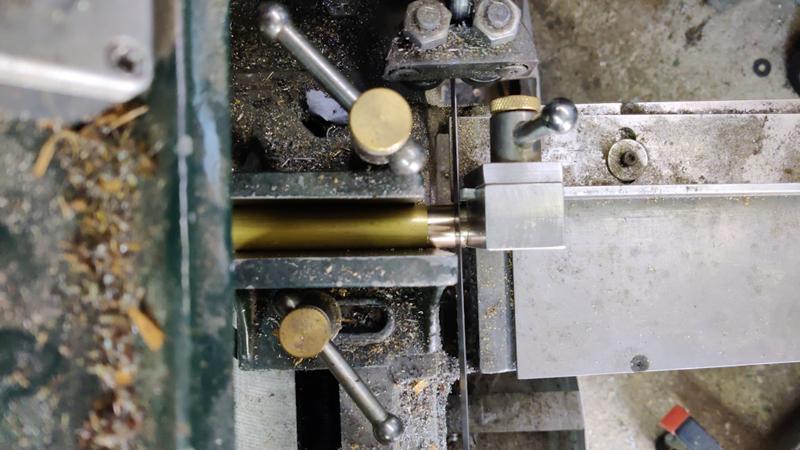
My horizontal bandsaw cut-off table, which has an end stop, made it nice and easy to chop the parts off to a consistent length:
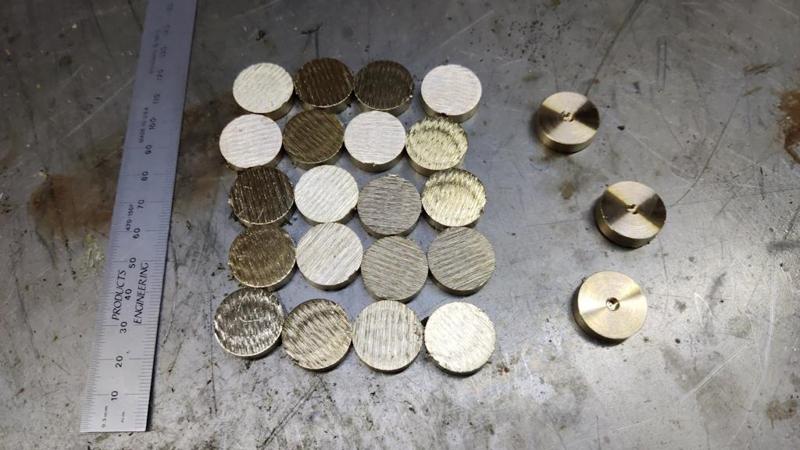
The bar then went back in the lathe and I repeated the process. After a little while, I had 23 blanks, each with one side that was smooth but with a hole in and one side that was rough sawn from the bandsaw:
I fitted the soft jaws in the lathe and machined them to size, first with a 19 mm end mill...
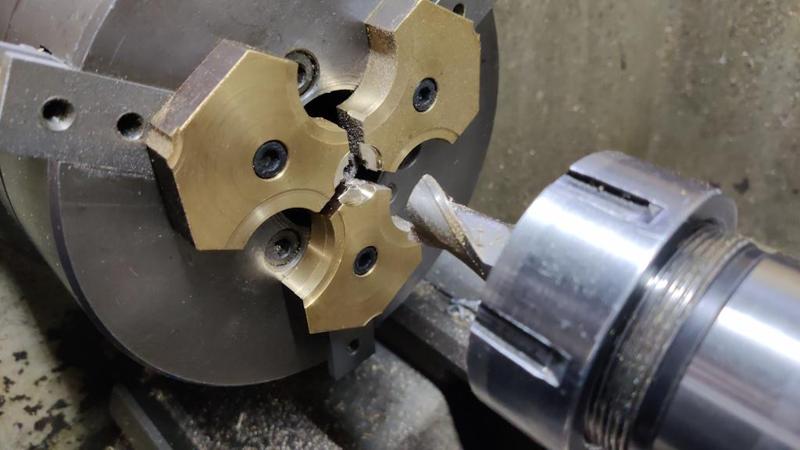
... and then with a boring bar:
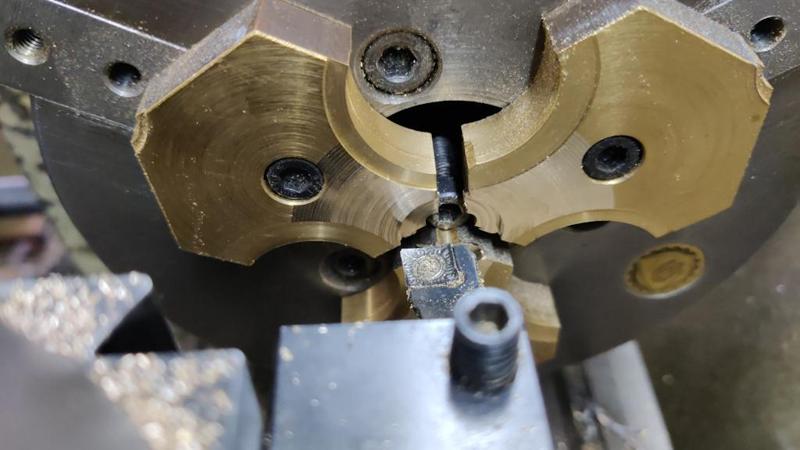
I could then use that set-up to face off the "show face" of all the blanks, easily getting them to the same thickness:
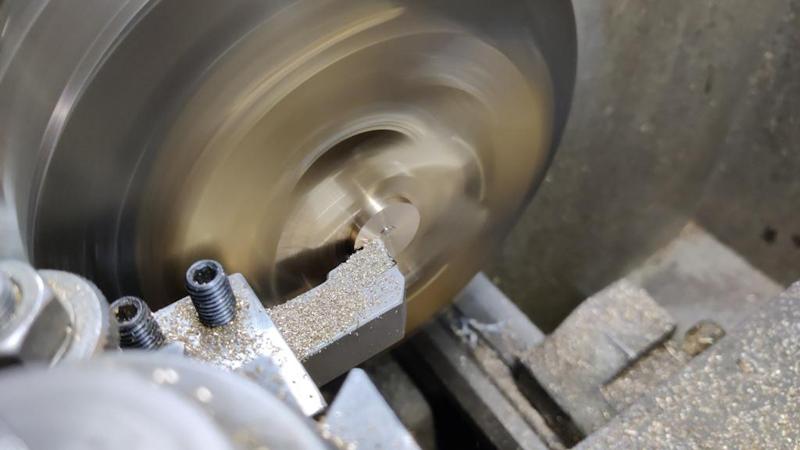
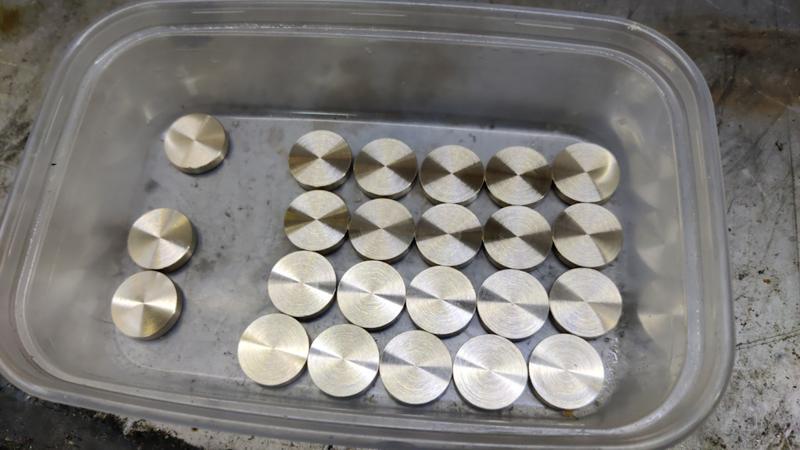
That gave me 23 blanks, all with a relatively smooth (but not smooth enough!) finish.
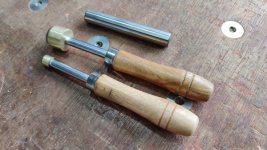
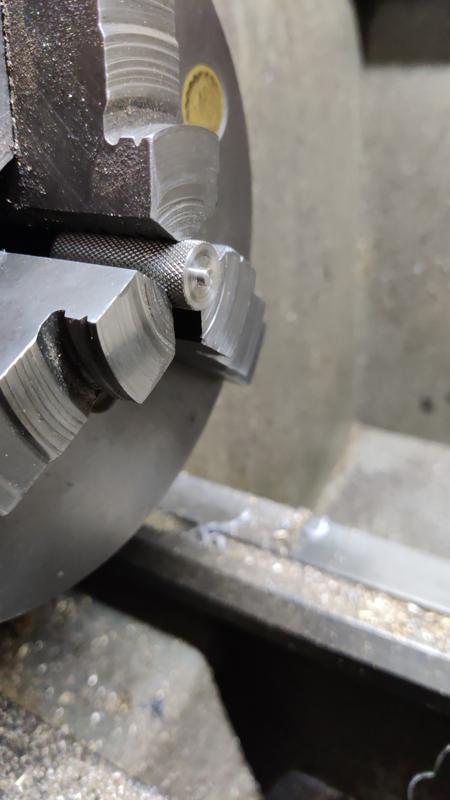
I had a bit of pre-knurled stainless steel left-over from when I made the thumbscrews for the vice screws. I turned a short spigot on the end of that (to fit into the shallow hole I drilled in the back of each blank):
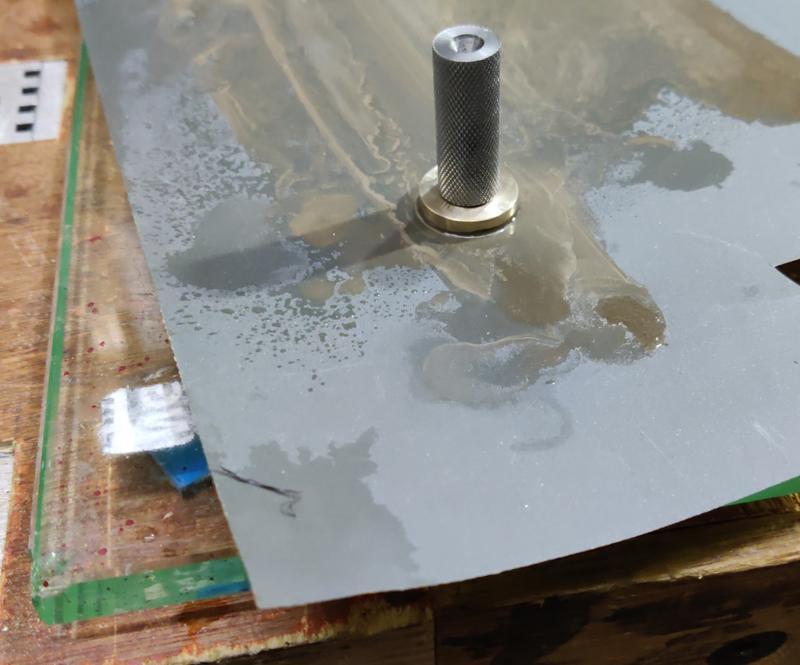
That stainless piece could then be used to make the process of sanding (with wet-and-dry paper) a bit more ergonomic:
At this point, there was a long interlude. The interlude first involved having a go with press-and-peel paper to etch the logo into the blanks. Getting the press-and-peel paper both aligned with the blanks and properly stuck to the blanks proved to be too difficult, so I gave up on that and tried photolithography. Again that proved to be a failure. All the things I've done with either press-and-peel or photolithography have been significantly larger (and thinner). That made it much easier to get a nice smooth finish when either doing the toner transfer or affixing the photoresist film. With these little discs it was extremely hard to get a good result. Thankfully, it was obvious there was a problem long before they went anywhere near the ferric chloride etchant, so none of the parts were wasted in the process.
I could have tried laying the design out on a large sheet of brass (and I considered that). The challenge there would have been cutting the parts out as circles and getting those circles aligned correctly with the logo. It certainly would have been possible and it would be quite straightforward for one part, but doing that for 20+ parts just felt too hard.
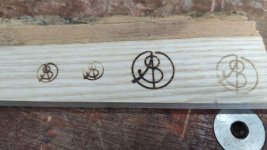
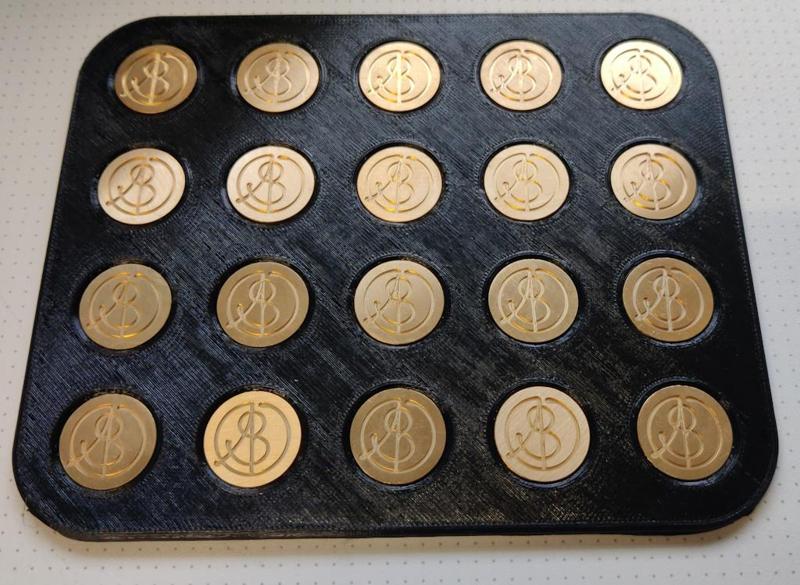
At this point, I posted an appeal for help on the MIG-welding forum. An incredibly generous soul over there offered to use his CNC-engraving machine to cut the logos in my blanks. I posted the blanks up to him in a little 3D-printed carrier and a couple of weeks later, they came back in the post:
To finish the parts off, I found an off-cut of aluminium and (on the lathe) turned a shallow recess into the face. The aluminium piece could then be held in the bench vice and the discs could be placed into the recess. Some dial wax (black shellac) was then used to cover the face (trying, and sometimes succeeding, in keeping it just on the face and not down the sides as well).
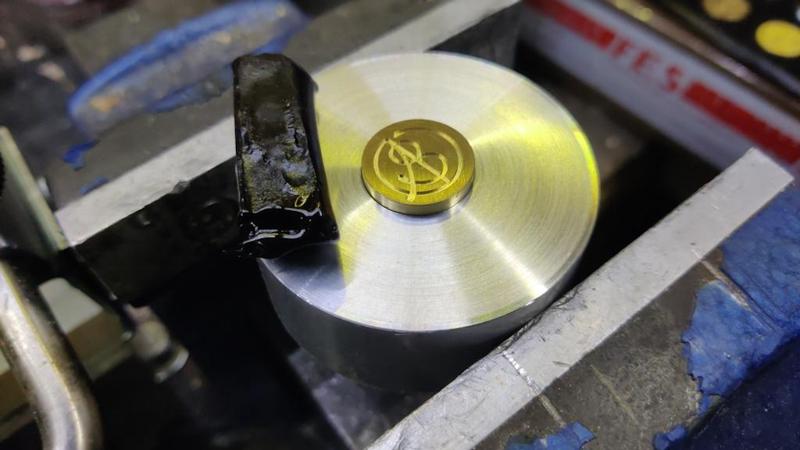
To apply the wax, a blowtorch is used to apply heat to the part (and the aluminium underneath). Once the brass part has warmed sufficiently, the dial wax stick is shoved into the face of the part and it melts. The recess in the aluminium part stops the brass part moving around too much.
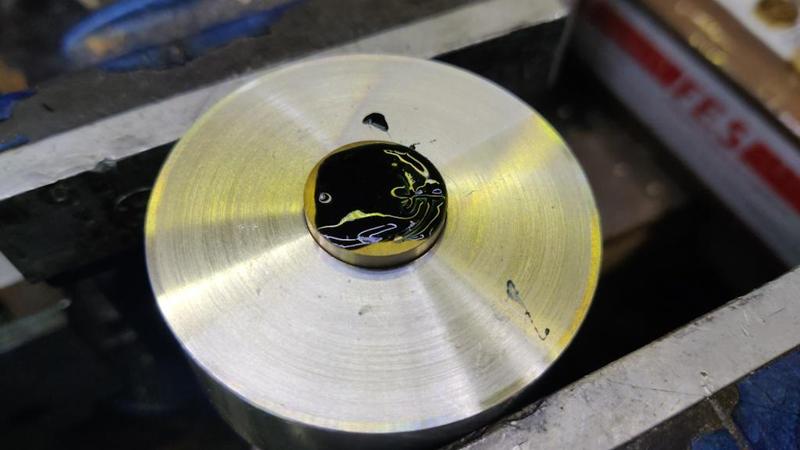
The blowtorch is then re-applied, mostly to the aluminium, to re-melt the wax and smooth it out a bit:
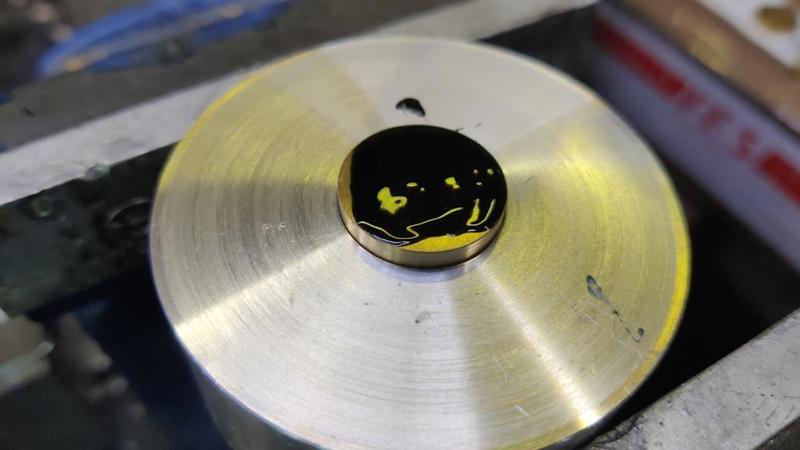
Once the parts had all been waxed and had cooled down, they went back to the wet-and-dry paper for a clean up. I started with 240 grit to get rid of most of the excess wax and then used 400 grit and 600 grit under running water to polish the face.
I decided it would be interesting to try silvering for some of the parts, using these two powders:
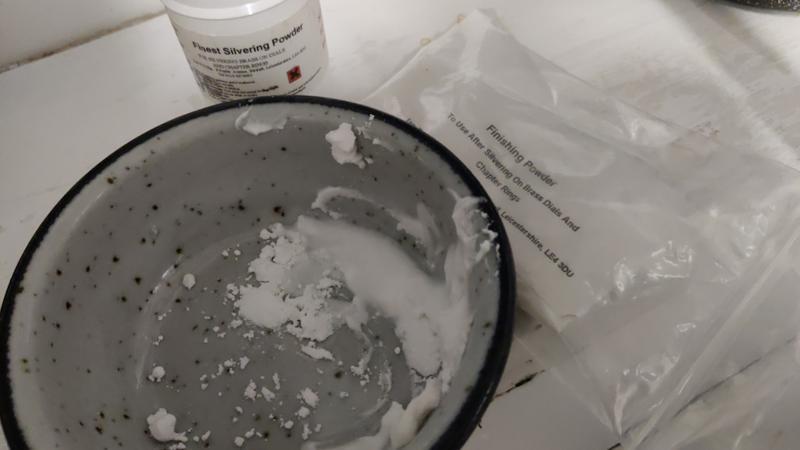
The powders are very simple to use. The first step is to mix them with a tiny amount of water: just enough to make a thick paste. The silvering powder paste is then rubbed into the face of the brass part for a bit until the colour starts to appear.
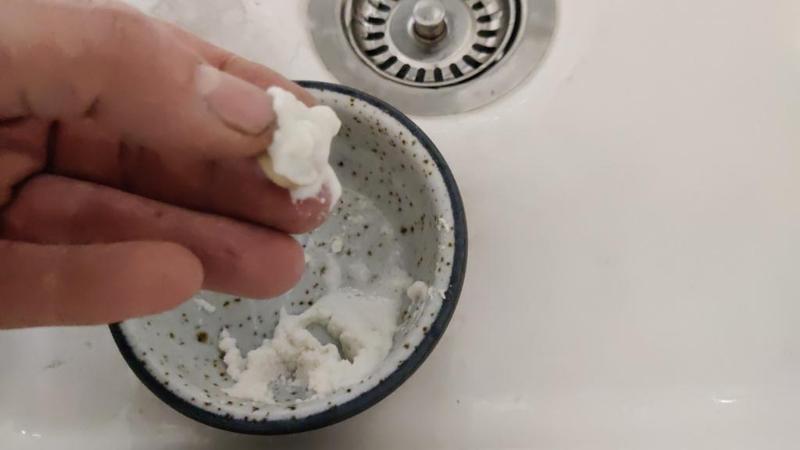
After that is done, the silvering powder is rinsed off in water and then the exact same process is used for the finishing powder.
The wet-and-dry sanding gives the wax a matt finish. To liven it up a bit, the parts get put into a domestic oven on a medium heat for a few minutes. I either had the oven a bit hot or left them too long as some of the wax bubbled up out of the pockets, which looks like this:
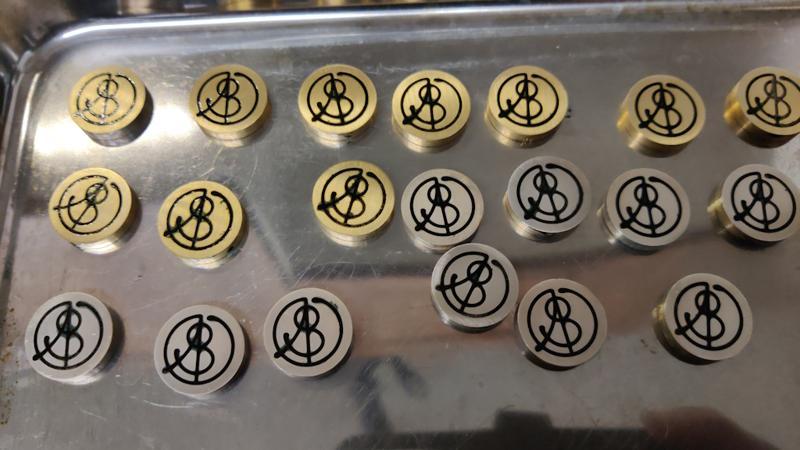
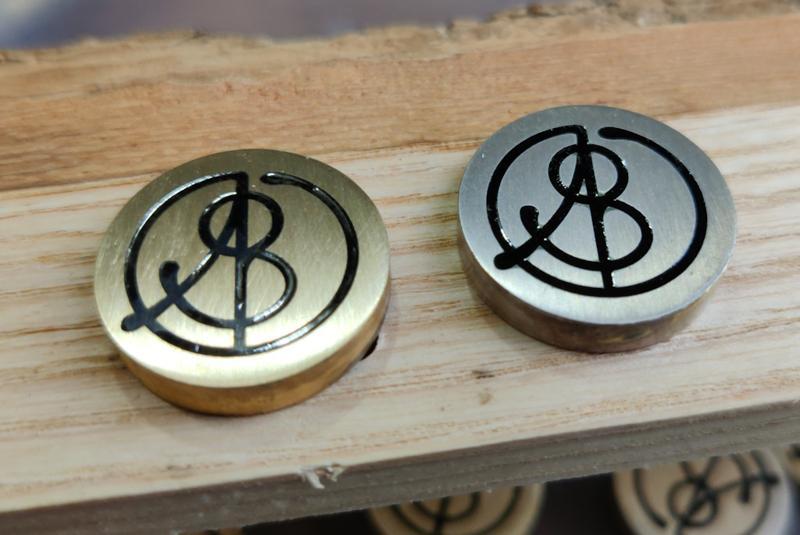
Anyway, that was easily sorted (albeit by repeating a few of the other steps) and I finally ended up with 20 good logo inserts. This photo shows the contrast between a plain brass part and one that has been silvered. You can also see the glossy colour of the wax post-oven:
As I said at the start, the first project for this is my travel tool chest. I drilled a 20 mm hole in an off-cut and clamped it to the back of the chest. The off-cut is there to help me drill in a straight line:
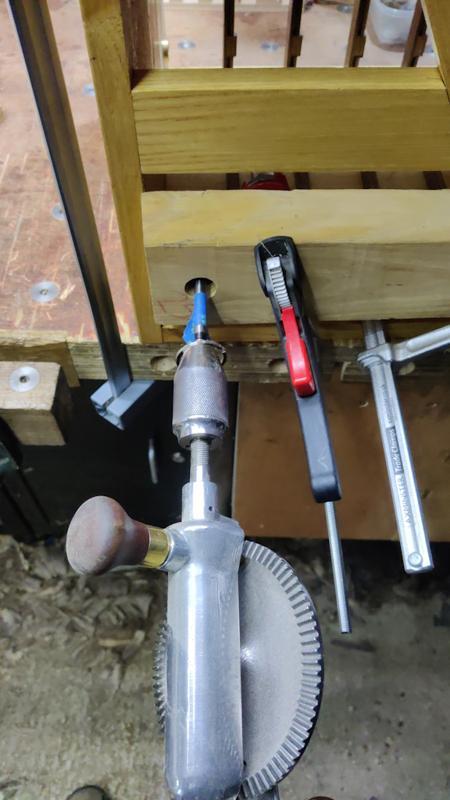
I deliberately drilled the hole slightly deeper than the thickness of the logo insert. That will allow me one or two passes over the back with a smoothing plane if required before I start hitting the logo insert.
The hole got some superglue dribbled into it...
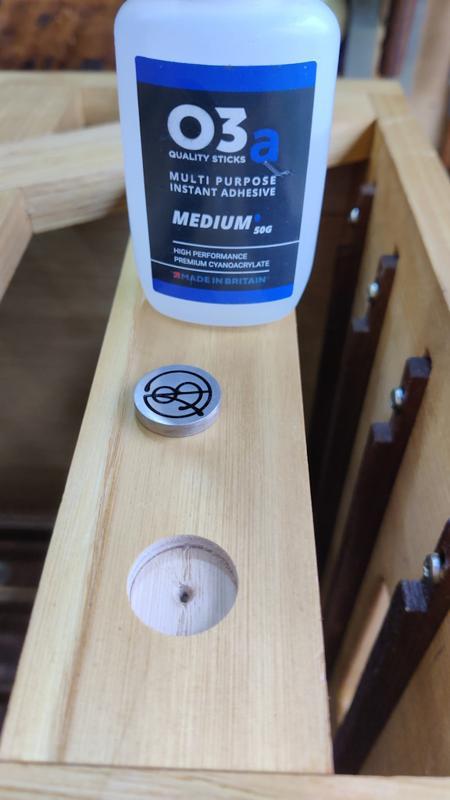
... and then the logo was pressed into place:
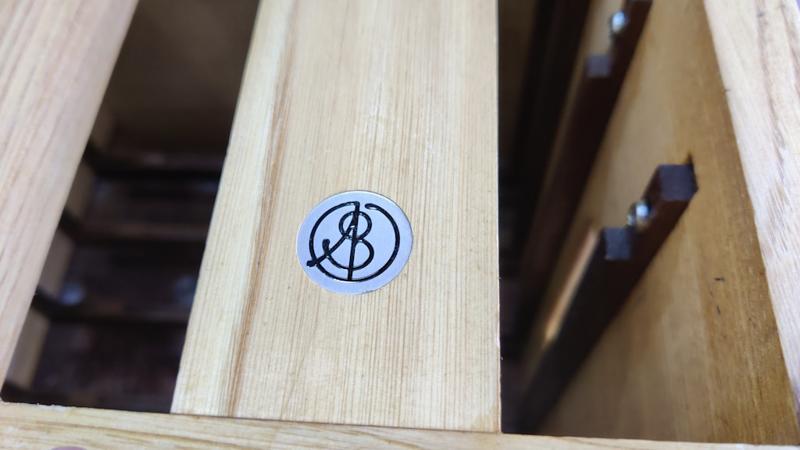
This photo gives a better view of where it is located on the back of the chest:
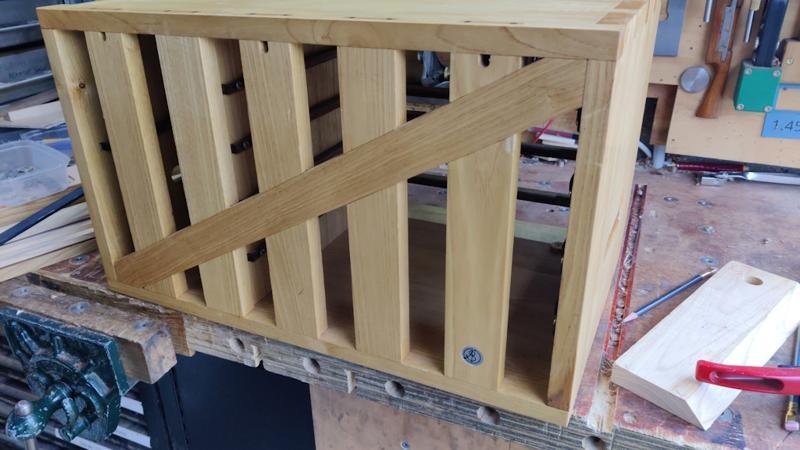
I'll talk a bit about my branding trials and tribulations soon...
For the special projects, I thought it would be nice to have an inset metal disc with the logo marked on it.
I started with a length of brass that was slightly over 20 mm in diameter. I turned it down to exactly 20 mm, faced the end and used a centre-cutting end mill to drill a shallow hole in the face.
My horizontal bandsaw cut-off table, which has an end stop, made it nice and easy to chop the parts off to a consistent length:
The bar then went back in the lathe and I repeated the process. After a little while, I had 23 blanks, each with one side that was smooth but with a hole in and one side that was rough sawn from the bandsaw:
I fitted the soft jaws in the lathe and machined them to size, first with a 19 mm end mill...
... and then with a boring bar:
I could then use that set-up to face off the "show face" of all the blanks, easily getting them to the same thickness:
That gave me 23 blanks, all with a relatively smooth (but not smooth enough!) finish.
I had a bit of pre-knurled stainless steel left-over from when I made the thumbscrews for the vice screws. I turned a short spigot on the end of that (to fit into the shallow hole I drilled in the back of each blank):
That stainless piece could then be used to make the process of sanding (with wet-and-dry paper) a bit more ergonomic:
At this point, there was a long interlude. The interlude first involved having a go with press-and-peel paper to etch the logo into the blanks. Getting the press-and-peel paper both aligned with the blanks and properly stuck to the blanks proved to be too difficult, so I gave up on that and tried photolithography. Again that proved to be a failure. All the things I've done with either press-and-peel or photolithography have been significantly larger (and thinner). That made it much easier to get a nice smooth finish when either doing the toner transfer or affixing the photoresist film. With these little discs it was extremely hard to get a good result. Thankfully, it was obvious there was a problem long before they went anywhere near the ferric chloride etchant, so none of the parts were wasted in the process.
I could have tried laying the design out on a large sheet of brass (and I considered that). The challenge there would have been cutting the parts out as circles and getting those circles aligned correctly with the logo. It certainly would have been possible and it would be quite straightforward for one part, but doing that for 20+ parts just felt too hard.
At this point, I posted an appeal for help on the MIG-welding forum. An incredibly generous soul over there offered to use his CNC-engraving machine to cut the logos in my blanks. I posted the blanks up to him in a little 3D-printed carrier and a couple of weeks later, they came back in the post:
To finish the parts off, I found an off-cut of aluminium and (on the lathe) turned a shallow recess into the face. The aluminium piece could then be held in the bench vice and the discs could be placed into the recess. Some dial wax (black shellac) was then used to cover the face (trying, and sometimes succeeding, in keeping it just on the face and not down the sides as well).
To apply the wax, a blowtorch is used to apply heat to the part (and the aluminium underneath). Once the brass part has warmed sufficiently, the dial wax stick is shoved into the face of the part and it melts. The recess in the aluminium part stops the brass part moving around too much.
The blowtorch is then re-applied, mostly to the aluminium, to re-melt the wax and smooth it out a bit:
Once the parts had all been waxed and had cooled down, they went back to the wet-and-dry paper for a clean up. I started with 240 grit to get rid of most of the excess wax and then used 400 grit and 600 grit under running water to polish the face.
I decided it would be interesting to try silvering for some of the parts, using these two powders:
The powders are very simple to use. The first step is to mix them with a tiny amount of water: just enough to make a thick paste. The silvering powder paste is then rubbed into the face of the brass part for a bit until the colour starts to appear.
After that is done, the silvering powder is rinsed off in water and then the exact same process is used for the finishing powder.
The wet-and-dry sanding gives the wax a matt finish. To liven it up a bit, the parts get put into a domestic oven on a medium heat for a few minutes. I either had the oven a bit hot or left them too long as some of the wax bubbled up out of the pockets, which looks like this:
Anyway, that was easily sorted (albeit by repeating a few of the other steps) and I finally ended up with 20 good logo inserts. This photo shows the contrast between a plain brass part and one that has been silvered. You can also see the glossy colour of the wax post-oven:
As I said at the start, the first project for this is my travel tool chest. I drilled a 20 mm hole in an off-cut and clamped it to the back of the chest. The off-cut is there to help me drill in a straight line:
I deliberately drilled the hole slightly deeper than the thickness of the logo insert. That will allow me one or two passes over the back with a smoothing plane if required before I start hitting the logo insert.
The hole got some superglue dribbled into it...
... and then the logo was pressed into place:
This photo gives a better view of where it is located on the back of the chest:
I'll talk a bit about my branding trials and tribulations soon...