• Hi all and welcome to TheWoodHaven2 brought into the 21st Century, kicking and screaming! We all have Alasdair to thank for the vast bulk of the heavy lifting to get us here, no more so than me because he's taken away a huge burden of responsibility from my shoulders and brought us to this new shiny home, with all your previous content (hopefully) still intact! Please peruse and feed back. There is still plenty to do, like changing the colour scheme, adding the banner graphic, tweaking the odd setting here and there so I have added a new thread in the 'Technical Issues, Bugs and Feature Requests' forum for you to add any issues you find, any missing settings or just anything you'd like to see added/removed from the feature set that Xenforo offers. We will get to everything over the coming weeks so please be patient, but add anything at all to the thread I mention above and we promise to get to them over the next few days/weeks/months. In the meantime, please enjoy!

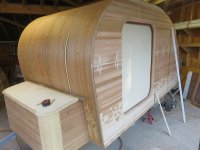
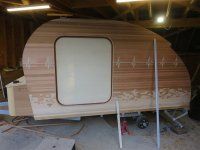
Mike builds a teardrop (tongue box and conduit)

When you're out and about with it I'd put money on someone asking where you got the wood effect plastic or has it had a vynil wrap. :ROFLMAO:
Blimey, really? I hadn't thought of that. You may well be right.
 
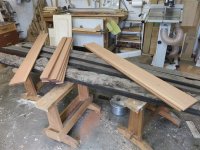
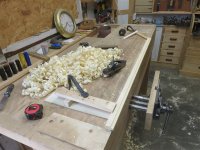
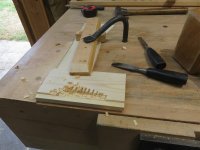
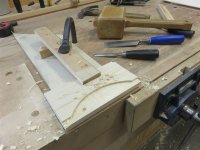
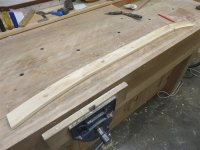
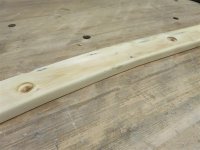
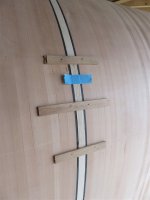
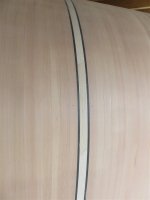
Having finished the cedar strips on the main body of the teardrop, I thought I would play about a bit in the workshop for a while. On my list are an overhead shelf, and the planted-on door surrounds for the 2 side doors. I cut up some sapele:

IMG_0258.jpg

IMG_0259.jpg

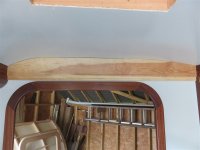
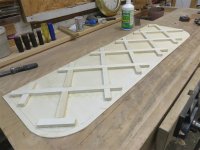
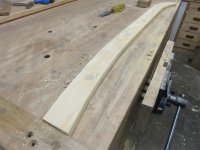
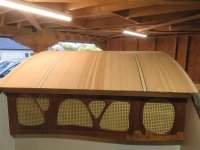
The overhead shelf has two functions. Firstly, it is a shelf for nick-nacks...glasses, wallet, keys etc. Secondly it is a mounting point for our reading lights, and a place to hide the wiring. I've always had it in mind to make it with a curved face. I set the bandsaw to 18 degrees:

IMG_0260.jpg

Of course, it was only when I had ripped all the strips that I realised I should have set it to 9 degrees. So I did a lot of careful planing:

IMG_0261.jpg

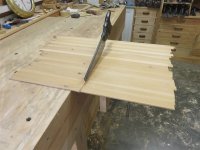
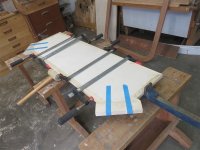
Because I had no good way of clamping, I did a 3 stage glue-up. Stage one was 3 lots of 2 strakes:

IMG_0262.jpg

IMG_0263.jpg

IMG_0264.jpg

IMG_0265.jpg

When that was dry, I glued 2 of those pieces together:

IMG_0266.jpg

When that dried, I checked out the angles and adjusted with a plane. I wasn't particularly careful because getting to 90 degrees at this point wasn't critical. I then glued up again:

IMG_0268.jpg

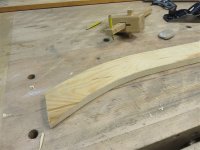
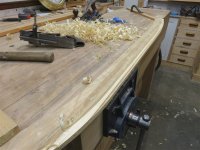
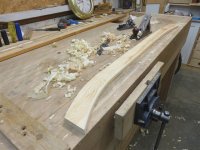
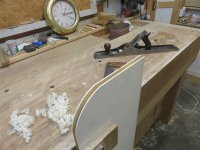
When I de-clamped (ie took off the tape) I roughed it to shape with a variety of bench planes:

IMG_0269.jpg


I then had to make a decision about whether I would continue the Gaudi-esque theme, or go for something more uniform:

IMG_0271.jpg

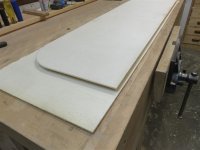
I eventually decided on the latter. I screwed on an extended-height fence, and used the planer to bring the 2 faces to right angles:

IMG_0272.jpg

Note the gaps in the coopering. This was the result of not being able to clamp, and some of the staves springing to a bit of a curve when I cut them originally. I decided to fill them with thickened epoxy, which is great at gap filling, and great at flowing into thin gaps. I taped up to stop it just running through:

IMG_0273.jpg

I collected some sawdust from the bandsaw, and used it to thicken up some epoxy. I pushed this around internally (this won't be seen):

IMG_0274.jpg

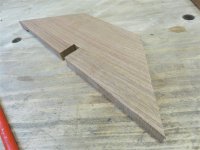
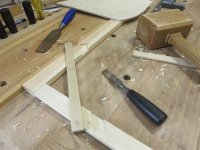
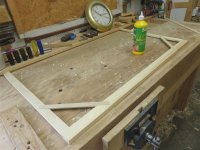
In amongst all that, I also cut some half-laps for the door surrounds, and glued them together. Note the pinch sticks for checking diagonals:

IMG_0275.jpg

The funny thing about those corner joints is that they are temporary. They won't exist in the final piece. Take a look at the drawing of the doors from my first post:

Teardrop side elev.jpgThe door surrounds have rounded corners, which means these square corners will be cut off. I am doing it this way because I remember the difficulty of gluing up all 8 pieces of the frame at the same time when I did the internal versions, months back.

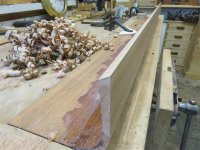
Whilst the glue was drying on the door surrounds, I carried on shaping the shelf:

IMG_0276.jpg

I took a pattern, and went and offered it in place:

IMG_0277.jpg

This allowed my to get the shaping for the edges of the shelf:

IMG_0278.jpg
 
Last edited:
I took some pinch sticks across to the teardrop, and measured the gap. This enabled me to cut the shelf to length:

IMG_0280.jpg

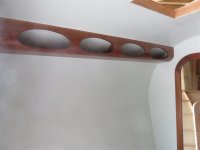
I settled on an elliptical shape for the shelf openings, and cut a template from cardboard:

IMG_0281.jpg

Marking it was easy. Cutting it wasn't. I had to do it with a jigsaw, and I had to do a rolling bevel. Where the curve of the ellipse went around the curve of the shelf it burnt, and it cost me a couple of blades. I cut with the pendulum motion at its lowest setting, and went very slowly and carefully, but still left myself with a lot of cleaning up to do:

IMG_0282.jpg

I tend to only use sandpaper for shaping, not finishing. There was quite a lot of shaping to do here, though, and I went through a bit of 60 grit:

IMG_0283.jpg

I offered it into place:

IMG_0284.jpg

As I said, this shelf acts as conduit for some wiring, so I cut all 4 corners off to allow for the cables:

IMG_0285.jpg

After lots of work with finer grades of sandpaper, I finished off with a card scraper, then cleaned up the workshop. After wiping off the dust with some white spirit, I mixed up a lot of 1:1:1 mixture, then slapped it on and wiped it off in the normal way:

IMG_0286.jpg

Thanks to @Dr.Al I had recently bought some sealable plastic bags for storing paints and varnishes, which is why I made up an excess of mix:

IMG_0287.jpg

I'll give this 4 or 5 coats in total, by which time I should be able to start coating the door surrounds.
 
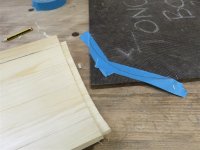
Back to the door surrounds. You may recall that I'd built the basic frames. Now it was time to do the corners, so I built a jig:

IMG_0288.jpg

This produced most of one side of a half-lap joint:

IMG_0289.jpg

I don't know if I've ever mentioned it, but I hate routers:

IMG_0290.jpg

That meant cutting out, grain matching, and gluing in a piece:

IMG_0291.jpg

IMG_0295.jpg

Most of the corner piece gets cut away, so I'll get away with it even with the most discerning inspection.

I had to fix the template with some filler:

IMG_0292.jpg

Then after completing the routing phase of the job, there was a bit of tidying up to be done:

IMG_0293.jpg

IMG_0294.jpg

I then offered the corner pieces in place, one at a time, and used them to locate a piece of ply to act as a router guide. I also hot-melt glued a scrap on the other side of the joint so that the router base didn't tip:

IMG_0296.jpg

After doing all the routing for the other side of the half-lap joints, I could then glue the corner pieces in place:

IMG_0297.jpg

IMG_0298.jpg

I carefully made yet another template:

IMG_0299.jpg

I roughed the waste away with a jigsaw:

IMG_0300.jpg

......and followed up by clamping the template in place and using a trimming router to get the final corner shape:

IMG_0301.jpg

For some reason, I had done these door liners differently from those on the inside of the door. The other way was better. I took them to the bench for a tidy-up (workholding was a challenge):

IMG_0302.jpg

The issue with the subtly different corner design showed itself on the other side. The grooves for the seal ran out of the edge:

IMG_0303.jpg

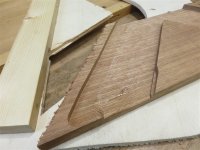
You can see that I scratched the groove around the curved corners. You can also see that I had a problem with some unwanted grooves. I blocked up, and filled the offending grooves (x16) with epoxy thickened with sapele dust:

IMG_0317.jpg

I've got away with it, because all that will be entirely hidden by the seals. Still, mistakes like that shouldn't happen.

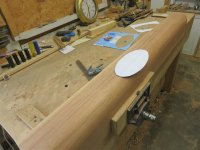
In the meantime, I'd applied sufficient 1:1:1 to the overhead shelf, put in a central divider to help with fixing it, and fixed it in place:

IMG_0318.jpg

IMG_0319.jpg
 
Well, it looks pretty clear that your accident hasn't affected your level of patience and your appetite for getting on with things! 👍

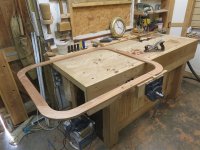
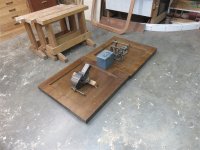
But I did find myself wondering why you'd started building your own Scalextric track...🙂
 
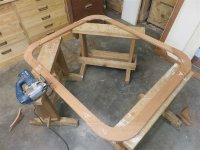
Back to the door surrounds. I rounded over the inside and outside edges of the outer face:

IMG_0330.jpg

Believe it or not, that will eventually be the same colour as the overhead shelf, but as it will be covered in epoxy to make it waterproof, that's not happening just yet.

I'm still only able to stand for an hour or two at a time, so I'm really fiddling about with little jobs until I am fit enough to tackle some of the more important stuff. Next, I thought I would make a corner detail which hides some wiring in the sleeping area. I have lots of cedar strips left over, so instead of cutting this from solid, I thought I would laminate it. First, I made a template:

IMG_0331.jpg

Then I made up a pattern board to that shape:

IMG_0332.jpg

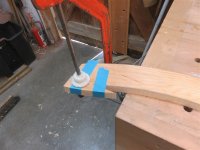
And finally, I mixed up some thickened epoxy and glued the laminates together before clamping them to the former:

IMG_0333.jpg

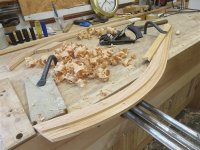
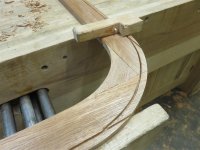
Whilst that was drying, I found another small job: the tongue box. I wanted to make this with curved front corner, and laminated from the left over cedar strips. I did an experiment to see how tightly it could be bent:

IMG_0334.jpg

That's a 150 radius. It wasn't without its failures, though:

IMG_0335.jpg

......and the steam pipe clearly needs better support:

IMG_0336.jpg

Meanwhile, the laminated corner pieces popped off the former, with no spring-back:

IMG_0337.jpg

Finally, I spent rather a while making up a former to bend the cedar for the tongue box:

IMG_0338.jpg

You'll note that I supported the steaming pipe a little better. After firing up the wall paper stripper, I started steaming pieces around the former:

IMG_0340.jpg

Unfortunately, 2 successes and 6 failures is an unsustainable rate of attrition:

IMG_0339.jpg

...........so I am going to have to come up with another plan.
 
IMG_0331.jpg
As we haven't had 6.40 pm yet today, I deduce that you're not a big fan of having a leisurely lie-in, Mike?!
 
That's a compilation of 2 or 3 days work, Andy. I'm always up by 6.40am......but never in the workshop.

That clock helps sum up my current limitations. It normally hangs on the wall. It stopped. I managed to nudge it off its screw and replace the battery, but I can't get up to put it back. I think ladders are going to be off the agenda for a month or two yet.
 
I'm sure you are all desperate to find out how the laminations worked out. Well.......

Their principle job is to hide some cabling, and to mount our bedroom light switches. I couldn't think how I was going to rebate the back for the wires, but I thought I might as well just do the straight bit by hand. I got out a rebate plane, and quickly did the job:

IMG_0344.jpg

Whilst I had that out and working nicely, I thought I'd give it a try around the curve, with little hope of success. It worked like a charm:

IMG_0346.jpg

I went to the teardrop and test fitted them:

IMG_0343.jpg

Now, obviously the other one is just a mirror image and I'd be wasting your time showing you a photo. So, here it is:

IMG_0341.jpg

Oops! Spot the barely visible little scarf. Yep, when I did my first lamination , I had taken my pattern from the original pattern for the teardrop side wall, rather than from the teardrop itself. I forgot all about the board I had fitted to the underside, so my pattern was actually taken from the wrong place. It's no big deal. I obviously corrected the other side, and these things are going to be painted, and then hidden by a foam head-board:

IMG_0347.jpg

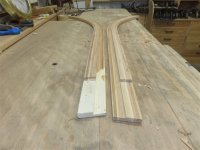
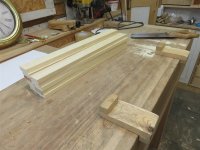
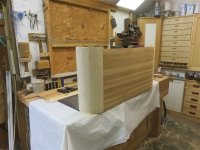
Moving on to the tongue box. This is a storage area on the draw bar (tongue) of the trailer. You remember my attempt at steaming the shape in one piece had been a failure, so I set about doing it another way. I sawed up some 45x18 redwood ("pine"):

IMG_0348.jpg

Then using a drawing to obtain the angle, I set the fence on my planer, and worked my way though the pile putting an 8 point something degree angle on each edge:

IMG_0349.jpg

The two outer ones needed a rebate, which I thought would be easier to do before it was all glued up:

IMG_0350.jpg

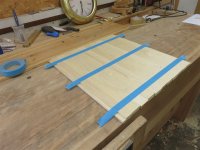
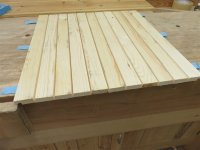
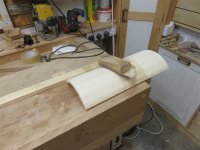
I then carefully laid all the staves out, and taped them up:

IMG_0351.jpg

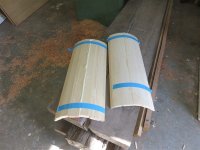
Then, I carefully flipped it over and added some glue, before rolling it up and taping it:

IMG_0352.jpg

IMG_0353.jpg

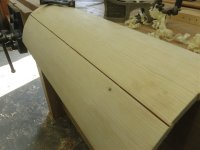
The following day, I ripped that 180 degree piece in half to give me two 90 degree pieces, before planing and sanding away the facets. I finished cross-grain (60 grit), because this is all going to be covered:

IMG_0354.jpg

I made a little cut-out to check the curve with:

IMG_0355.jpg

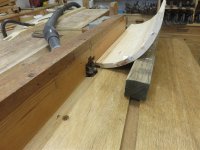
These pieces each needed a rebate on the other edge, and as I couldn't hold the work, I couldn't plane them. So, I set it up at the correct angle, and hot-glued a bit of scrap on so that I could run the piece over the router table:

IMG_0356.jpg

IMG_0357.jpg

Finally, I corrected the rebate I had done the day before:

IMG_0358.jpg

IMG_0359.jpg

I thought I would clean up the inside a little, using an old woodie:

IMG_0362.jpg

Unfortunately, in the process I broke one of the glue joints:

IMG_0360.jpg

Twice:

IMG_0361.jpg
 
Last edited:
How to do a rebate around the curve:

IMG_0363.jpg

I couldn't come up with any practical way, so just knifed a line, and chiseled:

IMG_0364.jpg

IMG_0365.jpg

Good enough! So, I used if to mark out the base of the box in the last piece of phenolic ply:

IMG_0366.jpg

IMG_0367.jpg

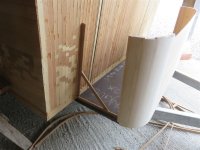
I offered up the corner pieces:

IMG_0368.jpg

This mean I could then measure and cut the cedar strips:

IMG_0369.jpg

I made a pattern, and cut each one from that. I hot glued a couple of them into place to hold the corners in the correct position:

IMG_0370.jpg

I could then start the process of gluing in the strips:

IMG_0371.jpg

PU doesn't take long to dry, so I was able to try that in place on the base:

IMG_0372.jpg

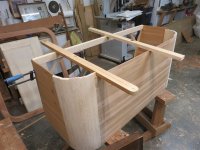
I took a different approach with the side pieces, because there was nothing to fasten the back edge to. I just glued up a "sheet" of them:

IMG_0373.jpg

Note the folding wedges. When that dried, I cut a straight line up the middle:

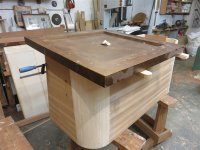
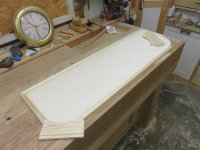
IMG_0374.jpgI glued and pinned the front and corners to the base, then took it to the trailer to off it in place:

IMG_0375.jpg

IMG_0376.jpg

IMG_0377.jpg

I had already made a quick pattern of the angle it meets the teardrop:

IMG_0378.jpg

So I was able to cut the back edge of each side piece, and glue and pin them in place:

IMG_0379.jpg

I need a frame at the back to hold the whole box against the teardrop, but also to provide a location for fixing the hinge for the lid. I grabbed some more pine, and set out my pieces. With differing thicknesses I decided on a stopped bare-faced mitre:

IMG_0380.jpg

IMG_0381.jpg

If I didn't brace that frame, I just know I would have broken it:

IMG_0382.jpg
 
IMG_0383.jpg

With the frame dry, I could set out the top and cut the top edge. I thicknessed a couple of pieces of scrap, and cut a bit off the end of one to use as a marker. These pieces acted as spacers to raise a flat board a set distance, with the marking piece then taking the line down to the same level:

IMG_0384.jpg

IMG_0389.jpg

IMG_0385.jpg

IMG_0386.jpg

IMG_0387.jpg

IMG_0388.jpg

With a sloped top, I then offered everything up to the teardrop:

IMG_0390.jpg

IMG_0391.jpg

I quickly realised the slope was too slack. I don't want water pooling. Back to the workshop, where I repeated the process of packing-and-marking:

IMG_0393.jpg

I'm happier with this slope:

IMG_0394.jpg

Finally, I'll tell you that all of this is going to be covered with a technique now known as "Poor Man's Fibreglass" (PMF) but which has been a standard boatbuilding technique for centuries: paint and canvas. So this box will have a painted but textured finish.
 
Last edited:
a standard boatbuilding technique
I think, with all these fiddly curved bits fitting so neatly together, that we have all guessed already that this whole project is just a practice exercise for when you embark on building Tally Ho II and you've just confirmed it!
 
I think, with all these fiddly curved bits fitting so neatly together, that we have all guessed already that this whole project is just a practice exercise for when you embark on building Tally Ho II and you've just confirmed it!
Unfortunately......

My wife exercised her veto over a boatbuilding project. The teardrop was very much a substitute.
 
Wonderful to watch as always. Barrel makers have curved planes for the top grooves but obviously it’s not worth you building one just for your rebates.
I think that when eventually you’ve run out of things to keep you occupied Mike and you’re moping about and getting under feet she will be glad of a boat build.
 
Back
Top