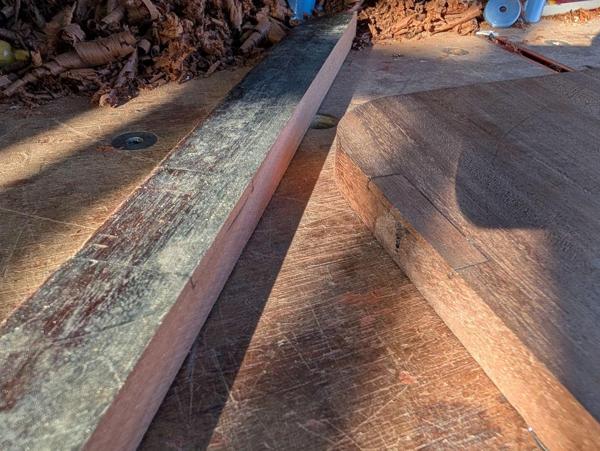
• Hi all and welcome to TheWoodHaven2 brought into the 21st Century, kicking and screaming! We all have Alasdair to thank for the vast bulk of the heavy lifting to get us here, no more so than me because he's taken away a huge burden of responsibility from my shoulders and brought us to this new shiny home, with all your previous content (hopefully) still intact! Please peruse and feed back. There is still plenty to do, like changing the colour scheme, adding the banner graphic, tweaking the odd setting here and there so I have added a new thread in the 'Technical Issues, Bugs and Feature Requests' forum for you to add any issues you find, any missing settings or just anything you'd like to see added/removed from the feature set that Xenforo offers. We will get to everything over the coming weeks so please be patient, but add anything at all to the thread I mention above and we promise to get to them over the next few days/weeks/months. In the meantime, please enjoy!

A little table

Dr.Al

Old Oak
Joined
Dec 31, 2020
Messages
3,707
Reaction score
2,494
Location
Dursley, Gloucestershire
Name
Al
I gave a little bit of an intro to this project in the post a photo thread but I thought I'd do something a bit more in the way of a half-hearted WIP.

We left the action with a simple welded steel frame upon which a wooden top will sit. Onto the table top...

A year or two ago I was in an antique centre in Gloucester and saw an old table top for sale for about £10. I couldn't resist buying it, despite not really knowing what to do with it. Today is its day!

This is what the top side of the table top looked like as-bought:
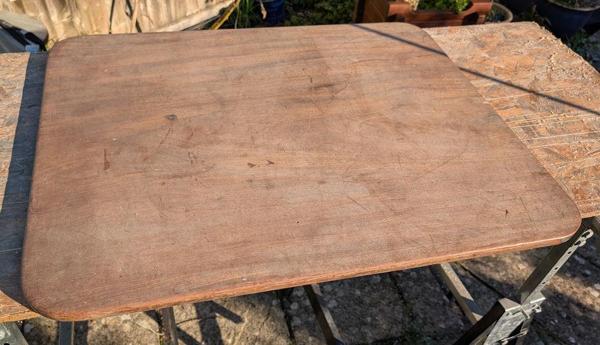
2025-11-21-01-antique-table-top-top-side_600.jpg


The underside looked a bit shabby and made me suspect it had been stained or dyed or something:
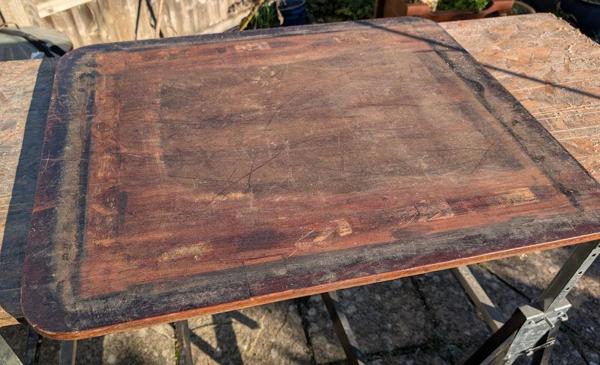
2025-11-21-02-antique-table-top-underside_600.jpg


I'm not a fan of stained wood, so the plan was to plane it down enough to reveal the original wood and then apply a simple oil finish.

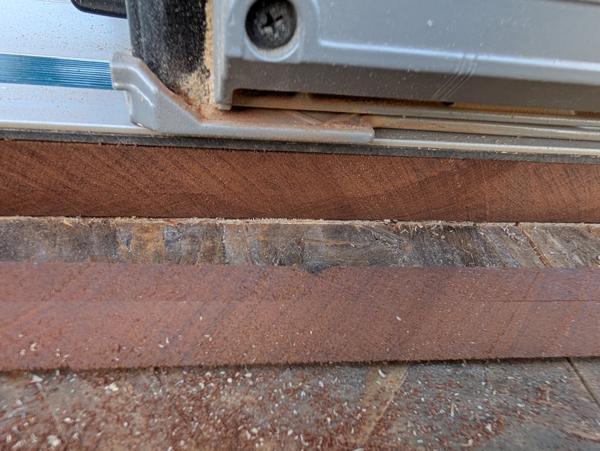
First of all though, it needed cutting down to size. I decided to just do that with the tracksaw, which revealed that it doesn't appear to have been stained, it has just browned with age from its original rich mahogany-like colour:
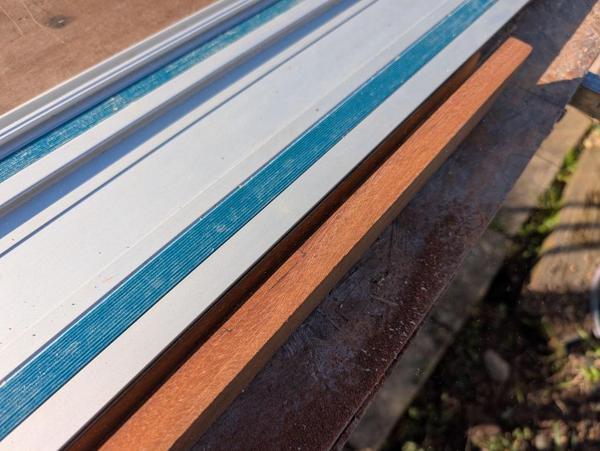
2025-11-21-03-what-the-track-saw-revealed_600.jpg


I carried on working round the sides of the table top (removing a slight crack on one end in the process) until I had a square piece:
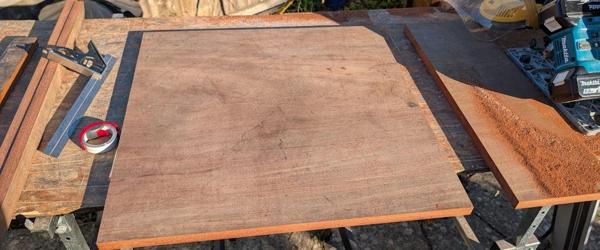
2025-11-21-04-trimmed-square_600.jpg


I'll round the corners off in due course, but the first job was to clean up the faces. It was flipping cold in the garage and even with gloves on and with the exercise of planing, I had to stop every now and again and go into the house to warm up!

This was what the top looked like soon after I started with a plane:
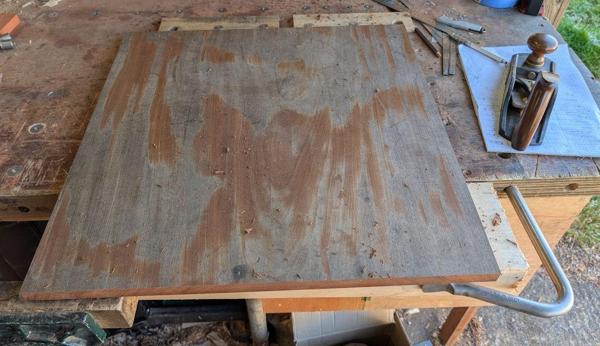
2025-11-21-05-starting-to-plane_600.jpg


When I next stopped for a warm-up, it looked like this:
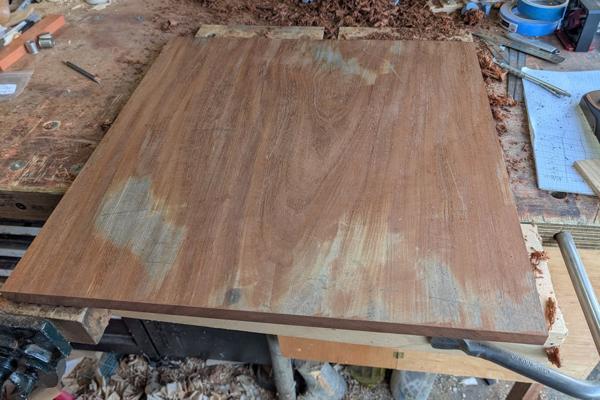
2025-11-21-06-stopped-for-another-breather_600.jpg


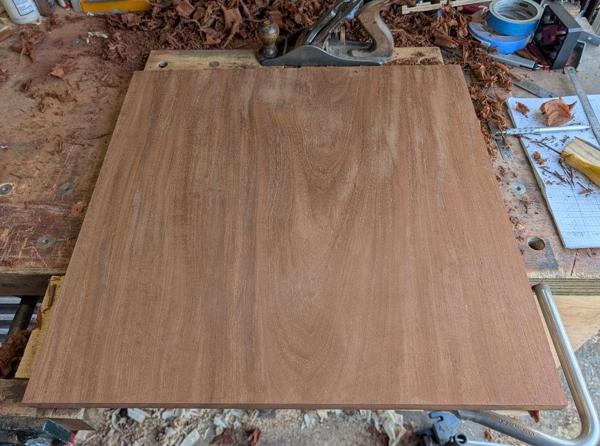
The top side finished:

2025-11-21-07-top-side-done_600.jpg


I'd expected the table, once cleaned up, to show lots of planks joined together but from looking at the end grain, I'm pretty sure this is a single plank (that was about 660 mm wide but is now 580 mm square).

I then flipped it up and repeated the process on the bottom, but not being quite so careful about making sure I got it perfect:
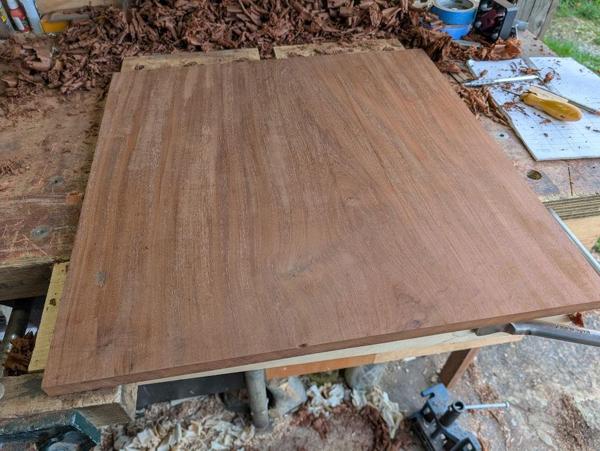
2025-11-21-08-bottom-side-done_600.jpg


During the process I then dropped the smoothing plane. I caught it before it headed for a concrete floor, but it made a bit of a dent in the edge of the bottom side:
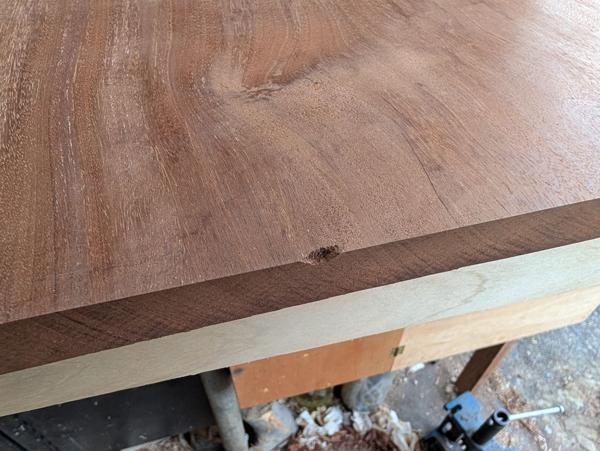
2025-11-21-09-dropped-plane-oops_600.jpg


I'll probably round off the edges after I've rounded the corners, so I expect that'll at least mostly go, so as it's on the underside I'm not going to worry about it for now. On the underside there's evidence of an earlier repair of some sort:
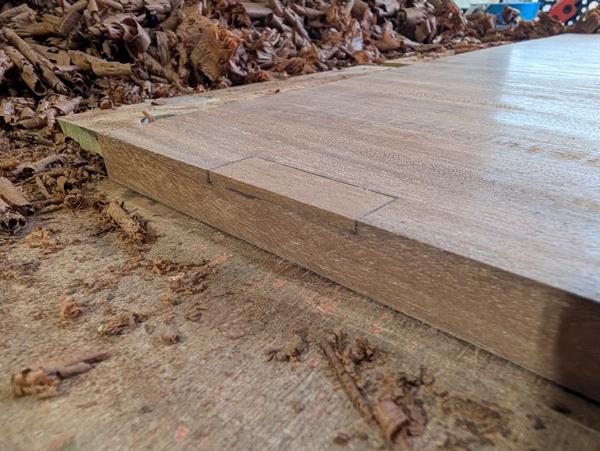
2025-11-21-10-earlier-repair_600.jpg


The next job will be to round the corners off, then chamfer/fillet the edges and finally daub it in Mike's Magic Mix. Carolyn has been getting on with painting the base frame: it's had two coats of primer and one coat of black paint so far, so by the time the top is oiled it should all be ready to go together.
 
....During the process I then dropped the smoothing plane. I caught it before it headed for a concrete floor, but it made a bit of a dent in the edge of the bottom side:
......
You'll never do that again in the rest of your life, I promise.

Rather than rounding over the under-edge, you could chamfer it all around. (If you do, start planing on a cross grain side, and then work around the board in order, going to the end of the chamfer you've just completed for the next one in turn. That way you plane away any break-out). That was commonly done with both traditional furniture and mid-century modern. The chamfer was never 45 degrees, but rather a little off the height (thickness), and 3 or 4 times as much off the width.
 
Good spot on the old top Al. I do like it when a piece of wood like that is freed from a previous utilitarian use. (No photos, but I once made a big mahogany bookcase from an old cupboard, which had been painted white as it was the cheapest softwood.)

I like Mike's suggestion for the chamfers, but a round-over might look better alongside the rounded arrises of the steel legs...
 
Rather than rounding over the under-edge, you could chamfer it all around. (If you do, start planing on a cross grain side, and then work around the board in order, going to the end of the chamfer you've just completed for the next one in turn. That way you plane away any break-out). That was commonly done with both traditional furniture and mid-century modern. The chamfer was never 45 degrees, but rather a little off the height (thickness), and 3 or 4 times as much off the width.
Seconded. Absolute common sense - and it looks good too! Much, much better than a thoughtless 45° bashed out with a screaming 3hp router.
 
I didn't do anything on the table yesterday as it was chucking it down outside, but I'd hoped I'd be able to get it to the point of the first coat of finish today. I suspect that's unlikely now (depending on how patient I am with some glue), but we'll see.

I started by dealing with the dent I made by dropping the smoothing plane. The easiest option seemed to be to just reduce the table size from 580 mm square to 576 mm square, so I got the track saw back out and trimmed two edges.

2025-11-23-01-sawn-off-dent_600.jpg


I want to have rounded corners on this table. There are two reasons for that. The main one is that I expect to walk past it quite often and I think the rounded corners might be kinder to my shins. The other reason is that the table top from which this piece was cut had rounded corners and it feels like it'd be nice to maintain that look.

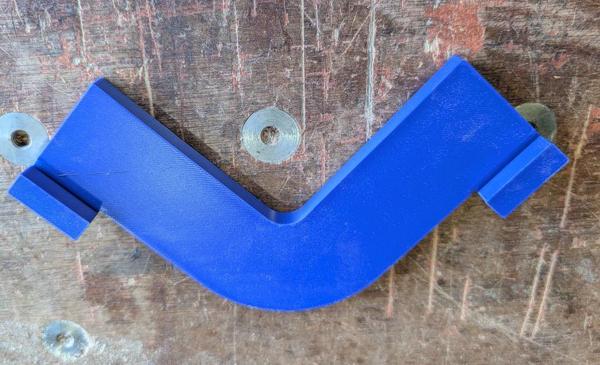
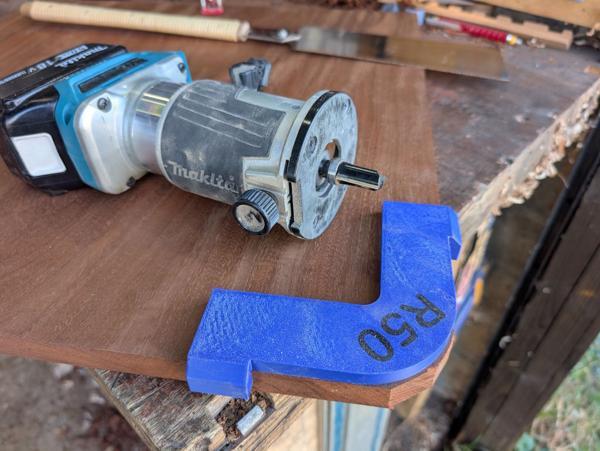
The new 3D printer made this little guide for me:

2025-11-23-02-printed-routing-guide_600.jpg


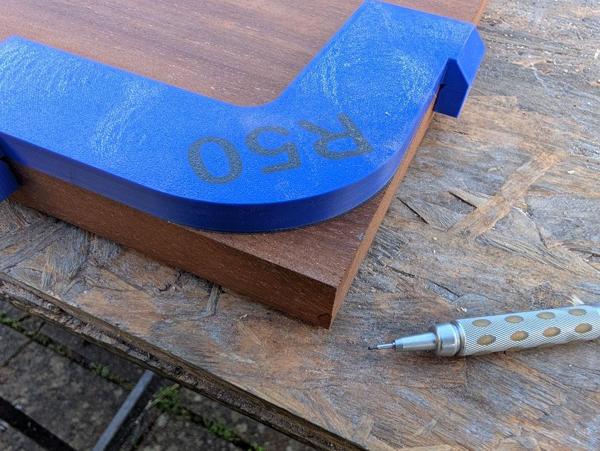
That gets pushed up against two edges and can be used to mark the radius:

2025-11-23-03-marking-roundover_600.jpg


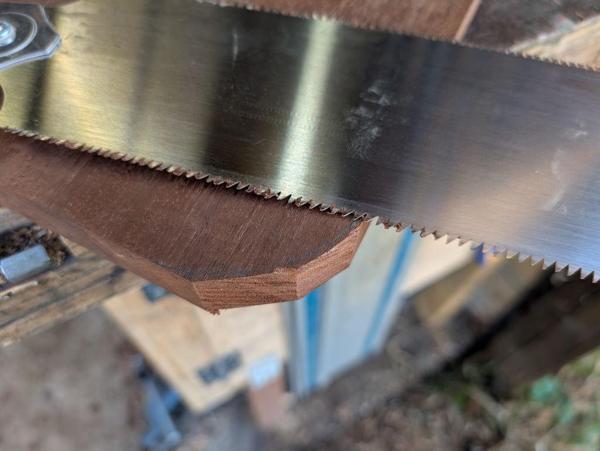
I roughed out the corners with the Ryoba...

2025-11-23-04-sawing-off-corners_600.jpg


... and then, as I'd already been using power tools (in the form of the track saw) quite a bit on this project, decided to use the screaming monster with the printed template to tidy it up:

2025-11-23-05-screaming-monster_600.jpg


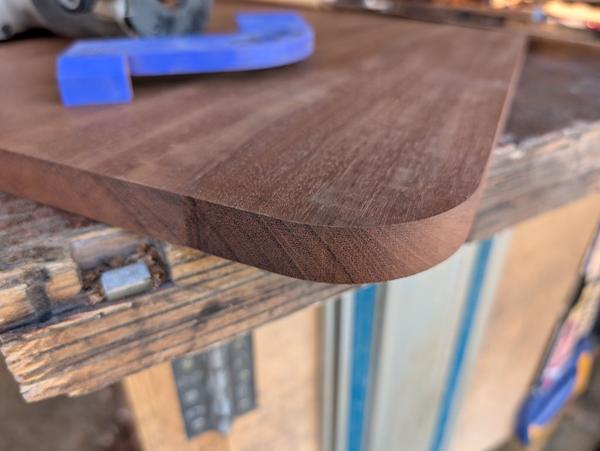
It did the job, but it's a bit rough and will definitely need some sanding I think:

2025-11-23-06-will-need-sanding_600.jpg


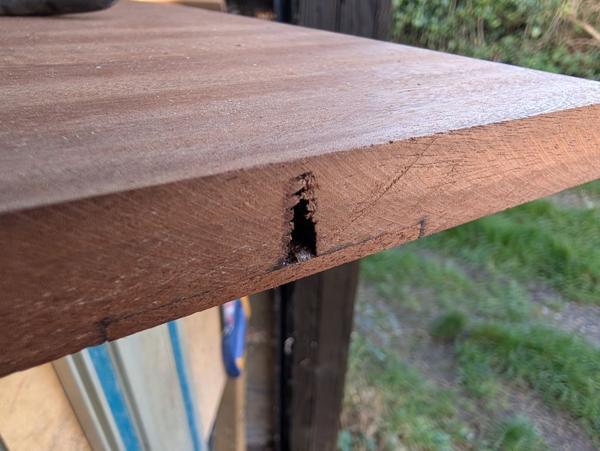
An unforeseen downside of trimming the table down by 4 mm is that has exposed the reason for the repair that had been done:

2025-11-23-07-exposed-repair_600.jpg


I figured the best thing to do was make a new repair, for which I can use the bit that was cut off (with the rest of the repair piece in):

2025-11-23-08-make-a-patch-out-of-offcut_600.jpg


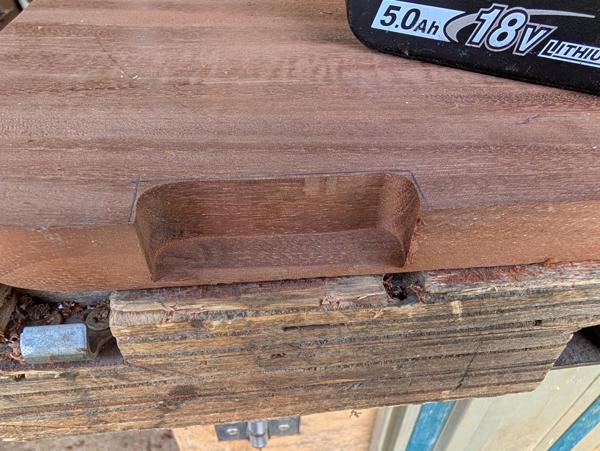
I had to go very deep with this repair and was feeling a bit nervous about punching through to the top surface. As I had the screaming monster out already, I figured I'd just rough the repair out with that (which gave me a consistent depth):

2025-11-23-09-screaming-monster-again_600.jpg


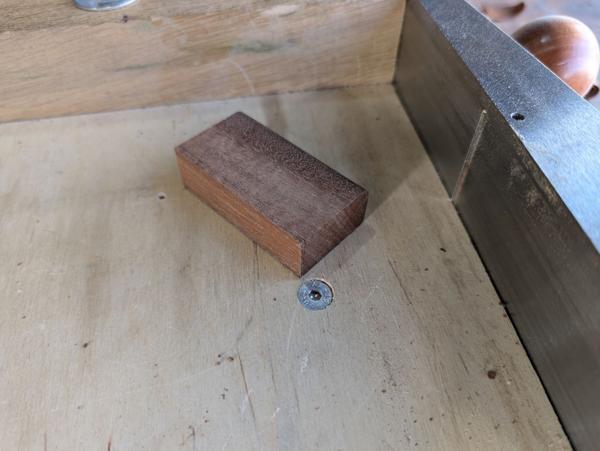
I cut out a piece of the off-cut slightly wider than routed shape (I did this after routing in case I'd slipped with the router and needed a bigger bit). That got squared up on the shooting board:

2025-11-23-10-offcut-piece-squared-up_600.jpg


I'd usually taper the sides of the part (so it tightens as it goes in), but as it's on a corner I figured it would look better if everything was square. In an ideal world, I probably would have tapered the ends (so that it wasn't an abrupt end-grain-to-end-grain join at either end), but I'm going to use the excuse that this is more in-keeping with the original repair and nothing whatsoever to do with me going for what felt like the easy option. Ahem.

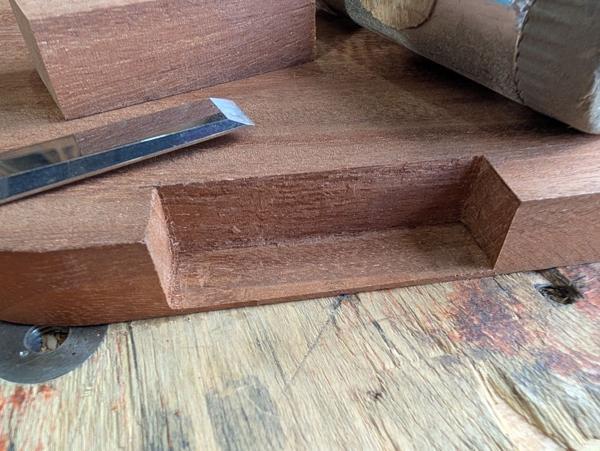
The pocket got cleaned up with a chisel (which was much more enjoyable than the electric router work):

2025-11-23-11-chisel-work_600.jpg


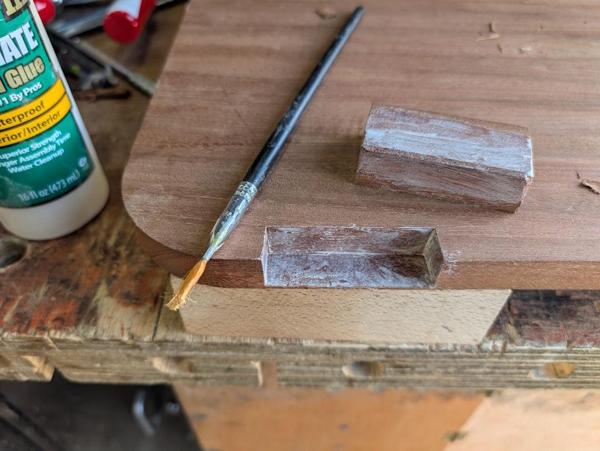
I gave a quick chamfer to the hidden corners of the insert (to give any internal glue squeeze-out somewhere to go) and then applied some glue...

2025-11-23-12-glue_600.jpg


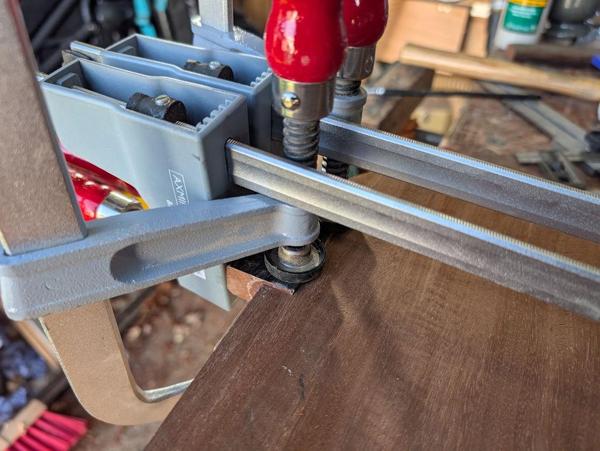
... and then four clamps:

2025-11-23-13-four-clamps_600.jpg
 
Nice 'save' with the repair. Once that's cleaned up you'll be hard pressed to spot it; I did that a few times on Linley's stuff! - Rob
 
Thanks Rob. Even if it does look a bit shabby, it'll be on the underside at the side of the table that's against the wall, so the only people who'll ever see it are those inclined to lie on the floor and inspect woodwork quality (@Mike G?!)!
 
After starting (but not getting very far with) tidying the garage a bit this afternoon, I got impatient and decided to take the clamps off:

2025-11-23-14-clamps-removed_600.jpg


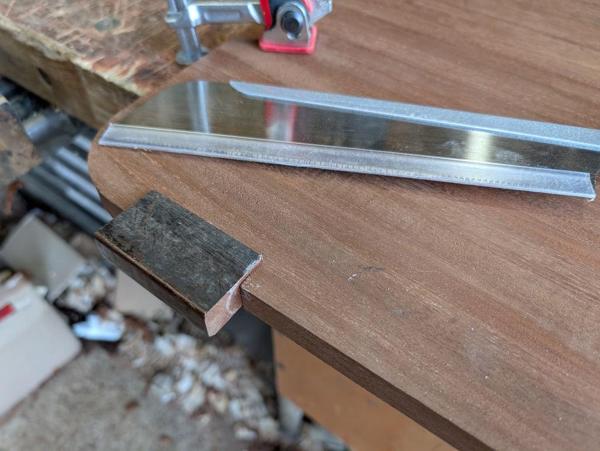
After sawing the bulk off (with a dozuki), planing flush (with a #4), rounding over (with a block plane) and a little card scraping, it looked like this:

2025-11-23-15-planed-rounded-over-and-scraped_600.jpg


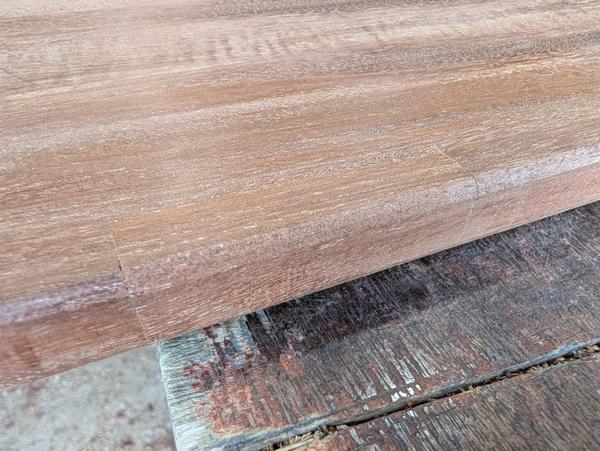
I'd already decided I was going to sand the edges of the table as it seemed the easiest way to get rid of the router mess. While I was at it, I just sanded everything. This is what the repair piece looked like after sanding:

2025-11-23-16-sanded_600.jpg


It's had one coat of Mike's Magic Mix now; it'll get a few more over the next few days. The repair is slightly more obvious with the oil on (which I was expecting): the oil highlights the end grain line. However, it looks absolutely fine and it'll be underneath the table and against the wall anyway, so no-one will see it.
 
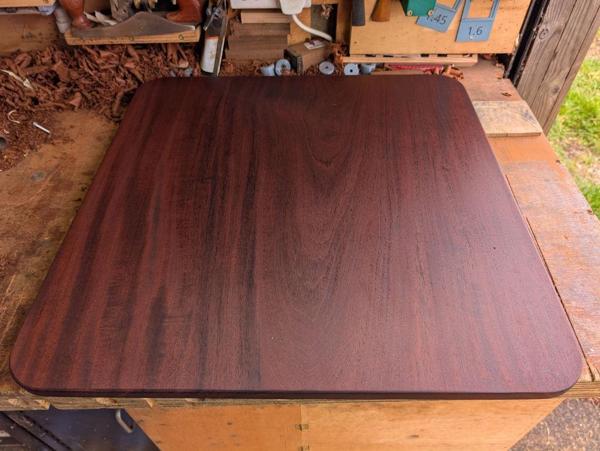
The table top has now had four coats of Mike's Magic Mix (well, four on the top, three on the sides and two on the bottom as I was gradually getting more lazy as the week went on):

2025-11-28-01-oiled-top_600.jpg


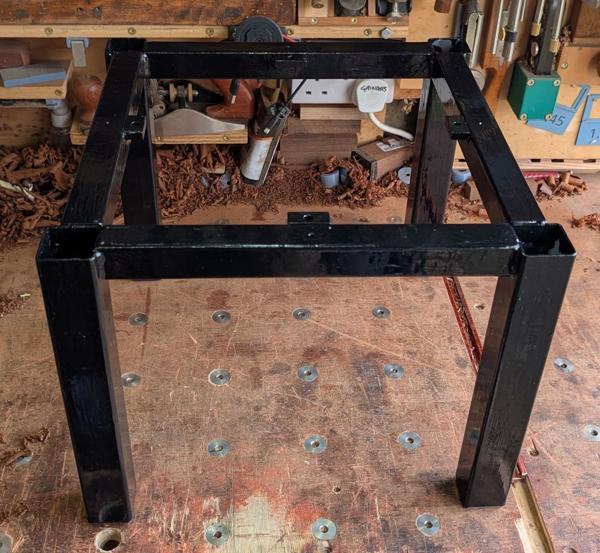
Carolyn has also given the frame some coats of primer and black metal paint (Tractol as that's what I had):

2025-11-28-02-painted-frame_600.jpg


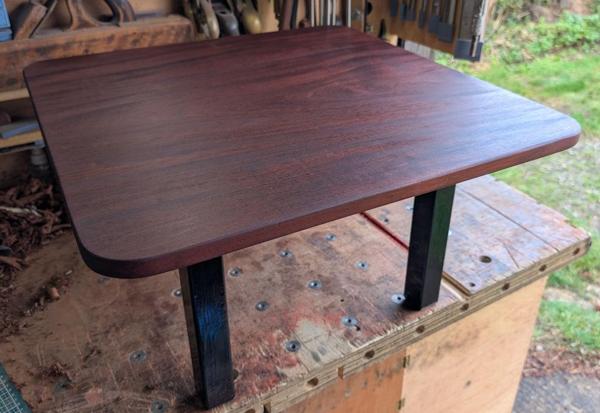
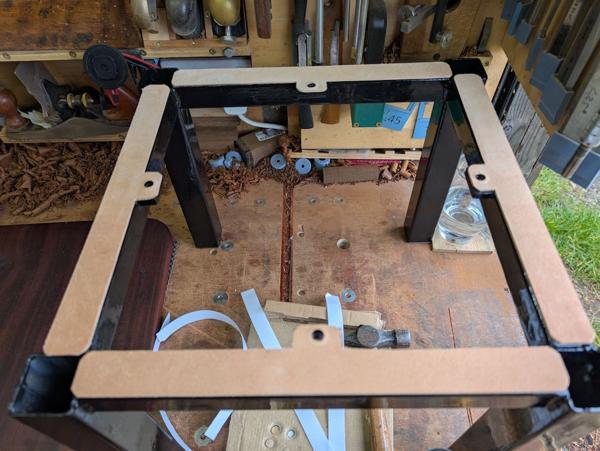
They're still to be screwed together but this is what it'll look like:

2025-11-28-03-unscrewed-test-fit_600.jpg


The frame is a little distorted (I've never claimed to be a master welder!), although not too badly. The legs are all parallel and sit flat on the bench (and the 3D-printed feet fit perfectly). The top is slightly skewed in height so that the table top rocks on the leg frame. The amount of rock is very small (about a millimetre at a guess), so the plan is to put some bits of leather between the frame and the table top before screwing them together: the compressible leather will take up the slack.

The screw holes are 6.5 mm diameter if memory serves me correctly. The screws will be 4 mm diameter so I'm relying on the fact that the holes are oversized to allow for any wood movement. The distance from the centre line (where there will be screws along the grain) and the outer screw holes is only about 150 mm so I'm not expecting there to be huge amounts of movement. If anyone thinks I should be allowing more movement let me know! One option I have is to just use the two screw holes that are along the grain from each other, alternatively I could drill two screw holes out a little bigger.
 
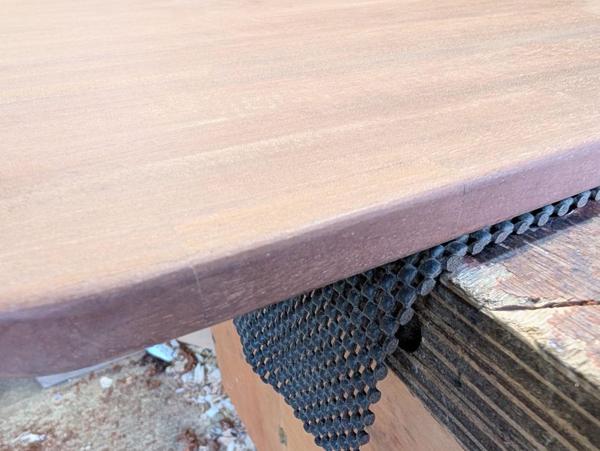
The last job was to attach the table top to its base. Carolyn cut out some scraps of leather for me, which I attached to the frame with double-sided tape:

2025-11-28-04-leather-strips_600.jpg


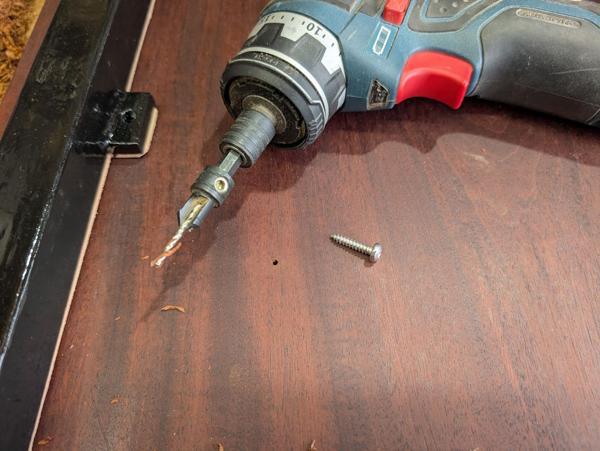
Then I could drill some pilot holes...

2025-11-28-05-pilot-holes_600.jpg


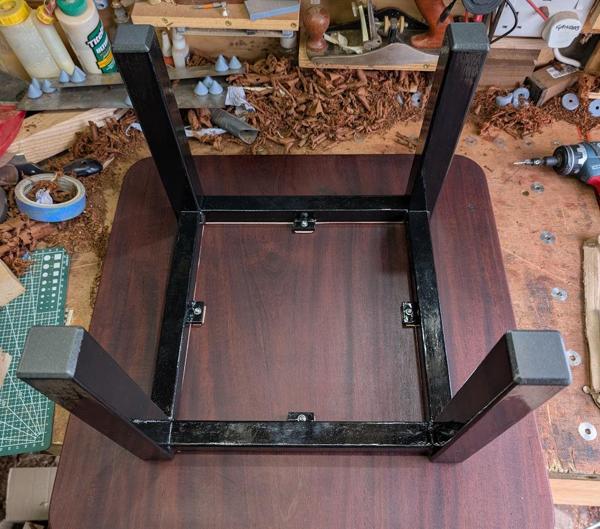
... and screw the frame in place (in this photo you can see the 3D-printed feet fitted):

2025-11-28-06-fitted-with-feet_600.jpg


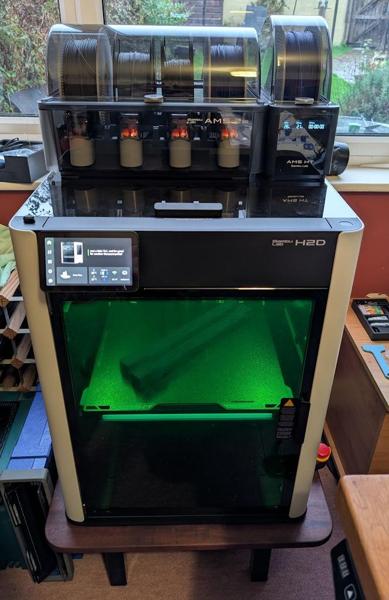
I'm really pleased with how this little table came out and it's a bit of a shame to cover most of it up with a big 3D-printer!

2025-11-29-01-printer-on-table_600.jpg


It is, however, much nicer to be able to sit at the desk and see the bird feeders in the garden clearly again (now that the printer is a lot lower down).
 
Back
Top