derekcohen
New Shoots
A week ago my wife asked to build a tea tray. Something on the smaller side. At the same time, I agreed to do a dovetailing demonstration for my woodworking club. So I was thinking about construction of the tea tray, and whether it was possible to kill two birds with one stone, that is, was there a place for the tea tray in the demonstration?
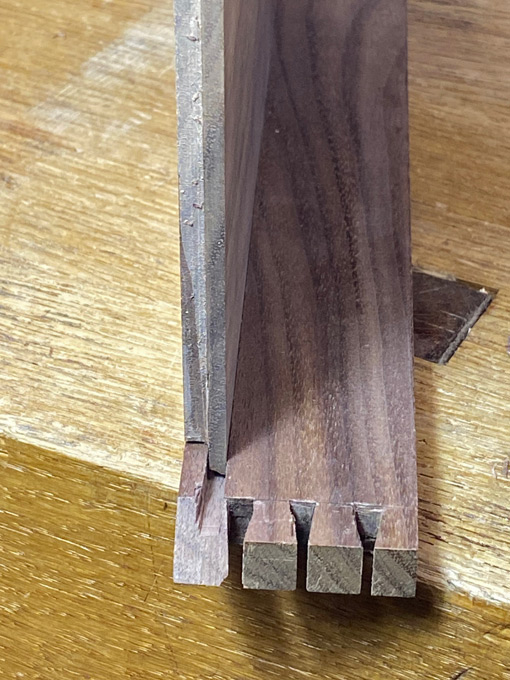
I am not sure why it is, but few of the furniture/case or box builds I see on YouTube or websites feature mitred dovetails. It is usually only simple through dovetails or half blind dovetails. Using half blind dovetails at the front of a drawer is obvious, as is the simple through dovetail for the drawer back. Ploughing a groove for the drawer bottom (if not using slips) is straight forward here since the groove is hidden inside the half blind front.
But this is so with cases and boxes utilising through dovetails. Without a mitre to hide the groove inside, one must use a stopped groove, and this is cumbersome to make with hand tools. Not to mention the fact that mitred ends look better than stumpy square ends. I routinely use mitred through dovetails. They are more work, in fact, I think they require a lot more care when sawing. But, like everything, it gets easier with practice.
Now the great majority of the members of the woodworking club are power tool users, and I was asked to come along to provide a variation for the other presenter, who will focus on finger joints. Finger joints are pretty strong, but only because they create a large glue area. Dovetails, being a mechanical joint, do not need glue (if done well). I thought I might demonstrate this by taking along a dovetailed tea tray, and not glue it up. Might be interesting to pass the tray around for inspection ... and then knock it apart in front of all!
The size of the tea tray is 500mm (about 19 1/2") in length and 380mm (15") in width. The wood is some Black Walnut scraps ... the very last I had. Such pretty wood, and possibly the best wood in the world to work with hand tools.
I am not going to bore anyone with pictures of dovetailing. There is a pictorial on my website, here. Instead, a few progress photos to illustrate how mitred through dovetails aid here.
Dovetails ...
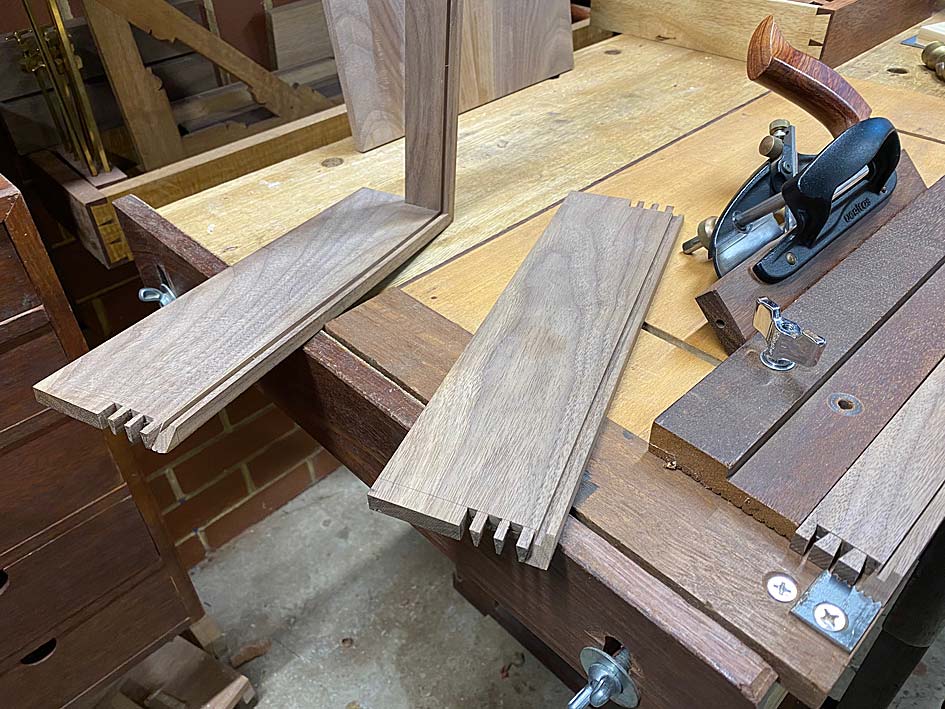
Grooving the sides ...
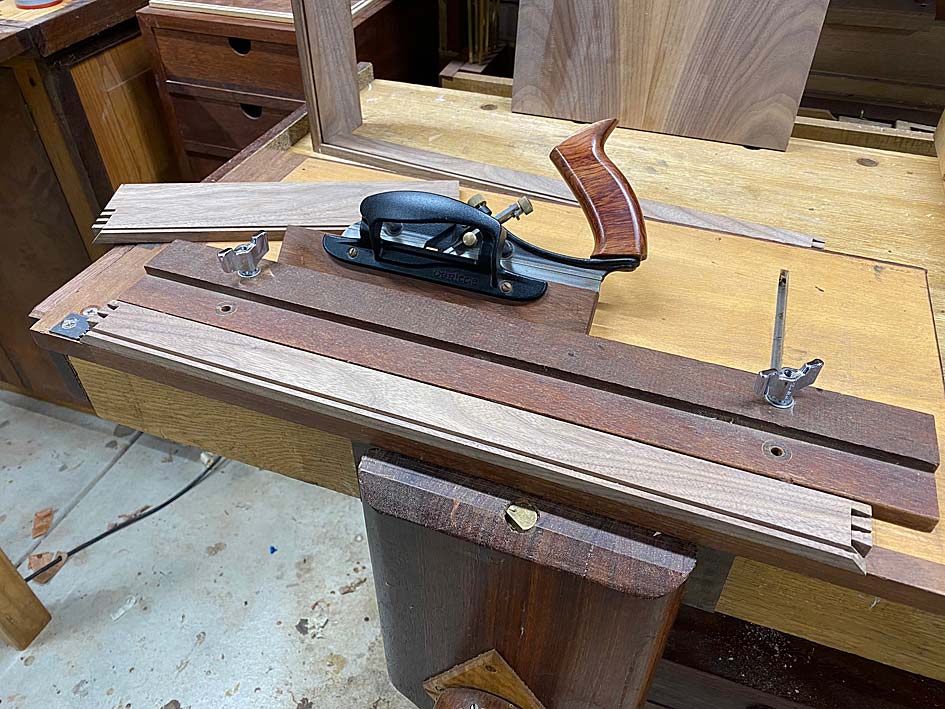
Fitting together ...
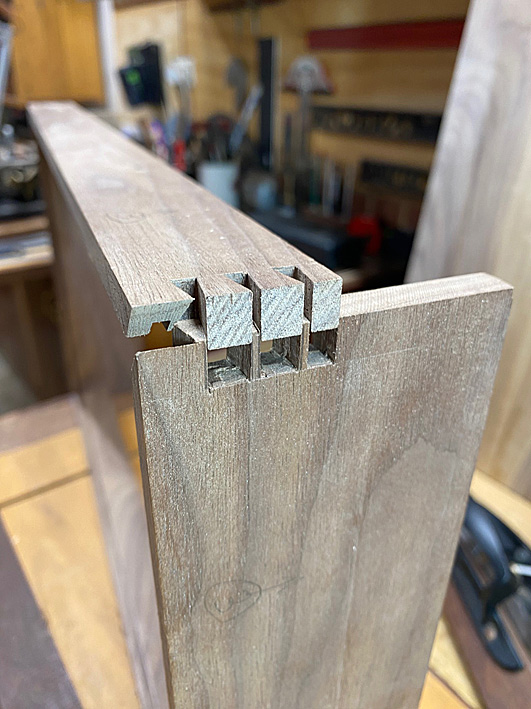
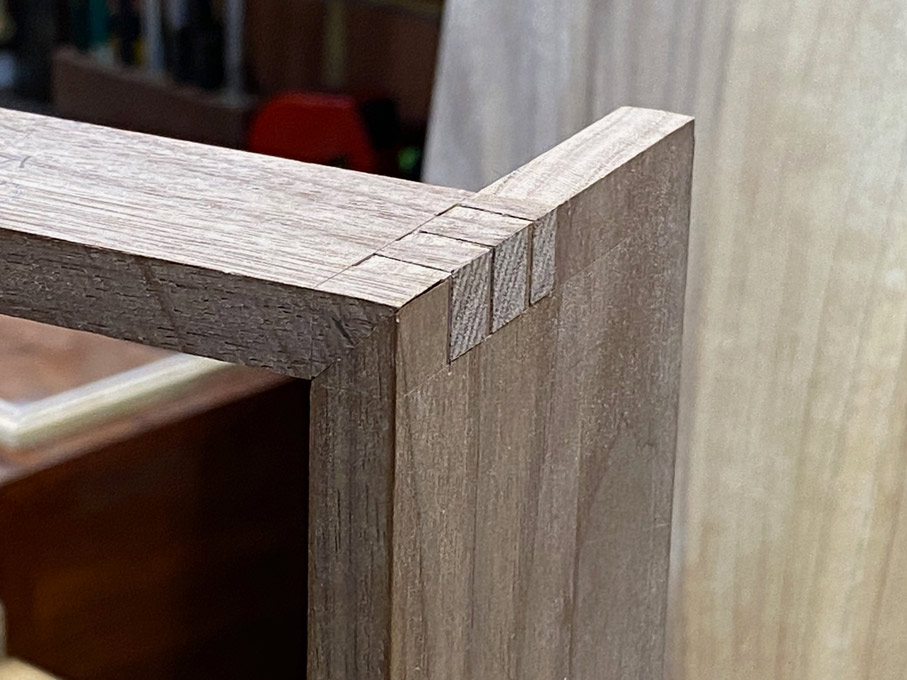
Four sides ...
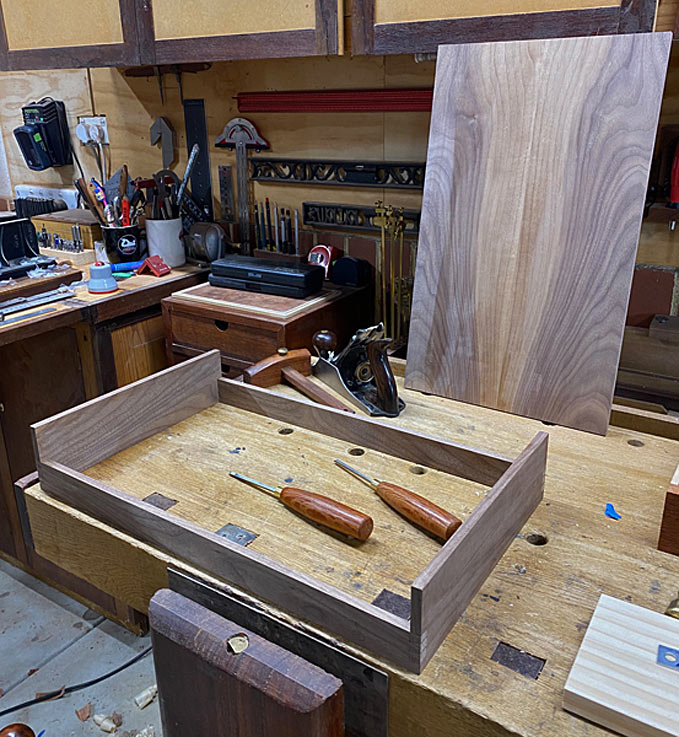
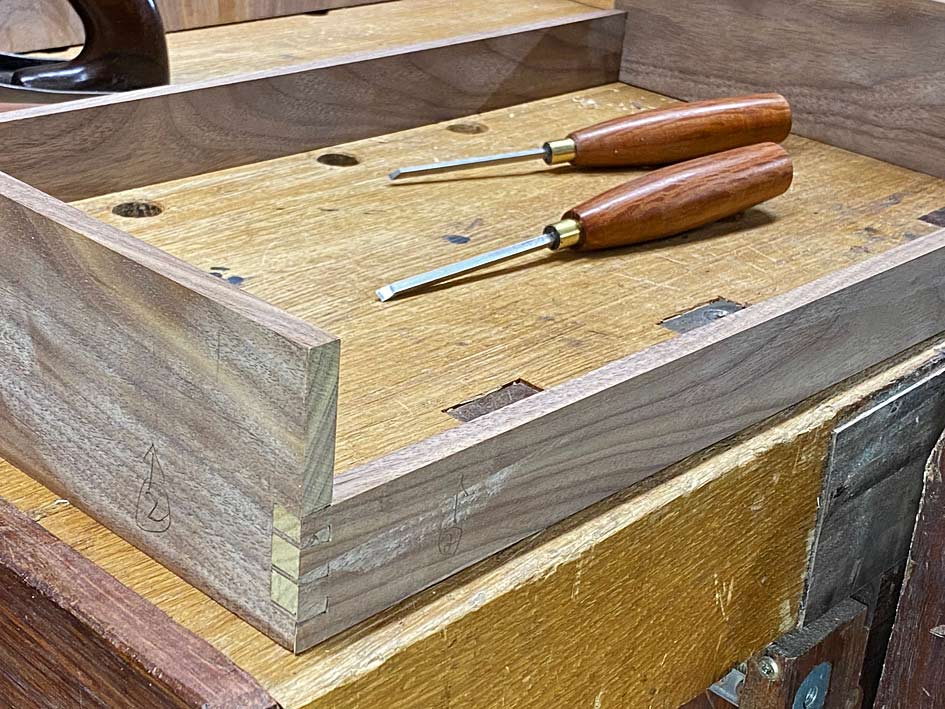
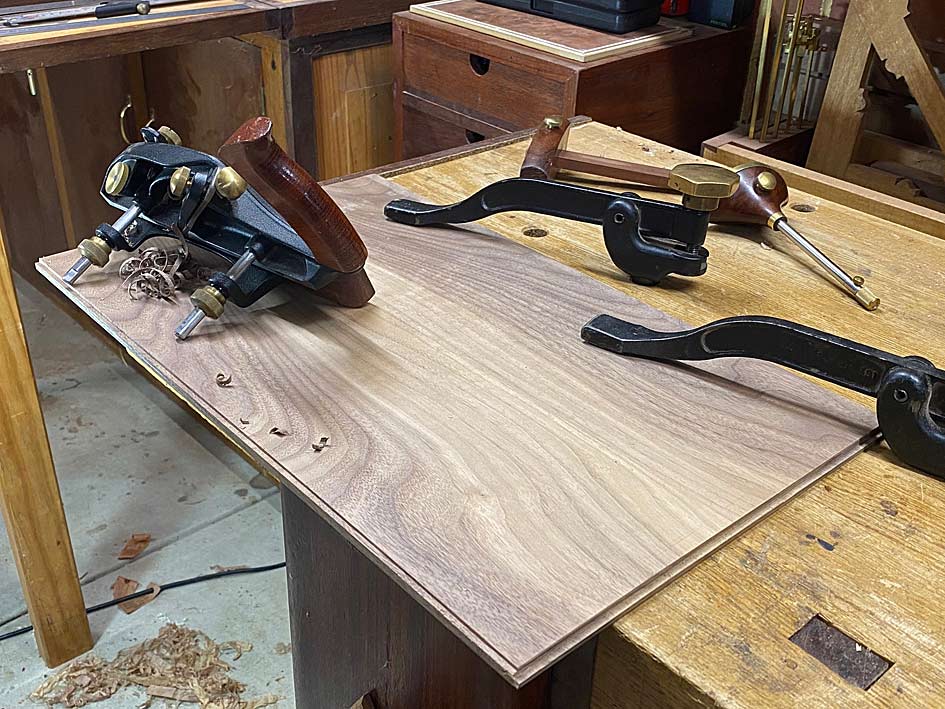
Rebating the tray bottom with a Veritas Skew Rabbet Plane. The bottom is 7mm thick and the rebates are 3mm wide and deep ...
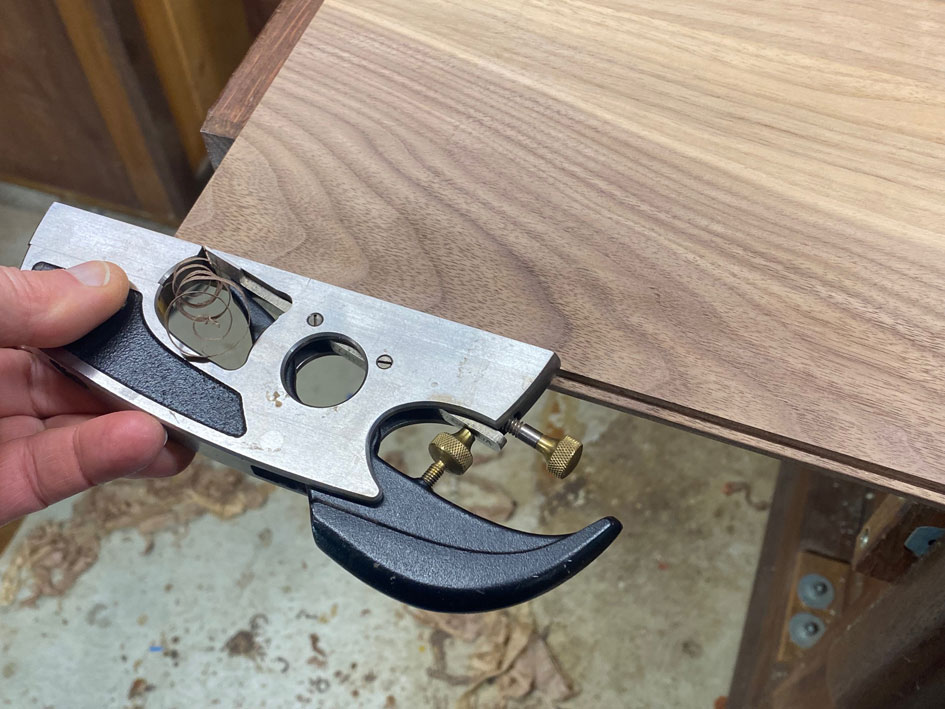
This is where a shoulder plane is best used ... to clean and tune rebates ...
The fit ...
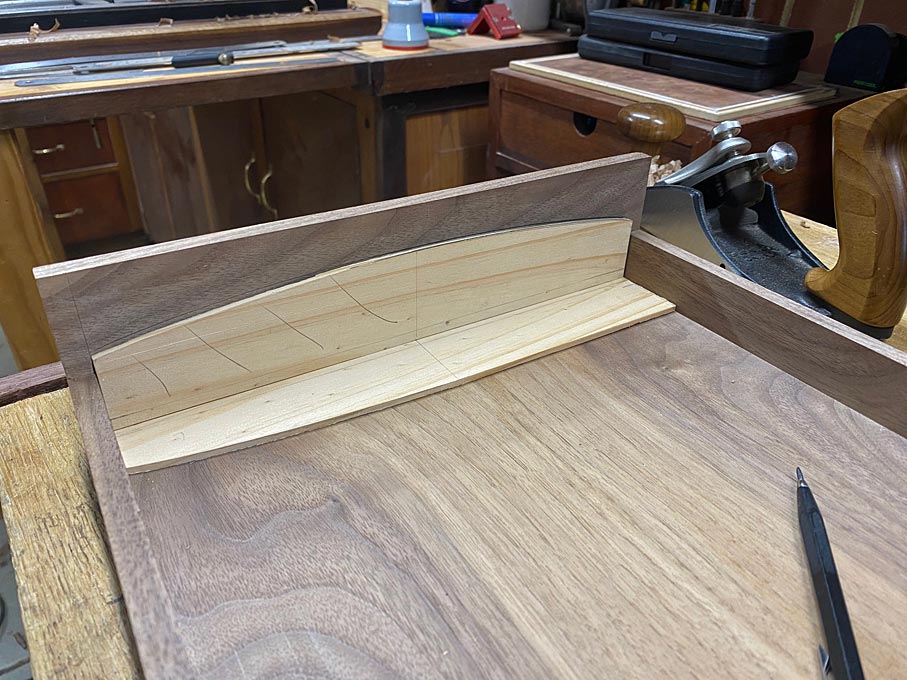
The next stage is for the ends to be shaped. In this photo a template is create to make a uniform curve ...
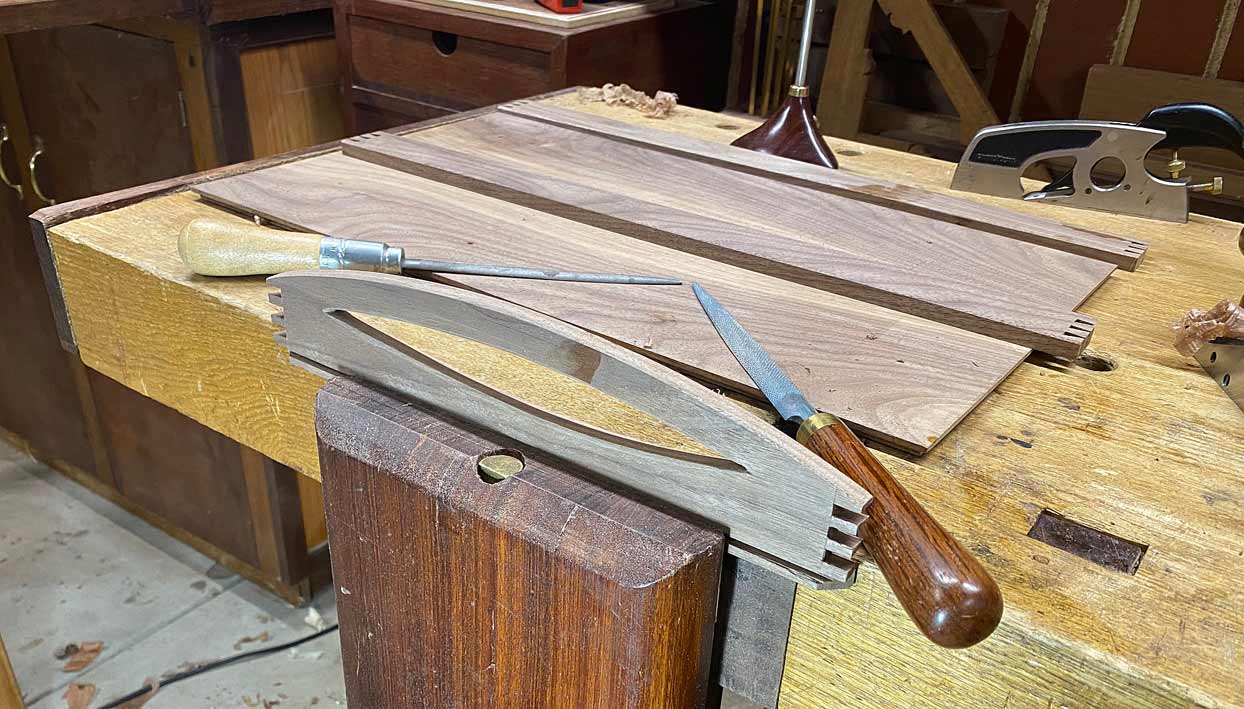
Cut out, smoothed, and then fretsawed out and finally finished with rasps and sand paper ...
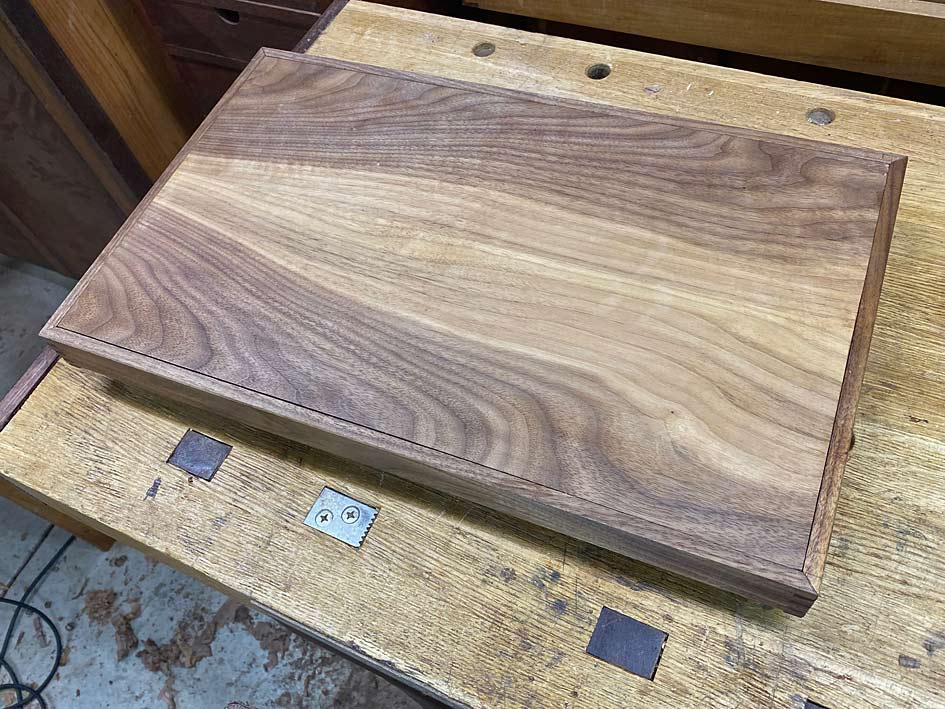
The underside ...
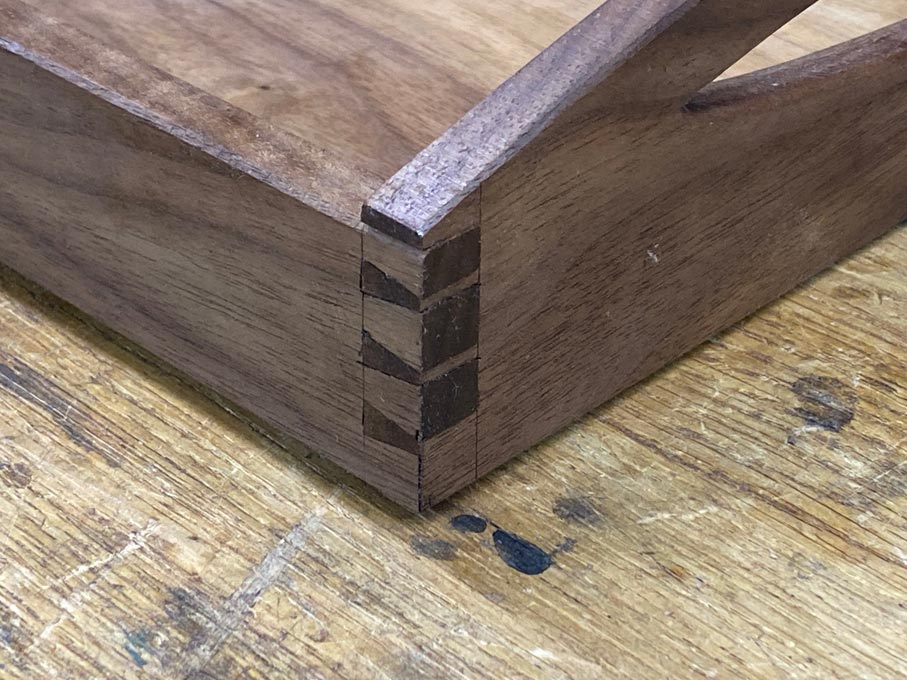
The joinery is not glued but really solid. Very pleased with this. Some dusty mitred through dovetails ...
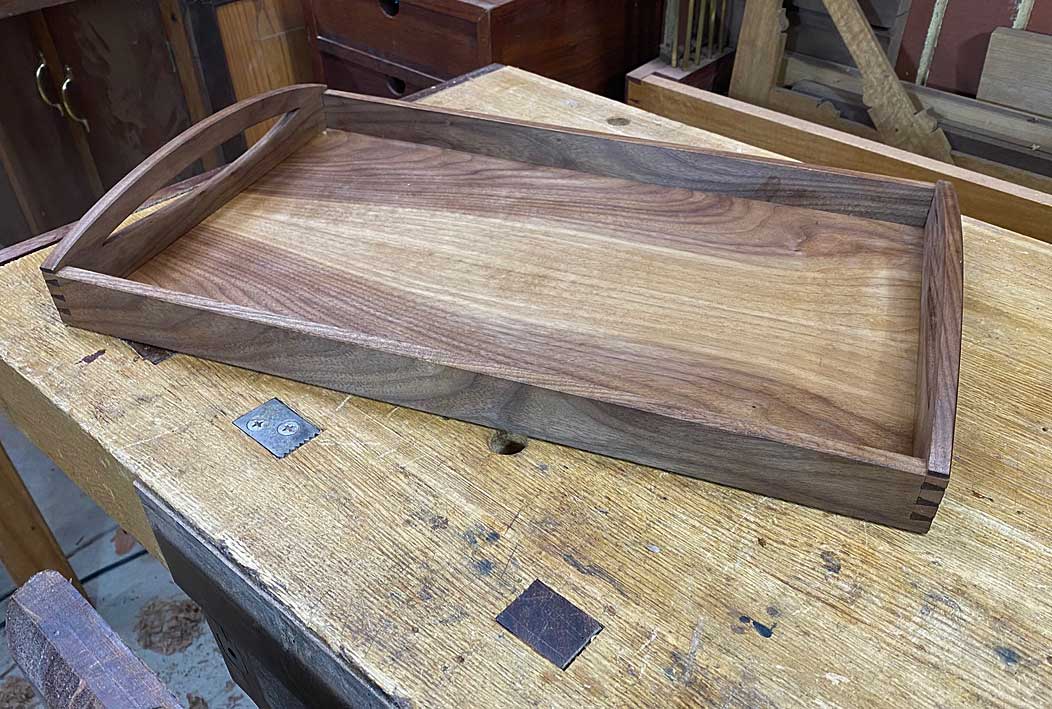
Job done with one coat of hard wax oil ...
Regards from Perth
Derek
I am not sure why it is, but few of the furniture/case or box builds I see on YouTube or websites feature mitred dovetails. It is usually only simple through dovetails or half blind dovetails. Using half blind dovetails at the front of a drawer is obvious, as is the simple through dovetail for the drawer back. Ploughing a groove for the drawer bottom (if not using slips) is straight forward here since the groove is hidden inside the half blind front.
But this is so with cases and boxes utilising through dovetails. Without a mitre to hide the groove inside, one must use a stopped groove, and this is cumbersome to make with hand tools. Not to mention the fact that mitred ends look better than stumpy square ends. I routinely use mitred through dovetails. They are more work, in fact, I think they require a lot more care when sawing. But, like everything, it gets easier with practice.
Now the great majority of the members of the woodworking club are power tool users, and I was asked to come along to provide a variation for the other presenter, who will focus on finger joints. Finger joints are pretty strong, but only because they create a large glue area. Dovetails, being a mechanical joint, do not need glue (if done well). I thought I might demonstrate this by taking along a dovetailed tea tray, and not glue it up. Might be interesting to pass the tray around for inspection ... and then knock it apart in front of all!
The size of the tea tray is 500mm (about 19 1/2") in length and 380mm (15") in width. The wood is some Black Walnut scraps ... the very last I had. Such pretty wood, and possibly the best wood in the world to work with hand tools.
I am not going to bore anyone with pictures of dovetailing. There is a pictorial on my website, here. Instead, a few progress photos to illustrate how mitred through dovetails aid here.
Dovetails ...
Grooving the sides ...
Fitting together ...
Four sides ...
Rebating the tray bottom with a Veritas Skew Rabbet Plane. The bottom is 7mm thick and the rebates are 3mm wide and deep ...
This is where a shoulder plane is best used ... to clean and tune rebates ...
The fit ...
The next stage is for the ends to be shaped. In this photo a template is create to make a uniform curve ...
Cut out, smoothed, and then fretsawed out and finally finished with rasps and sand paper ...
The underside ...
The joinery is not glued but really solid. Very pleased with this. Some dusty mitred through dovetails ...
Job done with one coat of hard wax oil ...
Regards from Perth
Derek

 ) and a coupla sticky buns - Rob