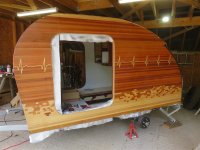
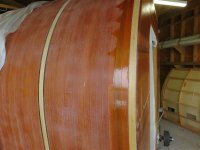
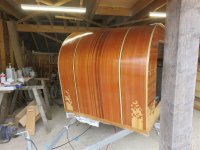
Right, the job I've been worried about for the last 3 or 4 years since I first thought about building this thing. Time to do the fibreglass.
Before I start, let me make it very clear that no-one should use this as a tutorial. I am a rank amateur at this, with no experience other than what I am about to show you. If you are planning on doing something similar yourself, go to West System's website or Youtube channel, and watch one of Mark Reuten's (Nomad Boatbuilding)
tutorials. You should be watching Mark Reuten anyway for the woodwork.
I invested hundreds of pounds in some of West System's epoxy. They developed these formulae for boatbuilders, and it's available at chandlers. One of the great things they have is a series of calibrated pumps, which mean you don't have to weigh or measure your resin and hardner each time:
View attachment 57623
It's just one pump of each to give the correct ratio. I am using their 207 "Special Clear Hardener", which dries completely clear. It's also a slow-acting resin, which is a big bonus for a novice, particularly when it is so hot (epoxy sets faster when it's warm). Note the drill protected by a plastic bag and with a bit of bent coathanger: that's my mixer. You have to go slow or you whip air into it like whipped cream.
I decided to start with one of the doors, because they are the only small area I've got and it would give me a chance to get my eye in. I made just about every mistake it's possible to make.
The West System's help desk is extremely helpful and patient, but the first thing they suggested I did was put a generous primer coat on the bare wood, and then lay the fibreglass cloth on that whilst it was still wet. That proved extremely difficult. After "wetting out" the cloth, you then build up coats on top of that just at the point when the epoxy is "kicking off" (starting to set. Even now, I find it quite difficult to judge exactly the right moment. Epoxy binds to itself extremely well, but in only 2 distinct ways: chemically or mechanically. These could also be described as "wet" or "dry". If you choose to do it wet, you have to start applying the next coat at the right point as I described. If you choose to do it "dry", you let it set overnight, abrade the surface (80 grit sandpaper), and after cleaning thoroughly, you apply the next coat.
I got the wetting out coat about right, and the next coat, but the coat after, I started applying too soon, and it pulled up the previous coat into nasty little globules/ mounds with every pass of the roller:
View attachment 57624
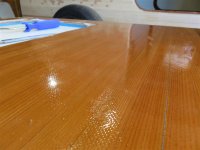
That left me with no option but to allow everything to dry, and then sand it smooth, before continuing with the coats. It came out well in the end:
View attachment 57622
View attachment 57641
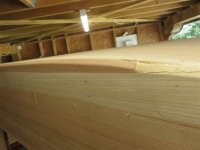
I decided I had learnt all I could learn from that exercise, and had to just get on with the main body. I did a final sand and clean up, vacuuming the surface for probably an hour. I roughly removed the arris between walls and roof with a course belt sender:
View attachment 57625
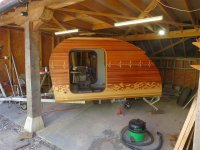
Ideally, I would like to lap the fibreglass from the walls onto the roof, but cloth doesn't bend easily. I didn't have high hopes this would work. I removed the kitchen entirely so that I could stand in the back and reach well up the roof:
View attachment 57626
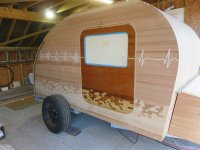
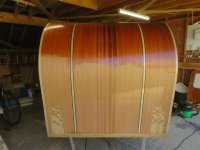
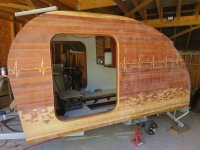
Then, as a result of the lesson from the door, I did a primer coat of epoxy over the entire body. Here you can see I am in the middle of doing it, just to show you the contrast:
View attachment 57627
View attachment 57628
The tape is covering a couple of repairs to my veneer pattern where I had sanded through them. Anyway, I soon covered the entirety of the outside:
View attachment 57629
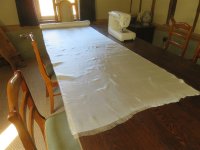
I left that to set overnight, and went inside to cut my cloth:
View attachment 57630
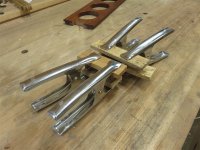
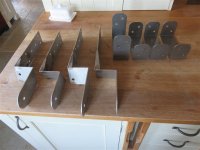
It's 6oz cloth, which is very light and thin. There is only one layer. It's job is to strengthen the epoxy, not strengthen the vehicle, and its main feature is that it becomes invisible. At this point I received a delivery of some brackets I'd designed:
View attachment 57631
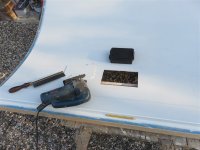
The following day I went over the primer coat with 80 grit on DaveL's random orbital sander:
View attachment 57632
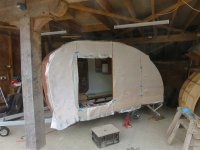
After vacuuming off the dust I carefully taped the cloth in place. This was so much nicer an experience than trying to do it on wet primer:
View attachment 57633
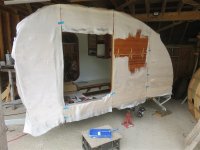
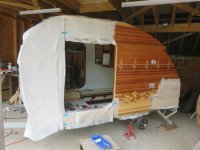
Now, watch the magic happen. When you add epoxy, the cloth disappears:
View attachment 57634
View attachment 57635
View attachment 57636
Isn't that incredible? I'm sure there's witchcraft involved. You can't even see the cloth if you know it's there and you go searching for it.
I did both sides, 4 coats, in a day. That's a pretty full-on day when it's warm. As a bonus, the cloth folded neatly over the junction, giving me the lap I wanted between roof and wall coverings:
View attachment 57637
Today, I quickly sanded the over-spill on the roof before laying up the cloth:
View attachment 57638
It took nearly 2 hours to wet out (saturate) the cloth with the first layer, which meant I had only a few minutes between finishing that coat and starting the next. As I write I am waiting for the 3 coat to dry to tacky before going out to apply the final coat:
View attachment 57639
View attachment 57640
The process from here on is to allow this a week to fully cure, then sand it down and start applying Epifanes 2 part varnish, which is an extreme gloss varnish. There'll be more epoxy to do because the rear hatch isn't finished yet, and the other door hasn't been done.