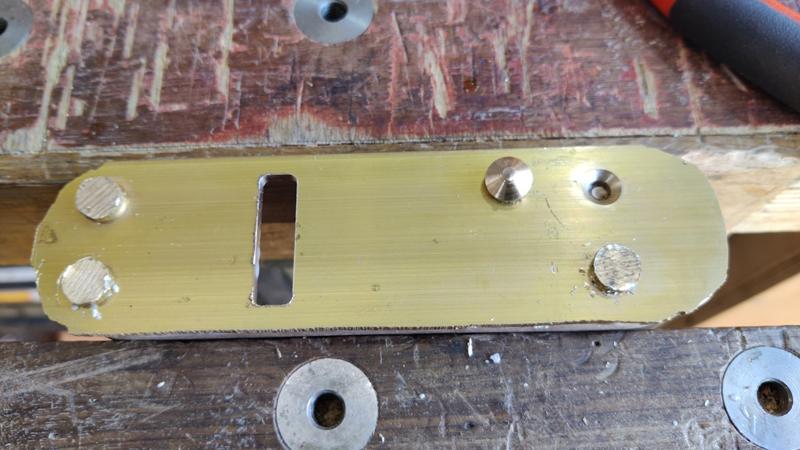
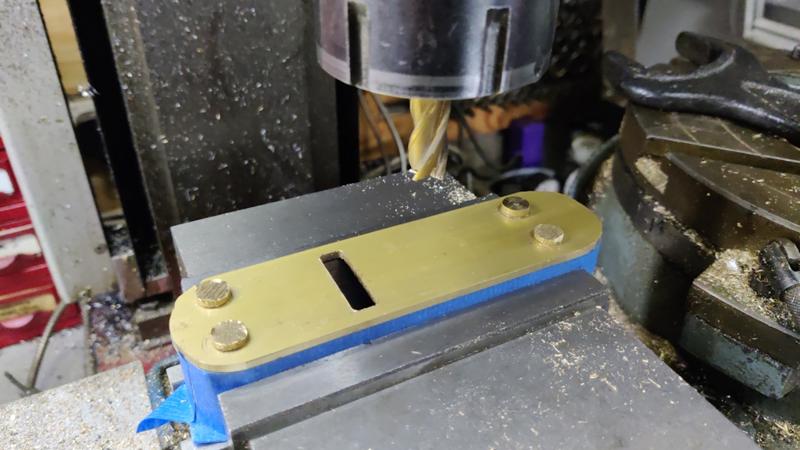
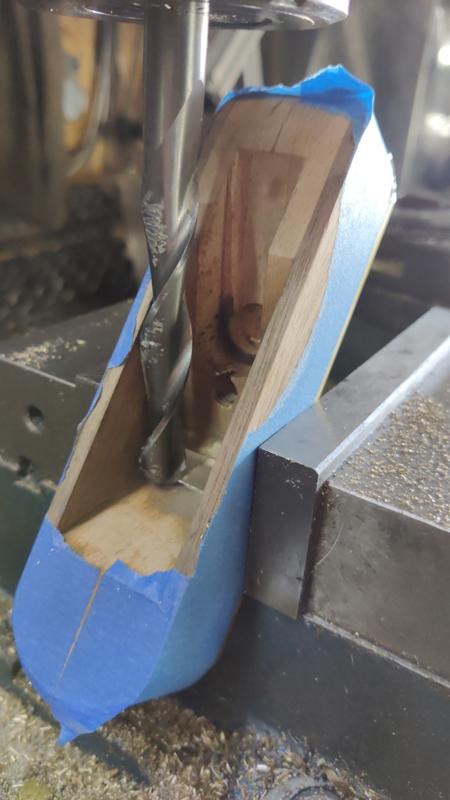
The next job on the body was to open the mouth out. I'm not a big fan of filing, so I thought I'd save myself a little bit of effort by using a long end mill to get rid of some of the waste:
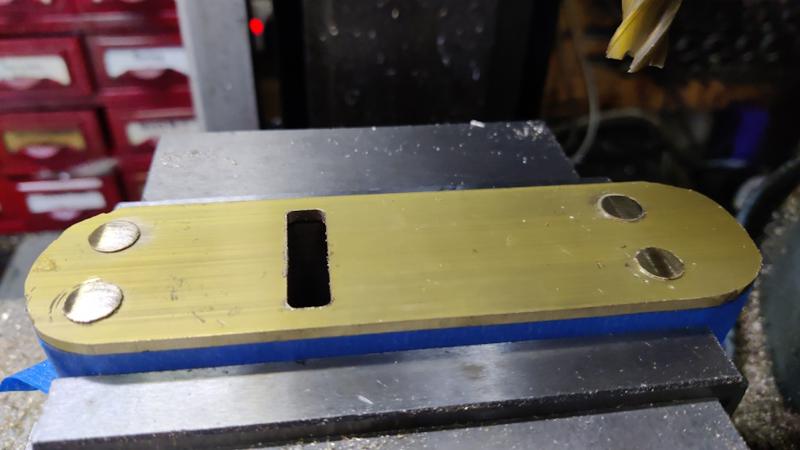
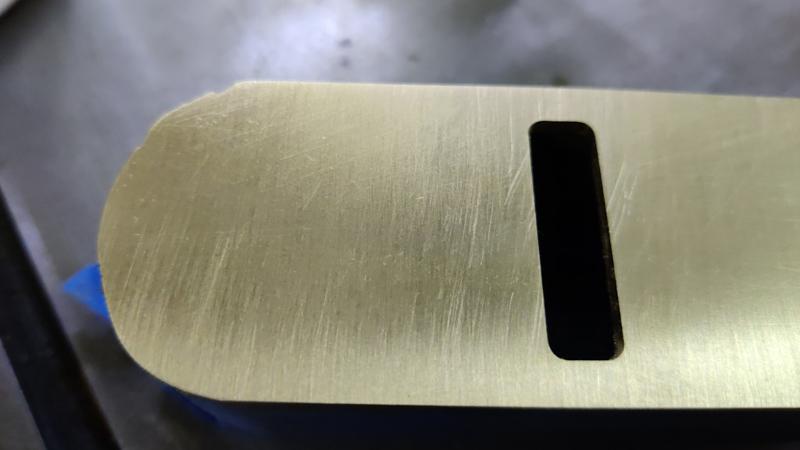
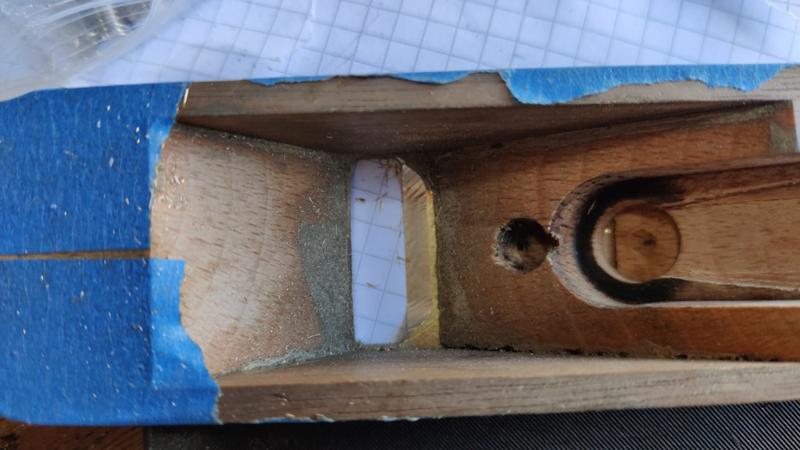
That left the mouth looking like this:
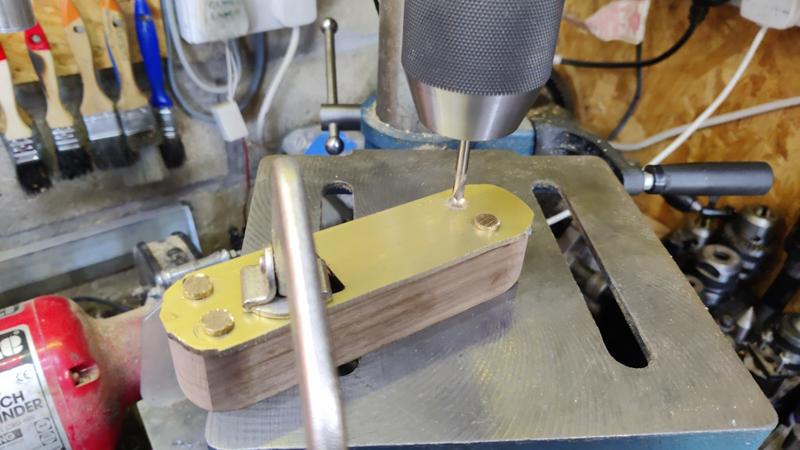
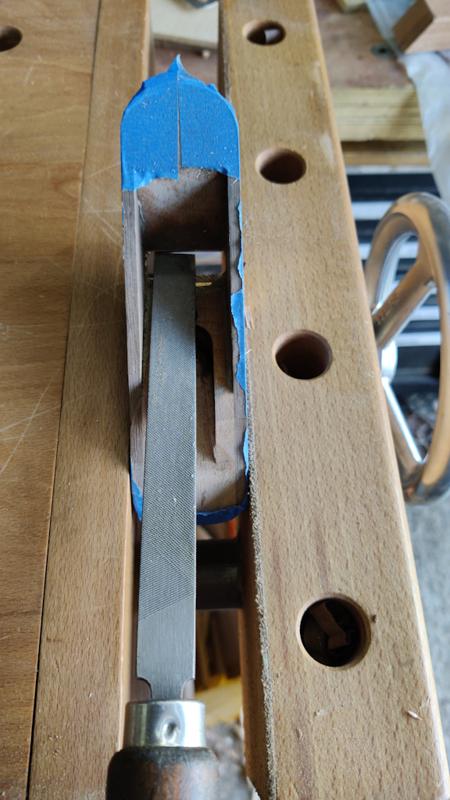
My
portable workbench provided a handy method of holding the body a bit higher up to make the filing job more comfortable:
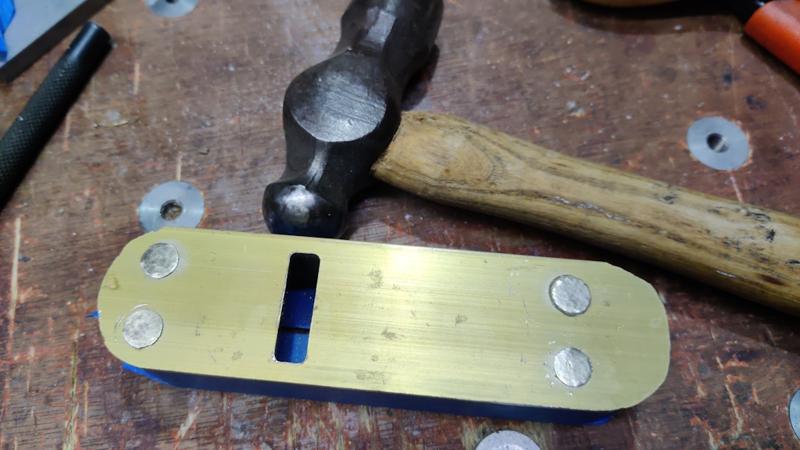
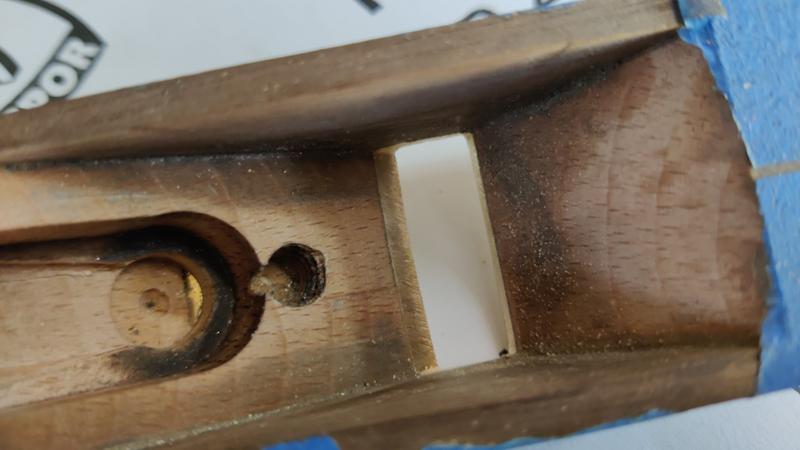
After filing:
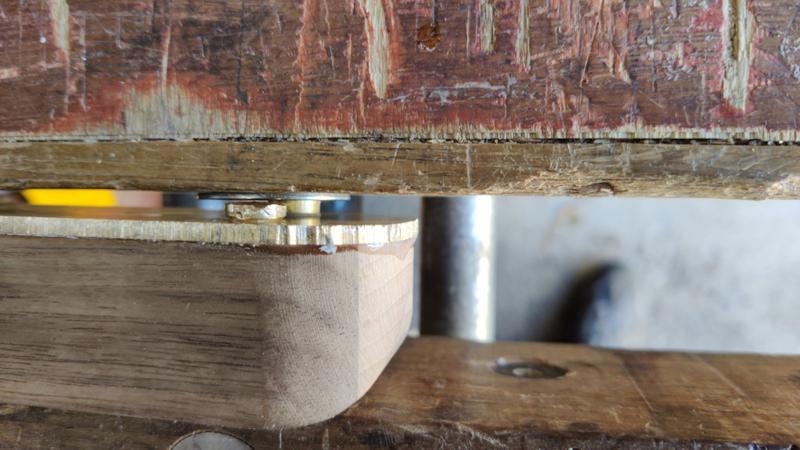
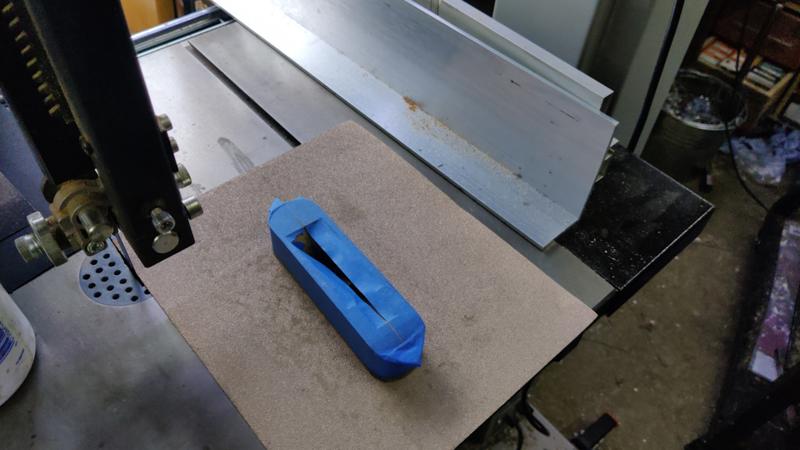
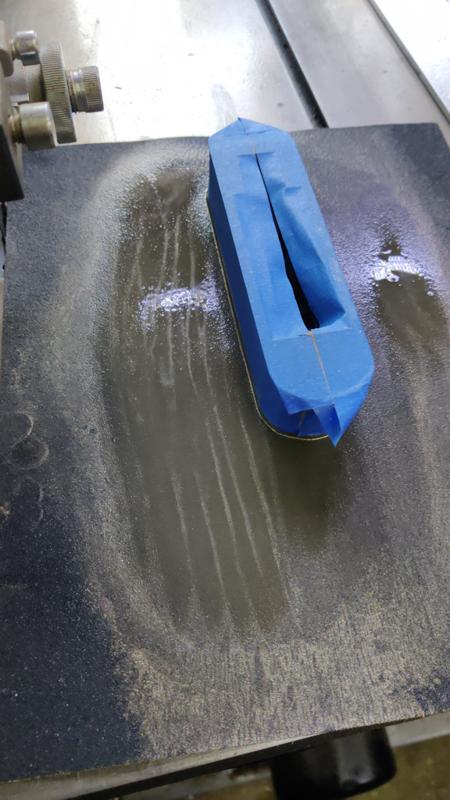
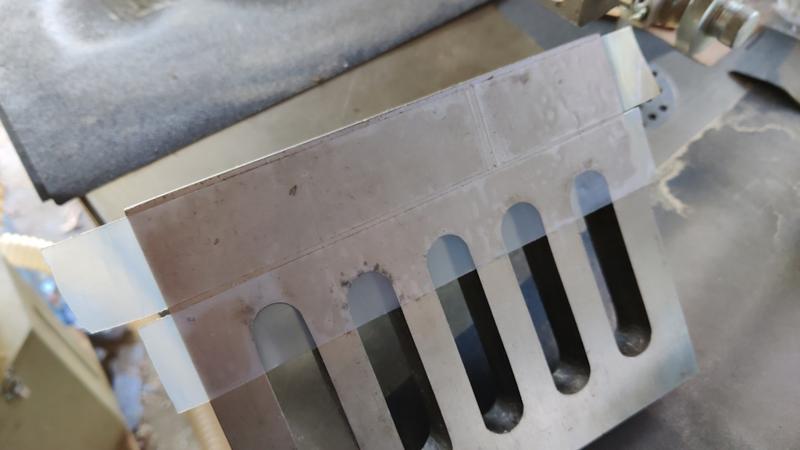
I want the sides of the plane (especially the right-hand side) to be at 90° to the base and I was a bit concerned that if I just attacked the sides of the brass base with a file, I could easily file away some of the wood and end up out-of-square. To avoid that, I got an angle plate and taped some UHMW-PE tape to it (UHMW-PE is very low friction tape):
After clamping the angle plate down to the bandsaw table and pushing a sheet of 120 grit wet-and-dry paper up against it, I could press the base of the body against the taped angle plate and rub it back and forth to sand the side:
This also had the advantage that most of the brass swarf stays in line with the brass base and doesn't get rubbed into the wood.
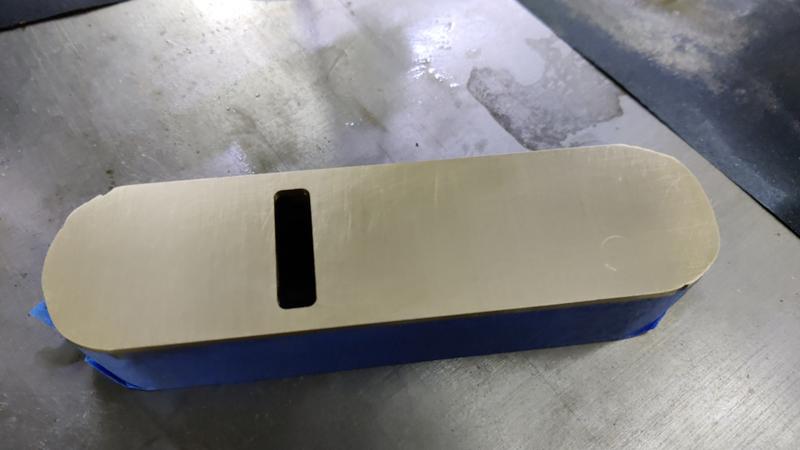
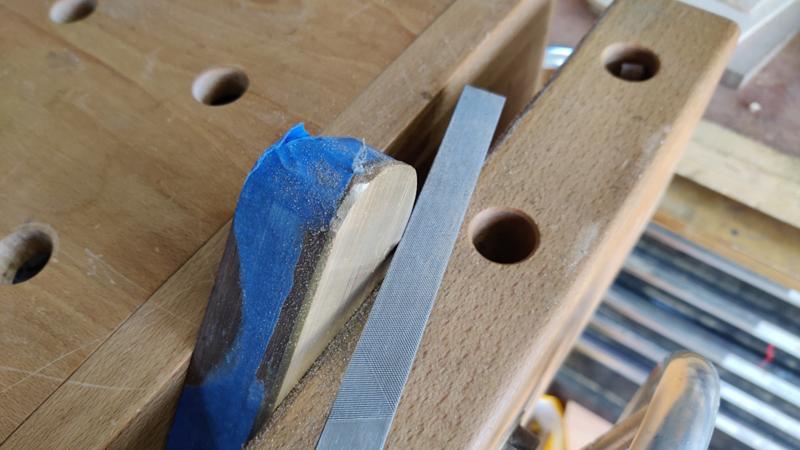
I kept going until I was sanding wood as well as brass and then moved onto the corners, which I dealt with in the portable workbench vice with a file (this photo was actually taken after I'd sanded only one side, hence the masking tape still being there):
The body was still a millimetre or so too tall at this point (it needs to be 30 mm high to fit into the groove in the tool chest shooting board), so the top got planed down, taking light cuts and checking with the shooting board groove.
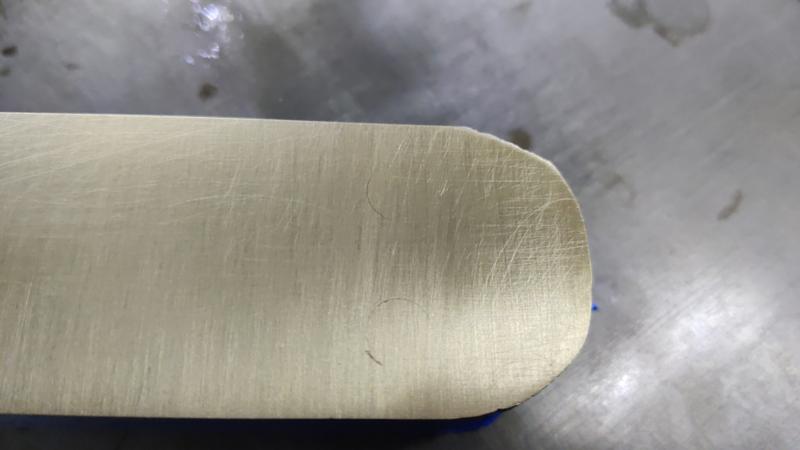
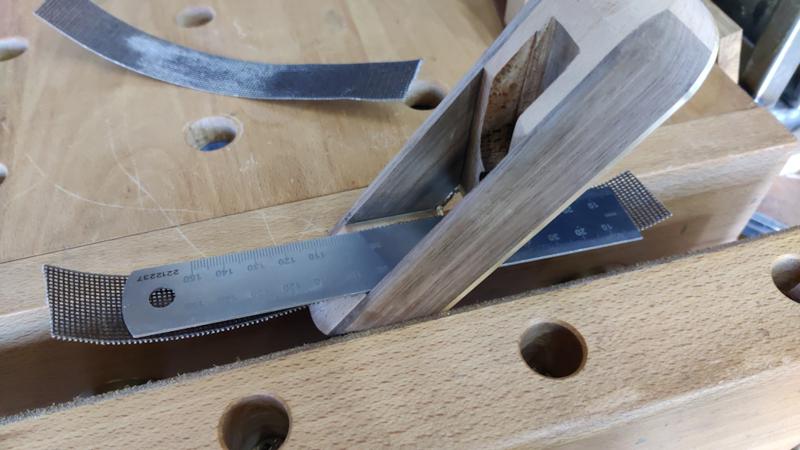
After doing that, I used the little Parkside disk sander to reshape the curve on the top/rear edge. The last sanding job was to sort out the inside faces (which had got a bit oily from when I flattened the base). I did this using some strips of mesh sandpaper held onto a 1 mm thick steel rule:
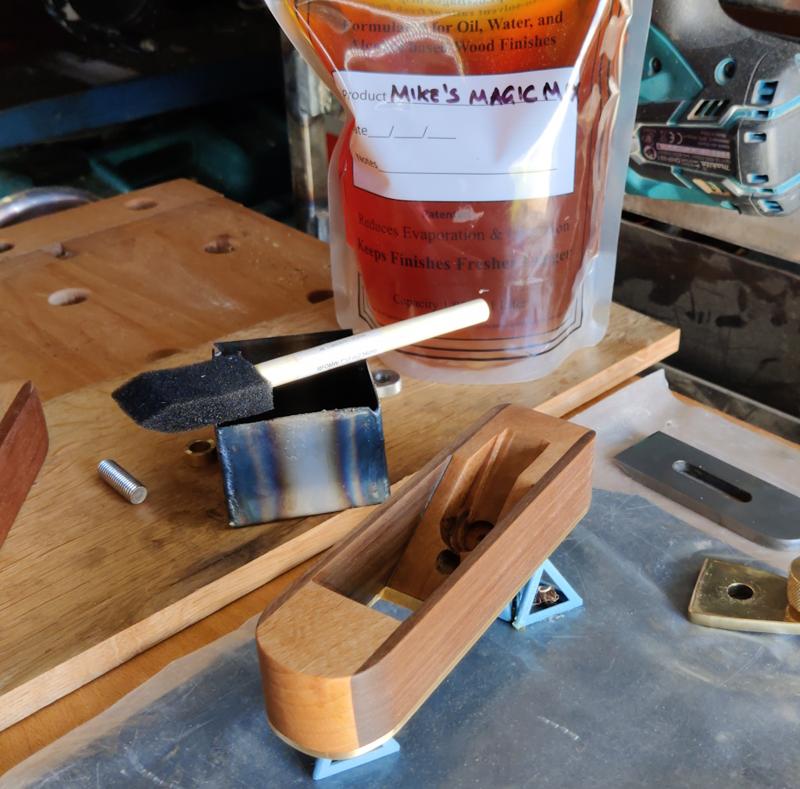
The final job was to apply a couple of coats of my favourite finish, making sure the finish didn't get into the tapped hole:
After the first coat of oil, I glued the threaded rod in with Araldite and then applied a second coat.
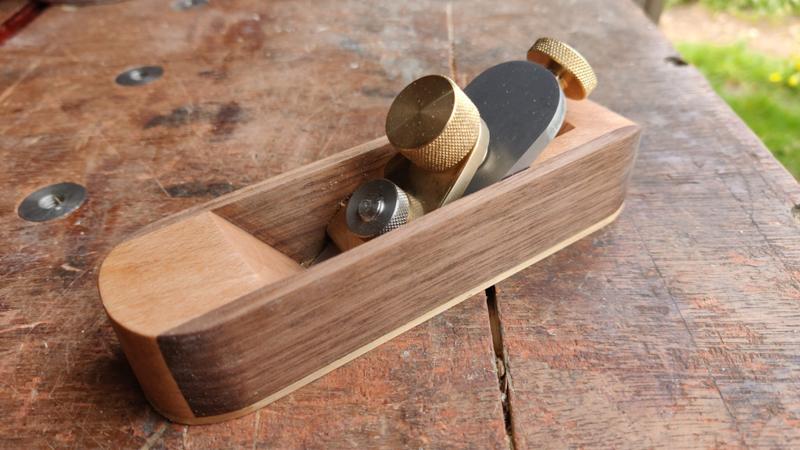
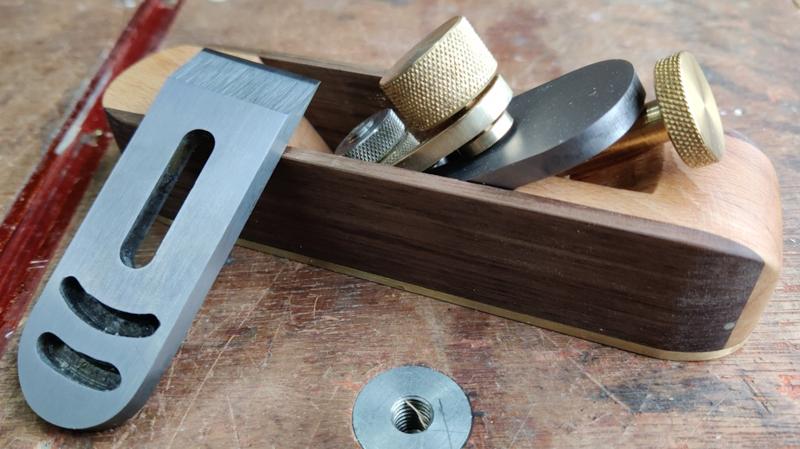
It could then be assembled ...
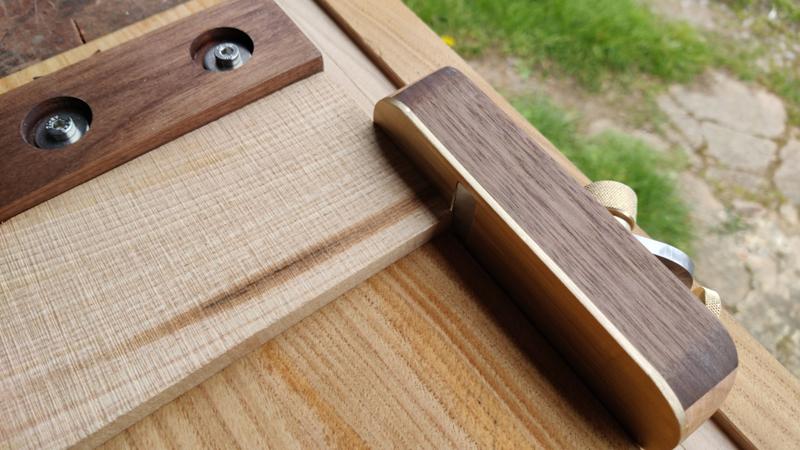
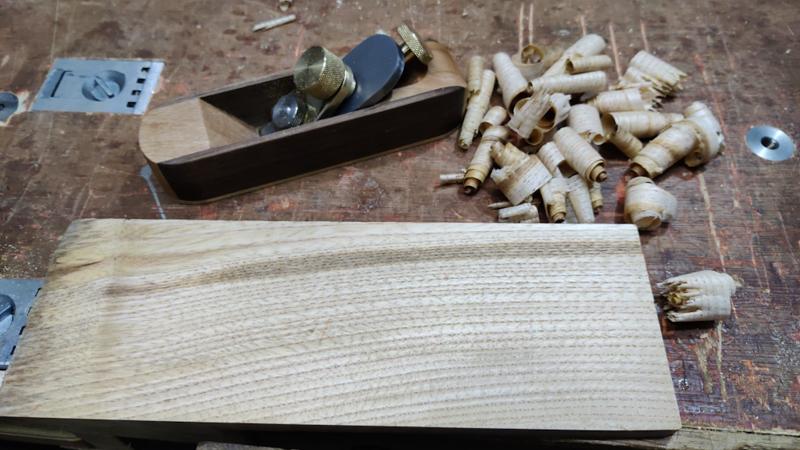
... and tested, first on edge grain ...
... and then on end grain (which is what this plane is mostly intended for):
It works really well on the tool chest shooting board:
Finally, I tried using it to plane the face of a board, despite this not really being an intended use. It worked remarkably well and didn't even leave any tracks from the blade corners, which surprised me as I hadn't cambered the blade even slightly (I probably just got lucky).
I quite enjoyed planing the face of the little board with the little plane; it's not something I've ever done with a block plane (and I won't be throwing my #4 away any time soon!) but there's something really satisfying about preparing edge, face and end grain of a board using a plane that you've made yourself.
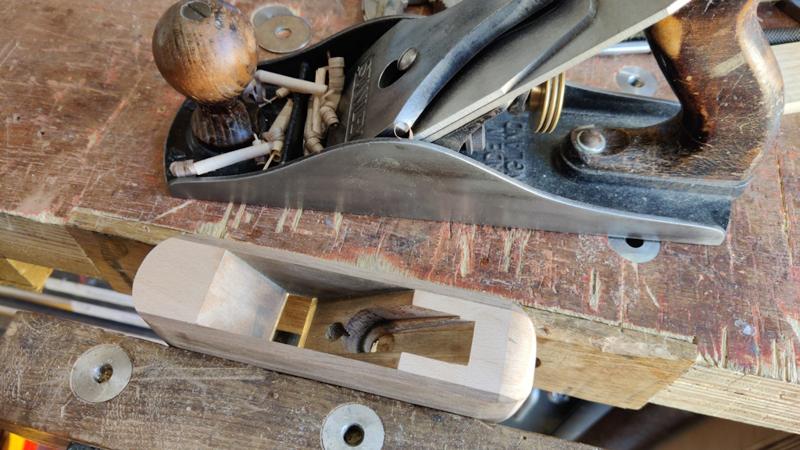
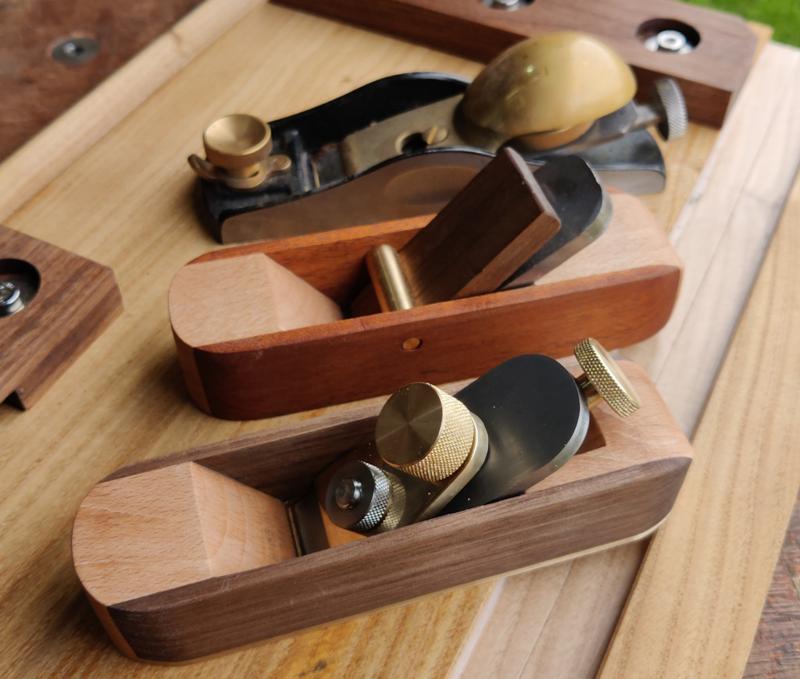
Out of interest, I thought I'd weigh three block planes for comparison (not that the weight matters especially - none of them are heavy):
The metal block plane weighs 750 g, the all-wooden-bodied plane weighs 225 g and the new one weighs 415 g.
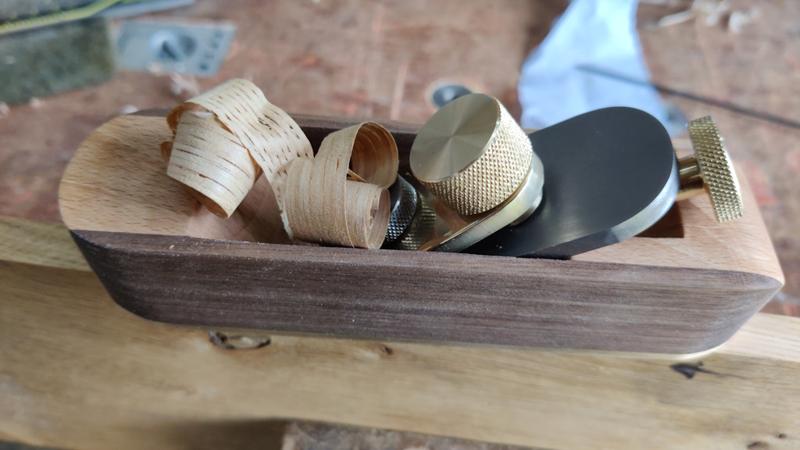
It feels very comfortable in the hand and is a lot easier to adjust for a fine cut than the all-wooden-bodied plane. It's very easy to clear the shavings: just turn the plane upside down and they fall out. There are definitely things that I could improve if I could face the idea of making another one, but overall I'm really pleased with how it turned out.
")