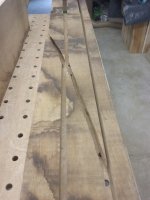
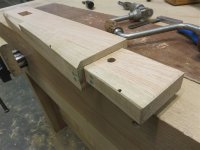
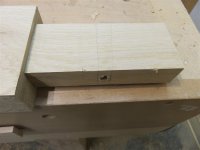
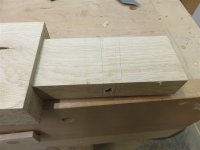
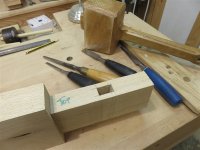
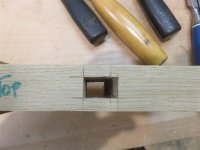
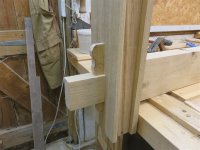
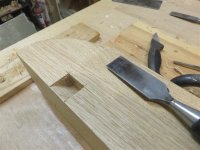
I told you that the central post was going to be totally encapsulated. Well, here are the covering pieces. Firstly, rough cut to length, with a small mortice:
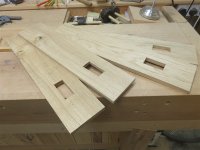
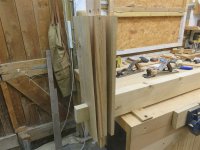
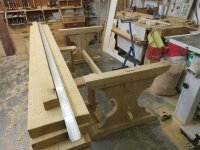
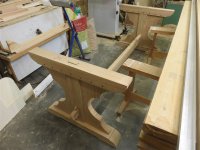
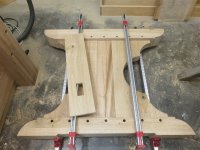
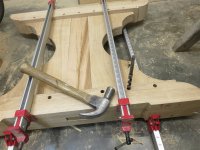
You might notice that they are of varying thickness. Well, that's because I was re-sawing a non-thicknessed board, with the intention of thicknessing everything afterwards. However, I reaslised that this was unnecessary. I squished up the pedestal with some clamps to simulate the finished article pulled together with draw-bored pegs:
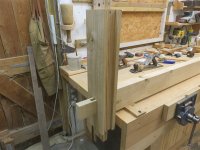
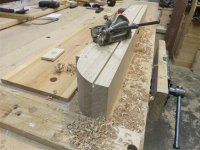
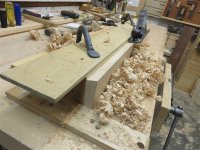
Then put the roughly cut piece on the shooting board and snuck up on a tight fit bit by bit. Turns out my new no.7 is excellent on the shooting board:
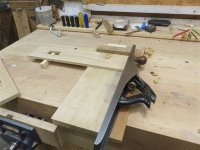
It soon fitted perfectly:
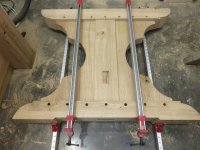
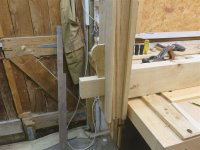
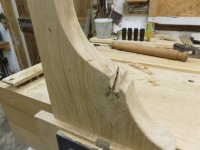
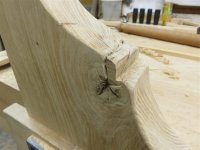
This enabled me to transfer the marks for the mortice to the post behind. Whilst everything was carefully in its final position, I took the opportunity to mark the centre of the peg holes by tapping in a pointed bit:
Annoyingly, I had tapped too hard, leaving an awkwardly deep mark, as we'll see in a second. Firstly, there was a mortice to chop out:
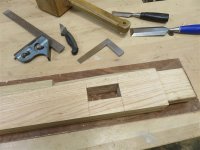
Those who have seen draw-bore pegging before, feel free to skip ahead a paragraph or two. I marked up for drilling holes 1-1/2 to 2mm closer to the shoulder than indicated by the mark I had made:
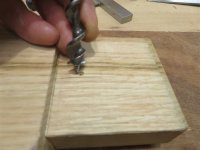
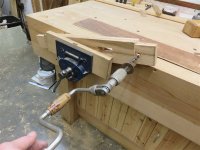
Because thse holes need to be absolutely spot on, and because of the over-deep marking-out hole ready to drag the point off location (into line with the outer peg holes), I decided to do the drilling manually, with a brace, for extra control. Note the washer to assist in keeping the hole level:
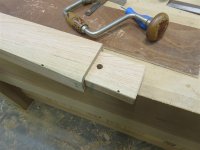
This is always a difficult photo to take, and to understand. I reassembled the pedestal when all the holes were drilled, and tried to show through an outer hole how the inner hole doesn't quite line up:
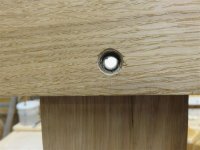
When the pointed peg goes through that hole it will pull the tenon upward, tightening up the shoulder joint. Unfortunately, that's not the end of peg holes.........
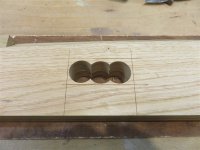
The bracket is nearly a foot wide, and meets the head and foot with grain at right angles. Therefore, we've got to allow for movement. Who knows where this table will end up, but my daughters live in Spain and Sweden, and so there's a chance it will go to either in due course. That's very different environments for it, and thus I've got to make big allowances for movement. Elongated holes, done with a chisels and gouge, are the answer:
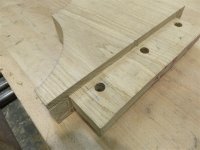
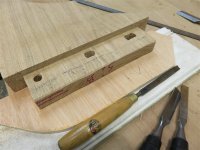
The following photo shows my strategy for movement. The edges of the brackets/ wings will be glued to the central post, and thus the inner edge will be fixed. It's the outer edge which will be allowed to wander in and out as necessary:
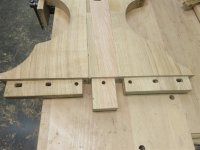
For the avoidance of audience boredom, I have omitted almost all of the next phase, which was simply to build the other pedestal. If you wan't to, you could always go back to page 1, as I did everything the same........
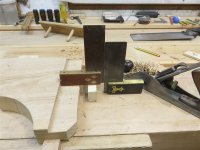
Here's a little trick which I didn't show previously. When planing these big tenons flat (acrtoss the grain) it's quite difficult to keep an eye on flatness in the along-the-grain direction, particularly as I don't have a reference face to work from (remember these boards aren't thicknessed, and have been just hand-flattened). So, to keep the tenons parallel to the bench-top, I just used back-to-back squares:
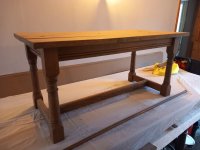
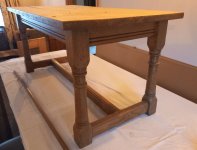
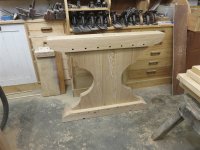
Sooner or later, I finished the second pedestal. Guess what.......it looks identical to the first:
At this point I cut and drilled the post tenons for their wedges. I've always been a little worried about how weak a parallel cut and a hole leaves the edge of the tenon, so I thought I might try angling the cut somewhat:
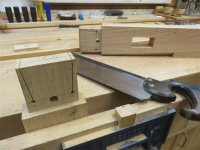
I told you previously that I generally leave a straight bit at the beginning of a mortice in a wedged through-mortice situation. I just feel this means you can make things a little snugger, but it also means you can lift the hole and the end of the cut for the wedge away from the shoulder, reducing the chance of showing an unplanned split caused by the wedge.
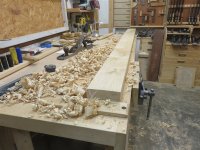
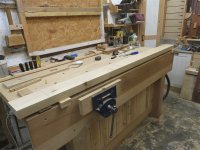
So, that's the legs made. They need to be joined by something. The stretcher is ex 130 x 55, but as you can see, the stock was far from straight:
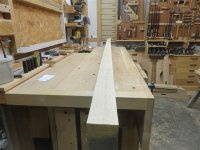
That was going to mean lots of planing!
Back in a bit.....