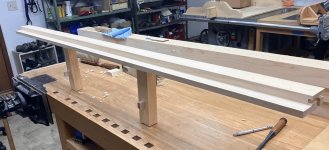
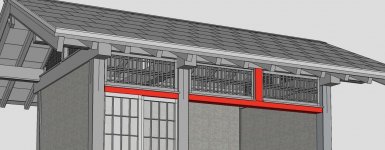
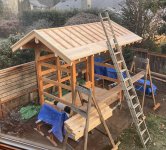
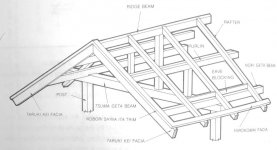
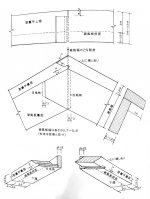
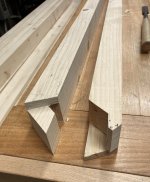
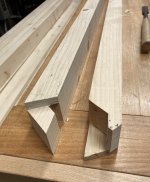
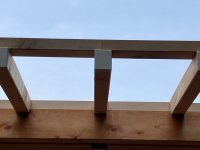
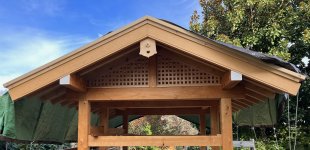
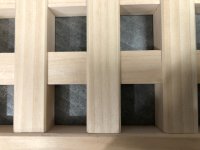
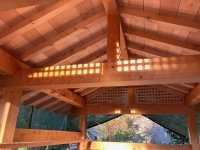
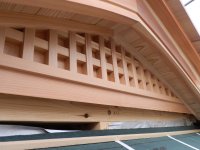
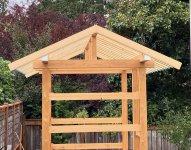
After the frame raising I put up the barge boards. I needed to do that before the rafters because the final rafter length needed to be 30 mm shorter than the length of the barges. The plan then was to set the barge boards, put up the rafters temporarily, snap a line, and take them down to cut to length.
That does seem unnecessarily complicated but there was a slight residual curve in the ridge beam that meant that a few of the rafter lengths needed to be adjusted to meet the eave evenly. In any case, I got it done.
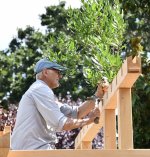
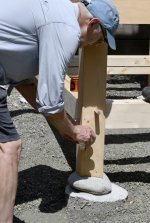
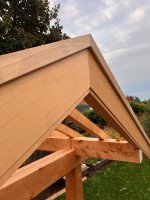
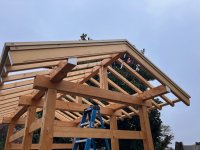
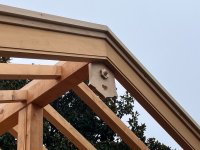
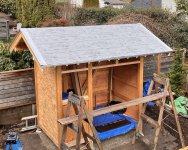
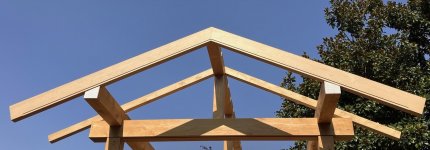
One barge board end up and starting to temporarily set the rafters. You can see I added a small decorative rebate to the bottom of the barge board. The eave beam ends I painted with linseed oil paint. White to keep away moisture and evil spirits.And yes, the sky is often that blue here in August I'm happy to report.
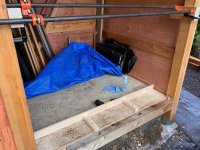
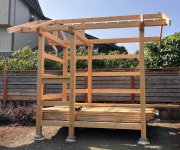
More of the site. I had a pile of boards lying around waiting to be milled into ceiling boards and roof decking. I was looking around the garden seeking a place to stack them when I thought, "Wait a minute...I have a shed!"
I was also concerned that my construction would disturb my neighbour. We are friendly and I want to keep it that way. So I invited him to be part of the crew. Now he can hardly object since he helped build it!
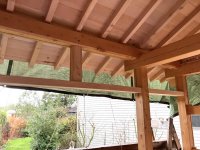
Rafters cut to length, fit and installed. Sharp eyes will notice the blue painter's tape used to keep the end grain paint contained.
And then the rains came.
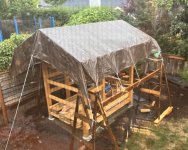
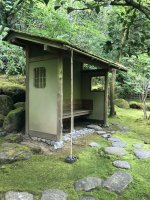
The view is through the screen on our window at our kitchen sink. One reason I wanted to build a nicer-than-needs-to-be shed is that the site dominates the view from here where we both look out often.
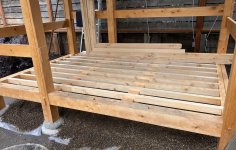
Before finishing the roof I decided to finish the floor so would have a stable base for ladders. Moving all of those ceiling and roof boards to sawhorses and under wraps. And then finish milling the floor joists.
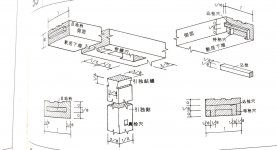
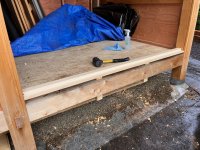
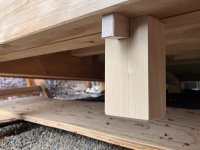
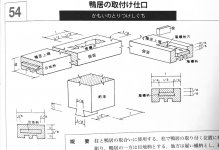
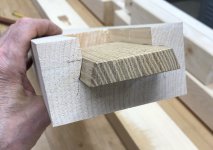
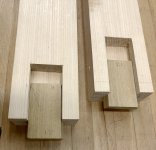
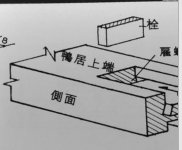
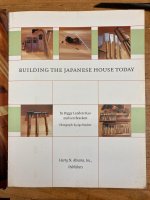
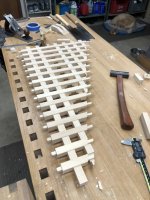
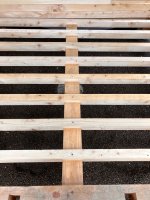
The Japanese carpentry book I am using for most of this suggests that the most common method used is to lay the joists on top of the sleepers and screw them down but, "for finer work" they should be cogged lap jointed." I can see why since lapping them prevents them from rolling over. Challenge accepted.
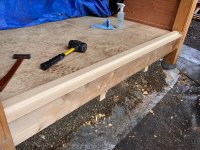
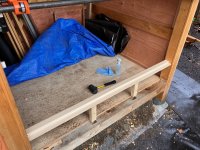
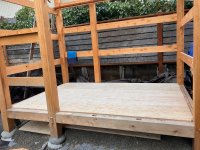
Here is the nearly finished view. The joists are the same dimensions as the rafters, 50 x 65 mm in section. That made milling all of them efficient. And noisy and boring.
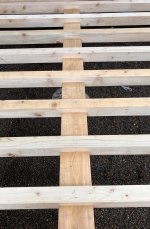
One other method I used to install the joists was to mill them slightly over width (50.5 mm rather than 50) and then use the
kigoroshi ("wood killing) method to compress the fibers on the sides of the joists. After fitting the changes in humidity or a spritz of water swells the wood back to nearly original for a seamless fit.
https://covingtonandsons.com/2020/06/27 ... kigoroshi/
I had heard of this method but never used it. It works and is so much fun! After sweating the layout and carefully milling your wood and cutting to lines or half-lines and chiseling surfaces as flat as possible you get out your hammer and just beat on it.
Here is a short video of kigoroshi to fit one of my floor joists. I cut the video off before finishing the rest of the laps but you can get the idea. And I used the same method for fitting the rafters to their laps and mortices.
https://www.youtube.com/watch?v=GQllcq5Tct0
After all of that, I also screwed the joists down so they could not lift up later. Belts and braces (or belts and suspenders as we say over here).
]


 ).
).