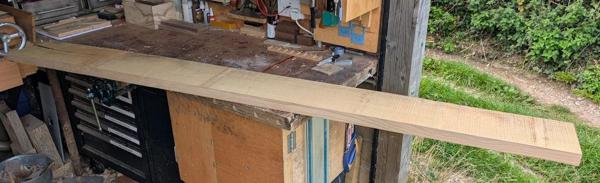
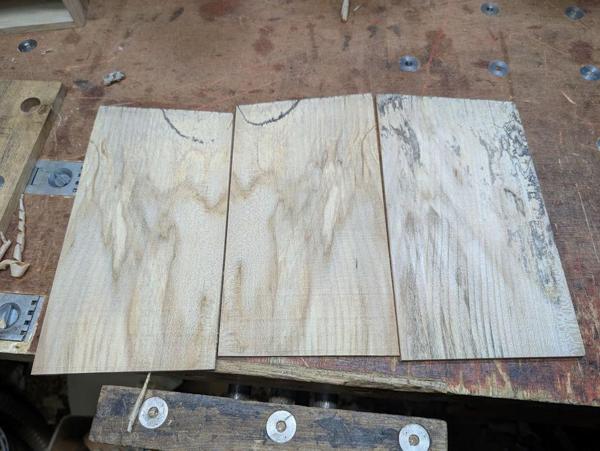
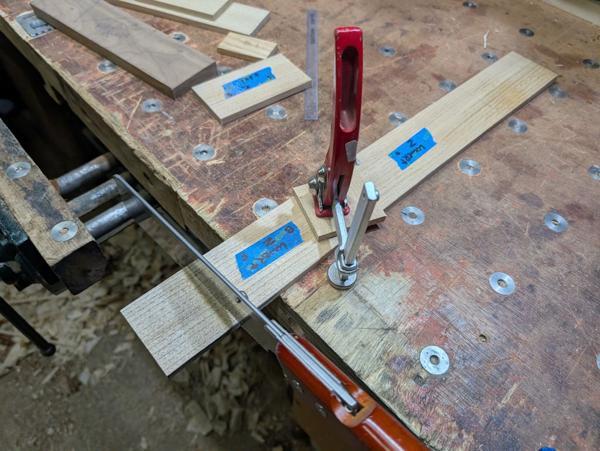
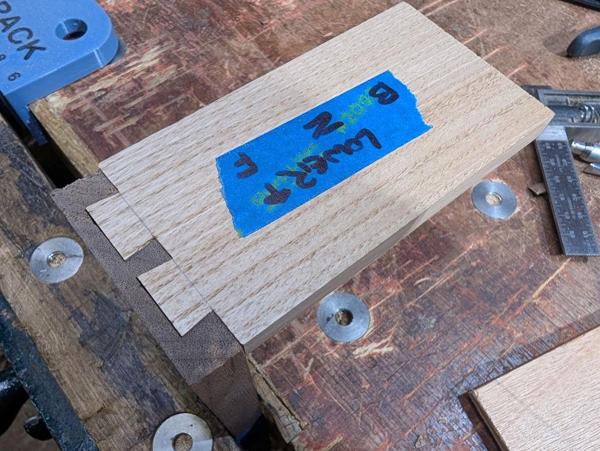
When I made it out to the workshop this afternoon, I started on the remaining joints for the drawer sides. With the drawer sides dry fitted to the fronts the drawer won't go into the box (as I still need to plane the sides down flush with the front and back, which I'll do after gluing). Instead, I got a scrap of ash and shoved it into the carcase. I could then knife a line on it where it met the front of the walnut piece:
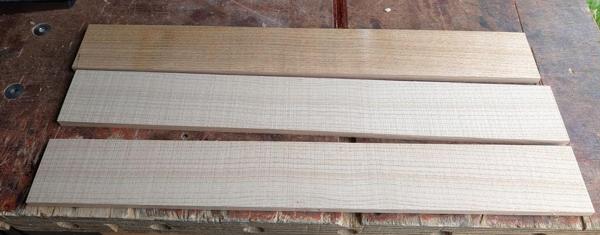
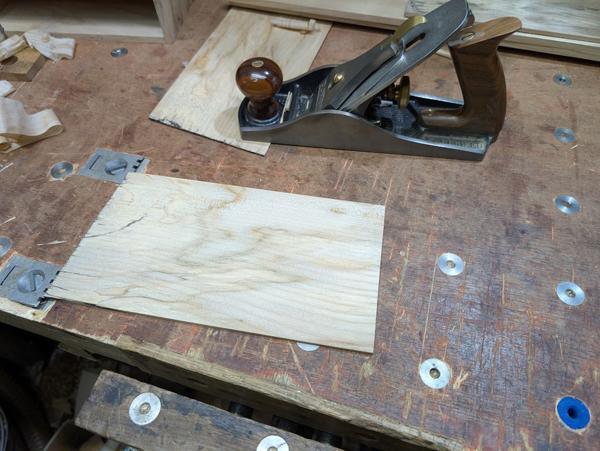
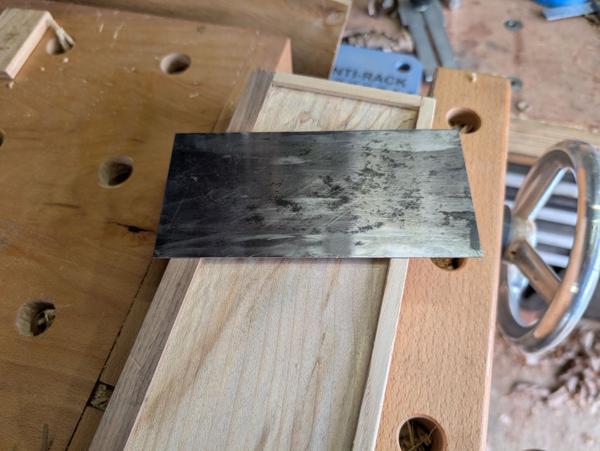
That ash piece could then be used to transfer the depth onto the side pieces:
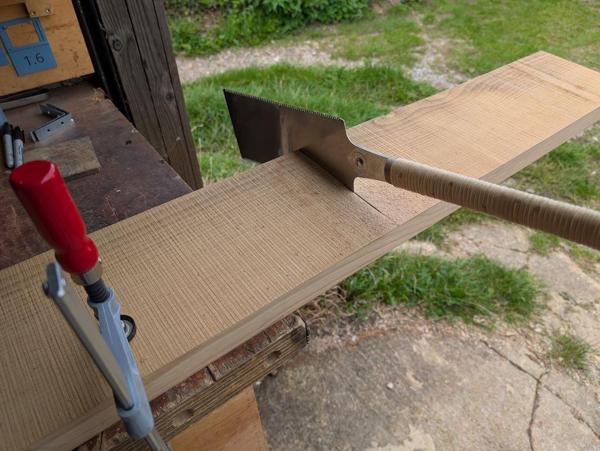
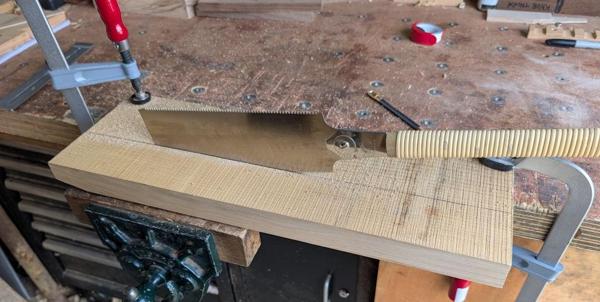
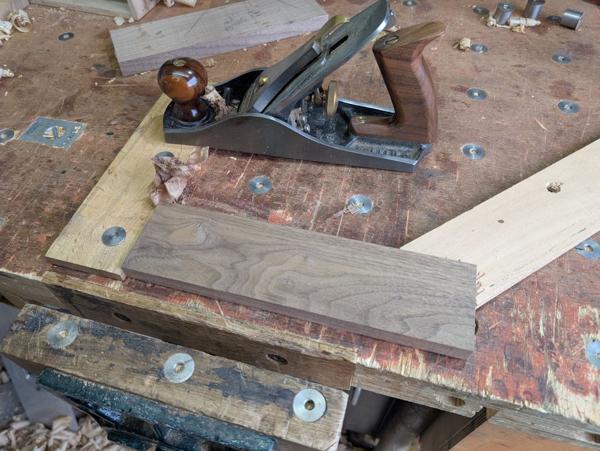
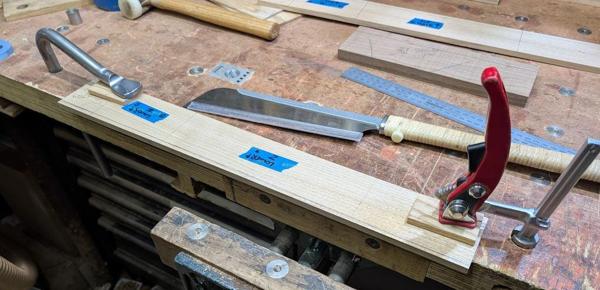
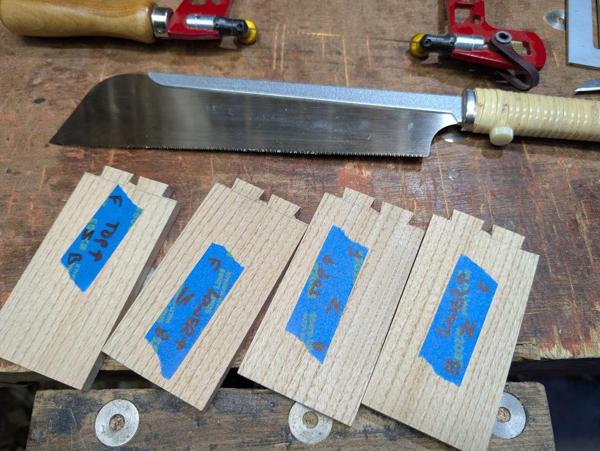
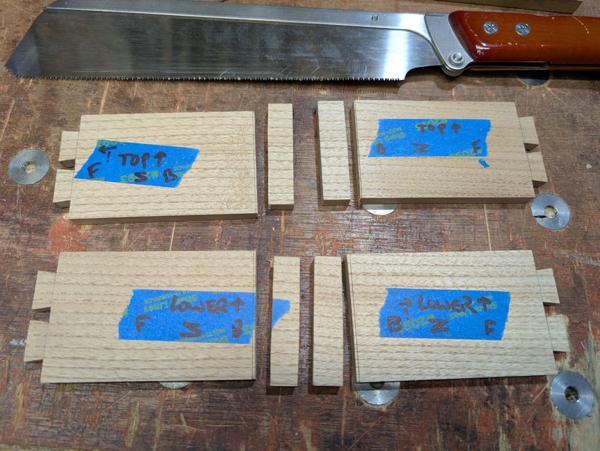
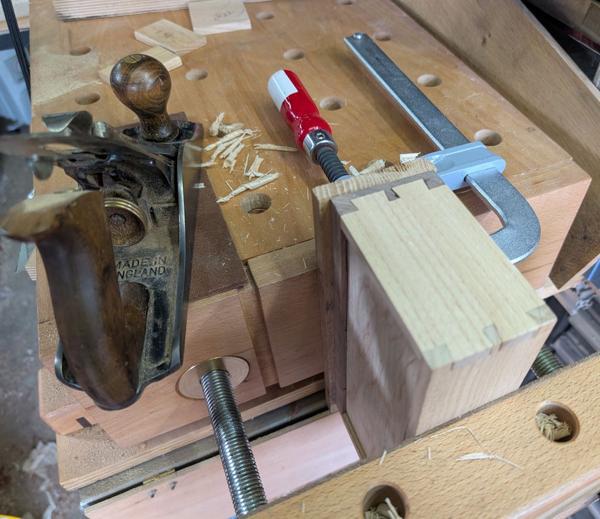
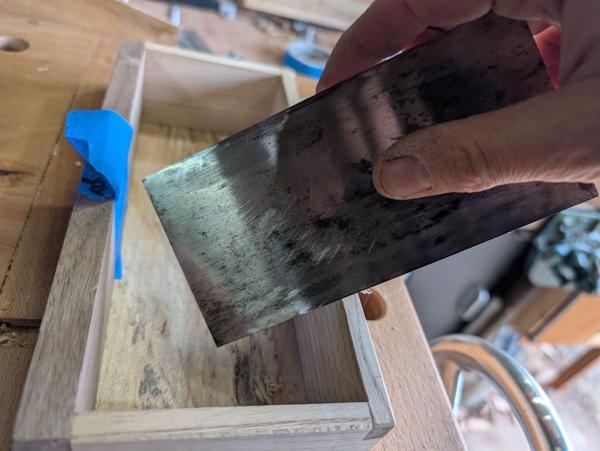
The ends got sawn off...
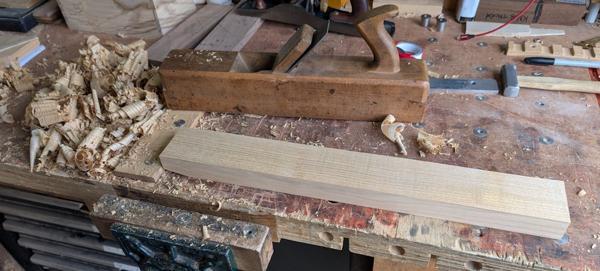
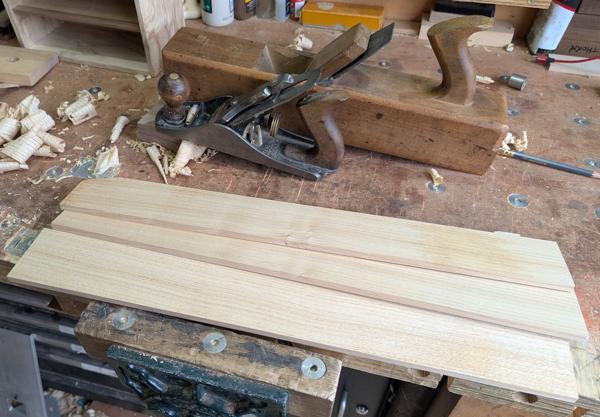
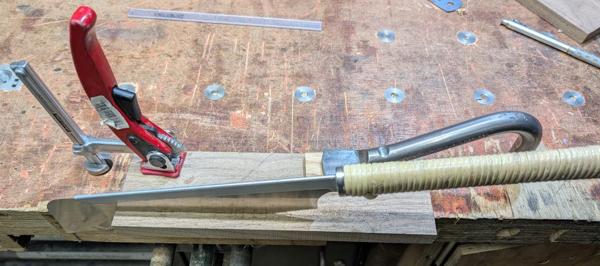
... and then shot to the transferred knife line:
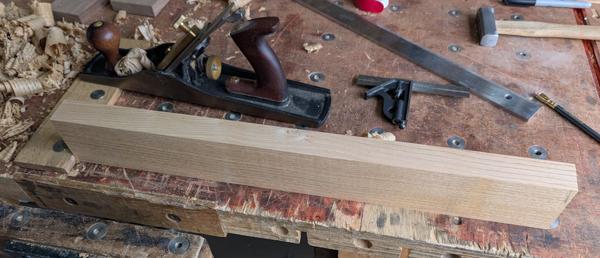
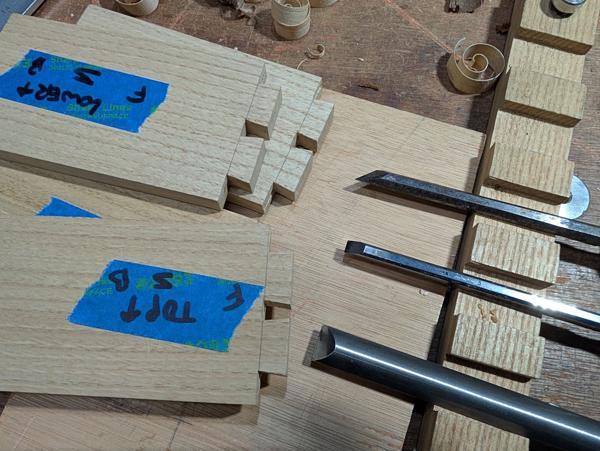
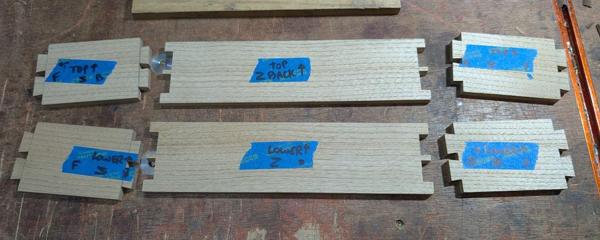
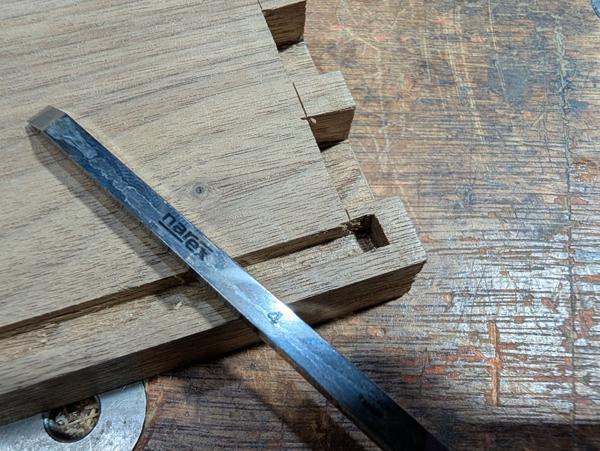
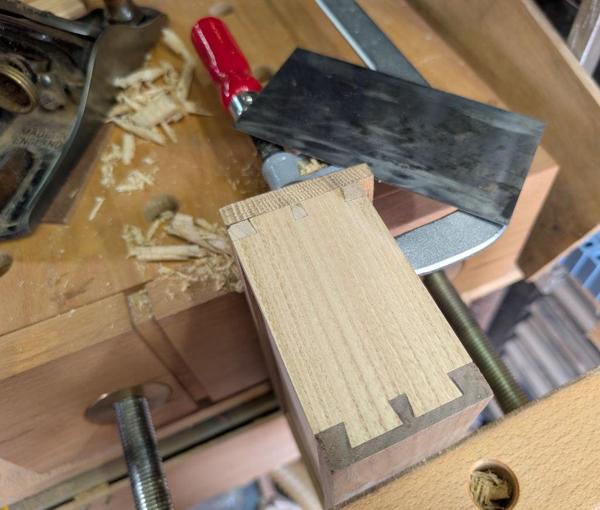
A little bit of sawing and chiselling later (done in the same way I usually do so I didn't bother with photos) and all the dovetails are done:
One of the advantages of half-lap dovetails (as on the drawer front joints) is that, if you think about it beforehand, you can arrange the ploughed groove for the drawer base to come out in the chiselled out pocket. In combination with a mitred dovetail at the back you can then plough all the grooves with a plough plane.
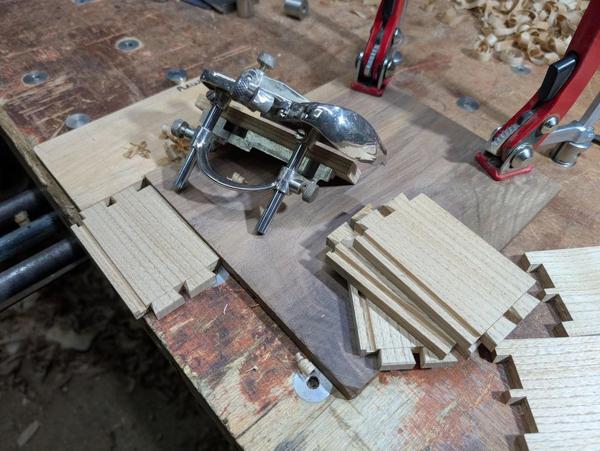
However, if you're a bit frazzled in the run up to Christmas and don't think about it in advance, then the best place for a groove ends up being in the pin area rather than the tail area. Ploughing the grooves in the sides is still easy...
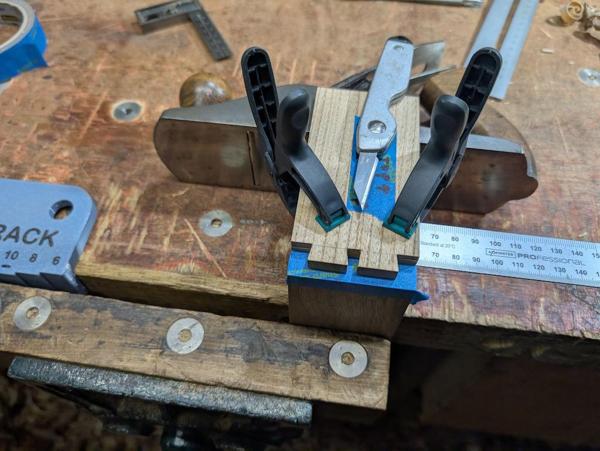
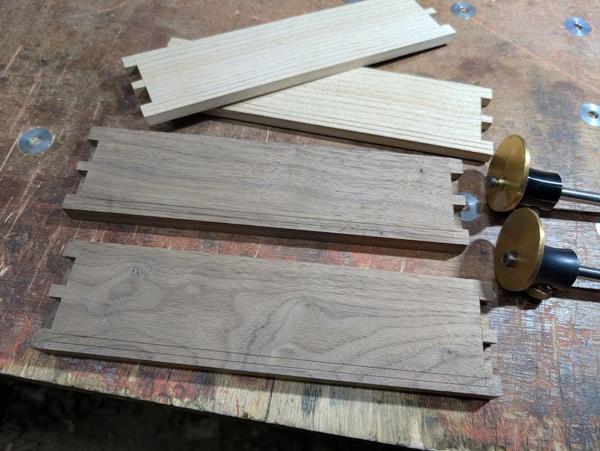
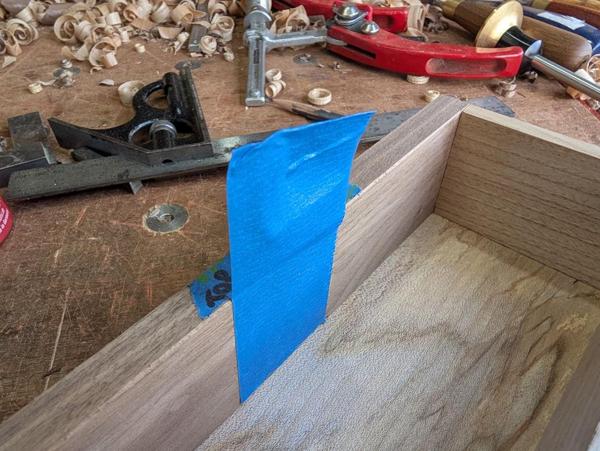
... however, the front and back need to have stopped grooves. I could have still done a mitred dovetail at the back but given I was doing a stopped groove at the front I figured I just do the same at the back. I started by marking the two sides of the groove with a pair of marking gauges:
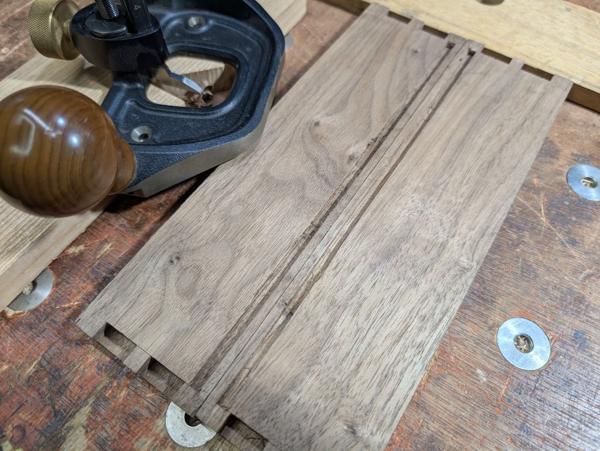
I then chopped down on the shoulder line with a 4 mm chisel and then used the router plane to work down until the groove was deep enough:
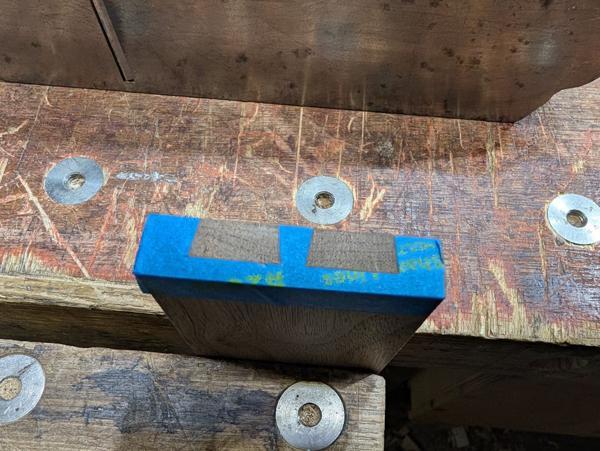
Finally, I extended the groove out into the pin with the 4 mm chisel (I didn't do the full length in one go as I didn't want to risk blowing out the end of the groove):
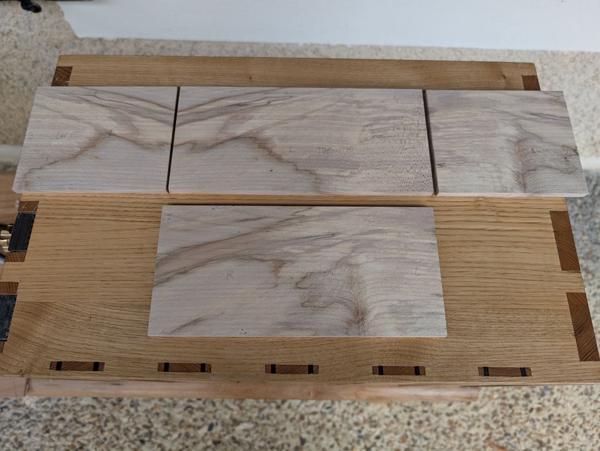
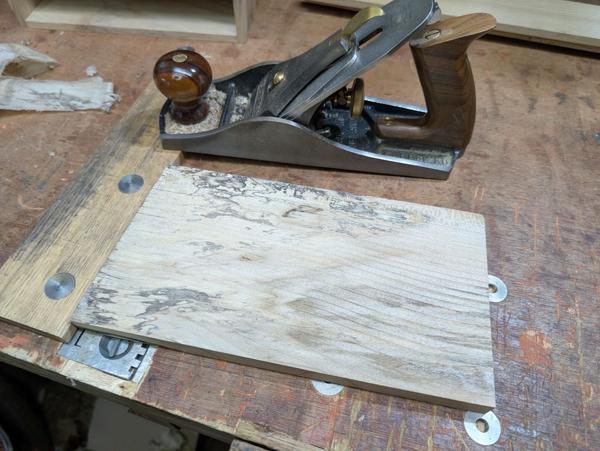
The bases still needed cutting to size, which I did with saw and shooting board:
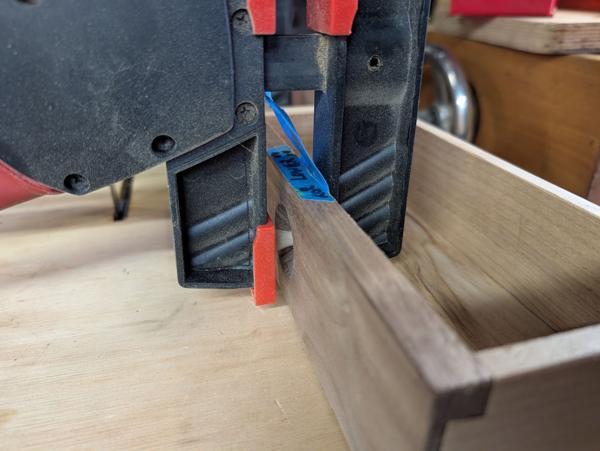
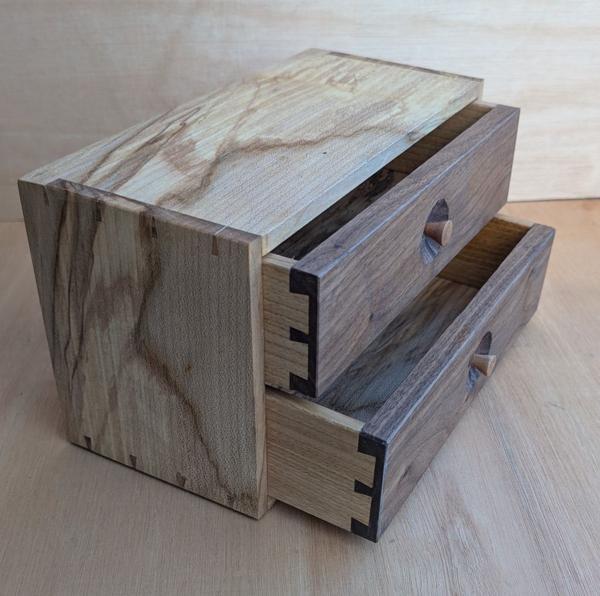
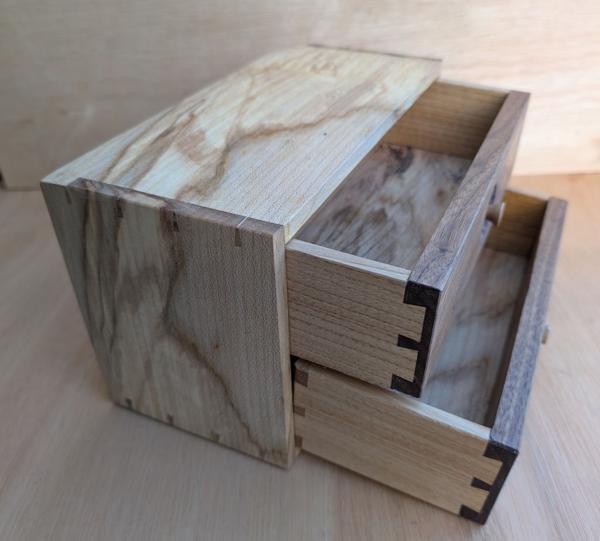
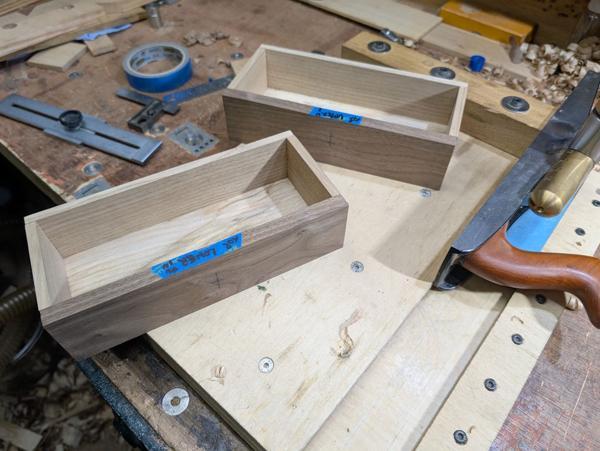
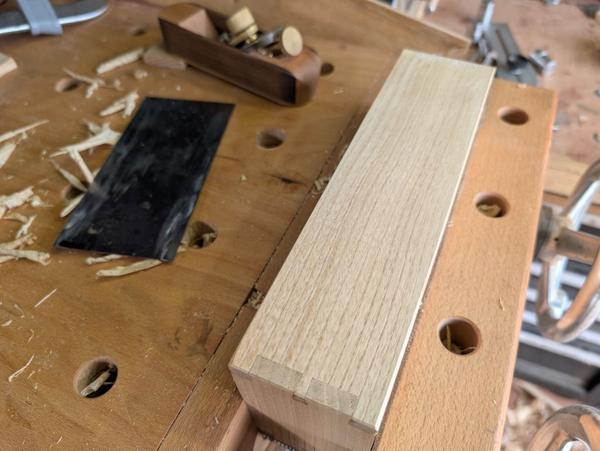
I could then do a dry fit:
If I were starting again I think I'd reduce the thickness of the sides and back a bit more (they're about 8 to 9 mm from memory but for such a small drawer they could easily have been smaller), but I'm not going to start again so they'll have to do!
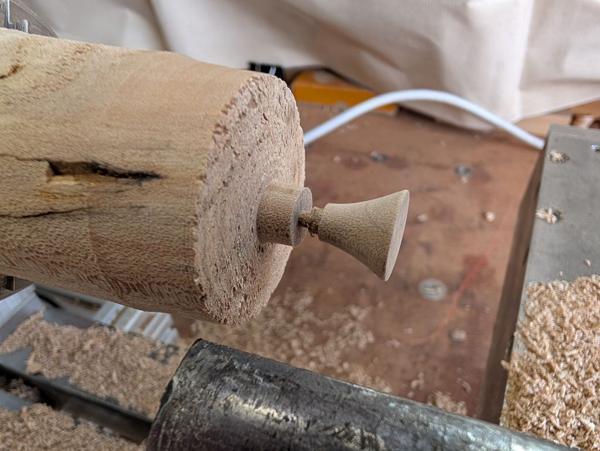
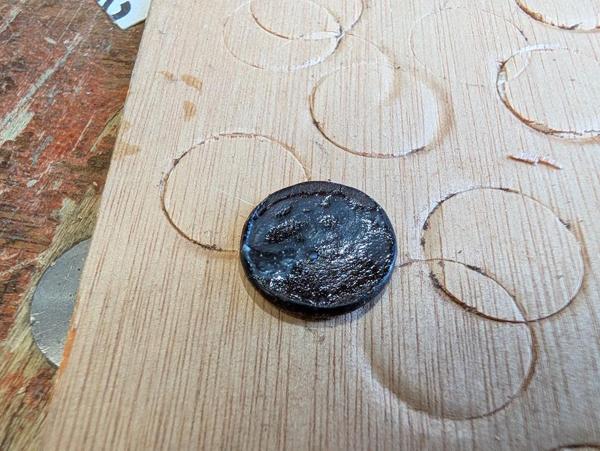
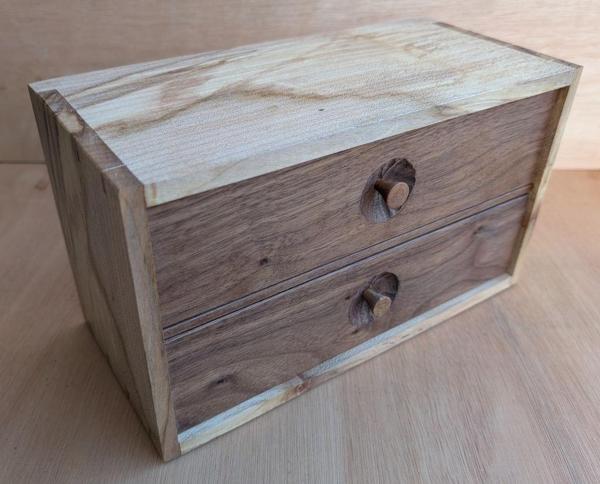
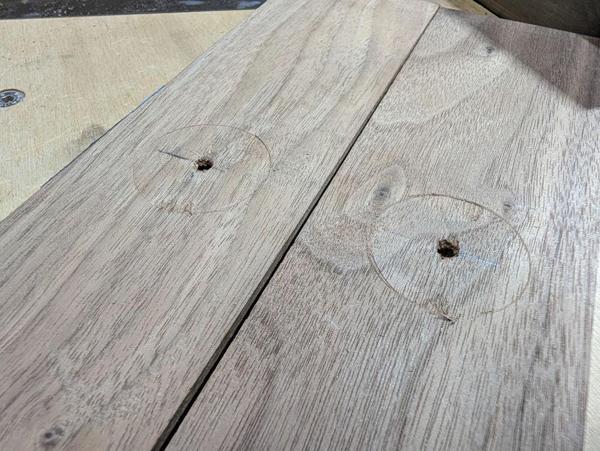
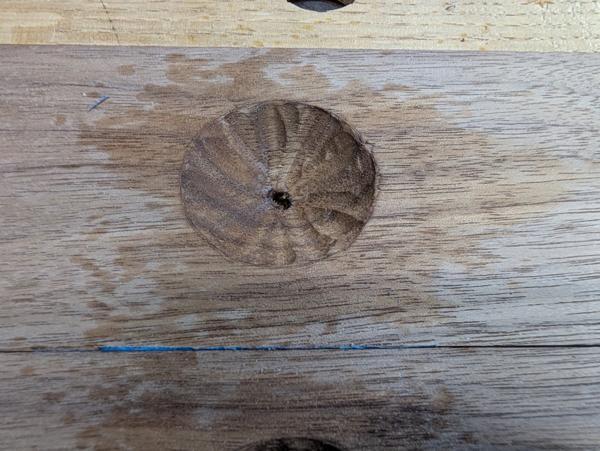
I'm going to do something similar to a previous drawer box for the pull: an indent with a knob set into that indent. I'm aiming for a fairly "rustic" finish on the indent. I started by drilling a blind 4 mm hole with the pillar drill. I then inserted a 35 mm Forstner bit into the central hole and twisted it gently by hand to give me a diameter guide:
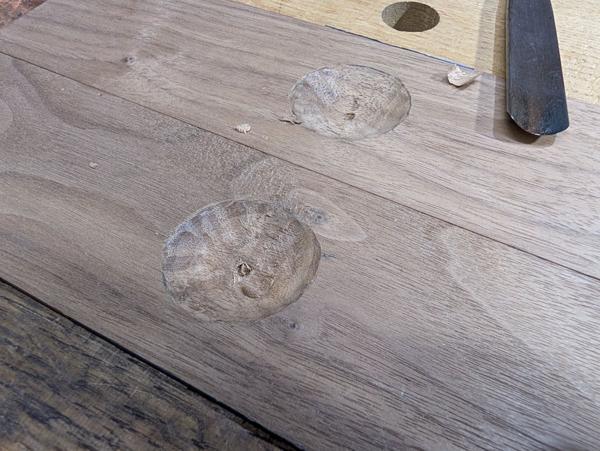
The first pass was done with a fairly big gouge. That left a fairly nice finish and I'm sure I could have cleaned it up with a few more light cuts:
However, cleaning it up would be a bit pointless given I then wanted to get a rippled finish with a smaller gouge:
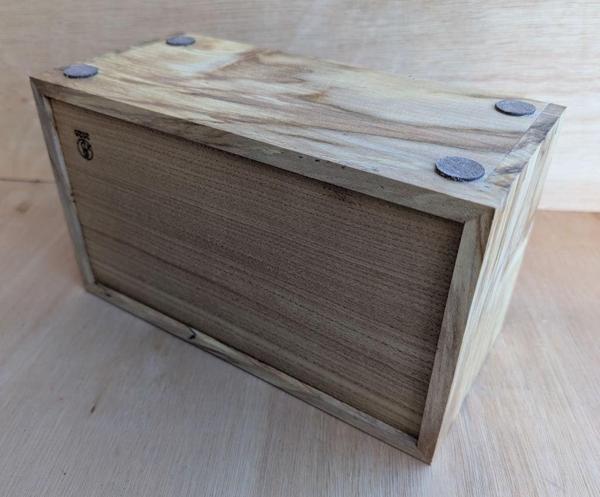
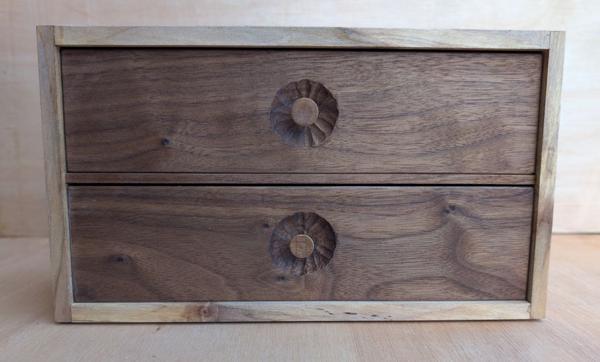
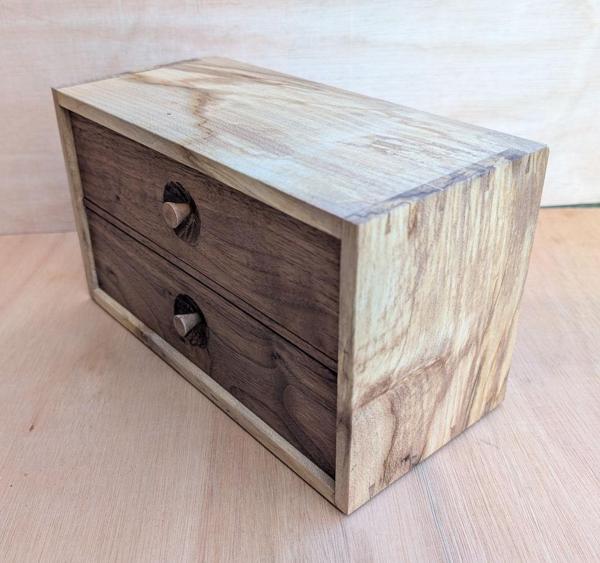
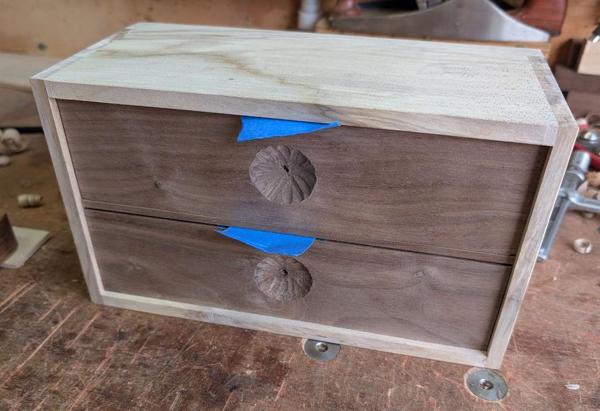
Before gluing the box together, I gave the drawer fronts a quick squirt with some water to check I was happy with the look:
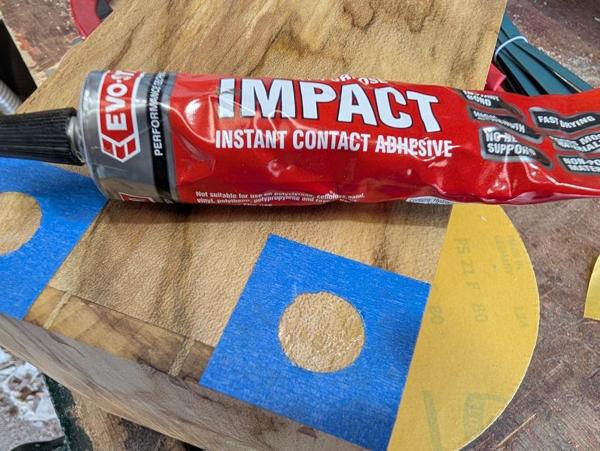
I then glued it together with this stuff, warmed in a bath of hot water:
I didn't get any photos of it glued and clamped together and I can't be bothered to go back out and take another photo so you'll have to use your imagination!


 )
)