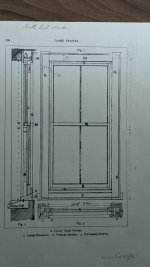
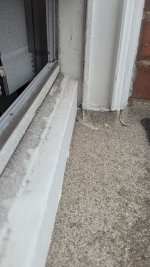
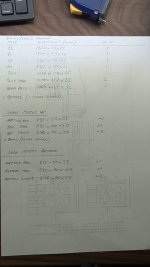
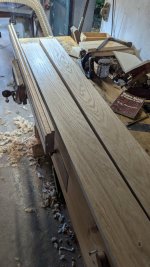
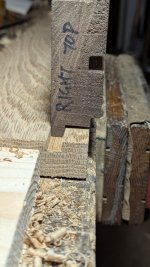
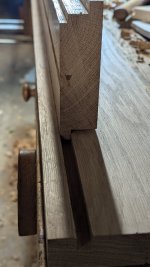
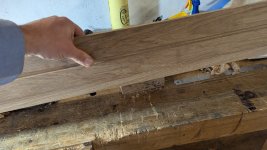
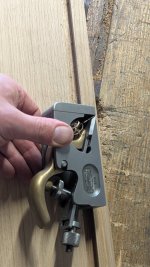
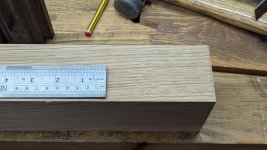
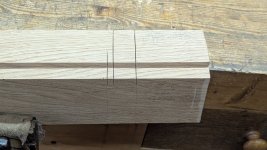
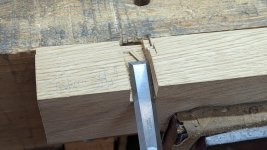
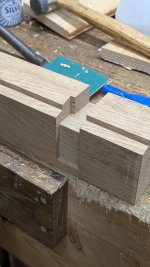
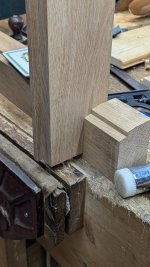
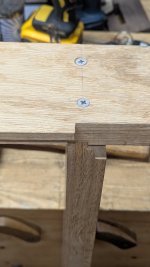
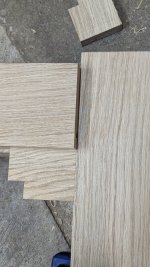
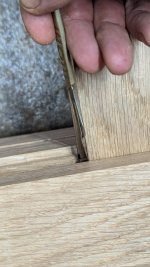
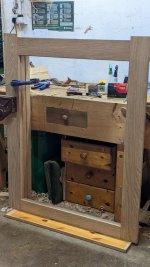
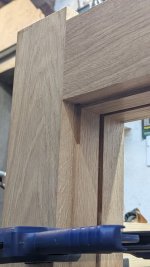
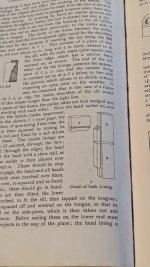
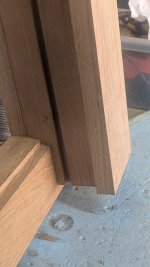
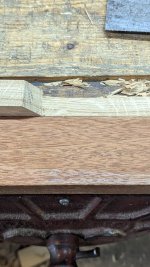
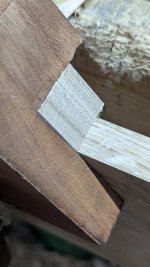
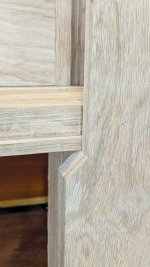
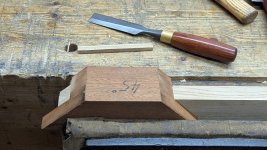
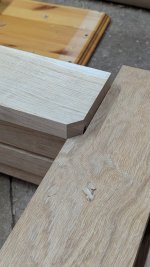
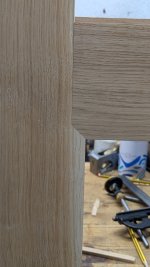
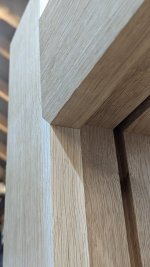
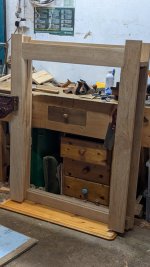
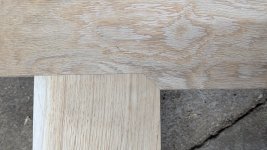
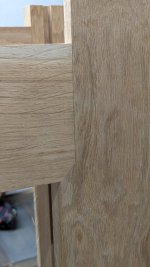
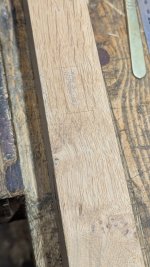
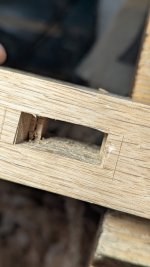
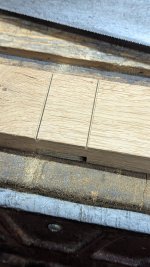
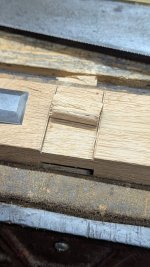
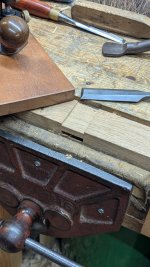
Transfering the window size to dimensions on the sliding sashes takes a little care. Apologies if any of this is blindingly obvious and a little dull as it's all layout and marking. For the total height that the sashes cover, I start from the top of the sill (non-bevelled portion) to the underside of the head/top casing. Then divide this by 2 and add on half the thickness of the meeting rail. This gives you the BASIC height of top and bottom sash stiles. Add on extra for the horns (or joggles as one of the books calls them), somewhere between 2 to 2 1/2 inches: enough to provide blowout strength for the meeting rail tenons but not so much that it impinges on opening the sash fully. The bottom sash stiles also need a little extra to cover the bevel of the sill and in my case a further 3/8 or so for the overhang. A lot of sashes over here have horns top and bottom so that's what I'm doing too but the bottom sashes can be dovetailed and left without horns.
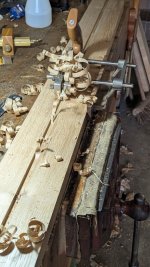
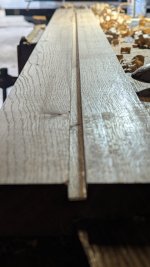
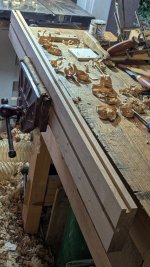
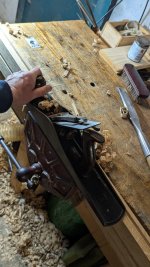
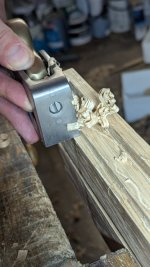
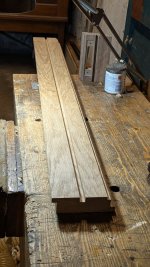
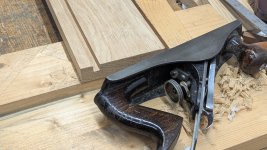
Just a note on planing up. Everything will be much easier if all pieces are squared up. The glazing bars can be tricky as they're quite thin: 20 x 40mm in my case. The longer horizontal pieces required a couple of goes due to bowing. The oak sprang out after ripping from a plank. I've seen this happen on very long 12" timbers and is impressive, especially when considering the tension that the wood must be under. Some bowing is acceptable as the bar will be held by vertical bars. You can always cut the bowed bar for verticals as these will be cut into individual sections anyway in contrast to the horizontal which should be kept intact.
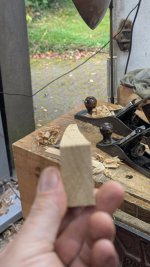
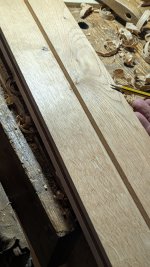
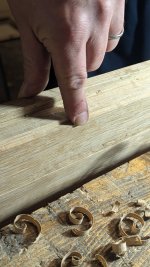
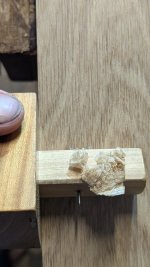
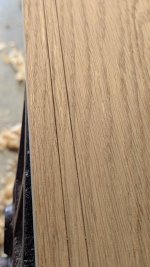
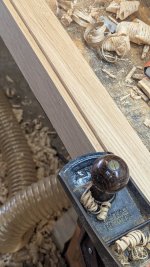
I clamp the sides of pieces like these in the vise to hold the curve and take off the high spots until it's acceptable

That's better....

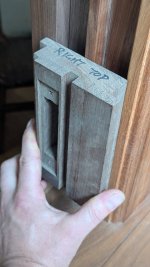
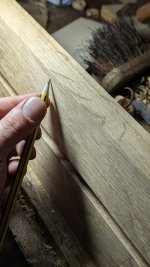
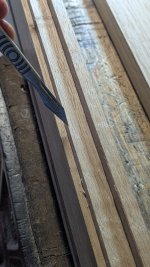
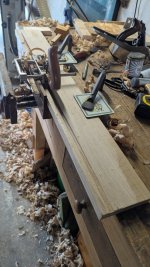
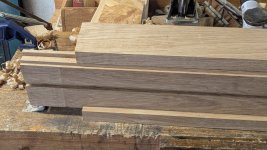
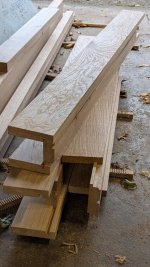
There aren't a lot of pieces but keeping track is challenging so markup is important. I imagine the sashes as if looking from inside the room so the best faces are most visible as is the best edge (or easiest to shape).

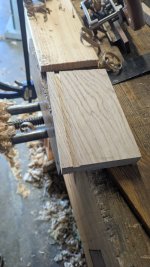
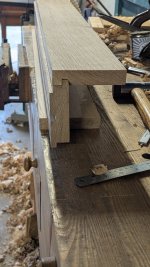
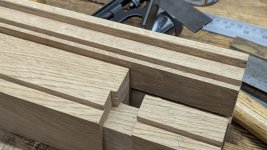
All stock is marked together where possible so everything must be planed up and ready to work at this point. The second piece down from the top in the next photo isn't ideal. Leave an inch or 2 so that pieces can be knocked apart later.

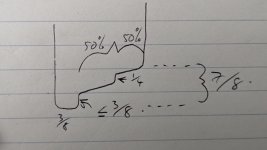
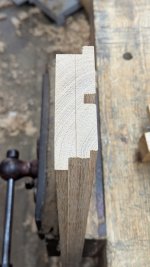
Most of these pieces are 40 mm deep (section running on the pully stile) and 50 mm wide, bars 20 x 40 mm, bottom rail 100 x 40 mm and the meeting rails 32 x 50 mm (the extra 10 mm is the thickness of the parting bead). I like to think of these pieces as having 3 sections split roughly into thirds: the rebate on the outside for putty (9-10mm) and glass (4mm), the mid section for tenons/mortises - 13mm and the inner chamfered section - 13 mm. This helps me visualise what is going where. Double glazing would need a different approach and maybe thicker sashes ideally.
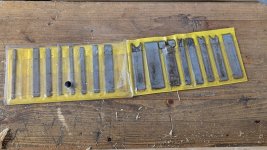
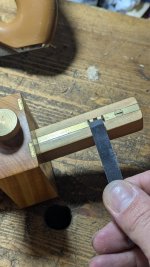
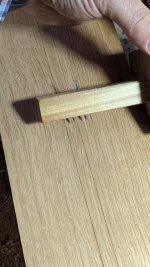
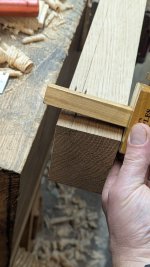
First thing is find a chisel that's about a third of the width: in this case a 1/2" chisel works. Set a mortise gauge to this size. An additional 2 more gauges are really handy to have so that measurements and markings are locked in.

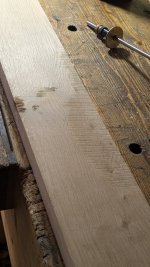
After the mortice gauge is finished, the outer line is carried on with another gauge - this will be the edge of the glazing rebate. Note that the same (inner) face is referenced
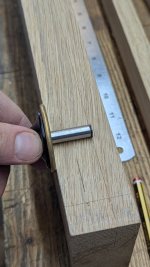
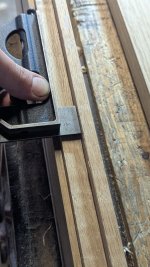
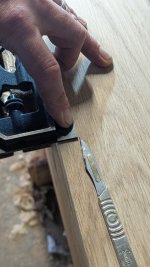
To shoot for greater accuracy I don't trust my stock being perfectly squared (I've worked on each piece a lot and they're probably good enough in reality so the markings could all be taken from a story stick). So for example, in setting out the top and bottom of the mortise for the meeting rail I've marked the TOP of the meeting rail on the stile (the top of the meeting rail is a ref face and datum point) then butted the piece and marked the bottom of the rail on their respective sides. Not entirely necessary but how I work.
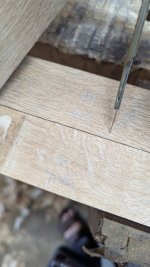
Having said all that I had some sort of brain melt and marked entirely the wrong area! Not the end of the world, some of these marks will disappear with the work and the rest should come out hopefully
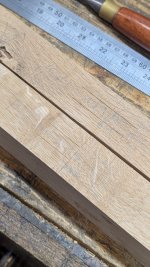
Here are 2 lower stiles showing lower rail and horizontal bar mortise, external edges together and marked for tenoning and rebating. The bars will be stubbed but the lower and meeting rails through.
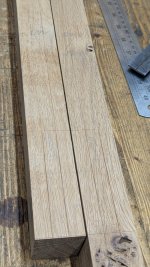
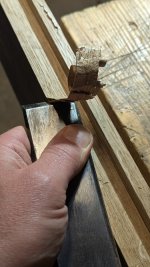
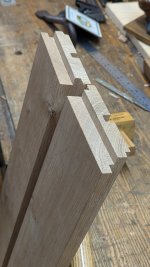
Here is where the lower meeting rail joins. The pencil show a little piece of wood removed for the double tenon/fork of the rail. This isn't essential but it makes the whole connection much sturdier. All 3 gauges will be used with these settings on the meeting rail
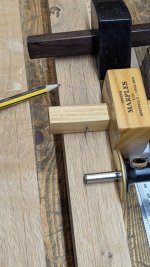
These marks are transfered on the pulley side edge but don't transfer them over the faces in a visible way.
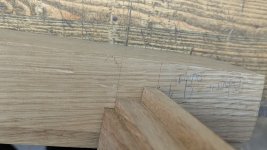
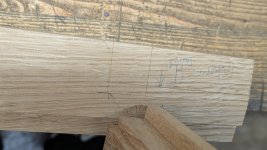
Here is the meeting rail marked out with a tenon between the "x"s and a tenon below the knife point
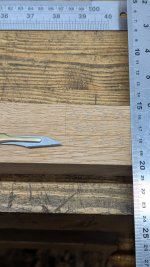
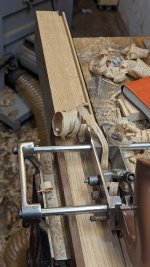
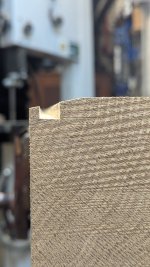
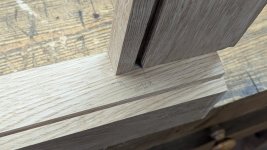
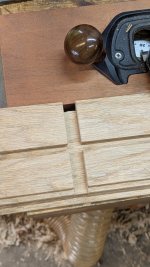
The underside of the lower sash meeting rail gets a groove for the glazing rather than a rebate as it wouldn't be practical to putty or provide enough meeting wood otherwise. The groove will end between the tenons.
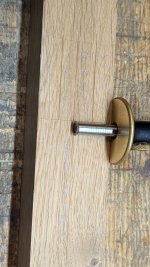
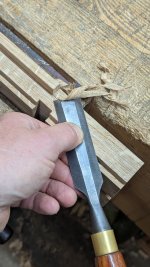
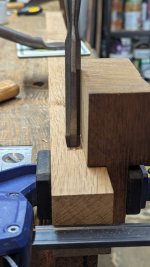
Now time to chop