• Hi all and welcome to TheWoodHaven2 brought into the 21st Century, kicking and screaming! We all have Alasdair to thank for the vast bulk of the heavy lifting to get us here, no more so than me because he's taken away a huge burden of responsibility from my shoulders and brought us to this new shiny home, with all your previous content (hopefully) still intact! Please peruse and feed back. There is still plenty to do, like changing the colour scheme, adding the banner graphic, tweaking the odd setting here and there so I have added a new thread in the 'Technical Issues, Bugs and Feature Requests' forum for you to add any issues you find, any missing settings or just anything you'd like to see added/removed from the feature set that Xenforo offers. We will get to everything over the coming weeks so please be patient, but add anything at all to the thread I mention above and we promise to get to them over the next few days/weeks/months. In the meantime, please enjoy!

Post a photo of the last thing you made...

Even with the description and a google of Afrana Sewing machines I’ve still no idea what it is but it looks well made and finished and that was done on a pole lathe, impressive.
 
A peg on the treadle fits through one hole. The other hole has to go around a crank connected to the flywheel, but it can't go on from the end, it has to spread and snap around the crank, hence the split and pair of screws.

Thanks for the kind words.
 
Cabinetman":1ujepu4y said:
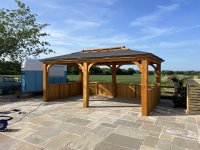
Very nice, are the posts Oak? If so you may find brown stains on that nice riven sandstone patio.
Ian
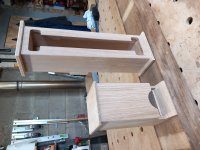
No mate, all slow grown softwood, but everything touching the ground has a ‘DPC’ of sorts between it and the ground consisting of some random 3mm thick rubber I had lying around. I put that under just to make sure it’s lifted out of any water when it rains and stop the bottoms of the walls or the post ends getting saturated.
 
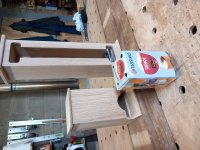
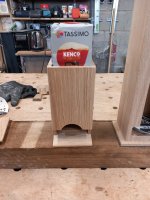
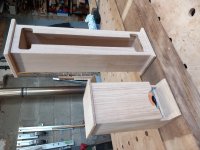
A quick project at the request of a customer to make a particular item, mark 1 on the left mark 2 on the right, no prizes for guessing what they are for, both serve the same purpose.

Box1.jpg

Sorry I got distracted, and rather than intrude on Robs masterpiece added pictures here:

T1.jpg
T2.jpg
T3.jpg

Only had any empty box and 1 capsule but you get the idea, all very simple to make
Now to see if I can sell a few, perhaps in my non existent on line shop!
 
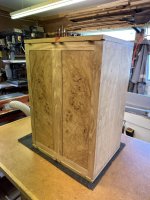
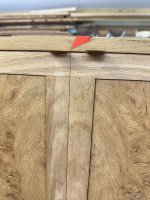
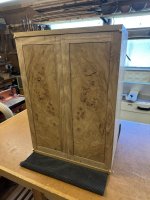
I'm slightly a bit relieved having made and fitted the doors for the latest project, with the hinging to be done on the 'morrow. The arrangement of the stiles n'rails mean that the 'header' and 'footer' rails are continuous without a break, which also means that the 'cross hairs' need to be spot on:

IMG_0973.jpeg

IMG_0974.jpeg

By working from the centre line (arrowed) outwards the initial fit, with 0.6mm veneers as the 'shadow gap' looks respectable with the final fitting/alignment done once the hinging has been sorted - Rob
 
That's really very impressive. Do the doors get an angle planed on the inside? I assume from the cutouts in the corners that some non-adjustable knife hinges are coming up next... is that right? Do they put the pivot point just outside, so a bevelled edge isn't necessary?

Whatever it is, it's a level of precision most of us haven't achieved, I suggest.
 
Very impressive Rob, I have seen and done continuous wood grain before, but I must say I’ve never seen it done on rails and stiles like that. Beautiful veneers on the doors too.
Can we see the inside after you hinge up pls?
 
AndyT":m8fvw6t8 said:
That's really very impressive. Do the doors get an angle planed on the inside? I assume from the cutouts in the corners that some non-adjustable knife hinges are coming up next... is that right? Do they put the pivot point just outside, so a bevelled edge isn't necessary?

Correct Andy; there'll be some offset Brusso knife hinges installed (hopefully, fingers crossed) today. The doors on this job need to swing well out of the way to enable a drawer to be opened.

Cabinetman":m8fvw6t8 said:
... continuous wood grain before, but I must say I’ve never seen it done on rails and stiles like that. Beautiful veneers on the doors too.
Can we see the inside after you hinge up pls?
I've done a couple of cabinets with this arrangement of rails n'stiles and it doesn't get any easier with time. You don't notice it if the 'cross hairs' align, but they'll stand out like the proverbial 'sore thumb' if they don't. The doors aren't veneered (although they look it) but each is a 10mm thick solid bookmatched panel with similar panels on the cabinet rear. Once it's hinged today I'll let you have a sneek peek of the interior - Rob
 
Solid panels in burr type wood like that aren’t easy Rob, did you cut them, on a bandsaw? I have done a small section on a piece like that, I filled the cracks and voids with wax but I’m not convinced it was the best thing to do. Are you perhaps leaving them as they are? Cats paw Oak? I have box full of small pieces it intending to make coasters from them, if I ever get around to it.
The lizard/worm has a nice smiley face.
 
Cabinetman":1fg6vn81 said:
Solid panels in burr type wood like that aren’t easy Rob, did you cut them, on a bandsaw? I have done a small section on a piece like that, I filled the cracks and voids with wax but I’m not convinced it was the best thing to do. Are you perhaps leaving them as they are? Cats paw Oak? I have box full of small pieces it intending to make coasters from them, if I ever get around to it.
The lizard/worm has a nice smiley face.

With much careful and considered work, the doors are hinged and 'appear' :eusa-whistle: to be properly aligned so that the 'cross hairs' are bang on. What's left to do on the 'morrow is to plane the meeting stiles in the middle and then plane the outside stiles flush with the ends of the Brusso hinges; 'tis a long and slow process.

The panels were cut on the bandsaw and they had pretty severe cracks and swirls so that when finished this cabinet would have made a pretty good medieval aumbry as there's a significant amount of thru' ventilation through the panels :lol: Surprisingly, they were easy to machine (light cuts) and even easier to plane with no tear out whatsoever.
I deliberately didn't fill any of the cracks and actually sucked out any Polyvine wax polish that accumulated with the 'shop vac. The final beeswax polish was also removed from the cracks and swirls with an old toothbrush so 'what you see is what you get' - Rob
 
Have you decided what you are going to keep in it yet? Something pretty special?
 
AndyT":15uk9tul said:
Have you decided what you are going to keep in it yet? Something pretty special?
Currently fresh air Andy, though SWIMBO might have some other ideas - Rob
 
Cabinetman":2jyb0if3 said:
Can we see the inside after you hinge up pls?
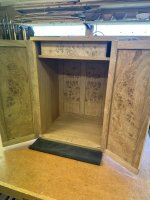
Doors now hinged, but still with some minor titivating yet to do:

IMG_0982.jpeg

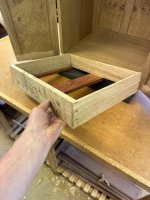
...and the drawer, sans paduk bottom(s):

IMG_0984.jpeg

Open sesame, with the drawer in location:

IMG_0985.jpeg

The amount of faffing that needs to be done to fit a pair of these things is unbelievable; one or three more shavings on the closing stiles to come off as there's still some slight binding as they close - Rob
 
fiveeyes":3anzwloz said:
Question..is the drawer rail, also the door stop, and what are the marks on the base?

Correct; the central drawer runner buts against the inside of the front and acts as a stop. The two depressions on the base are for the sprung loaded door catches/stops which is the next job to be made in a couple of bits of yew - Rob
 
Pete, that is a beaut piece of burl. Nicely made. Great to see another audiophile here.

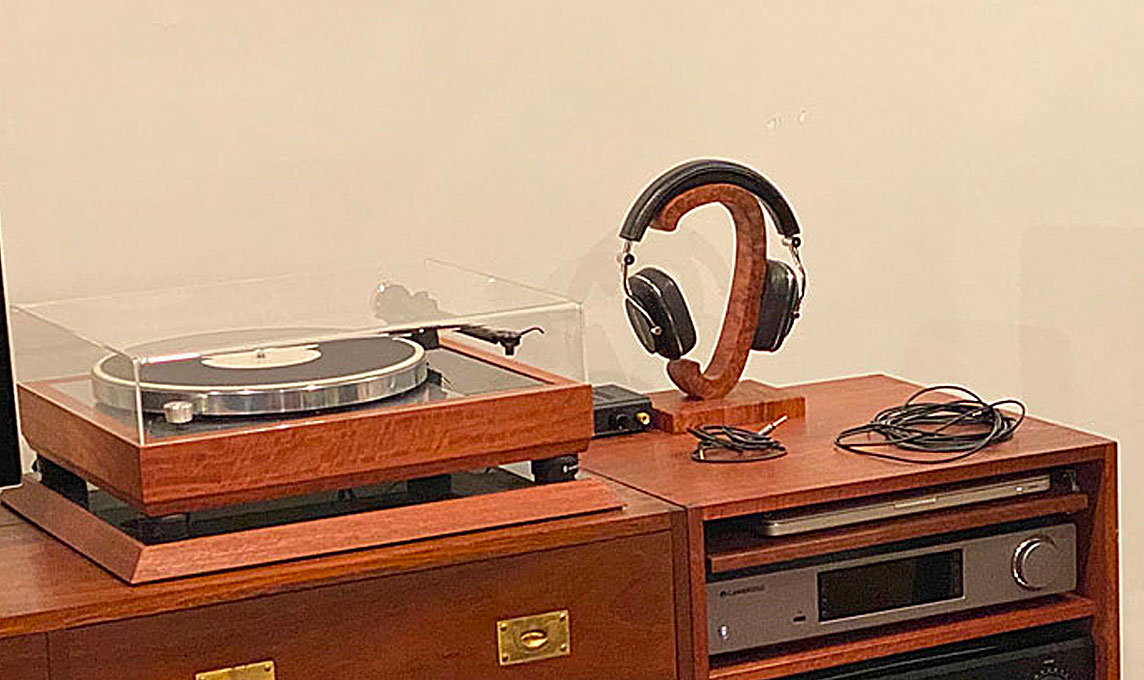
I have the same Schitt headphone amp, but in black. Here is a headphone stand I made a little while ago ..

Headphone-stand1.jpg


The Schitt can be seen peaking under the top of the cabinet.

7.jpg


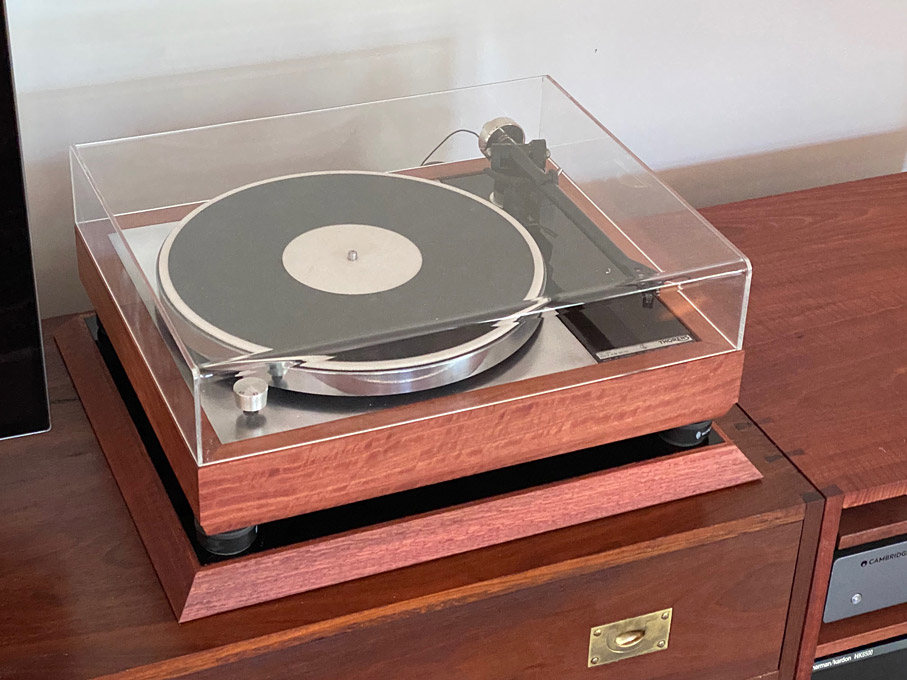
The turntable is a Thorens TD150 which I have had for 45 years, and completely rebuilt with a new plinth and isolation table ...

53.jpg


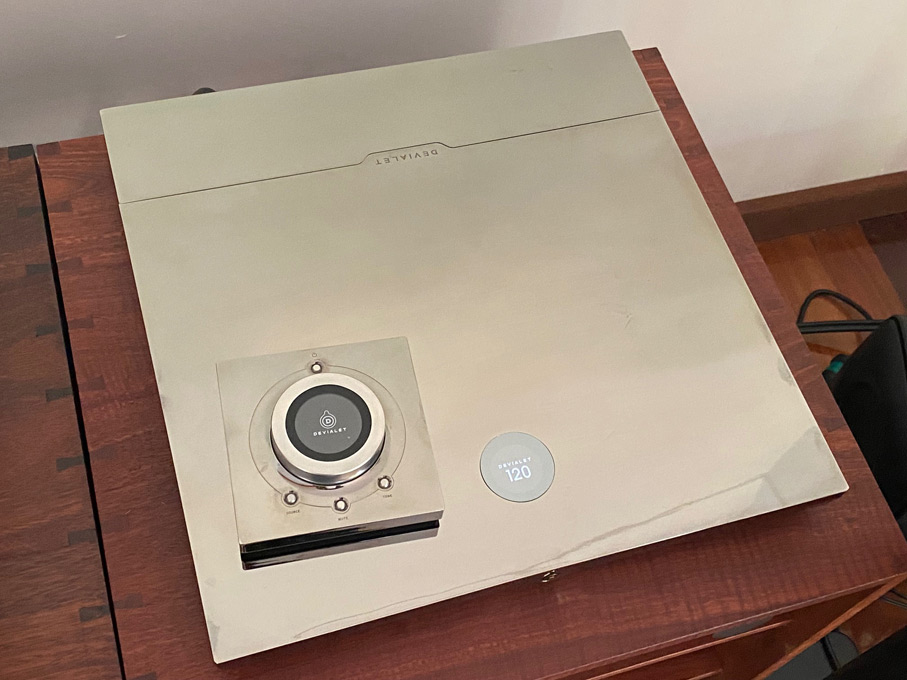
Amplifier is a Devialet, which for me is as much art as superlative sound ..

4.jpg


Regards from Perth

Derek
 
derekcohen":3r80pqqt said:
Pete, that is a beaut piece of burl. Nicely made. Great to see another audiophile here.

I have the same Schitt headphone amp, but in black. Here is a headphone stand I made a little while ago ..

Headphone-stand1.jpg


The Schitt can be seen peaking under the top of the cabinet.

7.jpg


The turntable is a Thorens TD150 which I have had for 45 years, and completely rebuilt with a new plinth and isolation table ...

53.jpg


Amplifier is a Devialet, which for me is as much art as superlative sound ..

4.jpg


Regards from Perth

Derek

Nice Derek

My system in a Roksan Xerxes Artemis Dynavector 10x5 a homemade preamp and power amps into Shahinian Arcs. I also have a Densen B410 cd plater and Densen B800 tuner, plus a Naim Nait 1 in the kitchen and a system in the workshop.

Pete
 
My system in a Roksan Xerxes Artemis Dynavector 10x5 a homemade preamp and power amps into Shahinian Arcs. I also have a Densen B410 cd plater and Densen B800 tuner, plus a Naim Nait 1 in the kitchen and a system in the workshop.

Pete

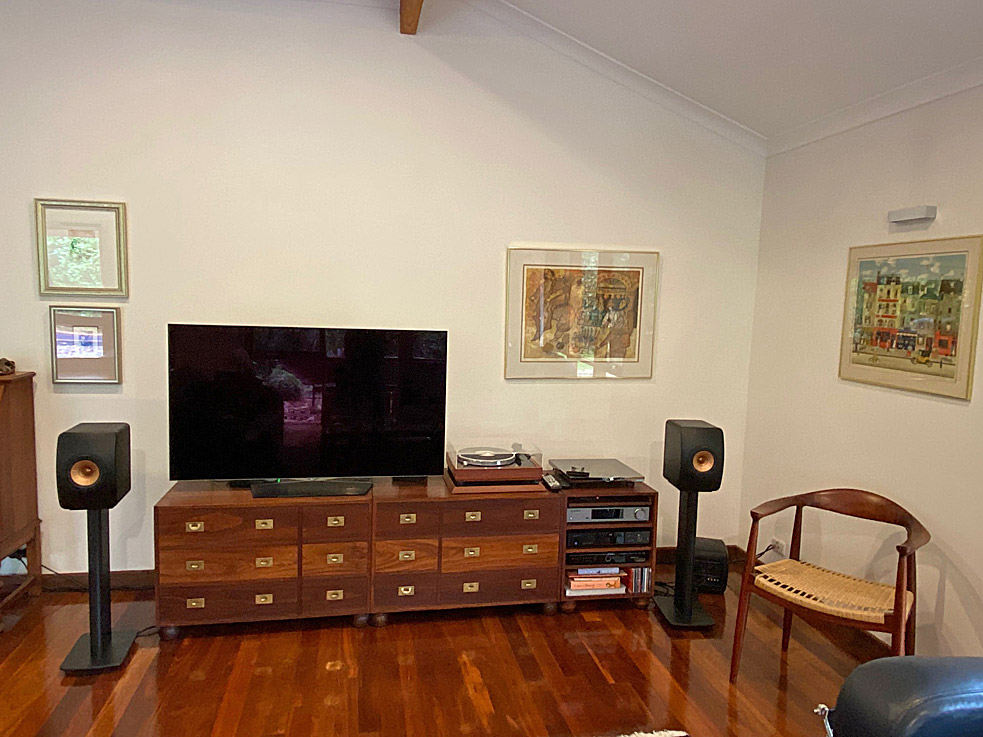
Pete, that's a great front end. I love the Dynavectors. I still have a Ruby Karat from the 90's, and plan to get it retipped. At present I have a much-modified Rega RB300 arm and Supex 900 Mk IV. Cambridge Audio CXN Mk2 for streaming Tidal and harddrive for FLAC, and an old Oppo for CD. Speakers are Kef LS50 Meta plus Kef KC60 sub.

For woodworking content, I built everything in the photo ...

living-room.jpg


Regards from Perth

Derek
 
I am half way though building an other pair of power amps they should be very good once I get them finished.
I find the better mine gets the more variety of music I listen to, Japanese death jazz to Miriam Makeba to Johanna Newsome to Touareg blues by Tamikrest and Tinariwen.

Pete
 
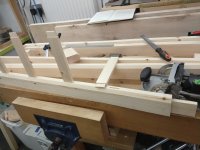
Started on some gates a couple of days ago for a driveway they are to match the existing rotting ones, this was Saturdays progress dry fitted

AC8C8A85-3B5E-470C-AF23-590DCC9BE4ED.jpeg

The through tenons were cut with the domino

50976D20-FE0D-4472-8E20-A494BBFA7E9E.jpeg

Then the tapers for the wedges chiselled out

27205305-4FEB-4FF9-8C57-5D5B6F32B015.jpeg

The top bars were tenoned on the table saw & bandsaw, the corners eased then fitted into domino slots

DC4240B2-D249-43FF-A9FC-DC41801CA417.jpeg

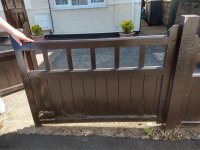
This is what they will be replacing

2943269F-AD63-44D5-B45C-B205A4A96656.jpeg

I’m altering the bottom rail design as this is where most of the rot is caused by water holding between the matchboard & rail
 
Quick question Doug, how do you get on with the Bessey hold down clamp/s, I looked at them last week at my "shop" but they didn't seem to bite down very well, they were in an an MFT top & at £30.00 each didn't fill me with confidence (I need something to replace the hold downs I use on a sled carriage, made with 18mm ply)

Neat job by the way, what do you use as a finish on Redwood?
 
I find the clamps really good Paul, if used on a MFT I imagine you would need to use the handwheel bolt that comes supplied with them to fix them down firmly, as I use them in my more traditional bench I made extensions for them so they gripped better viewtopic.php?f=22&t=8512

I’ll be giving the gates at least a couple of coats of Sikkens, I like to coat the match boarding before I finally assemble the gate.
 
Doug":19xunr1e said:
.......I like to coat the match boarding before I finally assemble the gate.

That's a good tip. It's really difficult to ensure you get paint down into the gaps otherwise. I should know. I've just discovered the issue AFTER gluing up some gates I made for a friend. In the end, I drowned the gaps in paint and blew it down with an air line. Nightmare!
 
Nice gates Doug but isn’t it a shame that a relative small amount of rot requires a whole gate replacememt?

It seems to me that so many gate designs are designed to fail with exposed end grain and areas where water can collect without ever drying out.
 
Thanks for the info on the clamps Doug, they are now off my list, I don't do metalwork, plus I need them to work in 18mm.
 
Mike G":i6xf6a1f said:
Doug":i6xf6a1f said:
.......I like to coat the match boarding before I finally assemble the gate.

That's a good tip. It's really difficult to ensure you get paint down into the gaps otherwise. I should know. I've just discovered the issue AFTER gluing up some gates I made for a friend. In the end, I drowned the gaps in paint and blew it down with an air line. Nightmare!

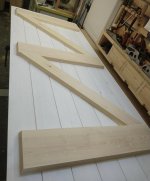
It does make it a longer job but well worth it, I made two ledge & brace gates last month all the 19mm match board was given two coats of Zinsser as were the mating surfaces of the braces

97B294F4-9B38-49DC-AAE0-26767E0EF47A.jpeg

The screws that hold it together were plugged which is why I’d only painted the mating surfaces of the braces.
 
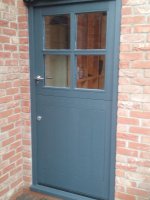
I paint all the boards and rebates etc prior to fitting, this is a stable door I made late last year, double boarded with insulation in between:
stable door.jpg
Just fitted the glass in this picture so still needed cleaning up, weather bars fitting and a finish coat of paint applied.

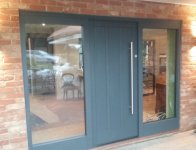
Same applies to this one:
door.jpg
 
Back
Top