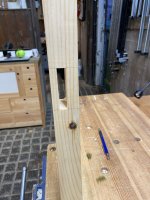
Things have been progressing a bit.
I'm happy with the latest design but want to make a proper prototype to check I can make the thing, practise the joinery and shaping, and decide if there are any final tweaks I need to make to the design.
I've done full size drawings of the plan, front and side views.
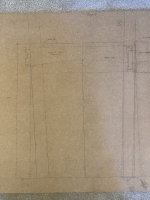
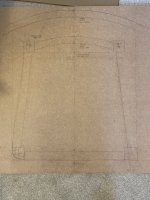
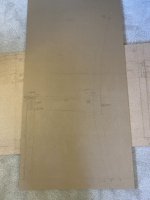
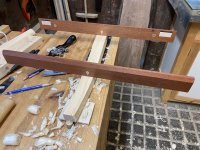
From these, I could use tracing paper to make card templates and from those, because I wanted something a bit more substantial, I made MDF templates.
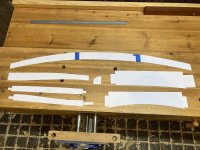
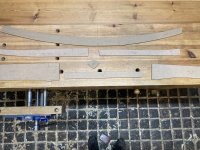
These will be used both for figuring out how to get the components out of the raw timber, and for laying out the shapes on the parts. I won't use them for laying out exact dimensions or joinery. I'll make a rod with key dimensions knifed into it for that.
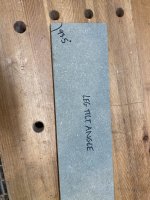
As I encounter the various angles, I'm making templates which will help me accurately set a mortise gauge (I find it hard to do it accurately from a line on a drawing). I'll also make paring guides for chopping angled mortises or shoulders.
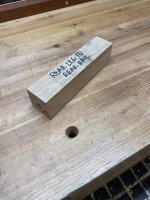
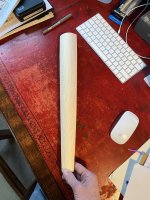
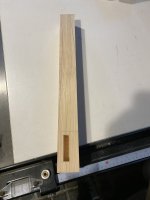
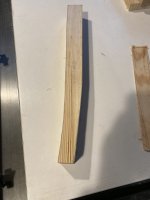
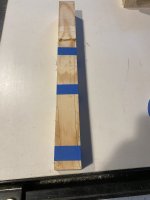
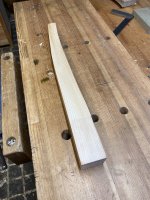
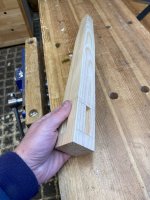
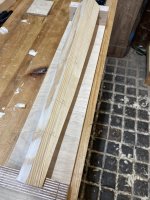
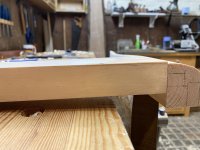
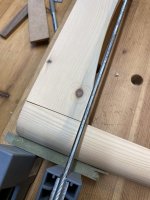
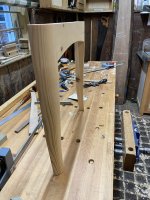
I'm using pine for the prototype. The back legs have been partly shaped. The curved faces have been done but I haven't cut any tapers yet. I've done the mortises for the tear rail. Those need to be done before the through mortise for the side rail to avoid chopping through into that. I did these by hand with a mortise chisel, but on subsequent ones I might drill them and pare to the lines (I've done that on the front legs and it take about the same amount of time, gives easier depth control and perhaps makes it easier to keep things square). The ends of the mortise are sloped to account for the tilt of the legs.
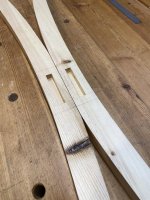
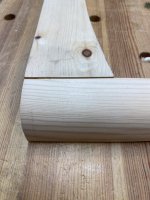
I've made the curved rear rail.
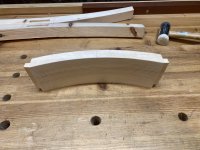
I didn't take any photos, but started with a "square" 50mm thick block and cut the tenons before doing the curves. The shoulders are sloped to account for the angle of the legs. The curves were done by bandsawing off most of the waste and then suing a block plane and spoke shave. There is some grain run out in this part, but I think it will be plenty strong enough.
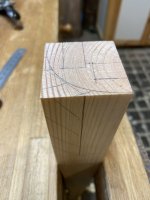
I then turned my attention to the front legs and front rail. I didn't take a full set of photos, but the process was to chop the mortises for the front and side rails before doing any shaping. I did these mortises by drilling out the bulk and then paring to the lines. As you can see, I initially laid out one mortise in completely the wrong place, but realised before I started chopping it out.
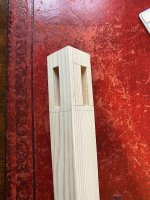
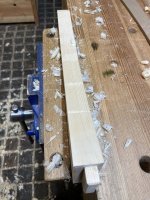
I'm unsure on the best approach for doing the shaping. For the first attempt, I rounded the outside corner of the leg before doing the other curves. The rounding just involved planing facets down to a pencil line before refining the curve.
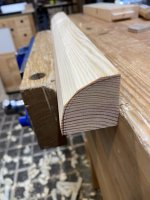
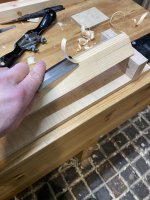
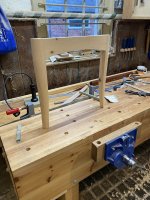
Then I started shaping the other curves (using chisels and spoke shave), using a template to check progress. As you can see, I made a little cradle to hold the leg.
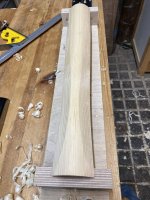
This is the end result:
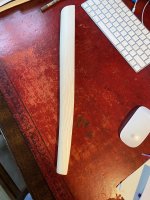
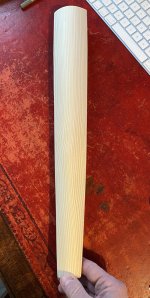
I think this method worked, but I felt like I was flying a bit blind at times. Today, I'll trying bandsawing and refining the curves before I do the rounding over. I think I can mark on the facets for the rounding over at various points on the leg and work to those to get a repeatable process.
In the meantime, I went down to English Woodland Timbers and bought some oak:
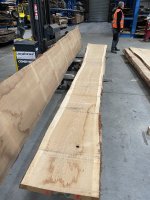
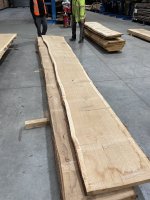
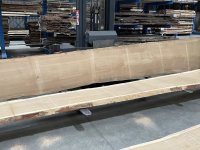
There is one true quarter-sawn board and the two "up" from that one. I'm hoping this will give me what I need to find quarter-sawn rails and rift sawn legs. There is also hopefully enough to make a smallish top for some kitchen units for my parents-in-law.




 )
)