• Hi all and welcome to TheWoodHaven2 brought into the 21st Century, kicking and screaming! We all have Alasdair to thank for the vast bulk of the heavy lifting to get us here, no more so than me because he's taken away a huge burden of responsibility from my shoulders and brought us to this new shiny home, with all your previous content (hopefully) still intact! Please peruse and feed back. There is still plenty to do, like changing the colour scheme, adding the banner graphic, tweaking the odd setting here and there so I have added a new thread in the 'Technical Issues, Bugs and Feature Requests' forum for you to add any issues you find, any missing settings or just anything you'd like to see added/removed from the feature set that Xenforo offers. We will get to everything over the coming weeks so please be patient, but add anything at all to the thread I mention above and we promise to get to them over the next few days/weeks/months. In the meantime, please enjoy!

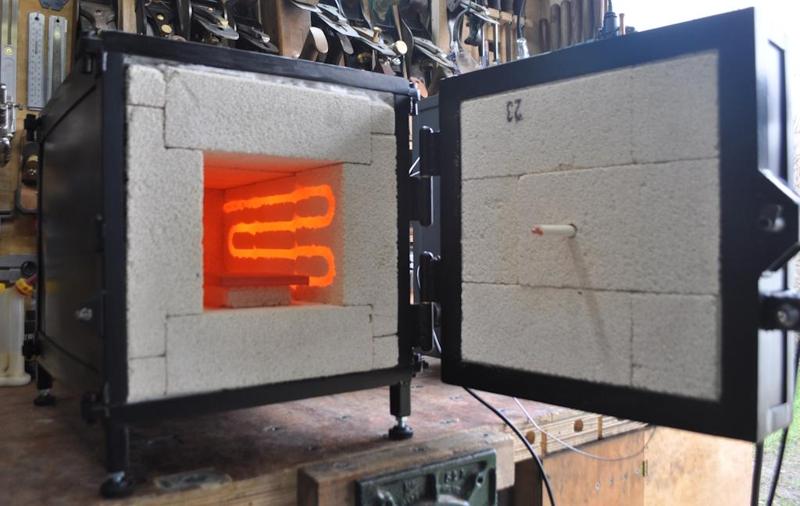
Heat Treatment Oven

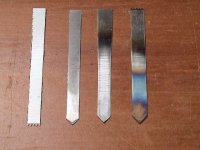
For small cutting edges such as the Marking Knife or Screwdriver tip etc. using a small flame source can be very beneficial, as when tempering it allows you to heat the main body progressively and watch for the colour change run up towards the thinner cutting edge towards a shade of straw.
Some tempering images here
DSC02695.jpg
 
For small cutting edges such as the Marking Knife or Screwdriver tip etc. using a small flame source can be very beneficial, as when tempering it allows you to heat the main body progressively and watch for the colour change run up towards the thinner cutting edge towards a shade of straw.
Some tempering images here
View attachment 32028
Yes, that's what I tend to do when I'm using a blow torch (it's a big torch, but I turn it right down for tempering and keep the flame well away from the edge). With the heat treatment oven of course, I'll just set the temperature to 220°C and heat the whole thing evenly without having to watch anything.
 
Yes, you are capable of operating in a whole different world of heat treatments with this superb project. I guess the next accessories will be stainless steel dedicated water and oil quenching tanks.

One of the most difficult aspects of heat treatment I found was the Post Heating quenching/cooling time compliance. Opening doors and removing stock in a timely manner not always easy.
The control of the quenching or cooling gradients being the most difficult part of meeting spec. , some having to be done with drop bottom air and vacuum/inert gas furnaces. (Aircraft alloys and exotic steels)
 
Sounds like you've done a lot of this sort of stuff. I've really just dabbled so far and, if I'm honest, what I do in future will mostly be dabbling too :ROFLMAO:

I like the idea of experimenting with stuff that's more exotic, but whether I ever will remains to be seen! All I've used in the past has been silver steel or gauge plate, plus a few experiments with a case hardening compound.

I do like the idea of trying to harden (400 series?) stainless steel & using it to make a folding penknife, but until I've got space for a big belt grinder, the idea of shaping said penknife really doesn't appeal, so that ones a few years off yet.
 
Nothing clever on my part, just making sure ovens were operating to spec. and someone dialing in the heating profile most of the time.
 
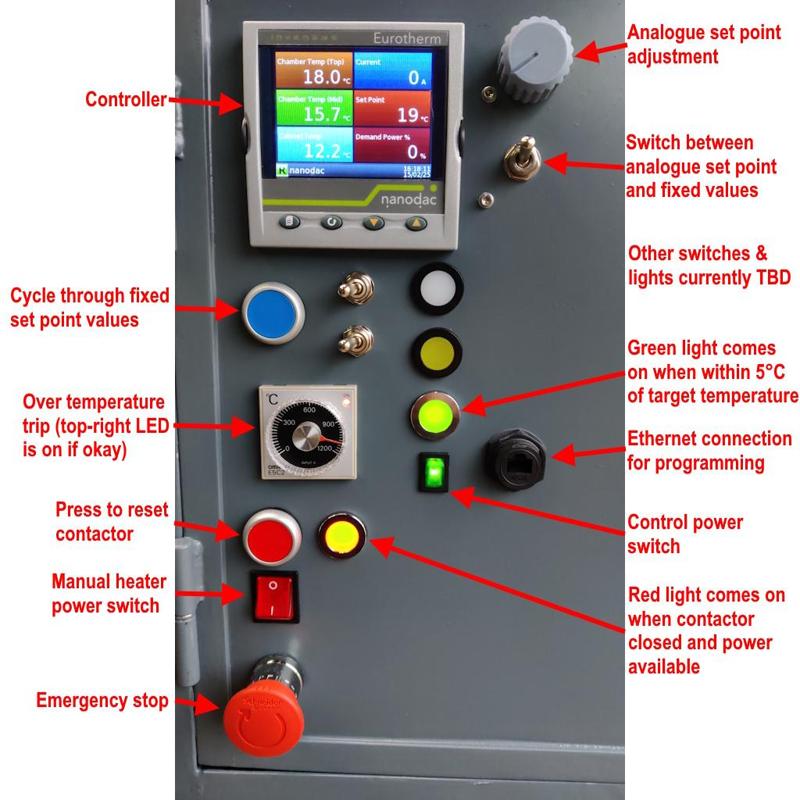
I thought it would be a good time to document the user interface to the control cabinet as it stands at the moment:

2025-02-15-01-user-interface-details_800.jpg


There are two un-allocated switches and two un-allocated lights. The plan for these is to control some more advanced functions using the controllers "programmer", but I haven't quite got there yet.

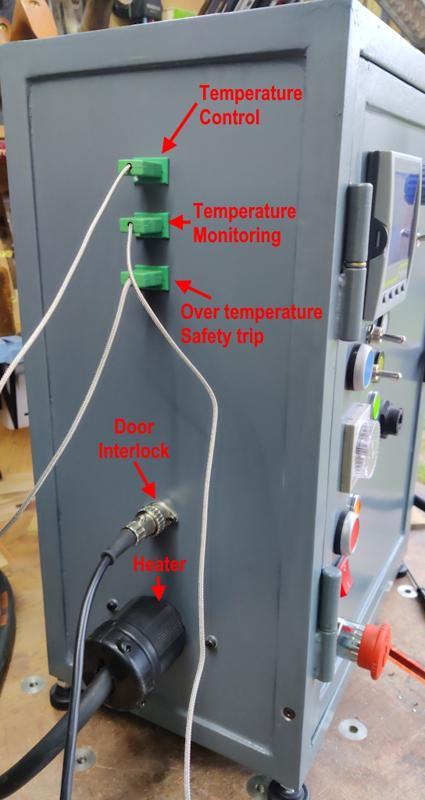
Similarly, I've documented what the connections on the side do:

2025-02-15-02-side-connections_800.jpg


For both the side connections and the various buttons / lights, I may add some labels at some point to make the function clearer, but I'll leave that until I'm fairly certain they won't change again.

This is a short video giving an idea of the user interface to the control cabinet:


First, I adjust the over temperature trip setting and you'll see the light go out (and perhaps hear the contactor releasing) when the dial is turned right down. Then, after turning the dial back up, I reset the contactor. The blue button is then used to cycle through some pre-defined set points, which you'll see displayed on the middle-right box on the controller display. The top-right switch is then used to change to analogue set point control, using the potentiometer, before switching back to the previous fixed set point. I then go back to analogue set point control and show that, if the set point is within 5°C of the chamber temperature, the green light comes on. The heater power switch is then used to connect the power to the chamber (you can possibly hear a quiet buzzing noise in the background) and the current read-out (top right of the controller display) changes. Finally (out of shot), I open the cabinet door and the door interlock trips the contactor. Hopefully that's all clear.

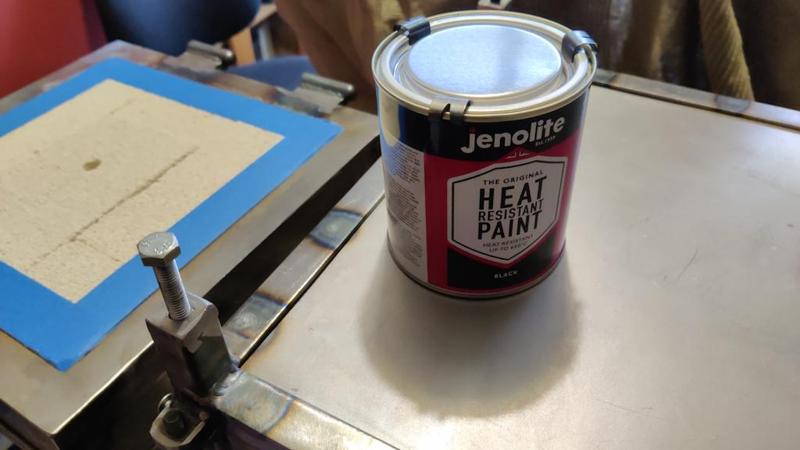
Meanwhile, I've also painted the chamber, using a couple of coats of this stuff, which is rated to 650°C (hopefully the outer skin of the chamber won't get that hot):

2025-02-15-03-paint_800.jpg


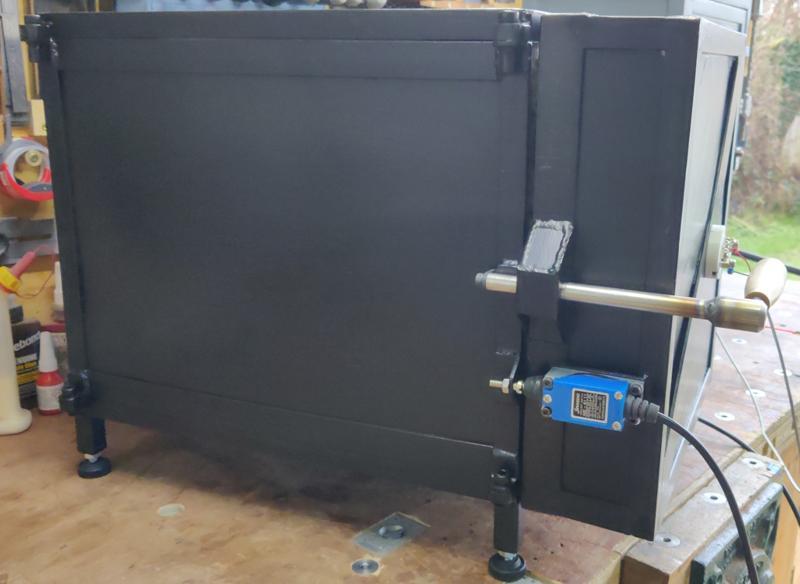
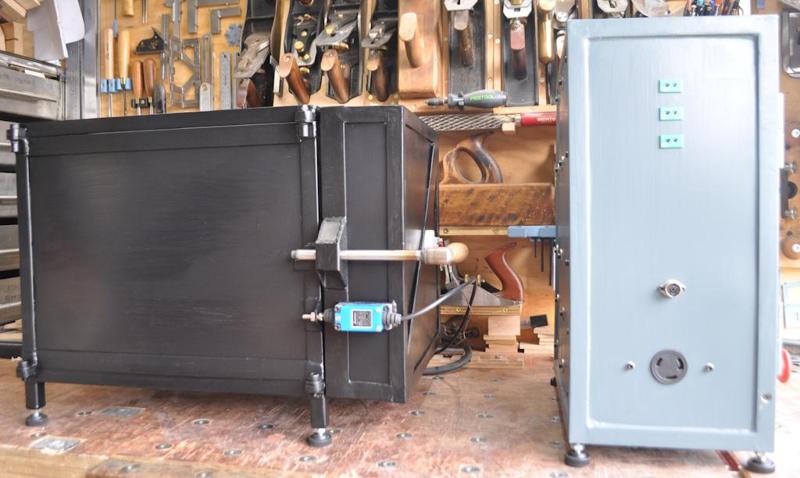
As you can see from this slightly blurry side view (I'll get some better photos if we ever see some sunshine!), I left the stainless steel components (the handle) unpainted and used chemical blacking compound for the latch piece on the end of the handle:

2025-02-15-04-painted-side-view-of-chamber_800.jpg


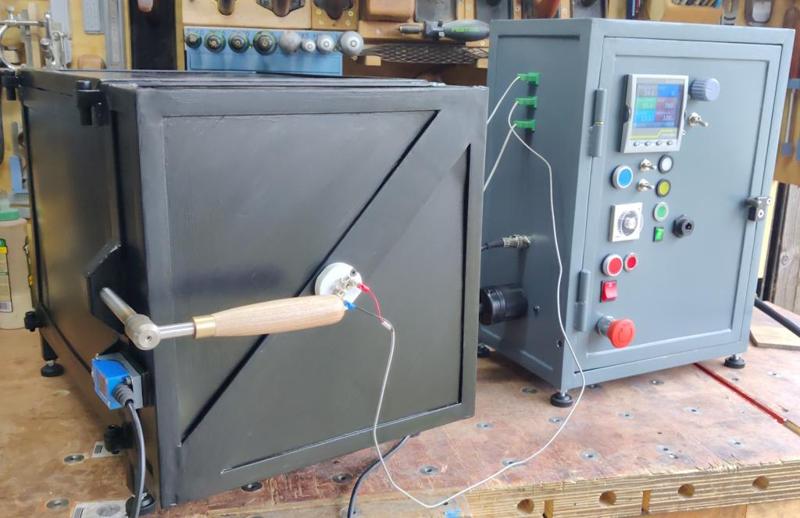
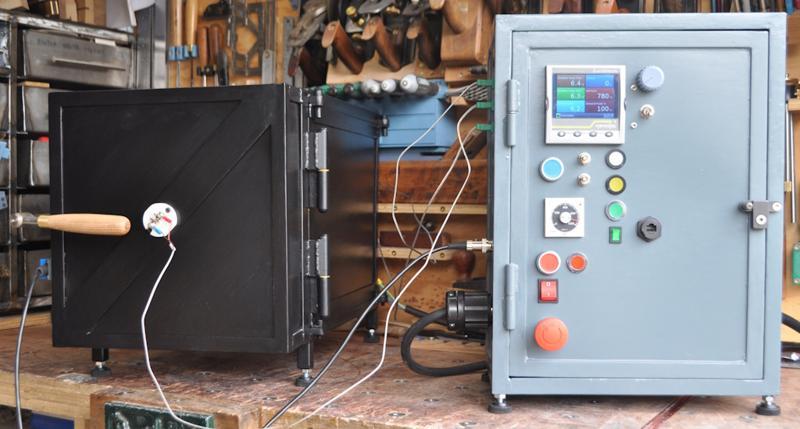
Here's a view of it wired up to the control cabinet:

2025-02-15-05-painted-view-1_800.jpg


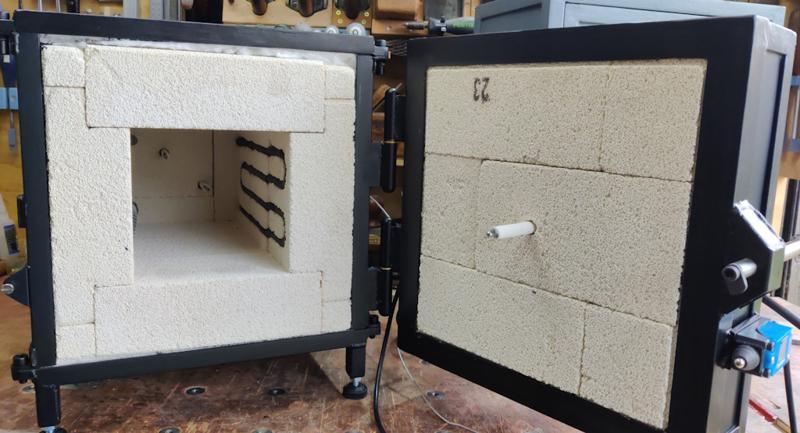
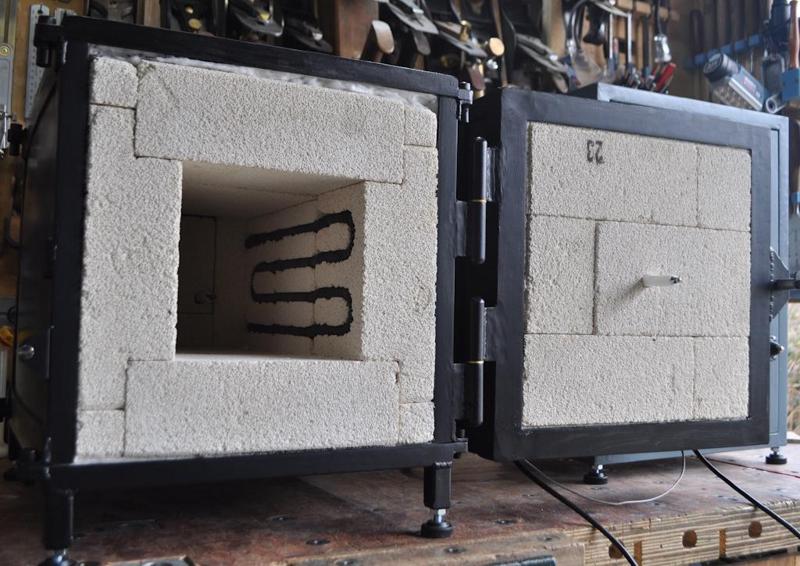
I painted it all without taking it apart, but I think I managed to get to most of the exposed steel without getting too much into threads or onto bricks:

2025-02-15-06-door-open-after-painting_800.jpg


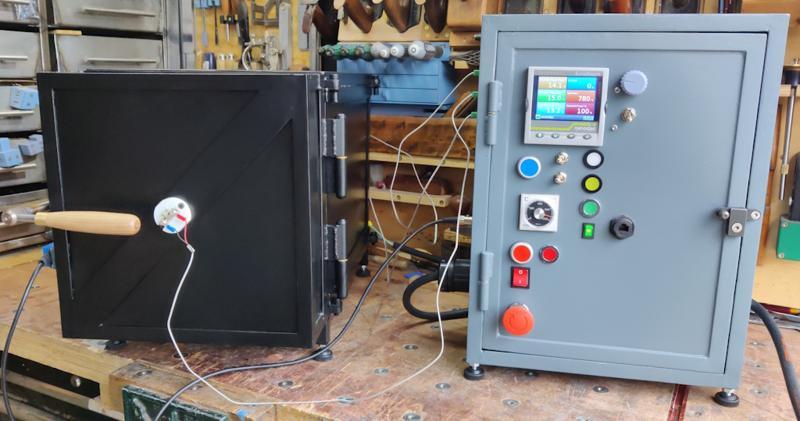
One more photo for luck:

2025-02-15-07-painted-view-2_800.jpg
 
Following yesterday's paint job, I thought it would be good to take the chamber back up to temperature just to check that the paint didn't suffer any ill effects. With the thermocouples sticking out into the air rather than only poking slightly out from the bricks, the temperature is much more consistent:

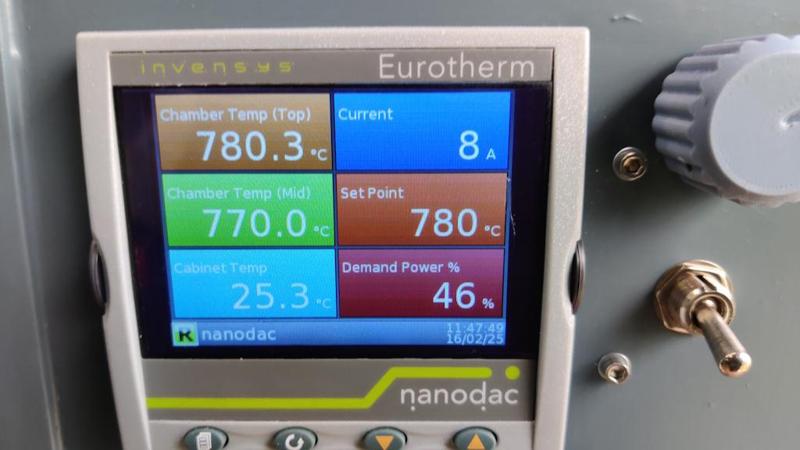
2025-02-16-01-better-temperature-consistency_800.jpg


The top-left reading is from the back of the chamber; the mid-left one is from the front (the thermocouple in the door). It took longer for the temperature at the door to stabilise than that at the rear; I suspect that's a combination of the two simple factors: the geometry of the element slot (a bit more heating at the back than the front) and the fact I'd put a large lump of steel (roughly 12 mm × 100 mm × 100 mm) at the front of the chamber and that's quite a lot of thermal mass.

With the thermocouples measuring air temperature (rather than, perhaps, brick temperature), heating was much more rapid; it reached 700°C in about 15 minutes and got to 780°C (at the back of the chamber) in 20 minutes. That took 28 minutes on the previous test. I think it can be made a little bit faster again. The controller was hunting quite a bit: turning the power down before it had got close to the target and then having to put more power in when the temperature started dropping too early. I'm pretty sure that's a result of having run the auto-tune algorithm with the thermocouples semi-buried: the controller "thinks" there's more thermal mass and hence has to turn the power down earlier. Once it's fully cooled, I'll run the auto-tune again and that should help a bit.

While it was warming up, I took a few more photos, this time with the SLR. They're still not great; I think the dingy overcast day doesn't help and, let's be honest, neither does my lack of photographic talent!

2025-02-16-02-front-view_800.jpg


2025-02-16-03-side-view_800.jpg


2025-02-16-04-open-view_800.jpg


Once it had been up to temperature for quarter of an hour or so, I opened the door and got a photo inside:

2025-02-16-05-high-temperature_800.jpg


In that photo, you can see the big glowing lump of steel I put in the chamber for this test. It was just a random bit of structural steel I dug out of my odds and ends drawer, so I didn't try to quench it once it was up to temperature or anything like that: I just left it in the oven to cool along with everything else. The only reason I put it in there was that I wanted to prove to myself (not that I ever doubted it really) that I could use the chamber to heat big bits of steel. There is no way I would have been able to heat treat something that size with just a blowtorch but the oven makes it possible. I can't imagine ever needing to harden a piece of 12 mm × 100 mm × 100 mm steel, but I can see me wanting to make reasonable thickness (3–5 mm) plane blades in future and if the blades are wide then there's quite a bit of steel to heat up.
 
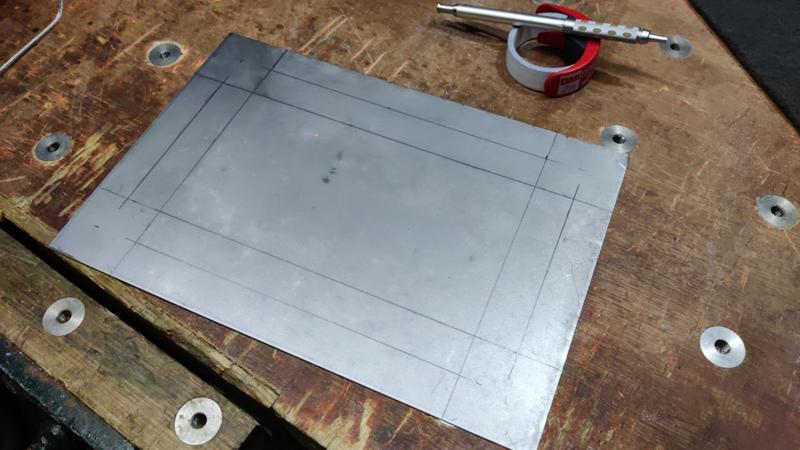
A bit of an aside for this afternoon. I had quite a few little off-cuts of sheet steel from making the control cabinet and the chamber. This is one of them:

20250221-01-sheet-of-steel_800.jpg


The pencil marks were positioned based on a combination of what size I wanted the end result to be and what size I the off-cut was. I started by marking out the rectangle that's about 44 mm from the edge and then decided 44 mm was a bit much, so I added a second line, 22 mm from each edge.

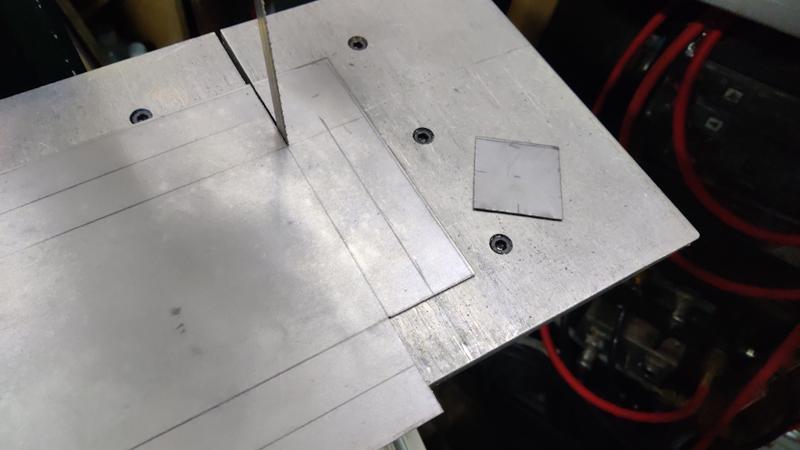
With the pencil marks in place, I took it over to the home-made vertical saw table on the bandsaw and cut out the corners:

20250221-02-bandsawing_800.jpg


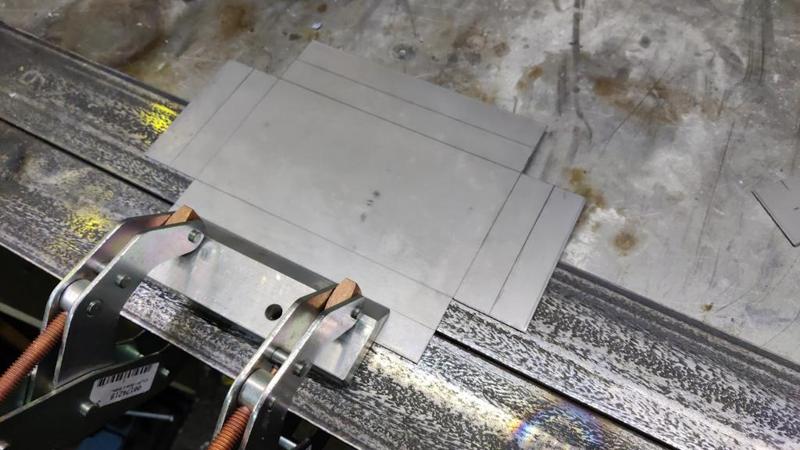
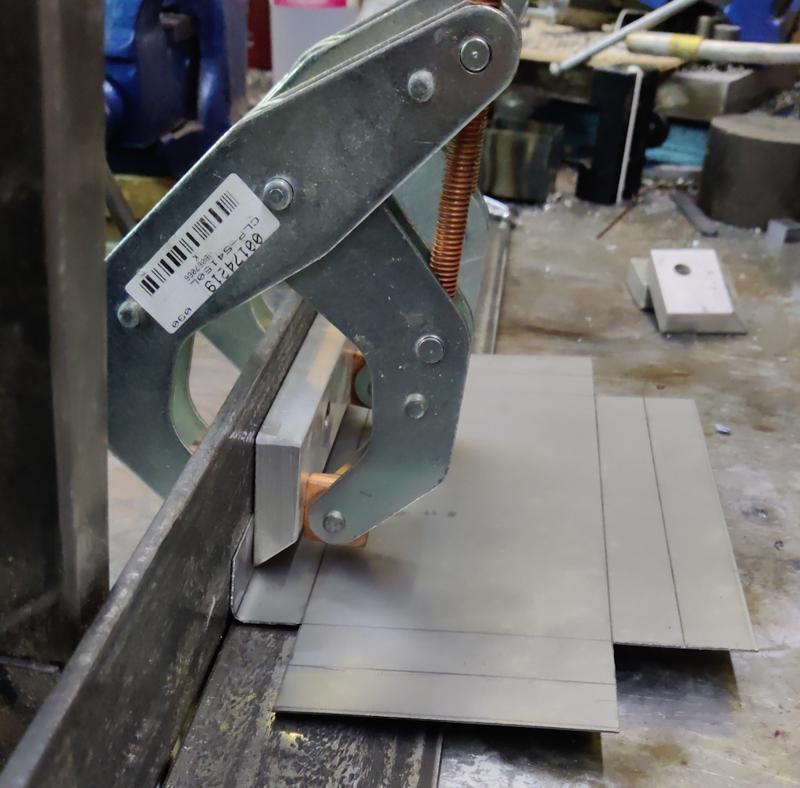
It was then time to get the sheet metal bender out. The first bend looked like this:

20250221-03-on-bender_800.jpg


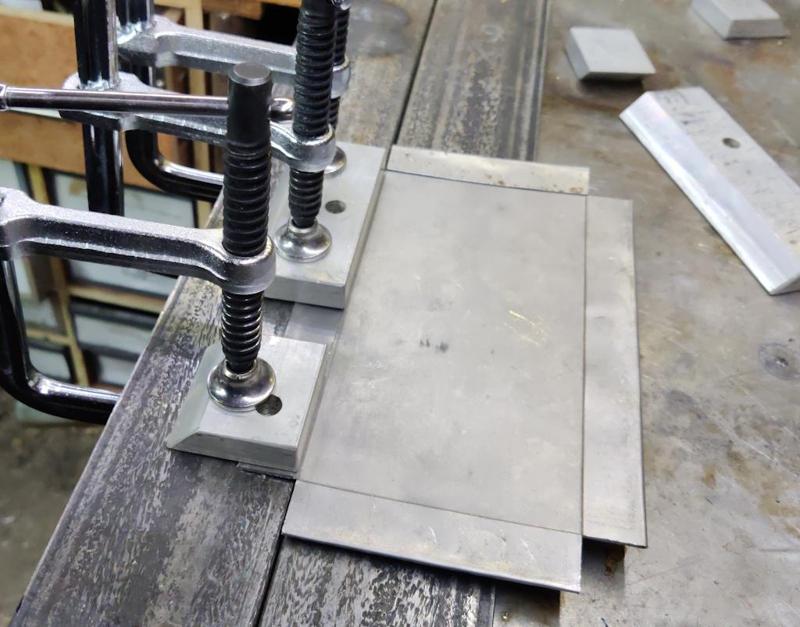
It probably would have been better to have a couple of clamping blocks so the ends were supported (which I did on the later bends) but it didn't seem to cause any problems. After the first bend:

20250221-04-first-bend_800.jpg


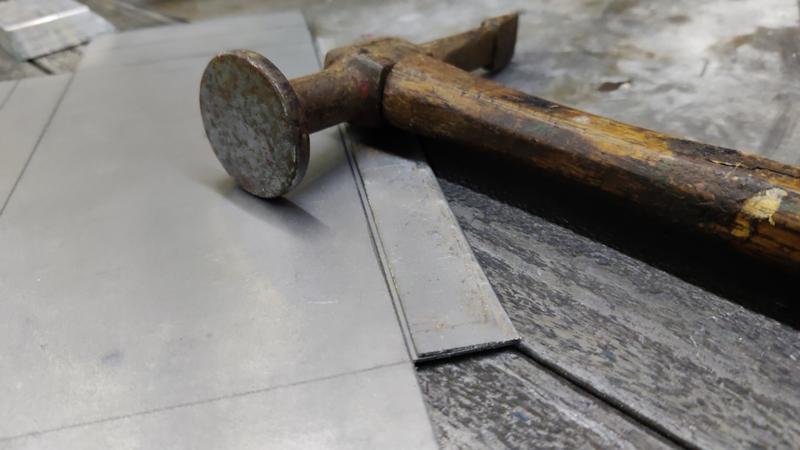
I then dug out a recently acquired and rather shabby hammer (I'll give it some TLC at some point: it needs a new handle and a thorough de-rust) and battered the folded over bit flat:

20250221-05-hammered-flat_800.jpg


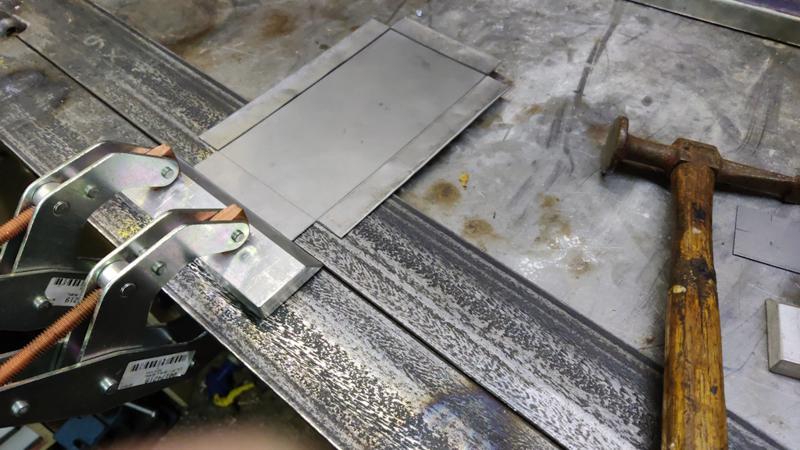
There was then a bit of rinse and repeat...

20250221-06-rinse-repeat_800.jpg


... and some more folding...

20250221-07-folding-again_800.jpg


... and some more folding...

20250221-08-more-folding_800.jpg


... and some more folding:

20250221-09-more-folding_800.jpg


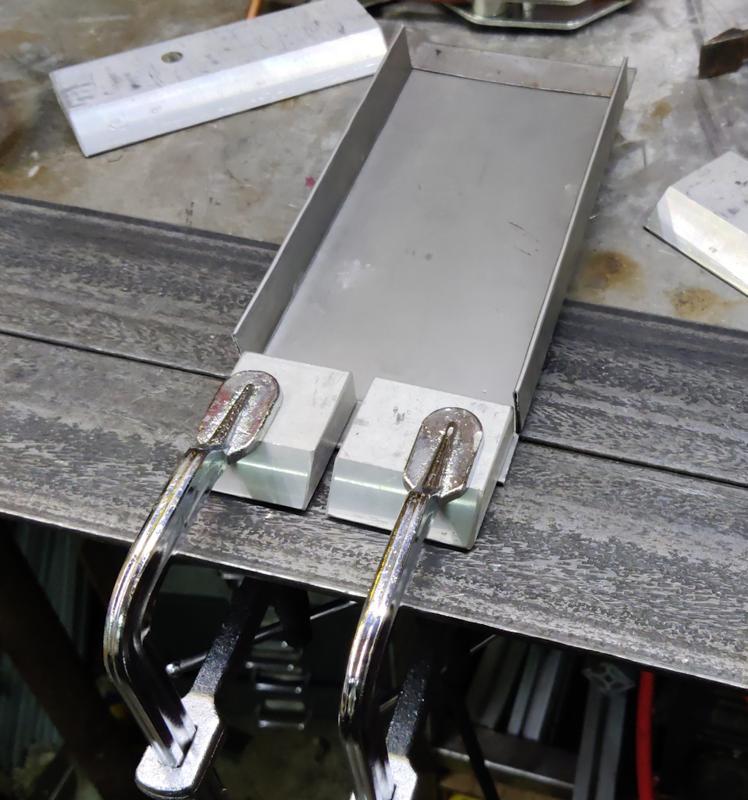
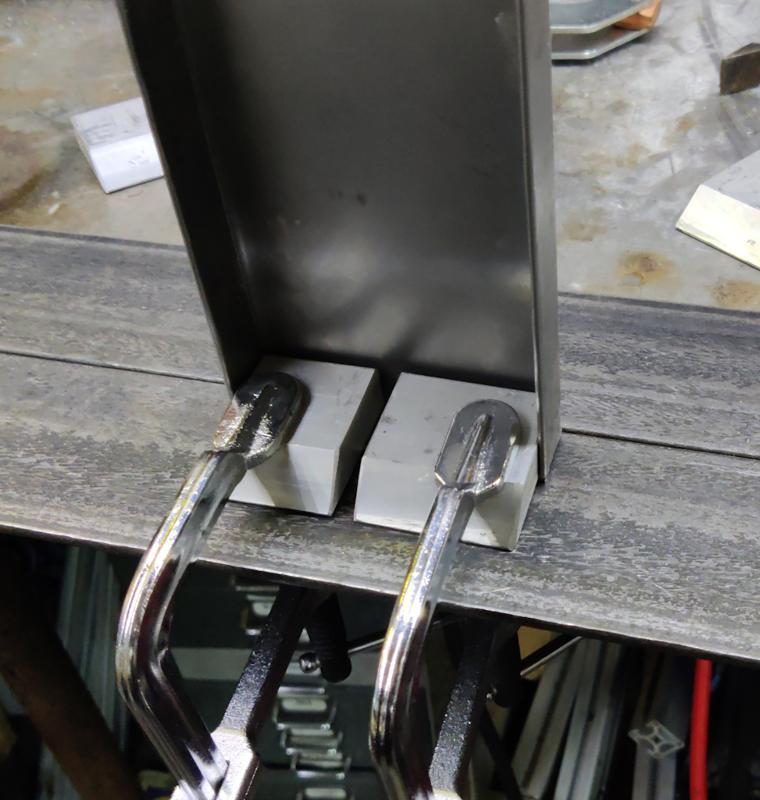
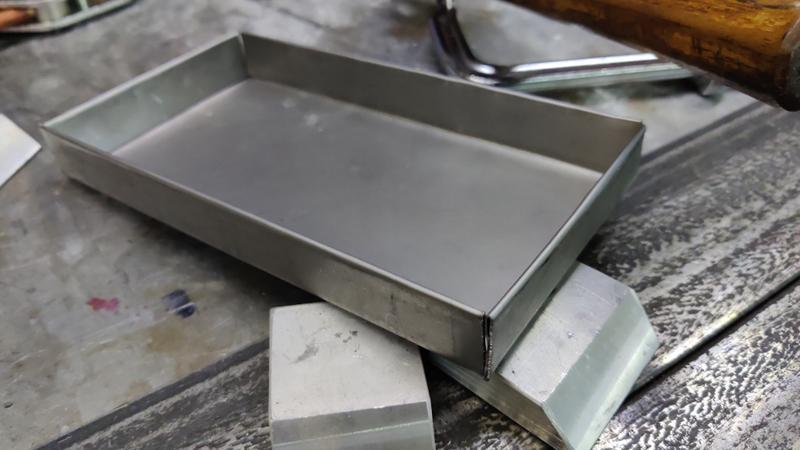
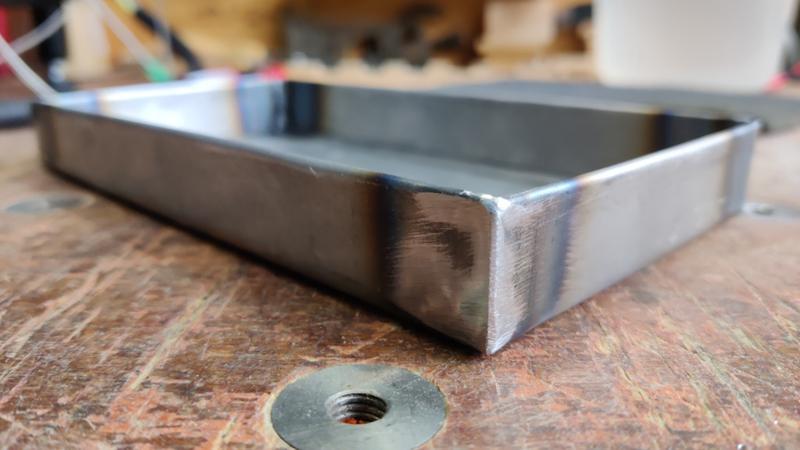
All that folding resulted in this little steel tray:

20250221-10-folded_800.jpg


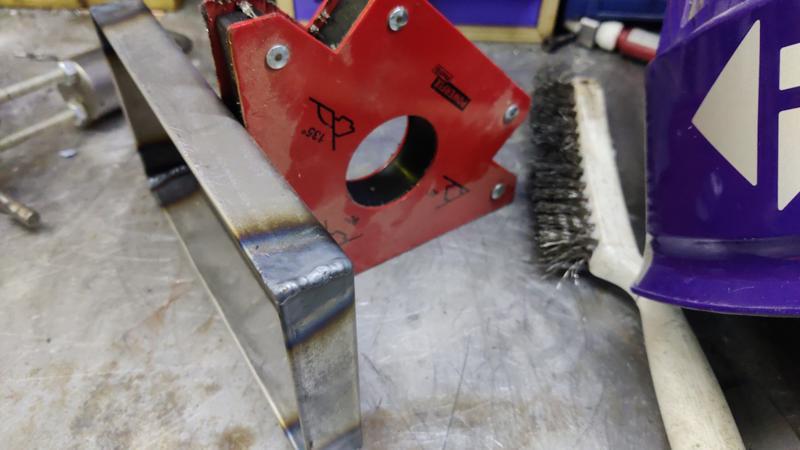
Making the corners watertight involved the (very) hot melt glue gun...

20250221-11-hot-melt_800.jpg


... followed by a flap disc in the angry grinder to remove the squeeze-out and complete the tray:

20250221-12-cleaned-up_800.jpg


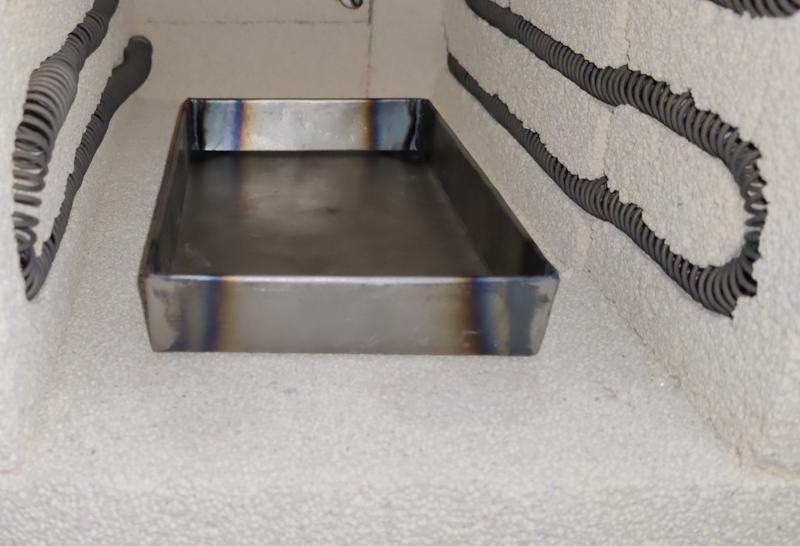
The plan for this tray is for it to sit in the heat treatment oven thus:

20250221-13-in-its-home_800.jpg


Often when heat treating, I've wrapped parts in iron wire and covered them in a mixture of boric acid and meths (the iron wire being there to stop the boric acid falling off). The boric acid stops oxidation/scale building up on the part and can be cleaned relatively easily by dunking the part in boiling water after the quench. However, the boric acid mix results in a bit of a mess underneath the part on whatever base I'm using for blow-torch based heat treatment.

For doing it in the oven I thought it would be better to have a tray. I can fill the tray with boric acid/meths and bury the part in the mixture. All being well, most of the mix will stay in the tray rather than ending up all over the bottom of the oven. It will, of course, make it a little harder to grab hold of the part for quenching, but I'll see how I get on. I suspect the tray will suffer somewhat from repeated cycles up to around 800°C, but it took me less than an hour to make and I've got lots more off-cuts, so I can always knock up a few spares if necessary.

While I've been typing this, I've also idly wondered if it might be viable to fill the tray (or perhaps one with higher side walls) with argon and put the part in that inert gas environment. Argon is heavier than air, so assuming there isn't too much of a breeze blowing in the chamber, I'd hope that it would stay put in the tray rather than dissipating. Of course, if any colder air got into the chamber (or the argon heated faster than the air), then that might not stay true (argon's density drops from about 1.6 kg/m³ to about 0.5 kg/m³ as the temperature goes from 20°C to 700°C; air density drops from about 1.2 kg/m³ to about 0.35 kg/m³ over the same temperature span). In practice, I wouldn't be surprised if there's always some fresh (cooler) air fighting its way into the chamber through little gaps here and there and if that air doesn't get up to temperature by the time it reaches the argon, then the argon will head for the roof, but it's an interesting possibility anyway.

If it worked, it would make for a much cheaper inert environment that having to knock up some sort of gas feed into the top of the chamber and maintaining a constant flow. I think the best way to test that idea will be to fill a tray with argon (but no parts), check there's no oxygen by dunking a lit match just below the lip, then heat it up to 800°C, let it cool and repeat the match test. I'd be interested to know if anyone has tried this.

Worst case, I'll stick with the boric acid, which seems to work okay when I've used it before.
 
Al, there is a version of your tray used with very thin metal parts (think clock hands) used - in particular - for blueing brass. It occurs to me your construction and oven could be employed at lowish temperatures for something similar - and, being infinitely more controlled, the results would be very much more predictable/repeatable?

Secondly, your boric acid/meths mix? I'm not too familiar with case hardening homebrews, but as an ex-industrial lab tech, I would consider even a small amount of methylated spirits gassifying off, at even low temperatures, as a considerable explosion risk. Your argon atmosphere idea is very good, but I would wonder out loud if some form of active venting would be considered? To put this in context, I saw a 4ml mix of toluene and alcohol blow the lid off a 1L bomb calorimeter. Common hyperbolic adjectives were inadequate to describe the scene.
 
Is argon cheap? We had some very nice argon filled double glazing put in during covid, and the installer explained that after ours, they weren't going to be fitting any more, as the price of the gas had just tripled.
 
Al, there is a version of your tray used with very thin metal parts (think clock hands) used - in particular - for blueing brass. It occurs to me your construction and oven could be employed at lowish temperatures for something similar - and, being infinitely more controlled, the results would be very much more predictable/repeatable?

Yes, I think that would work. I didn't know brass could be blued. I've seen steel blued for clock screws / hands though. I would expect it to be pretty good with the chamber. When the thermocouples were in the wrong place, the blade came out a fairly consistent shade of blue and that was without me trying! Having said that, the disadvantage is that you can't see what's happening. I think a common approach in clockmaking is to put the part in a bed of brass shavings and then heat the bed. The brass shavings help even out the temperature and you can watch the part change colour sufficiently gradually that you can stop it when it gets to the right colour.

Secondly, your boric acid/meths mix? I'm not too familiar with case hardening homebrews, but as an ex-industrial lab tech, I would consider even a small amount of methylated spirits gassifying off, at even low temperatures, as a considerable explosion risk.
Hmmm. That's worth considering, thank you. I've used it a lot when heat treating with a blow-torch, but of course the part is out in the open air rather than enclosed in a box.

Your argon atmosphere idea is very good, but I would wonder out loud if some form of active venting would be considered? To put this in context, I saw a 4ml mix of toluene and alcohol blow the lid off a 1L bomb calorimeter. Common hyperbolic adjectives were inadequate to describe the scene.

With the argon atmosphere I wouldn't need the boric acid/meths mix: the argon (which is inert and hence has no risk of going bang) keeps the part away from any oxygen.

Is argon cheap? We had some very nice argon filled double glazing put in during covid, and the installer explained that after ours, they weren't going to be fitting any more, as the price of the gas had just tripled.

It costs me about £115 for a 20 litre, 200 bar bottle (so 4000 litres at 1 bar if my understanding is correct). That's from a rent-free supplier. You can get the gas cheaper if you pay for bottle rental, but I don't use enough to justify the rent. When welding, you use 5-10 litres a minute typically, so a bottle in theory last for between 6 and 13 hours of continuous welding. I don't know what flow rate would be needed to maintain an inert environment throughout the chamber (with a TIG weld you're only worried about a very small area being shielded), but if it were 10 litres a minute then a 40 minute heat treatment cycle (oven heating up, then some soaking at temperature time) would use about a tenth of a bottle or £12. If it required more flow then that obviously increases. Also, all that argon flooding into the chamber will be cool so will slow down the heating if it really needs 10 litres a minutes.

🤷‍♂️
 
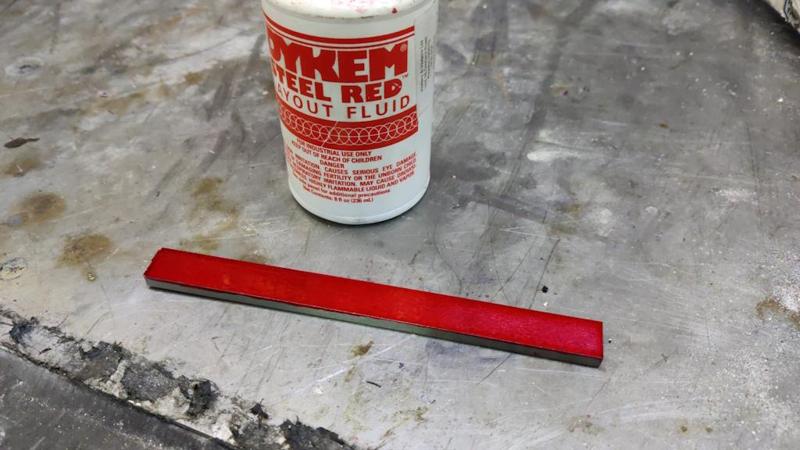
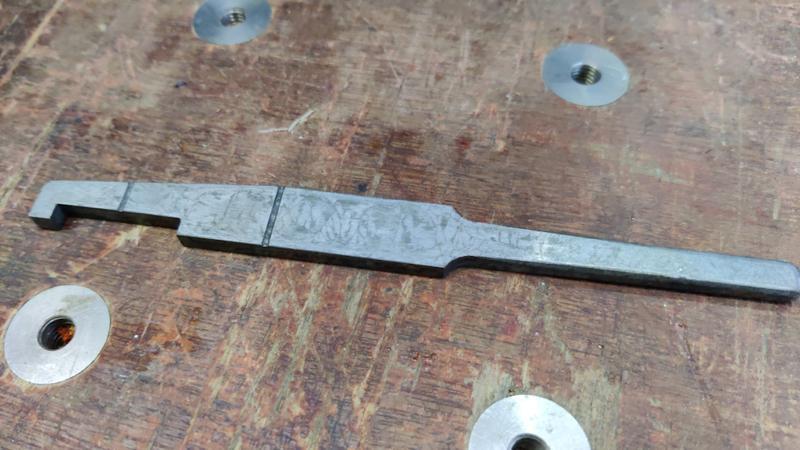
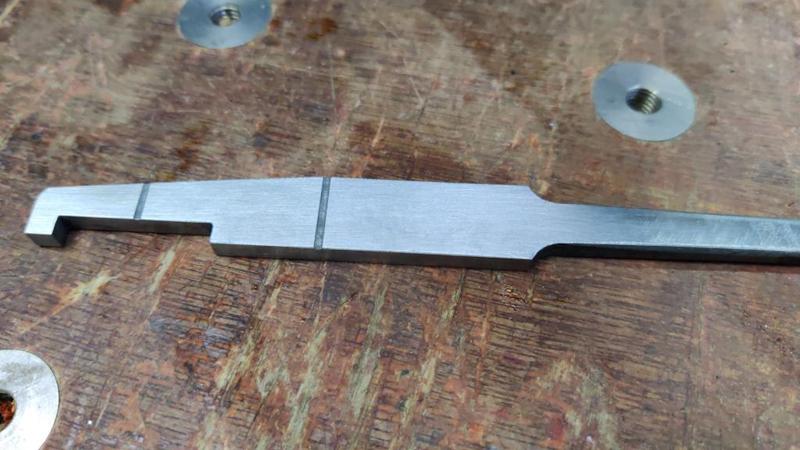
The next project I wanted to do with the oven was to make a wood turning tool. I started with a bit of 5 mm × 15 mm gauge plate, which I marked up with some Dykem:

2025-03-01-01-source-steel_800.jpg


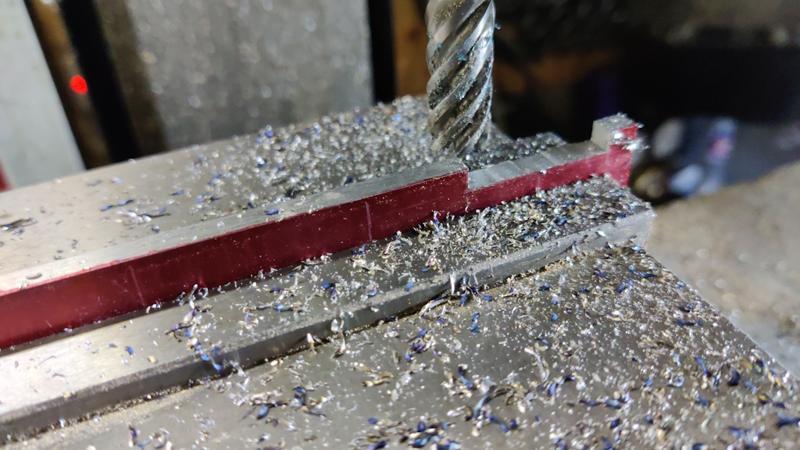
I'd made a dimensioned drawing based on a combination of inspecting a lathe tool in a shop and reading dimensions of some drawings of the things these tools are intended for. Based on that drawing, I scribed a few lines on the part as a guide. I then mounted the steel in the milling vice and attacked it with a 12 mm carbide end mill:

2025-03-01-02-milling-slot_800.jpg


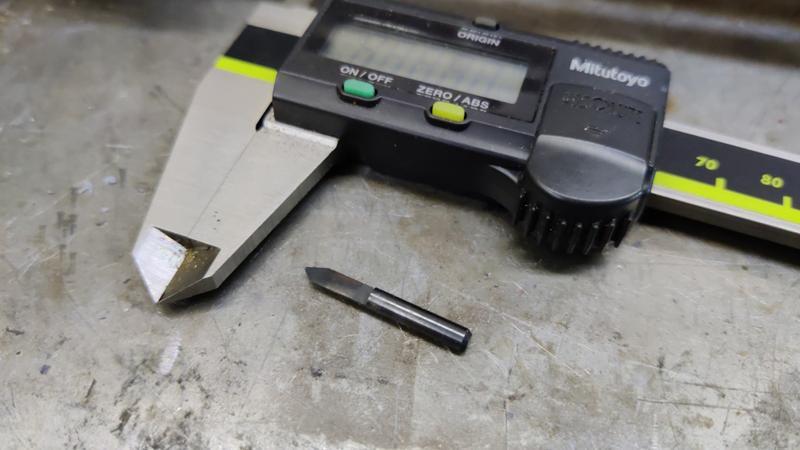
A few years ago, I made this tiny little d-bit engraving cutter for use with my home-made pantograph:

2025-03-01-03-tiny-cutter_800.jpg


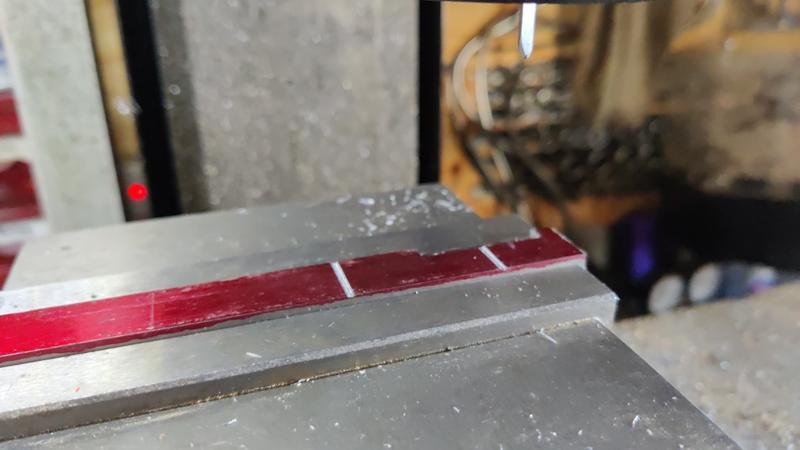
That was used to engrave a couple of lines in the top face of the steel bar:

2025-03-01-04-engraved-lines_800.jpg


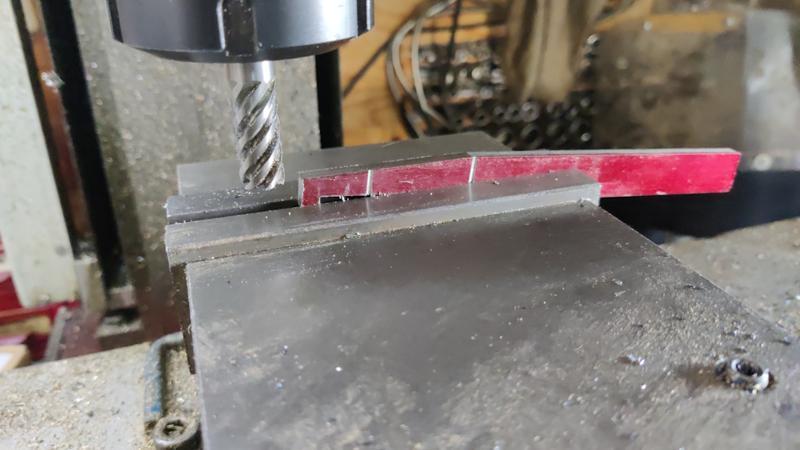
The part then got flipped around again to mill an angle on the back edge...

2025-03-01-05-milling-angle_800.jpg


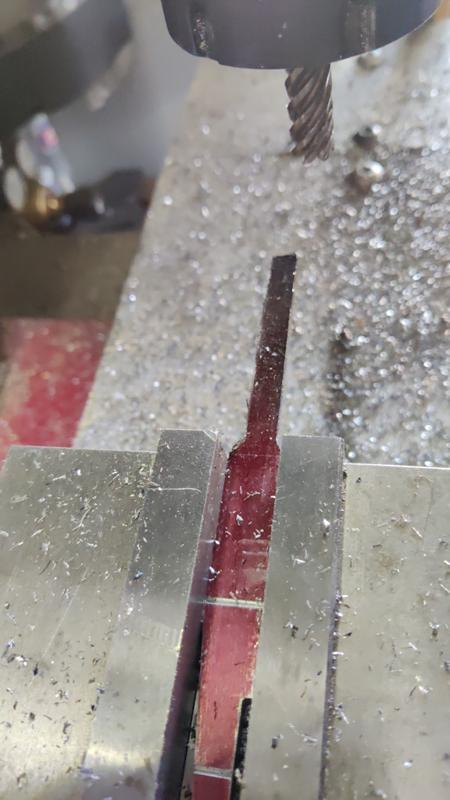
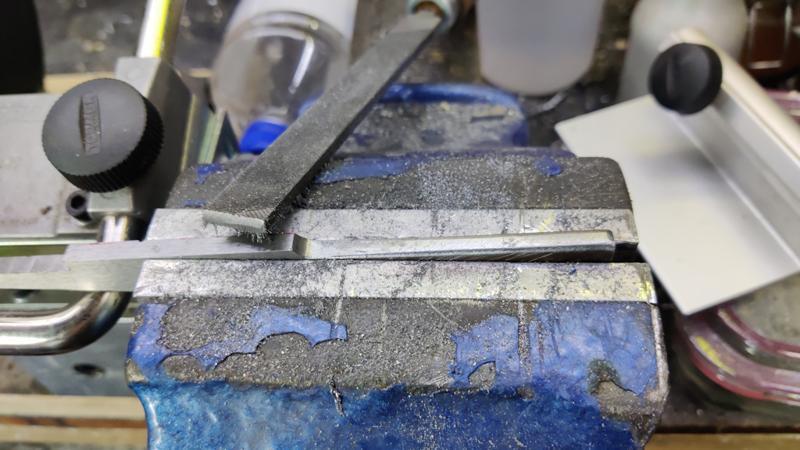
... and the last milling job was to make one end a bit narrower to form the tang. This wasn't an ideal way to support a part, but I wasn't aiming for anything especially precise (in all honesty, I suspect the whole part could have been made with hacksaws and files and been perfectly accurate):

2025-03-01-06-milling-tang_800.jpg


The tang then got filed a bit to give it a bit of a taper and to round over the edges slightly:

2025-03-01-07-filing-tang_800.jpg


With all the shaping done, it was time for heat treating.

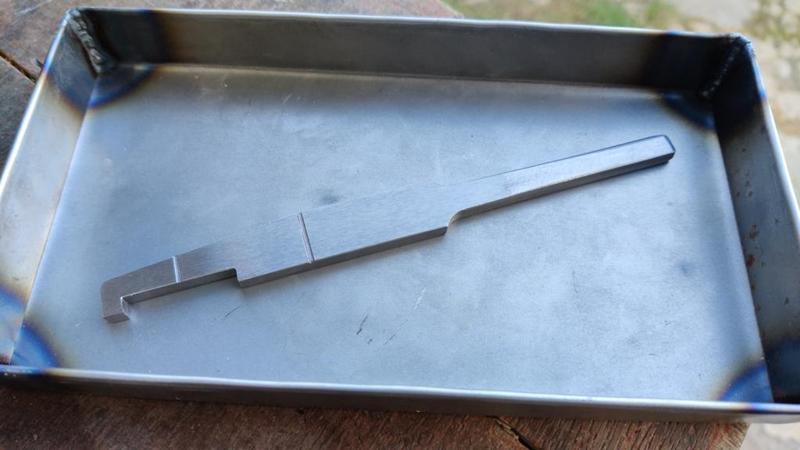
2025-03-01-08-ready-for-heat-treat_800.jpg


I put the tray in the oven and used the TIG torch (with lots of pre- and post-flow, a very low current setting and no tungsten installed) to "pour" some argon into the tray. After doing that for about a minute's worth of flow, I lit a match and lowered it slowly into the tray. It stayed lit, so that obviously didn't work at all!

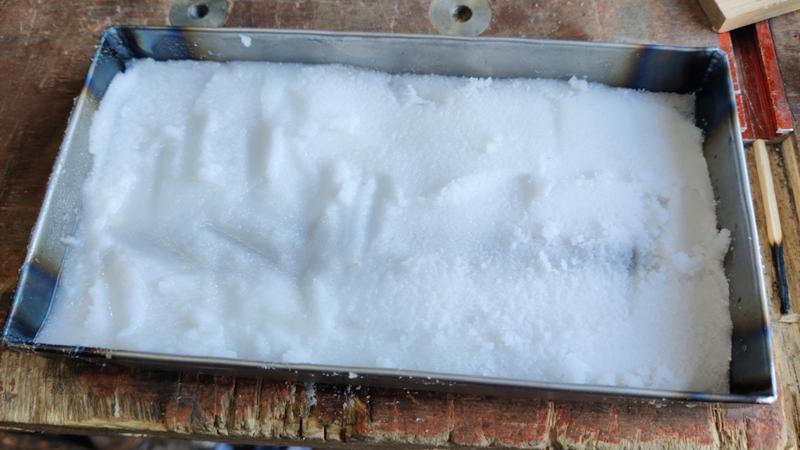
I didn't want to spend too long (or waste too much gas) playing with it, so I went back to the boric acid plan: pouring some boric acid powder into the tray and then moistening it with meths:

2025-03-01-09-buried-in-boric-acid_800.jpg


I then put the chamber on to heat up to 780°C. I initially had a go with the controller's programmer feature, but I'd obviously set something wrong with either the ramp rate or the hold-back level as it was constantly alternating between a short rise and then a hold-back, resulting in very little current flowing. I thought I'd set the hold-back threshold to be 20°C (i.e. it wouldn't try to slow the set point ramp until there was a 20°C difference between set point and chamber temperature), but it seemed to be kicking in at about 0.2°C. I decided to put off thinking about that for now and just used the standard single set point mode, which works fine for this application anyway.

As there was lots of meths in the enclosed space of the oven I was a little nervous of what might happen, so I set it running and then went and sat in the garden, just within sight of the chamber but with plenty of clear space in between (and a wall blocking most of the view). I needn't have worried though: the chamber isn't really that air tight: it's obviously air tight enough to allow it to get hot reasonably quickly and stay there, but there were little puffs of smoke coming out of the back of the chamber as the meths burnt off, so there's obviously enough in the way of a gap for it to be relatively safe. Nevertheless, I put a face mask on before opening the door, just in case.

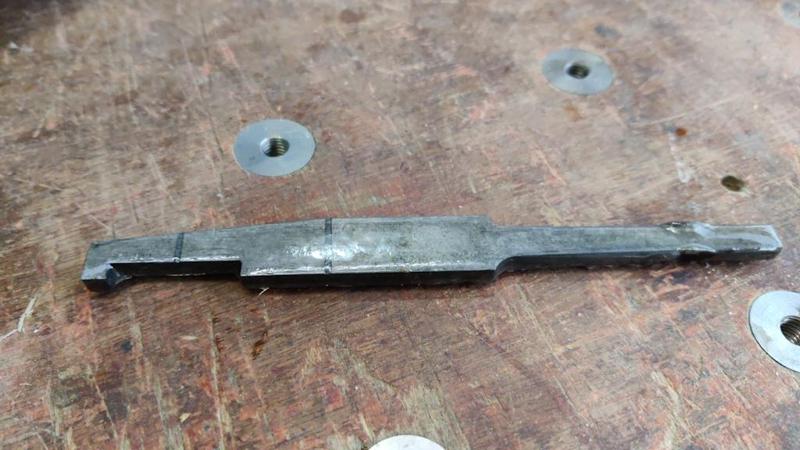
When the part had come out of the oven and been quenched in vegetable oil, it had a glassy coating all over it from the boric acid:

2025-03-01-10-glassy-covering_800.jpg


That glassy coating is very easy to remove: you just put it in a container of some sort and pour boiling water over the top. That leaves it looking like this:

2025-03-01-11-after-hot-bath_800.jpg


Somewhere between 30 seconds and a minute a side on 180 grit wet-and-dry paper leaves it looking like this:

2025-03-01-12-180grit-wet-and-dry_800.jpg


For this part, I decided to temper it with the blowtorch rather than the oven. There are a couple of reasons for that. The first is that I couldn't be bothered to wait for the oven to cool down. The second (and probably more important one) is that I wanted most of the part to be tempered to a higher temperature than the tip. Here's a very blurry photo of it being tempered in the flame of a blowtorch:
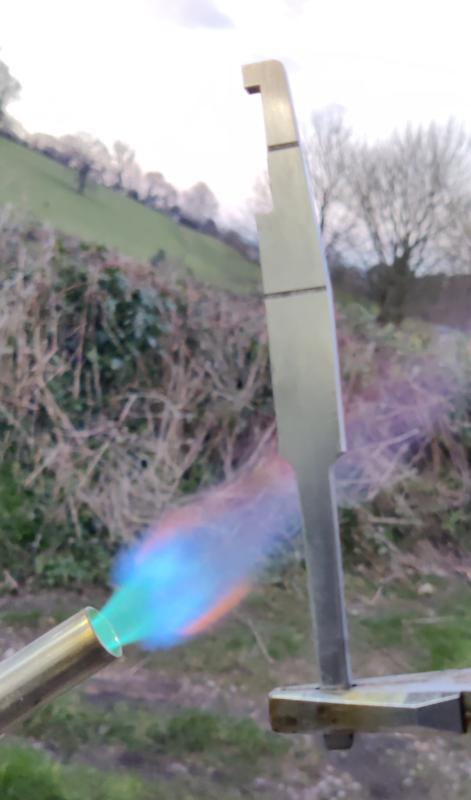
2025-03-01-13-torch-tempering-blurry_800.jpg


Yeah, not my best bit of photography that one. I hold it near the tang and heat it also near the tang, starting with a fairly strong flame to get it started and then turning the flame down as it gets closer to the target temperature. The rest is just done by looking at the colour: I was aiming for blue on most of the length and a straw-like colour at the very tip. That's done by moving the flame back and forth along the bit I wanted to get blue but staying well clear of the tip. As the paler colours move up the part towards the tip, I keep a careful eye on it and when the tip reaches the colour I'm after, I dunk it in vegetable oil to cool it back down again (and prevent the heat from the rest of the part overheating the tip).
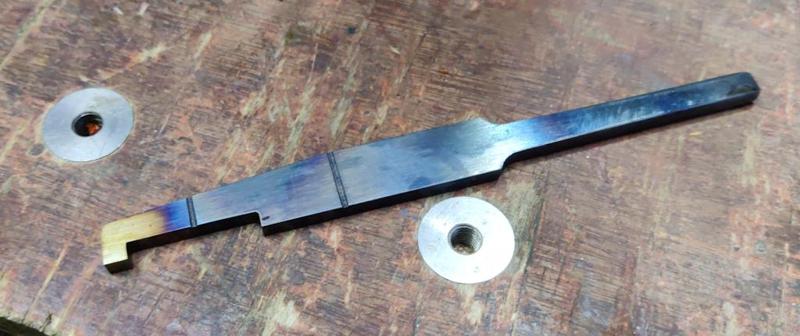
2025-03-01-14-tempered_800.jpg


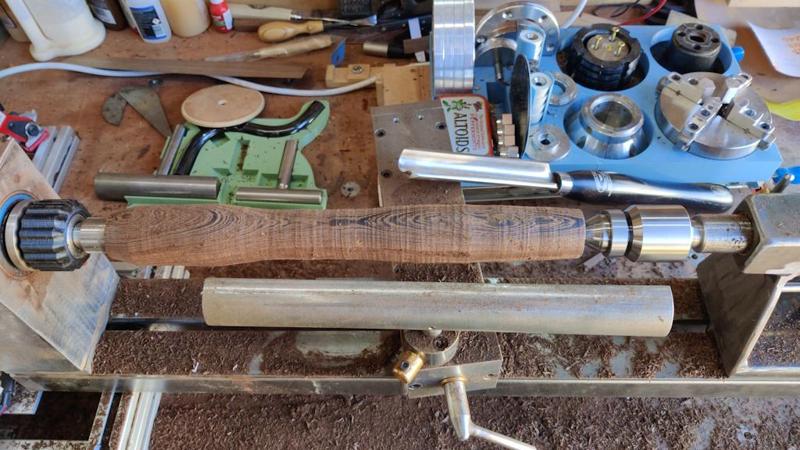
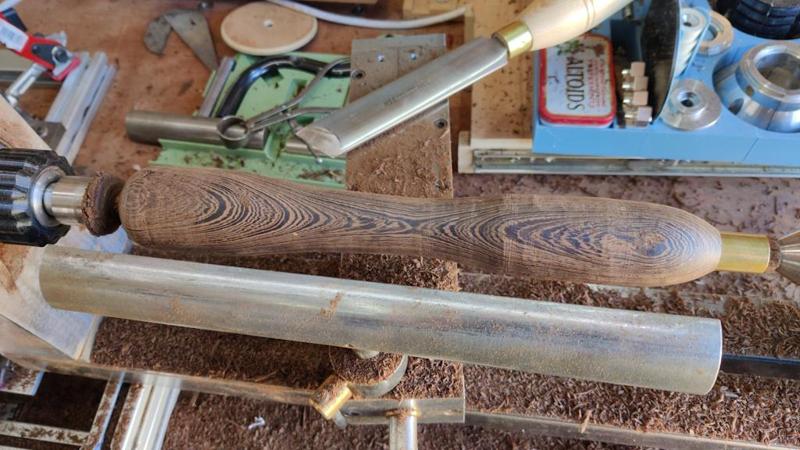
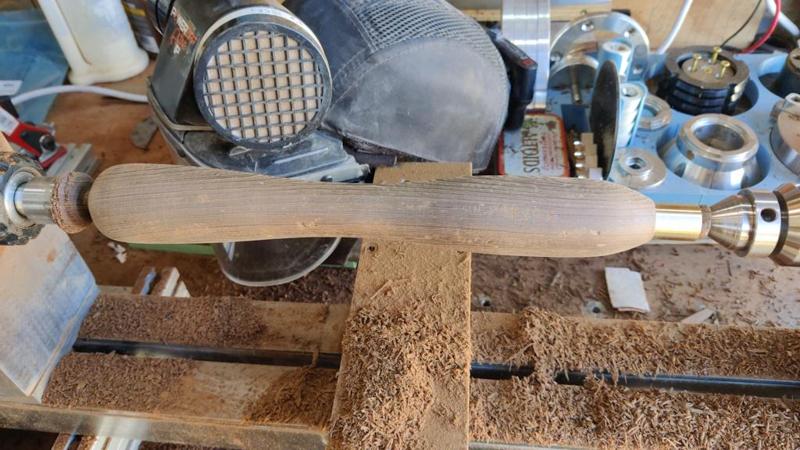
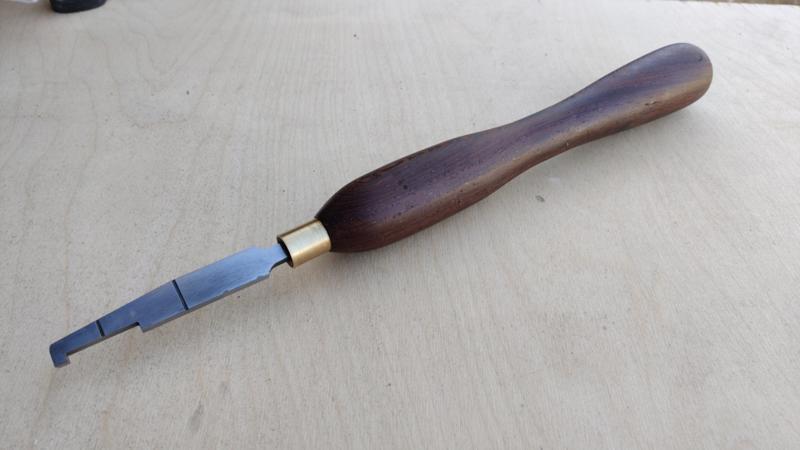
Once that was done, I gave it another quick rub-down on wet-and-dry paper and then ground some relief around the two sides adjacent to the top corner (bottom-left corner in the photo above). It was then time to make a handle, so after making a quick ferrule on the metal lathe, I got the home-made wood turning lathe out and a bit of Panga Panga from Yandles. That got roughed out with a roughing gouge:

2025-03-01-15-roughing-out-panga-panga_800.jpg


Then tidied up with a big wide skew chisel (a very good recommendation from my father: skew work is so much easier with a really wide skew chisel!)

2025-03-01-16-skew-chisel_800.jpg


Finally, I finished it off with sand paper:

2025-03-01-17-sanding-with-blemishes_800.jpg


There are loads of blemishes on it (as a result of my lack-of-skill in wood turning), but for a tool that won't be used very often, I decided it wasn't worth having another go. A quick coat of Mike's Magic Mix and it was ready for a trial:

2025-03-01-18-oiled_800.jpg


The tool is used for cutting some relief grooves for use with Crushgrind brand pepper mill mechanisms. I've got a Crushgrind pepper mill and have been really impressed with it and I thought it would be nice to make myself and a few friends/family some salt and pepper mill sets. The official tool is quite expensive for something that won't get used much, so I thought it would be much better to make my own.

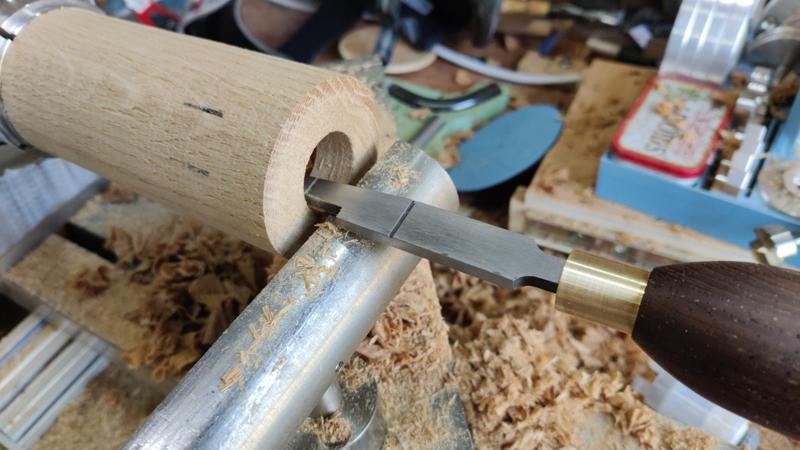
In use, it gets shoved into the hole for the mechanism; one of the engraved lines is then lined up with the outside of the part and then it's pulled back to create a 5 mm wide groove at the correct depth. The two lines are there to show the position of two different grooves that are required for various Crushgrind mechanisms:

2025-03-01-19-works-well_800.jpg


It works very well and created the groove quickly and easily. As for the rest of the turning of the pepper mill... well, let's just chalk that one down to practice: the firewood pile just got a little bigger.
 
I am the world's worst turner, but I recently turned a pair of mills for some friends and can well appreciate how such a tool could be useful. Thank you for sharing.
S
 
Back
Top