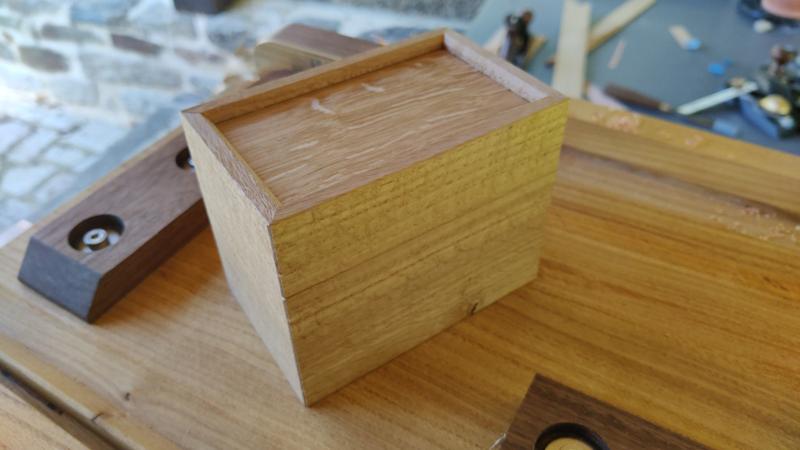
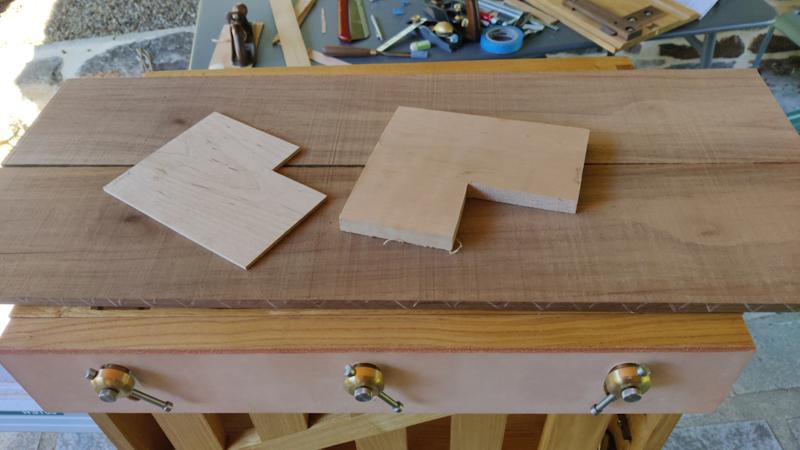
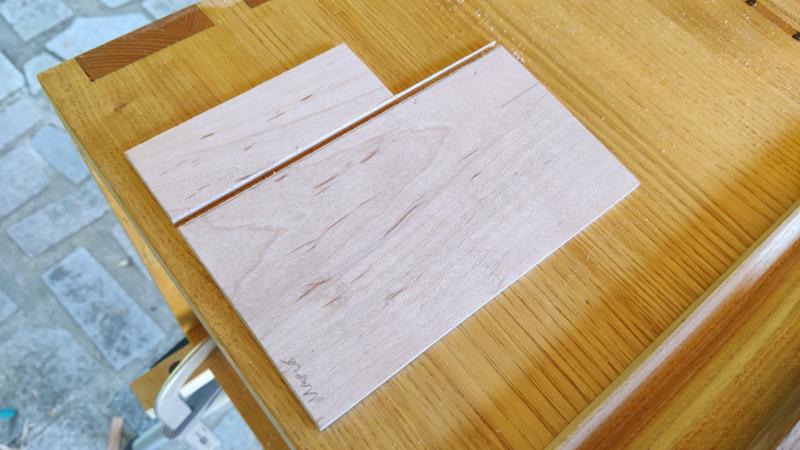
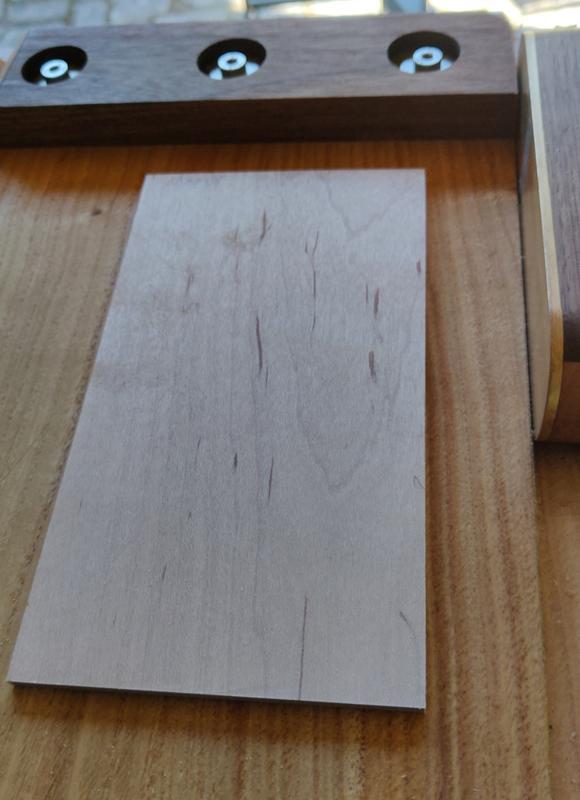
• Hi all and welcome to TheWoodHaven2 brought into the 21st Century, kicking and screaming! We all have Alasdair to thank for the vast bulk of the heavy lifting to get us here, no more so than me because he's taken away a huge burden of responsibility from my shoulders and brought us to this new shiny home, with all your previous content (hopefully) still intact! Please peruse and feed back. There is still plenty to do, like changing the colour scheme, adding the banner graphic, tweaking the odd setting here and there so I have added a new thread in the 'Technical Issues, Bugs and Feature Requests' forum for you to add any issues you find, any missing settings or just anything you'd like to see added/removed from the feature set that Xenforo offers. We will get to everything over the coming weeks so please be patient, but add anything at all to the thread I mention above and we promise to get to them over the next few days/weeks/months. In the meantime, please enjoy!

Holiday Toolchest

I've managed a return ferry crossing this year already. Out in storm Isha back in Jocelyn. I feel sure your tool box and it's contents will make it unscathed Al.
Tea and biscuits always available if you have time.
 
The 3D printer has been running pretty much continuously for the last week, churning out more drawer liners. I'm nearly finished now, with two more bits of the mallet drawer to print and then just the chisel drawer to sort out (I haven't even got as far as modelling that one in CAD yet).

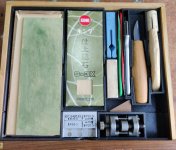
You've seen the saw drawer already, this is what is nominally the sharpening drawer but also has a couple of knives and a handy wooden block in it:

L201_sharpening_drawer.jpg

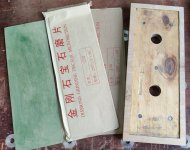
At the bottom of the left-hand compartment is a piece of plywood with a recess cut into it and some magnets set slightly sub-flush. That provides a base for a selection of cheap 1 mm thick 230 mm × 80 mm diamond plates. Being nice and thin, they don't add much weight, but the plywood keeps them flat. The green thing is a bit of leather (with some stropping compound rubbed in) glued down to a thin steel plate of the same size, so it can be used on the plywood base if necessary as well.

L202_diamonds.jpg

The plywood piece also has some 8 mm holes drilled in the side, so it can be clamped down if necessary (although I doubt it will be necessary).

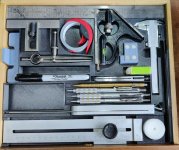
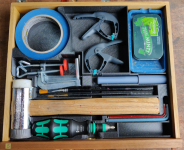
The measuring / marking drawer is also finished (note the 150 mm rulers standing on their sides on the right-hand side of the photo):

L301_measuring_tray.jpg

The empty areas are unallocated: there was nothing obvious I could think of that would fit neatly there, so I just hollowed the space out & it can be used for anything that fits and might be useful.

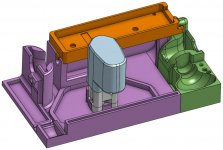
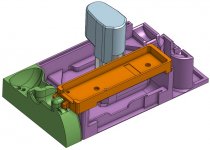
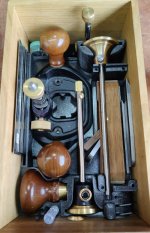
I've also finished the most complicated of the drawers: the router plane drawer. It was way more complicated than the other drawers as I was making full use of the third dimension to cram stuff in.

This is what the model looked like once everything was finished:

R6M01_model_view_1.jpg

A view from another angle:

R6M02_model_view_2.jpg

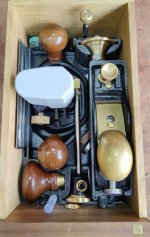
This is what it looks like "fully stuffed".

R601_router_plane_drawer.jpg

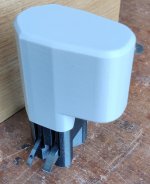
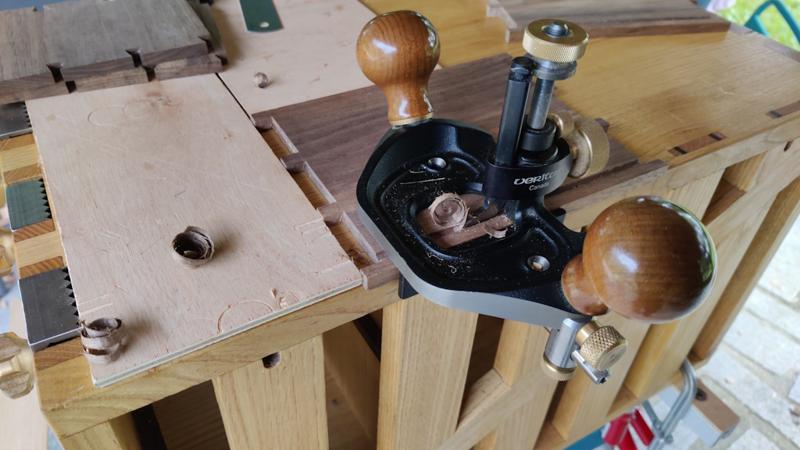
The router blade holder thing lifts out in one piece (the pale grey cover is there to stop idle hands from getting cut on the blades and also to give a bit of extra protection against the whole assembly falling over - it goes over the router plane's adjuster screw).

R602_router_blades_covered.jpg

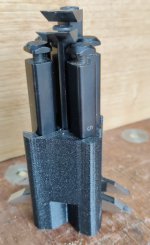
The grey cover is a fairly loose fit; this is what it looks like underneath - space for 6 router plane blades of different widths: 3, 4, 5, 6 mm and the 1/2" / 12.7 mm wide "standard" ones (it's handy having the different widths as I'll be using the router plane as a plough plane):

R603_router_blades_uncovered.jpg

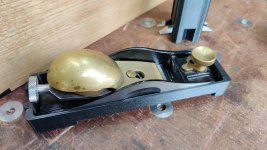
The metal block plane sits on a tray that lifts out as well:

R604_metal_block_plane.jpg

I'd wandered about omitting the metal block plane and just taking the home-made wooden one, but I thought I'd keep my options open for now as I use that little Quangsheng thing quite a lot. As it's in a removable tray, it would be very simple to just not fit the tray if I decide not to carry the metal block plane.

With the router cutters and the plane tray removed, the rest of the contents are visible:

R605_with_router_and_plane_tray_removed.jpg

Hiding down the left-hand side are a selection of card scrapers and on the right are spare blades for the Veritas smoothing plane and the Quangsheng block plane. The right-hand marking gauge has lots of different heads (two wheel marking heads, one pin marking head and a pencil marking head - in the little green-lidded jar in the top-left), so it offers a lot of flexibility. It's probably gratuitous including the Veritas one as well, but it's surprising how often I have one gauge fixed at one setting and want a second gauge.

In the bottom-right of the drawer are a selection of the Allen keys that came with Veritas stuff - Veritas insist on using inch-based fasteners, so I keep the Allen keys near the tools as I can't just grab any nearby Allen key (as it would inevitably be metric).
 
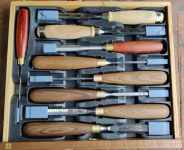
Having recently finished making new handles for my Narex chisels (see here if you haven't been following along), I could finally get on with the last job on the tool-chest: designing the 3D-printed insert for the chisel drawer. I did quite a bit of playing around with different layouts and ended up with this:

ARGH. Copy-and-pasting images doesn't seem to work any more - I've resized it to have the biggest dimension as 800 pixels (the same value I used on the old forum and I'm sure I've used with copy-and-paste since the upgrade) but when I paste it says "The uploaded file is too large."

I had to resize this down to just 640 to get it to upload.

1713462273366.png

Anyway, back to the story. The slot on the left is a dedicated one for a 3 mm chisel as I think I'll always want one of them for box making. The other slots are designed to take either the Narex ones with the new handles or some other types (as shown in the photo) including my skewed-end chisels. Some of my gouges fit too, so they can be taken if that's what I want to do. I decided against doing dedicated slots for specific chisels as limits my options too much. With this layout I can think about what I'm likely to make when I'm travelling and take an appropriate set of chisels.

I finished the bottom drawer a while ago, but I don't think I've posted a photo of it yet, so for completeness, here it is (also shrunk down to get the new forum to accept it):

1713462448757.png

There's a bit of flexibility in that drawer and also some empty space that can be filled with whatever seems a good idea at the time. The "Curiously Strong Mints" tin is empty, but it'll be handy for taking odds and ends like screws / hinges or whatever.

I think I can now say that the chest is finally completely finished. I'll be taking it to France in June and giving it a proper try.
 
ARGH. Copy-and-pasting images doesn't seem to work any more - I've resized it to have the biggest dimension as 800 pixels (the same value I used on the old forum and I'm sure I've used with copy-and-paste since the upgrade) but when I paste it says "The uploaded file is too large."
That is probably because the file size is too big, not the dimensions (limited to c. 1Mb) - this is always a risk with copy and paste as it doesn't optimise the file - whereas dragging and dropping / selecting from the file box will both optimise the file and allow a bigger dimension to be uploaded...

very nice solution....
 
That is probably because the file size is too big, not the dimensions (limited to c. 1Mb) - this is always a risk with copy and paste as it doesn't optimise the file - whereas dragging and dropping / selecting from the file box will both optimise the file and allow a bigger dimension to be uploaded...
I guess that makes sense. On the MIG welding forum I regularly use copy-and-paste to upload images with max dimension 1000 or more but I guess they've allowed a bigger file size.

The copy-and-paste method is so much more convenient than uploading files (I don't even save them locally, just crop, resize, copy). I guess I'll just have to post lower res images here .
 
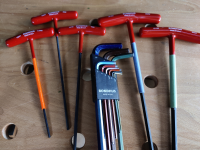
I’m sure there is a reason for colour coded allen keys. :unsure:
I think they're brilliant: if I need a 4 mm Allen key I reach for the red one. I've added 3D-printed sleeves to my t-handle Allen keys to match the same colours:

1659277166764.png

That photo was taken before I got hold of the red & pink filament for the last two hex keys, but you get the idea.
 
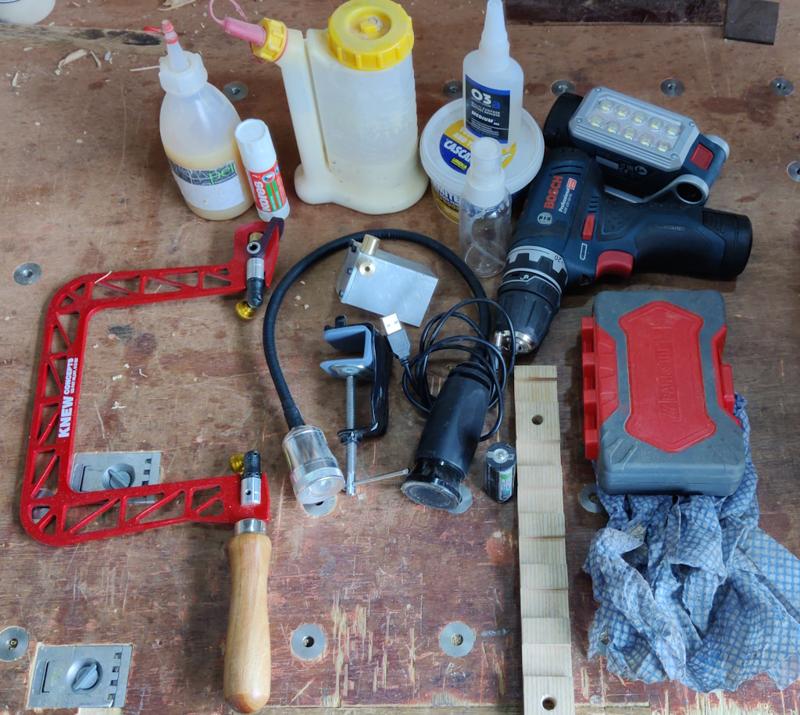
Well, this is it: the "christening". This is the first time I've taken the completed tool chest away on holiday. In addition to the tools that fit in the various drawers, I added a few more rugged tools that could get chucked in a bag and taken separately:

20240909_01_extra_tools_800.jpg


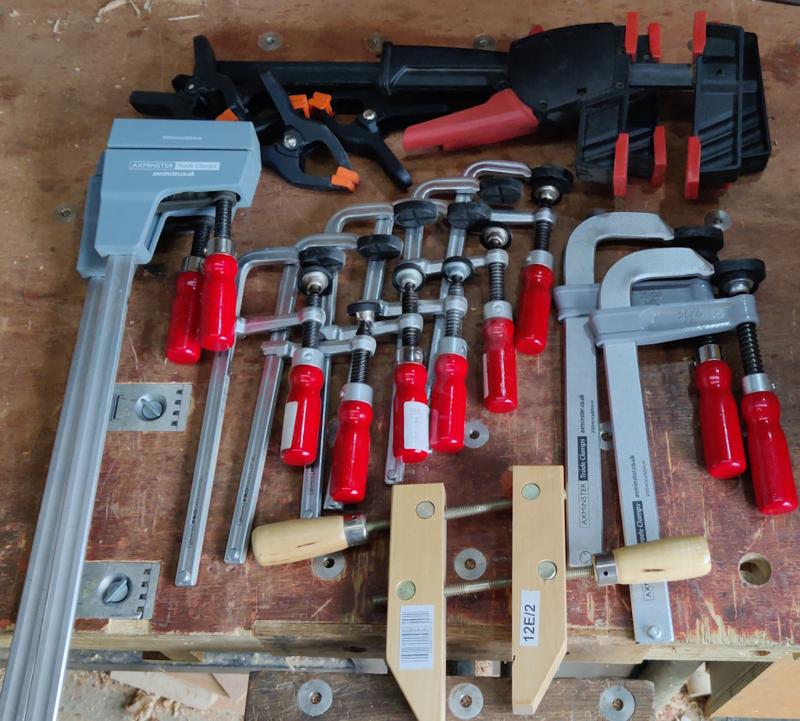
I also got a bit carried away with clamps (although the quick clamps were there more for the purpose of holding a sheet up to a trellis to block the sunlight than for woodwork):

20240909_02_lots_of_clamps_800.jpg


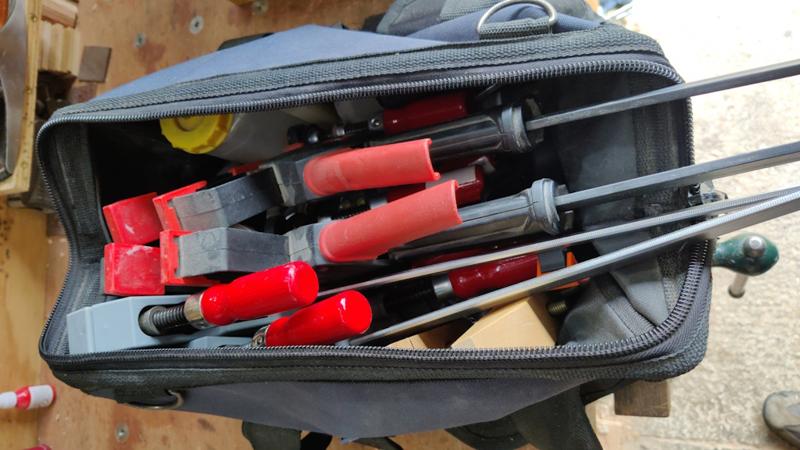
All of the extra tools and the clamps got chucked in this canvas tool bag...

20240909_03_bag_of_stuff_800.jpg


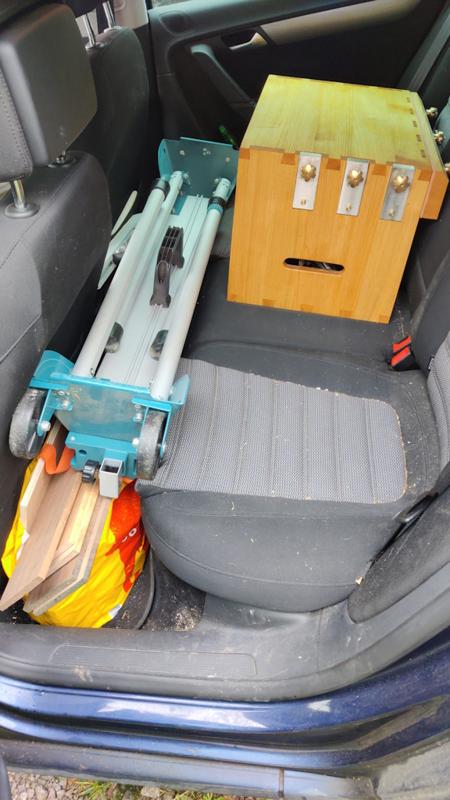
... and then the tool bag, a bag of wood, the mitre saw stand and, of course, the tool chest got loaded onto the rear seats of the car:

20240909_04_in_car_800.jpg


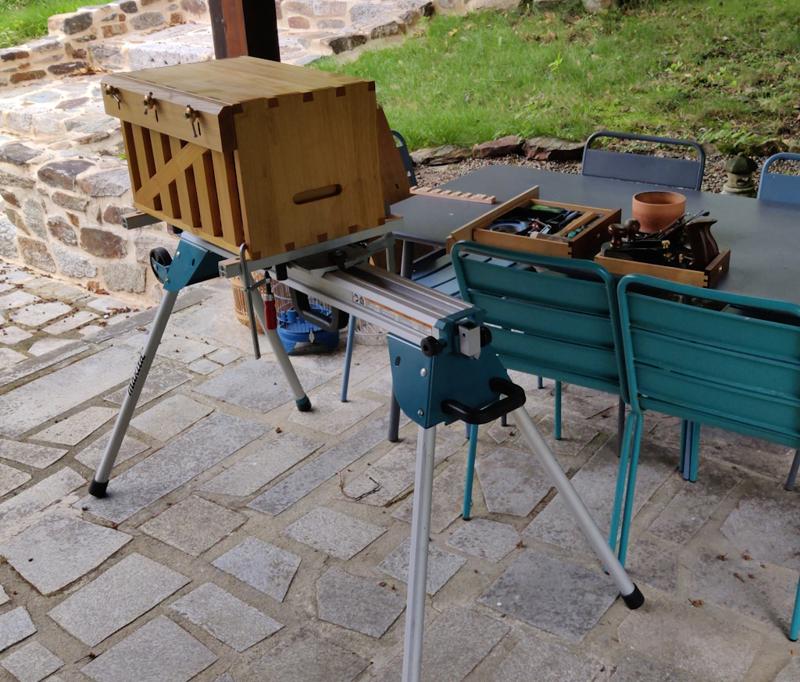
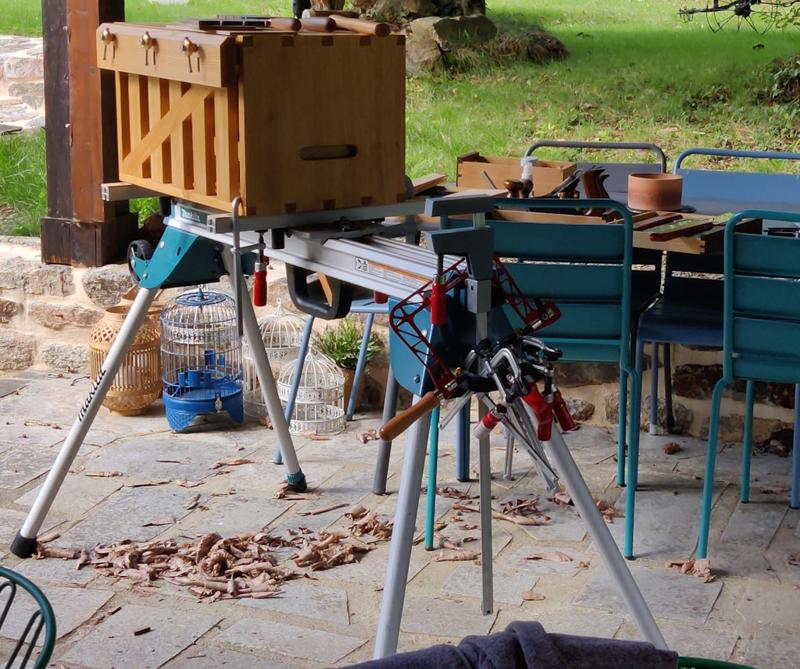
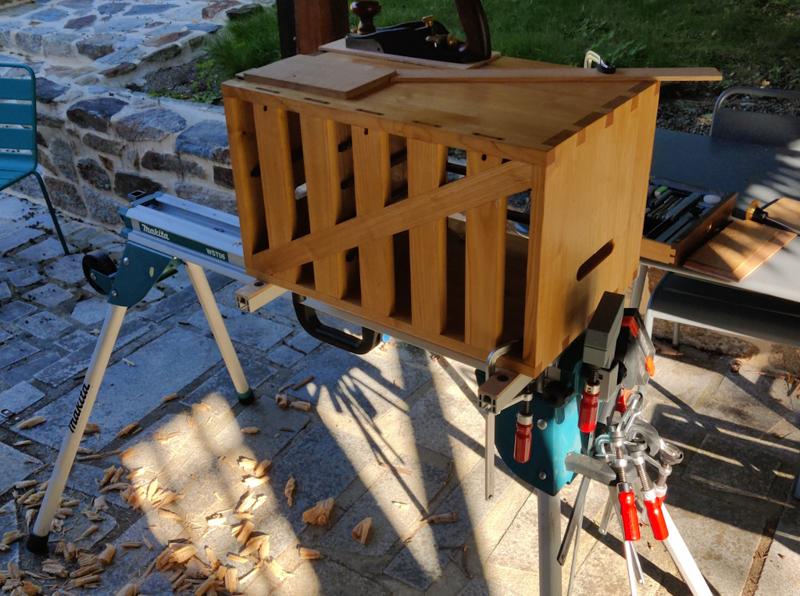
Here it is set up on the covered patio in Brittany:

20240909_05_set_up_in_brittany_800.jpg


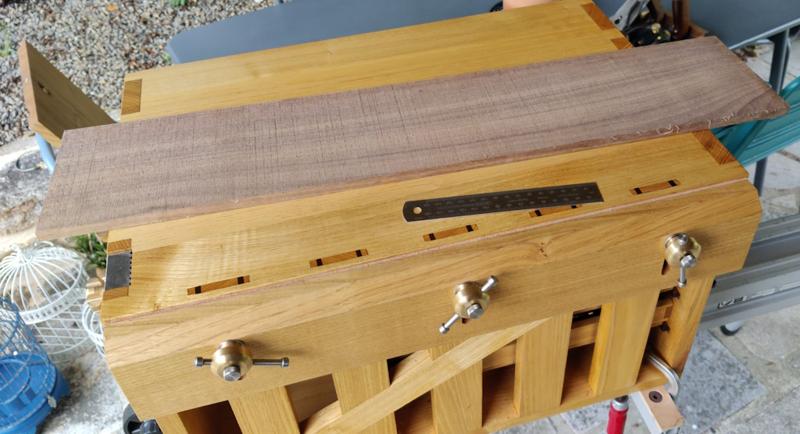
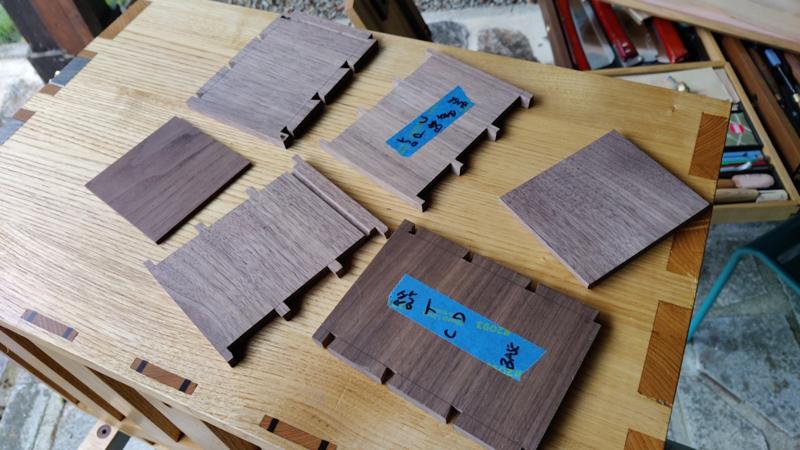
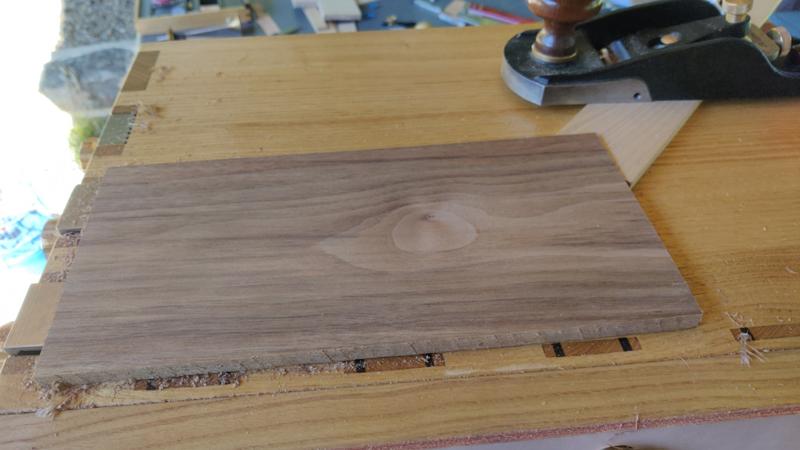
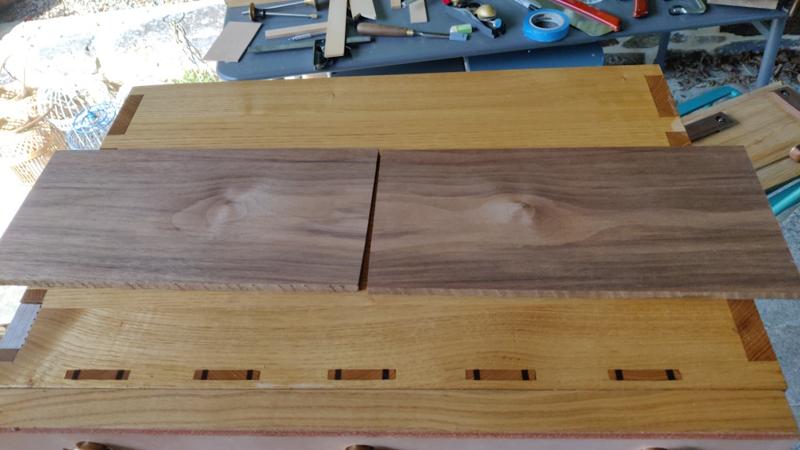
I thought I'd start with something quite simple to ease myself back into box-making and, more importantly, into working with the tool chest as a bench. Among the bits of wood I brought with me was this plank of walnut:

20240909_06_plank_of_walnut_800.jpg


Some of the wood I brought with me has been resawn (with the bandsaw) in half and can be used to make a box with the grain wrapped around. This is a one-off piece so arguably less precious so I thought it would be a good choice for the first go.

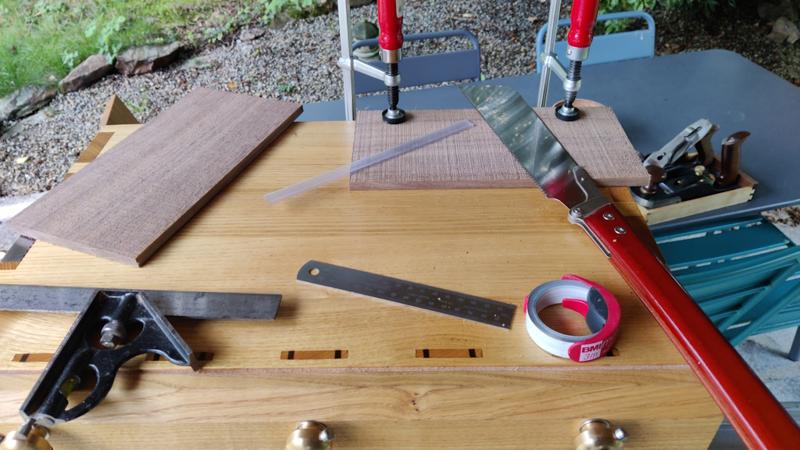
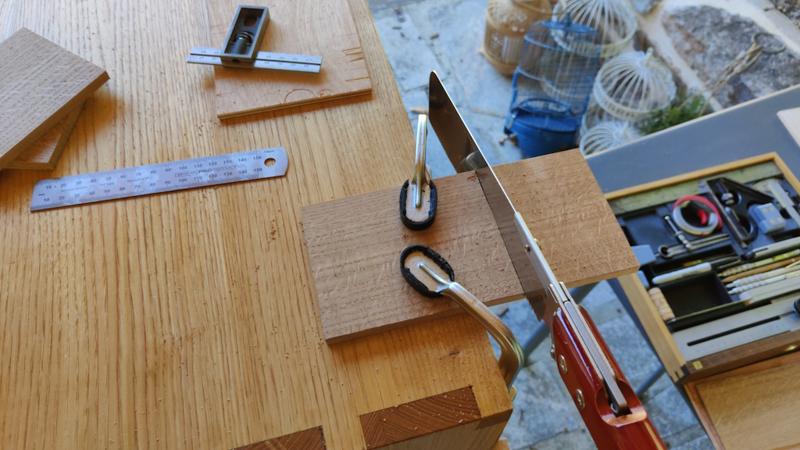
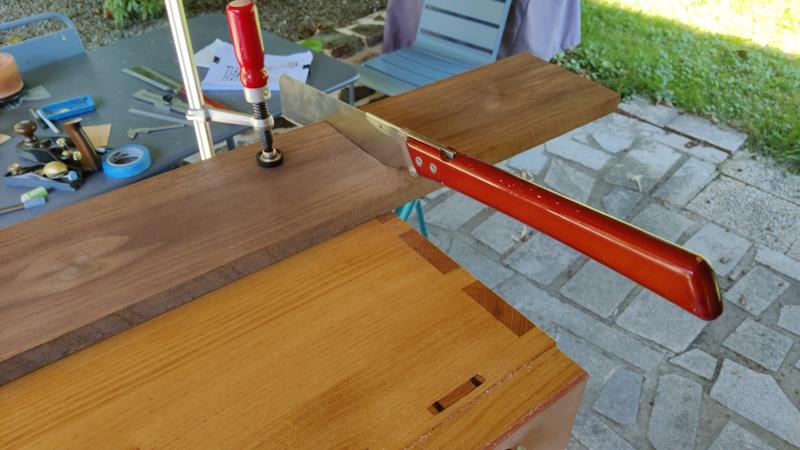
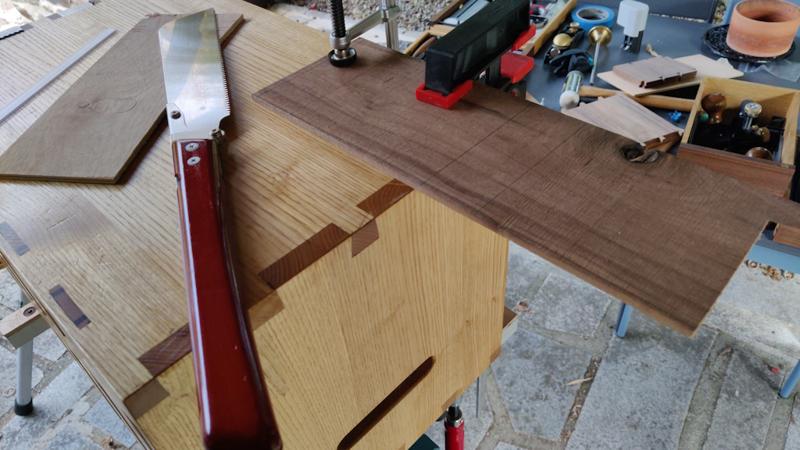
I started by clamping it to the chest and using the folding Kataba to chop it into shorter & more manageable lengths:

20240909_07_sawing_walnut_up_800.jpg


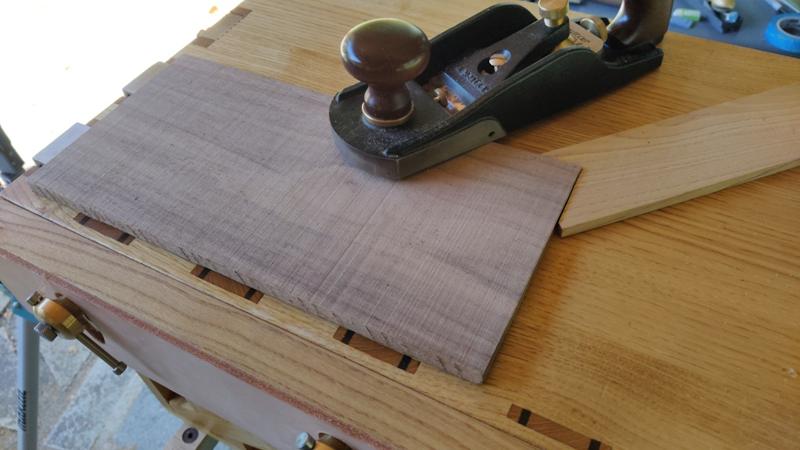
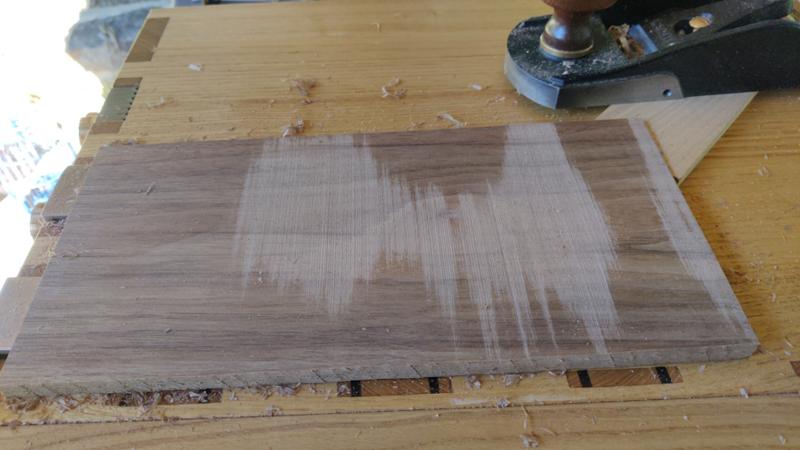
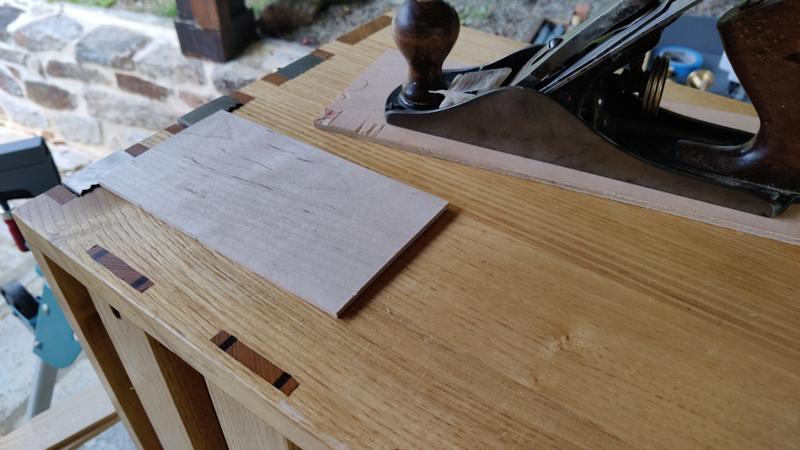
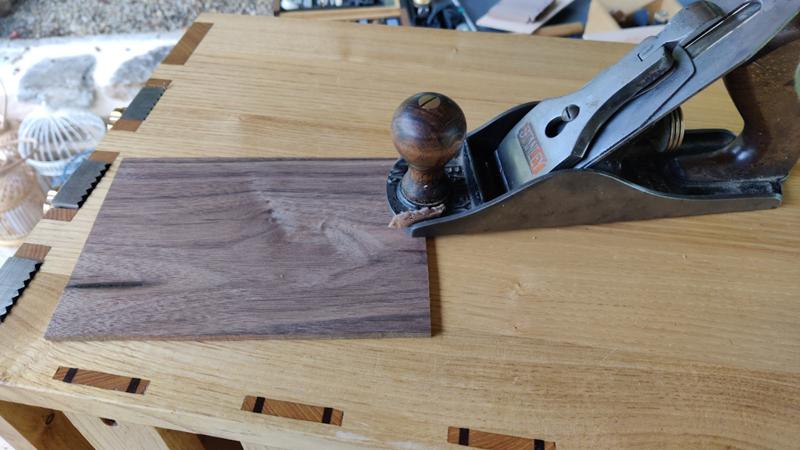
Next up was planing the bandsaw marks away, using the low angle plane, which is serving as my general-purpose plane here:

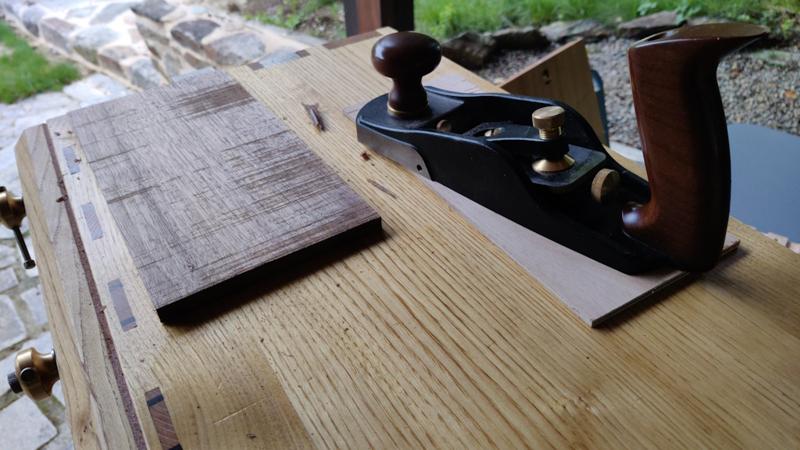
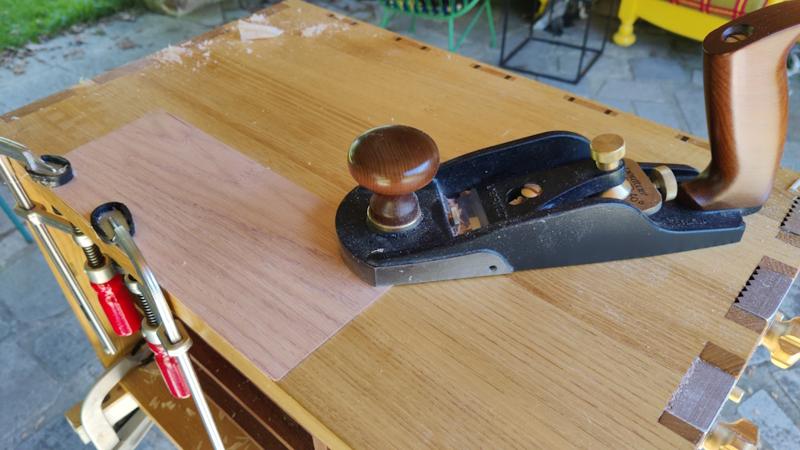
20240909_08_planing_in_progress_800.jpg


One piece finished:

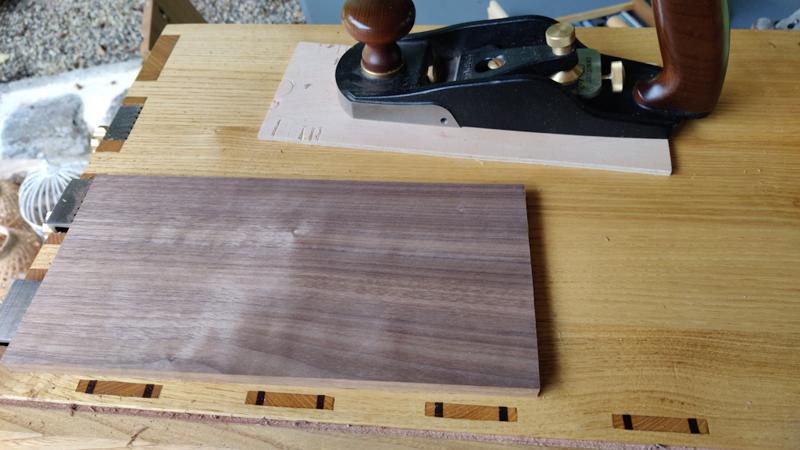
20240909_09_planed_800.jpg


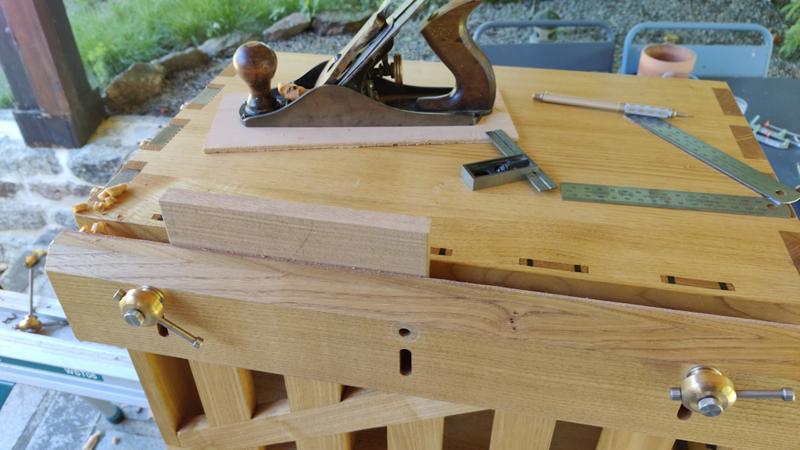
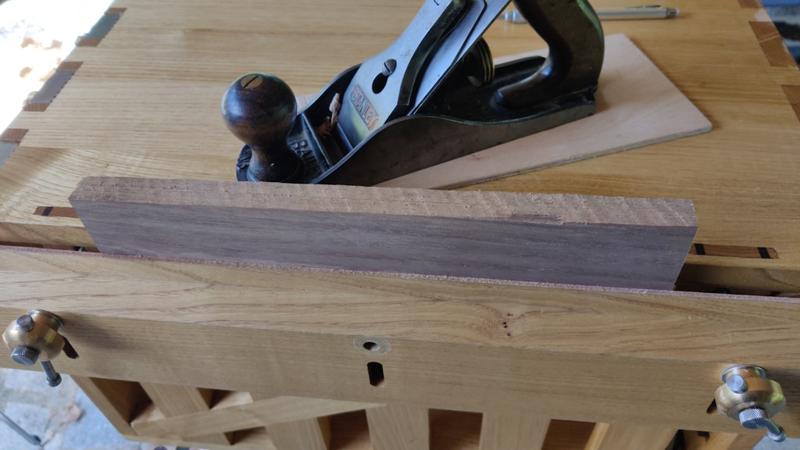
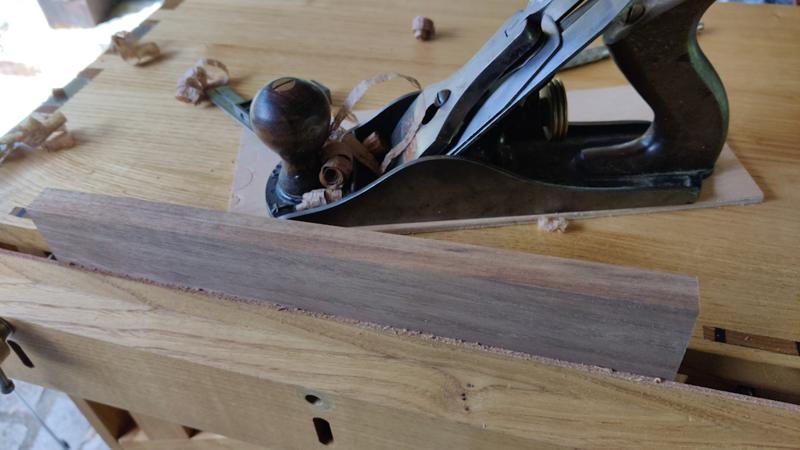
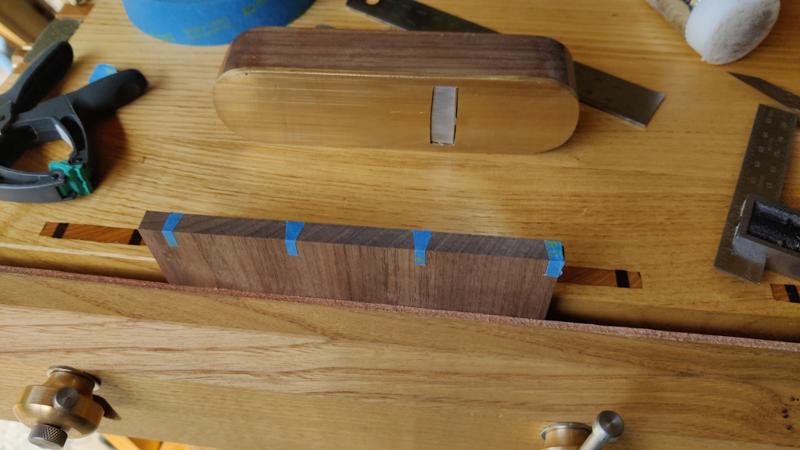
To plane the edges, I decided to try just clamping the piece in the vice:

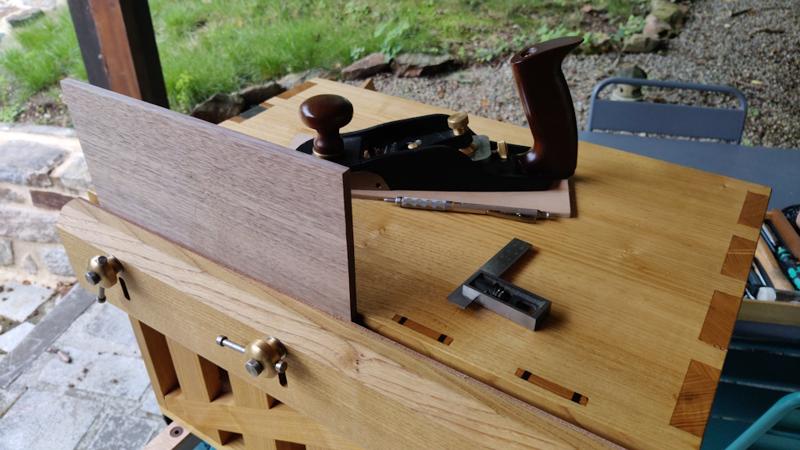
20240909_10_edge_planing_high_up_800.jpg


It would have been held more robustly (and at a more comfortable height) if I had removed the vice and just clamped it to the back, but it was interesting to try this approach and it worked just fine.

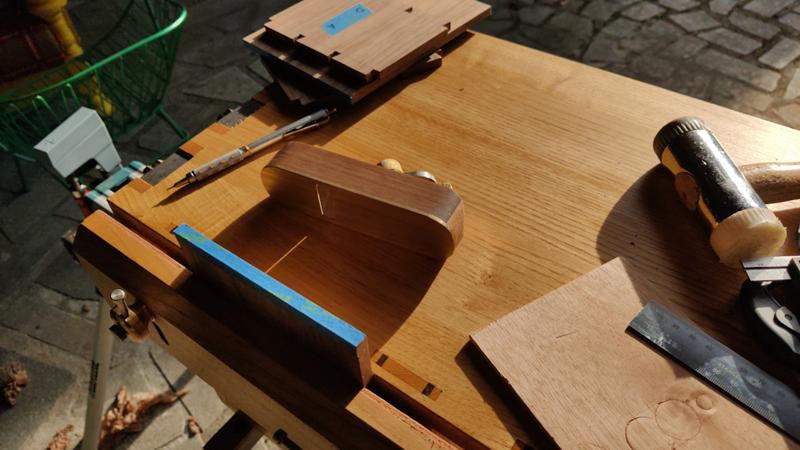
To make a box, there's no real need for the ends of the pieces to be perfectly square (as the ends of the pieces can be planed off after joining the box pieces together). However, planing them square does make it a bit easier as you can mark using the ends for reference. More importantly though, I went to great lengths to make a custom shooting-board for this chest, along with a home-made plane to use with it, so it would be a shame not to give it a go!

20240909_11_shooting_ends_800.jpg


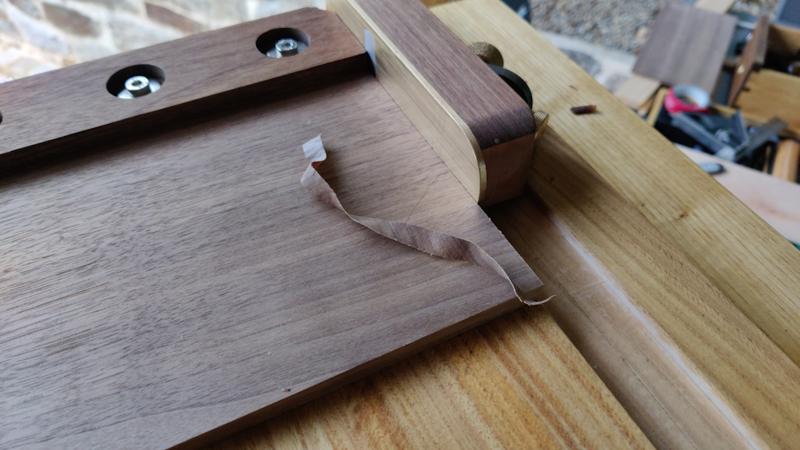
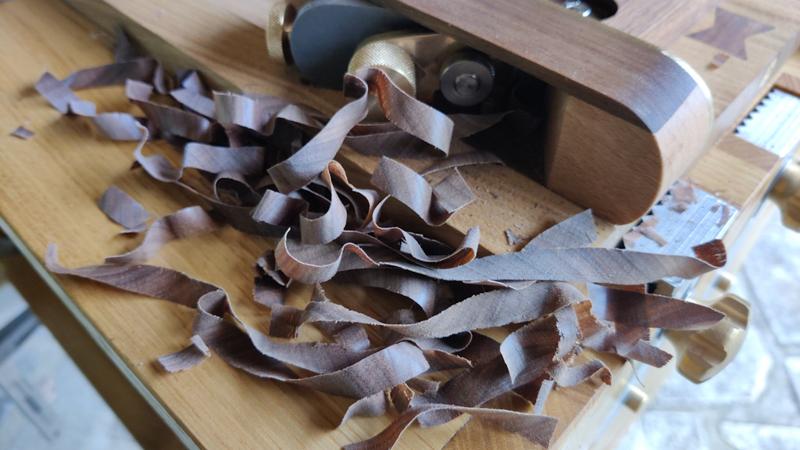
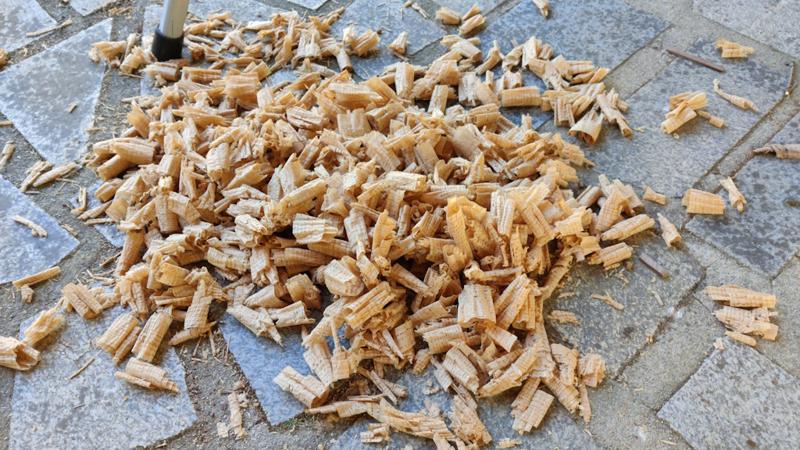
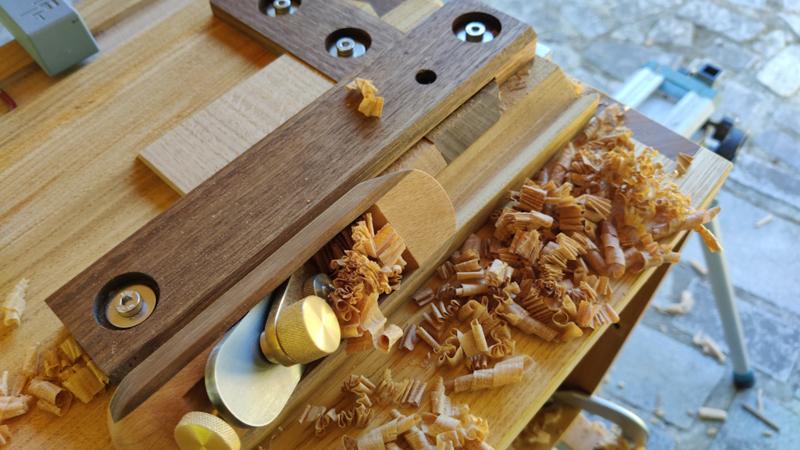
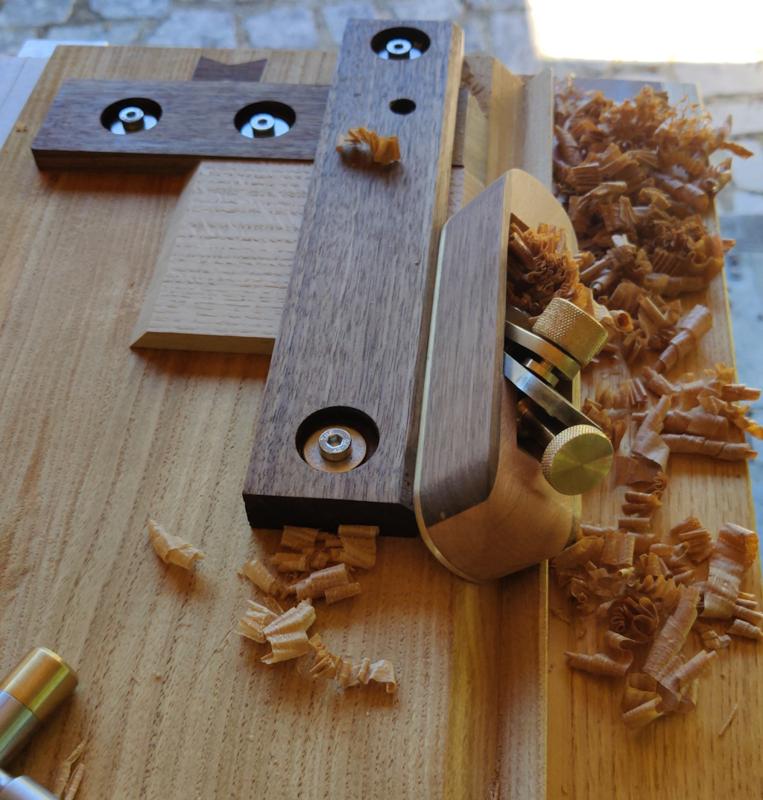
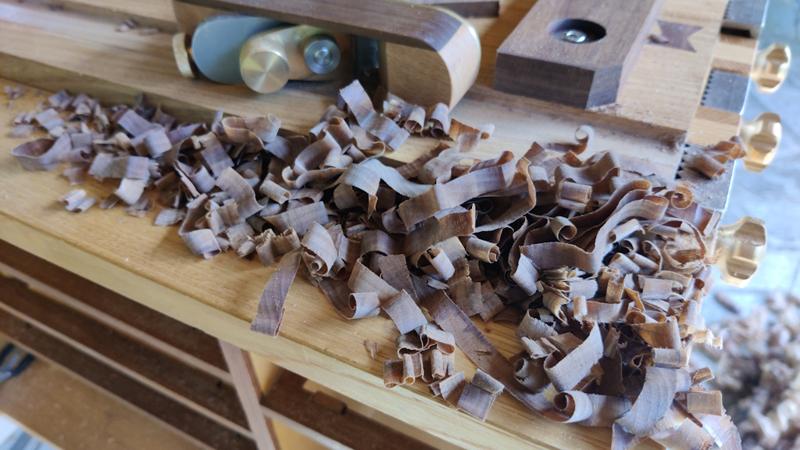
The plane worked beautifully, producing a lovely pile of end-grain shavings:

20240909_12_pile_of_end_grain_shavings_800.jpg


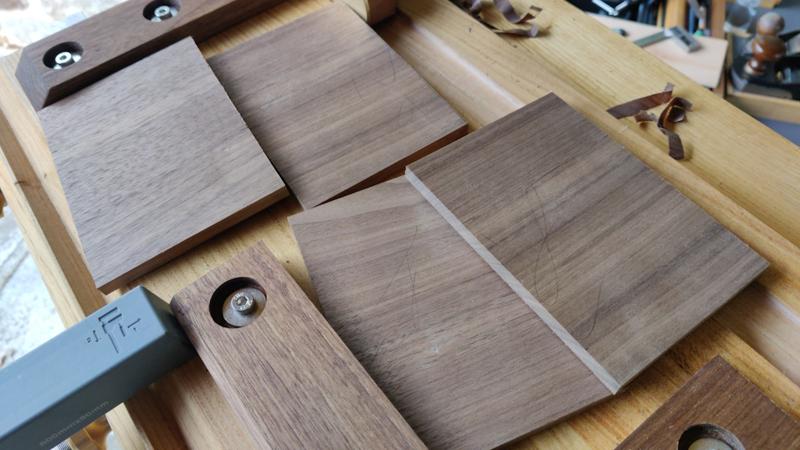
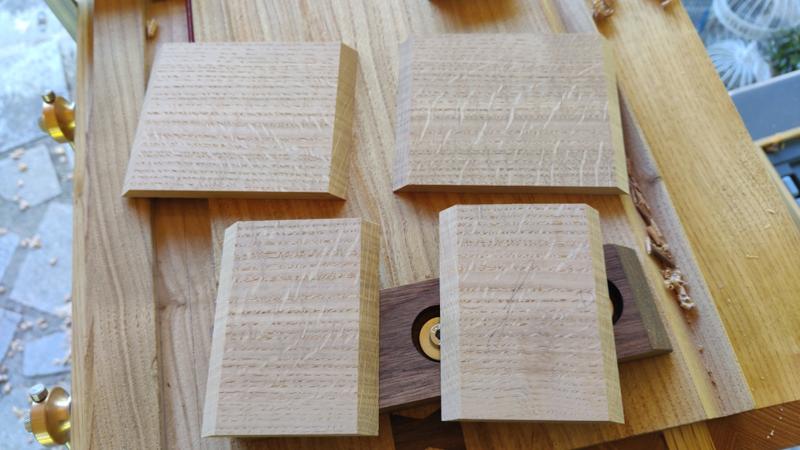
After getting rid of the saw marks, planing to thickness (after removing the saw marks the plank was between 9 and 10 mm thick and I planed it down to about 8 mm thick) and shooting the ends, I had four blanks to work with:

20240909_13_four_blanks_800.jpg


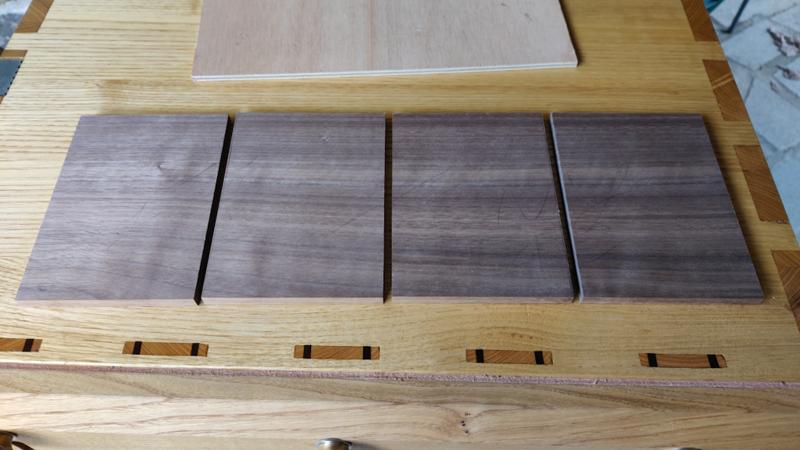
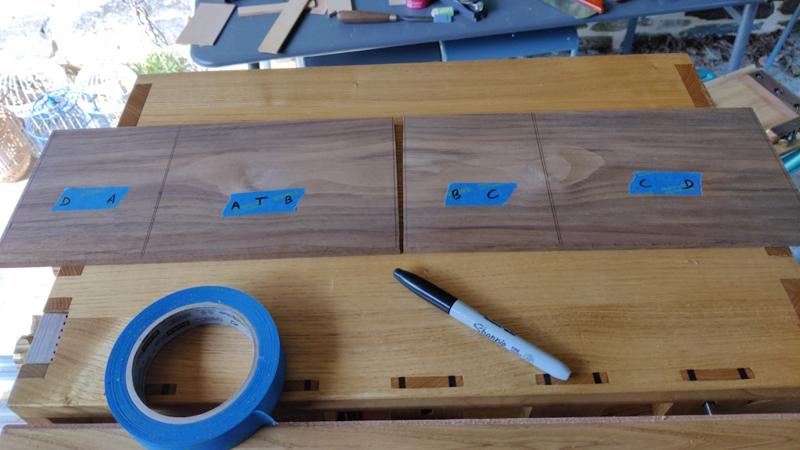
They got laid out in the right order (the order they'd been in the original plank) ready for marking up:

20240909_14_four_blanks_in_line_800.jpg


... continued in the next post.
 
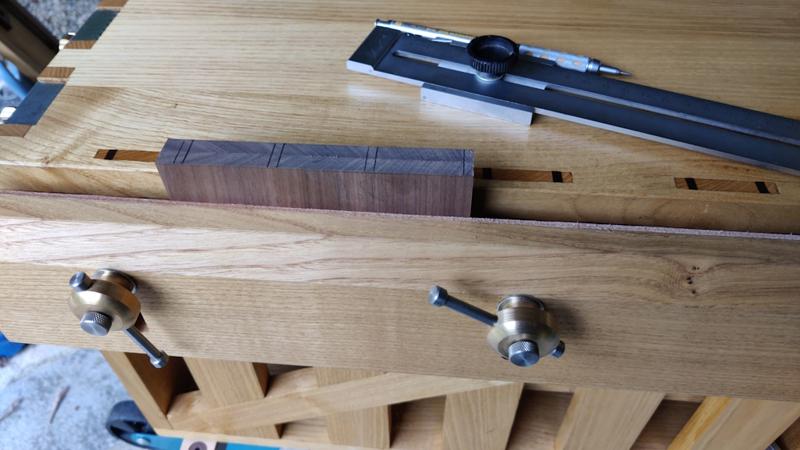
The vice worked really well for holding the tail boards (together) for marking ...

20240909_15_tails_in_vice_800.jpg


... and sawing:

20240909_16_sawn_tails_800.jpg


To remove the excess from the pin sockets, I used a 3 mm chisel, with an offcut of plywood on top of the chest to protect the top surface in case I slipped:

20240909_17_chiselling_pin_sockets_800.jpg


The pins were marked in the usual way, with a 1 mm thick steel rule clamped to the tail board, lined up with the bottom of the pin sockets. I used the home-made shooting plane to support the back of the board.

20240909_18_marking_pins_800.jpg


The masking tape in the waste areas was then removed...

20240909_19_tape_removed_800.jpg


... and the tail sockets sawn out, first with the folding Dozuki and then with a fret saw:

20240909_20_tail_sockets_sawn_800.jpg


I chiselled out the first set of pins (with 10 mm chisel for roughing and 16 mm chisel for final cuts - just to reduce the amount of sharpening to do):

20240909_21_first_set_of_pins_chiselled_800.jpg


I then felt it was an appropriate time for a tea break and I took the opportunity for another photo while I was supping away.

20240909_22_tea_break_800.jpg


I marked out and sawed all the other pins before working through them one by one with the chisels to tidy them up. While I was doing this, the sun came out and gave everything a lovely hue:

20240909_23_sun_out_800.jpg


The last job for today was to remove the top portion of the pin boards, which I did first by sawing the bulk of the excess away with a Dozuki...

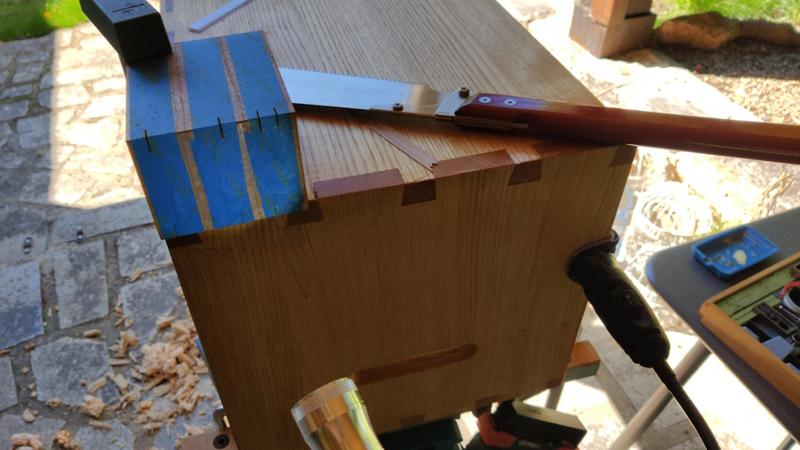
20240909_24_sawing_pin_board_tops_800.jpg


... and then planing the sawn edge with the #4 smoothing plane:

20240909_25_planing_pin_board_tops_800.jpg


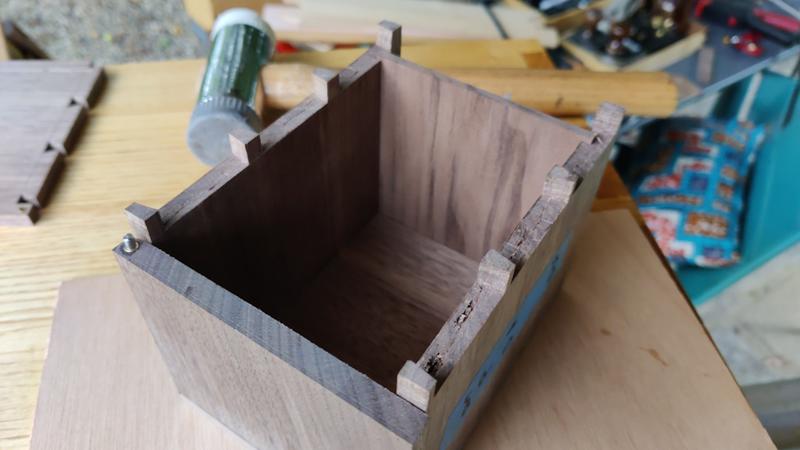
I could then do a dry fit:

20240909_26_dry_fit_800.jpg


At that point I decided it was time for a glass of cider!

The box frame isn't perfect and I'm sure there will be gaps when I glue it together, but it was a nice start to the process of holiday woodworking and I have no complaints so far about how the chest works as a workbench.
 
Wow, that's seriously good. Your concept pays off really well.
And I love the effectiveness of that shooting board on the end grain walnut!
 
We spent the morning out and about, but Carolyn needed to rest after lunch so I got on with the box. I started by planing one off the off-cuts from the plank that I used to make the sides of the box:

2024-09-10_01_planing_top_800.jpg


I then spent a little time sawing and shooting that piece to size...

2024-09-10_02_sawing_and_shooting_top_800.jpg


...until it was a nice fit in the gap in the dry-fitted box:

2024-09-10_03_top_test_fit_for_size_800.jpg


To make the box base, I started with this offcut of walnut that I'd brought with me:

2024-09-10_04_offcut_for_base_800.jpg


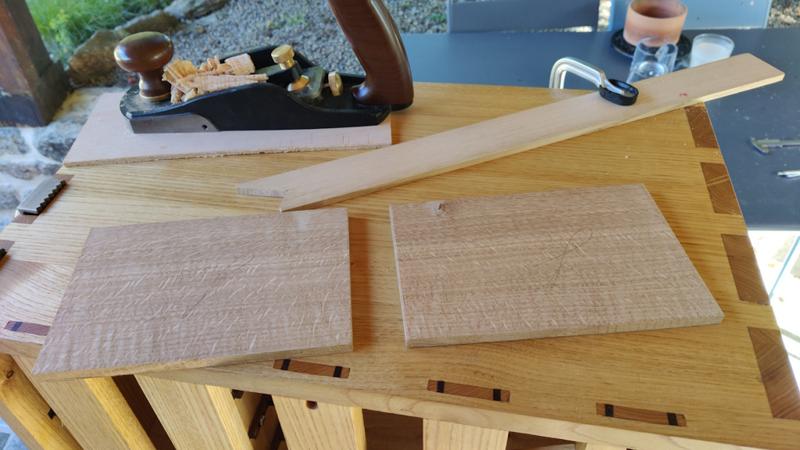
It was about 4.5 mm thick. After cutting it to about the same size as the box (to leave plenty of excess for trimming later), I had a chance to try out the modified planing stops (now with a flat top) for planing thin material; they worked perfectly:

2024-09-10_05_planing_thin_works_800.jpg


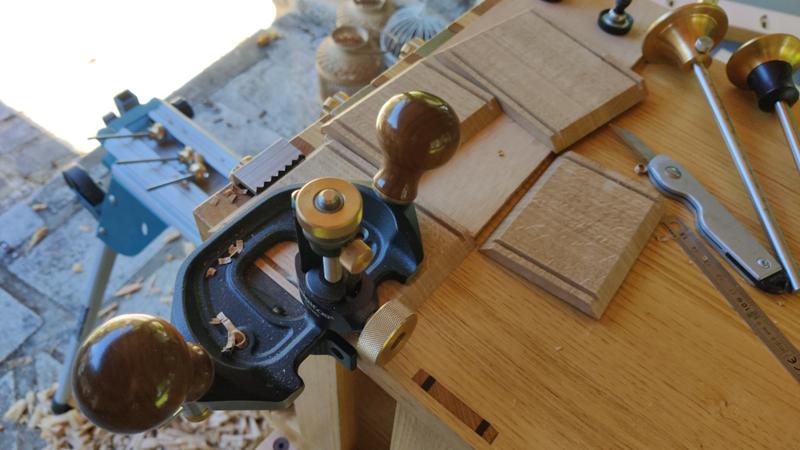
I've got space for two marking gauges in the tool chest, so I set them up for each side of the groove. The router plane isn't quite as refined for cutting grooves as a plough plane, so I figured it would help if the sides of the groove were cut already to get things started nicely.

2024-09-10_06_marked_for_4mm_grooves_800.jpg


On the pin boards, I could plough the grooves all the way through, so they proceeded very quickly:

2024-09-10_07_ploughed_through_groove_800.jpg


Since I hadn't bothered with mitred dovetails, the tail boards needed a blind groove. I didn't have a 4 mm chisel in the selection that I'd brought, so I started by chiselling out the ends of the groove with a 3 mm chisel, keeping the ends in line with the bottom of the tails so that there's minimal chance of blowing out the end.

2024-09-10_08_chiselled_end_of_blind_groove_800.jpg


I could then plough the groove (in both directions) up to the chiselled ends:

2024-09-10_09_ploughed_blind_groove_800.jpg


Finally, I used a chisel to extend the groove out into the tail, taking very light cuts so as not to break out.

2024-09-10_10_extended_blind_groove_800.jpg


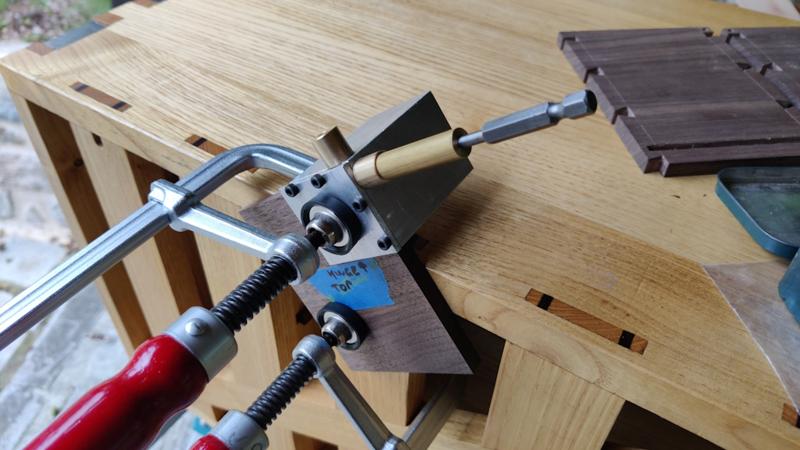
The next job was to prepare the hinge for the lid. A few weeks ago, I made a simple jig to make this process easier. Today was the first time I've tried it out.

2024-09-10_11_hinge_jig_800.jpg


The jig gets clamped to the sides of the box, referencing off the inside face, the top and the back:

2024-09-10_12_drilling_first_hole_800.jpg


The brass tube on the drill bit acts as a depth stop to ensure that the drill bit doesn't go too deep and break out onto the outside of the box.

Another view, after drilling the hole:

2024-09-10_13_drilling_second_hole_800.jpg


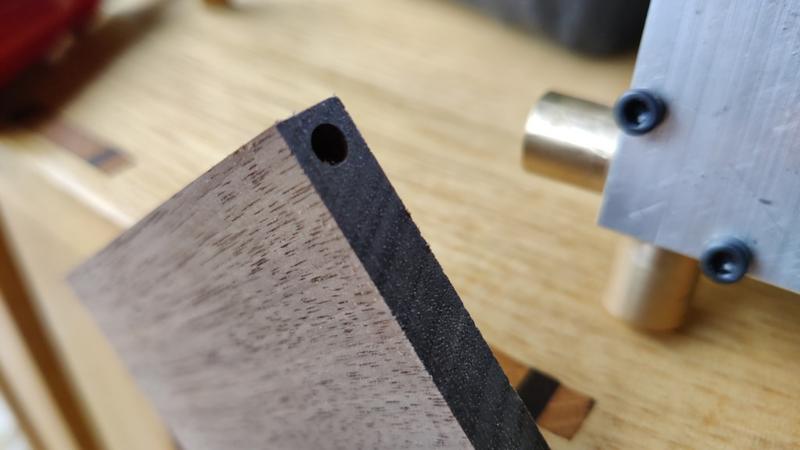
It makes neat holes in just the right place and to just the right depth:

2024-09-10_14_side_holes_800.jpg


A similar arrangement is used for drilling the holes in the end grain in the lid. This time it references off the top face of the lid and also onto the side and the back:

2024-09-10_15_drilling_top_hole_800.jpg


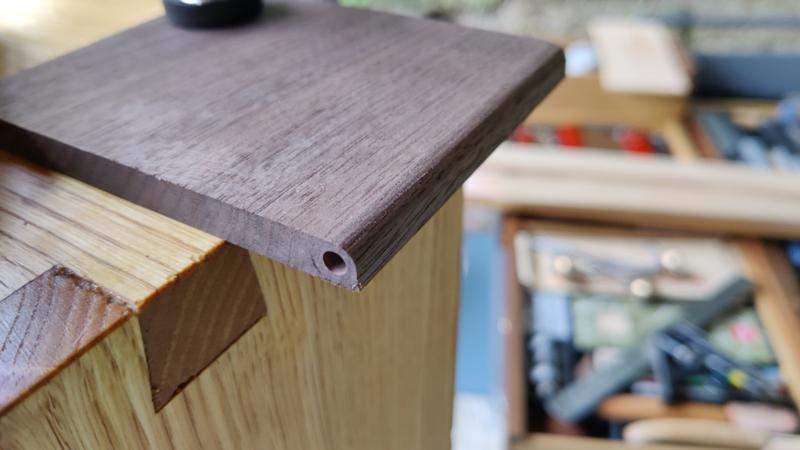
The resulting hole:

2024-09-10_16_top_hole_800.jpg


For the lid to rotate about the hinge, the bottom edge needs to be rounded over, which I just did by eye with a block plane:

2024-09-10_17_round_over_800.jpg


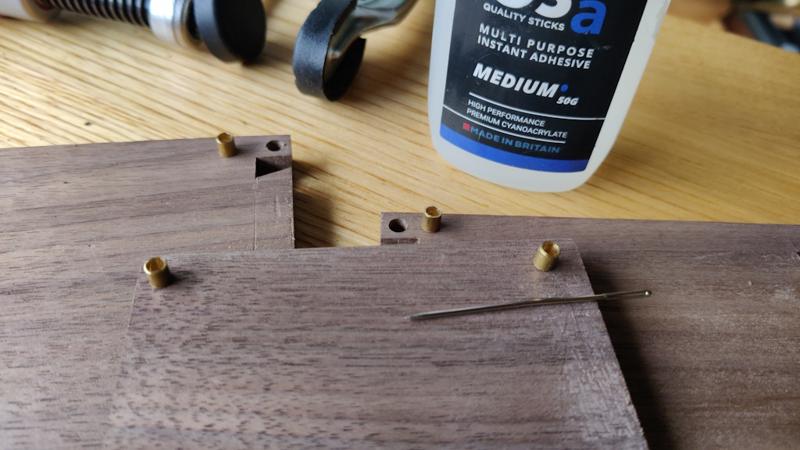
I hadn't brought anything particularly suited to applying superglue to the hinge holes (cocktail sticks would be ideal), but fortunately my other half had some needles, so I borrowed one of those and used it to help glue the chopped up bits of 4 mm OD, 3 mm ID brass tube into the pockets:

2024-09-10_18_gluing_brass_800.jpg


All pieces glued in:

2024-09-10_19_glued_brass_800.jpg
 
The next job was to size the base, which was a quick job with the home-made plane again taking lovely end grain shavings:

2024-09-10_20_sizing_base_800.jpg


To open the lid, there needs to be something to get your finger under. To make that, I pencil-marked a simple box on the edge as a rough guide...

2024-09-10_21_marked_for_finger_pocket_800.jpg


... and then attacked it with a 16 mm chisel, tidying up the finish with a card scraper as there was a bit of scragginess as a result of the grain direction:

2024-09-10_22_chiselled_finger_pocket_800.jpg


That gave me a pile of bits that were almost complete...

2024-09-10_23_all_the_bits_800.jpg


... so I felt it was time for another dry assembly to test the hinge (and make sure I'd rounded off enough). The assembly starts by putting three side pieces together, then a steel pin is dropped into the brass hinge hole, then the lid is dropped onto the pin and another steel pin put into its other hinge hole. The base is slid into place...

2024-09-10_24_partial_dry_assembly_800.jpg


... and then the remaining side pressed on:

2024-09-10_25_dry_assembly_closed_800.jpg


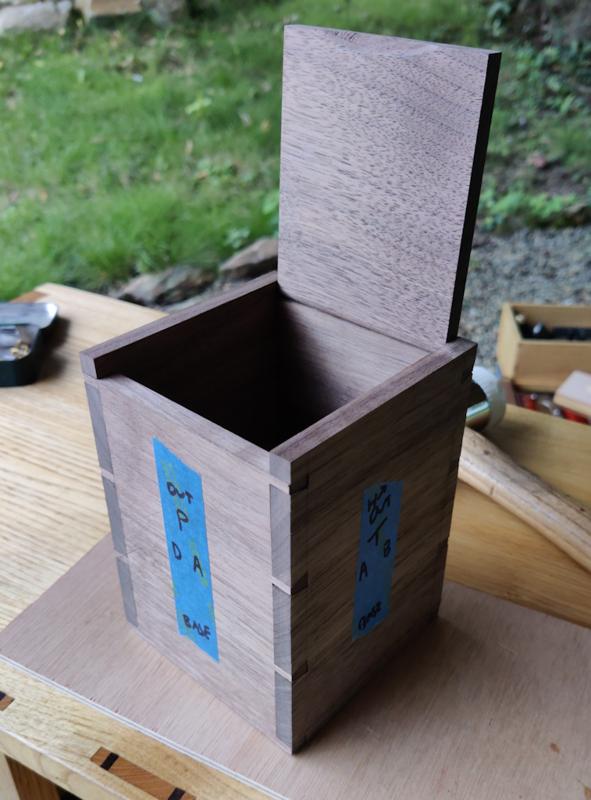
The hinge worked first time:

2024-09-10_26_dry_assembly_open_800.jpg


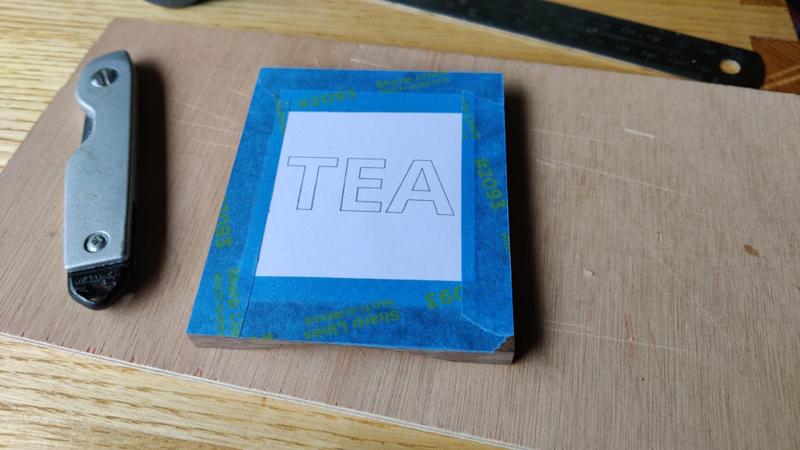
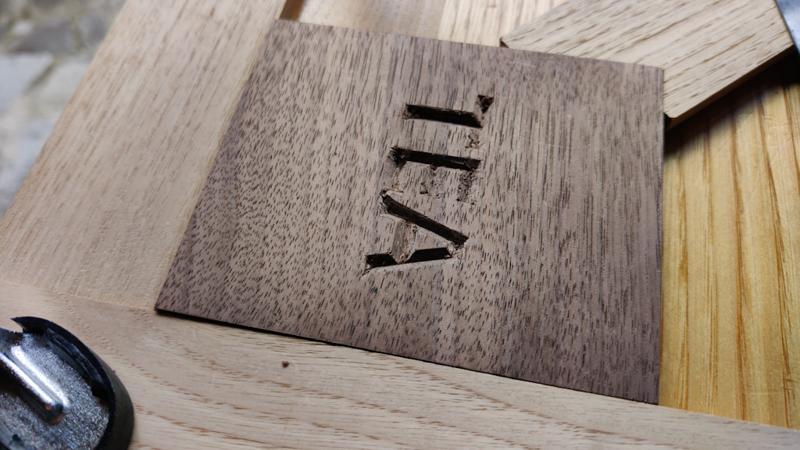
This box is going to be a tea caddy, so I thought I'd label it as such. In true Blue Peter spirit, here's a template I'd made earlier:

2024-09-10_27_tea_template_800.jpg


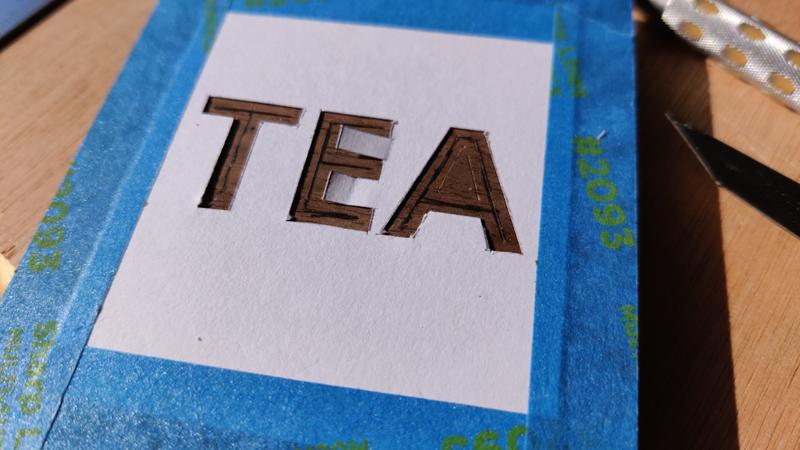
I started by knifing around the template and then (by eye) knifed a middle-line (and then reinforced it in pencil mainly for the sake of it showing up in this photo):

2024-09-10_28_knifed_and_pencilled_800.jpg


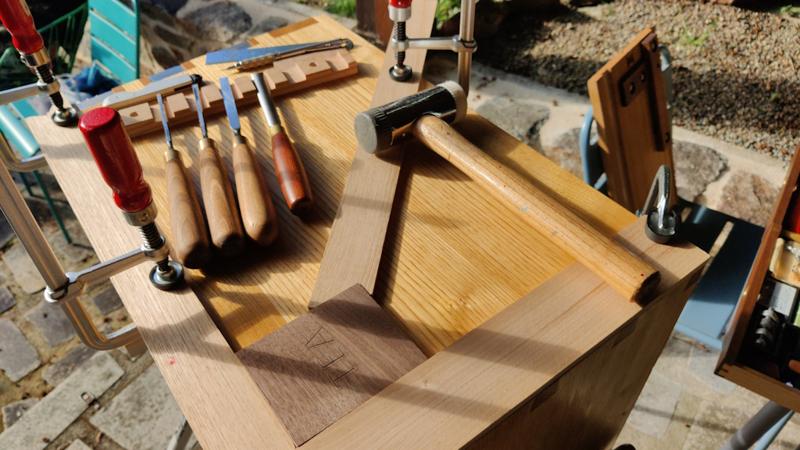
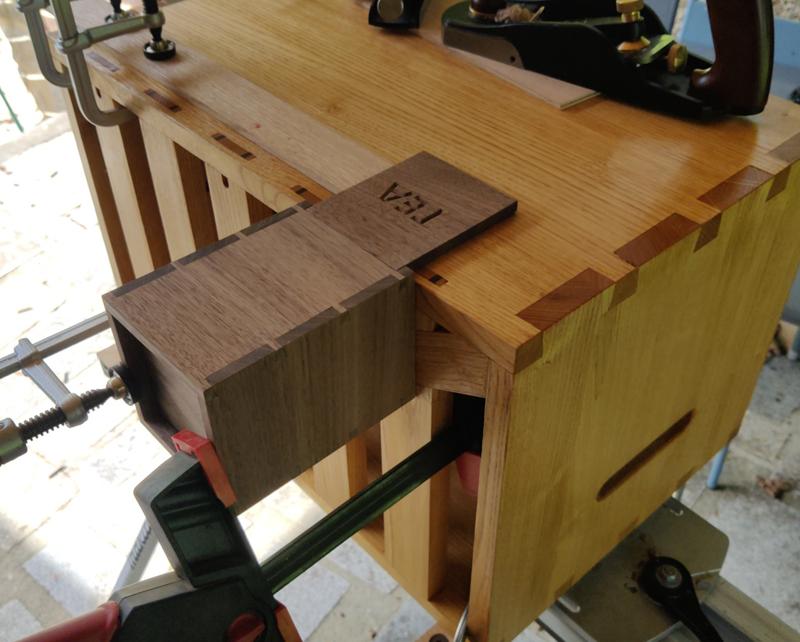
I grabbed lots of chisels to give me plenty of choice and clamped some bits of wood to the chest to support the lid while allowing me to turn it round quickly as needed:

2024-09-10_29_setup_for_carving_800.jpg


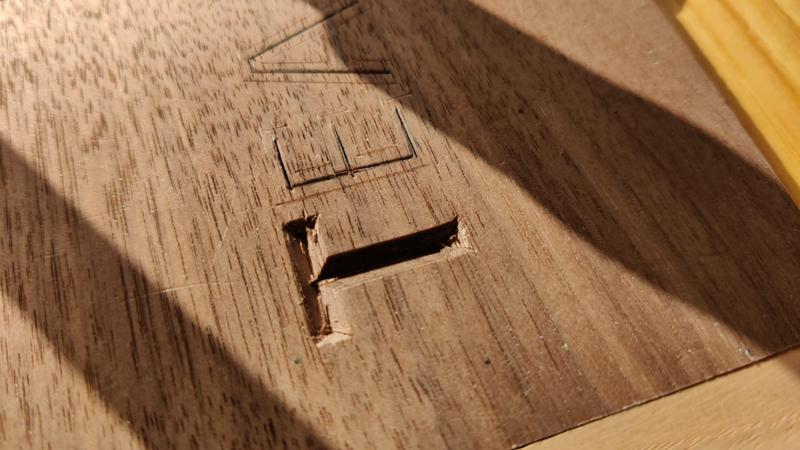
The first letter carved:

2024-09-10_30_carved_t_800.jpg


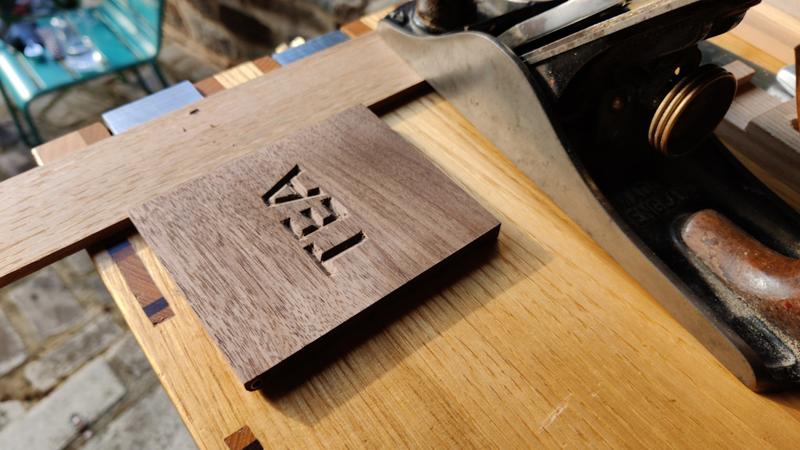
The rest carved:

2024-09-10_31_carved_all_800.jpg


Finally, I gave it a very light pass with a smoothing plane:

2024-09-10_32_light_plane_pass_800.jpg


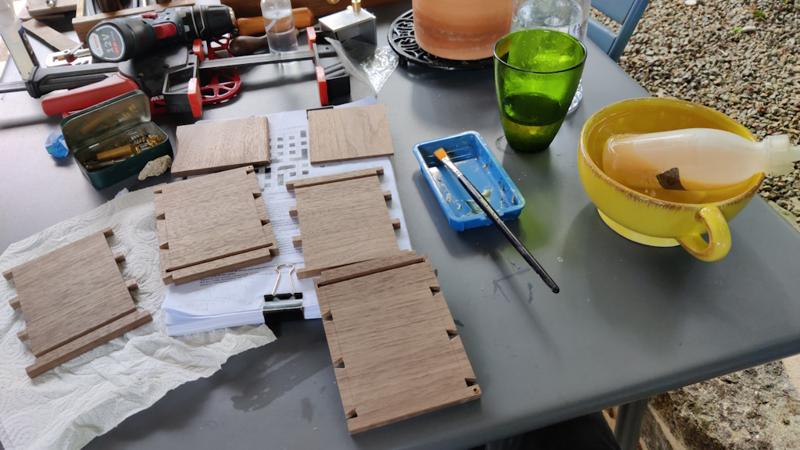
With that, it was ready for assembly, so I put the fish glue in a cup of hot water to make it less viscous and got everything I needed ready:

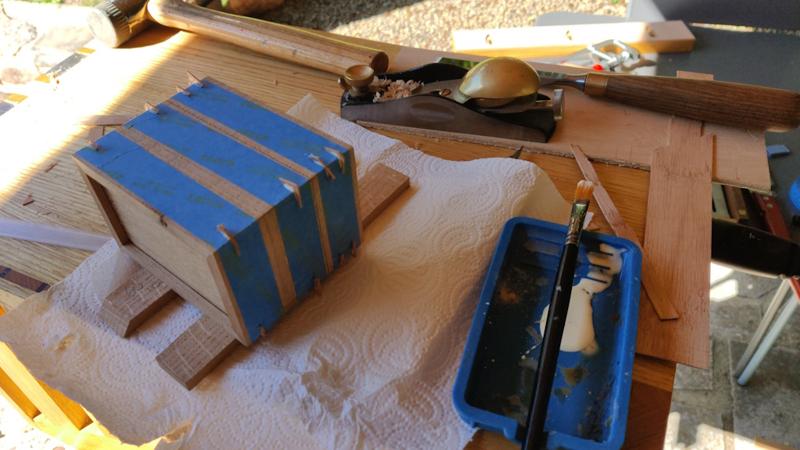
2024-09-10_33_ready_for_gluing_800.jpg


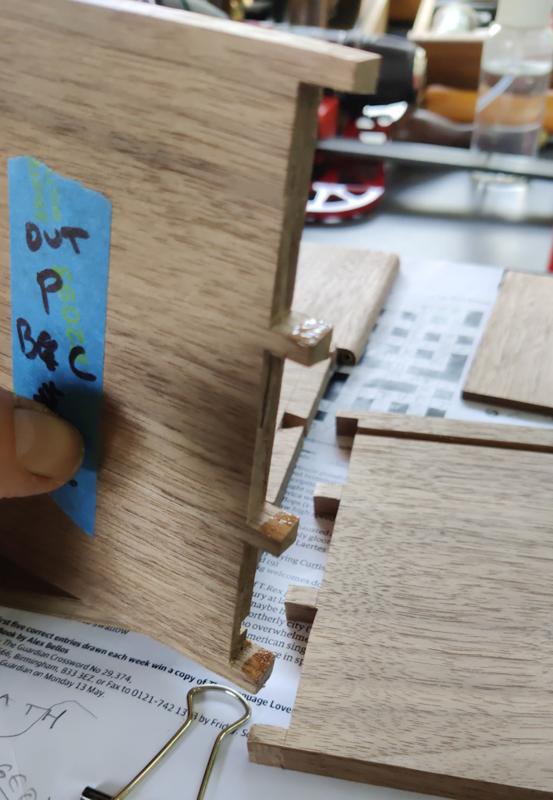
Following the David Charlesworth approach, I only applied glue to the sides of the dovetails and to the top two thirds of the pins:

2024-09-10_34_glue_on_top_of_pins_800.jpg


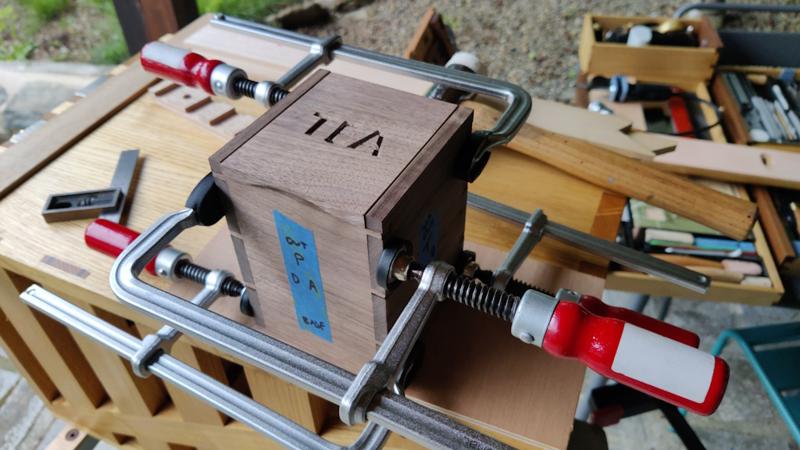
All being well, that should stop any squeeze-out on the inside of the box. The box is now in clamps and we'll see how it looks tomorrow:

2024-09-10_35_clamped_800.jpg
 
We were out exploring Brittany for most of today, but when we got back I spent half-an-hour finishing the box off. After coming out of the clamps, it was clamped to the back of the chest so I could do some final light passes on each face with a plane:

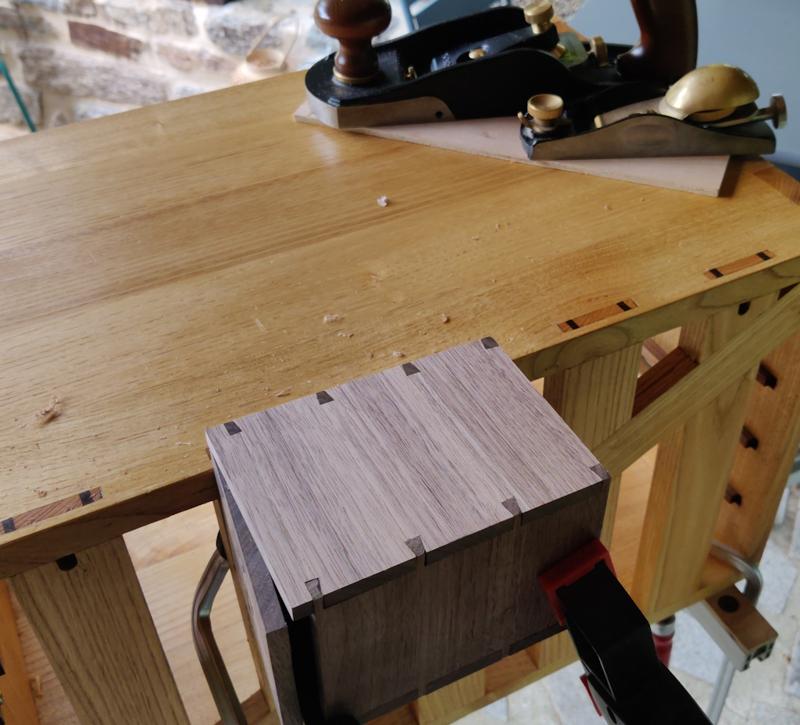
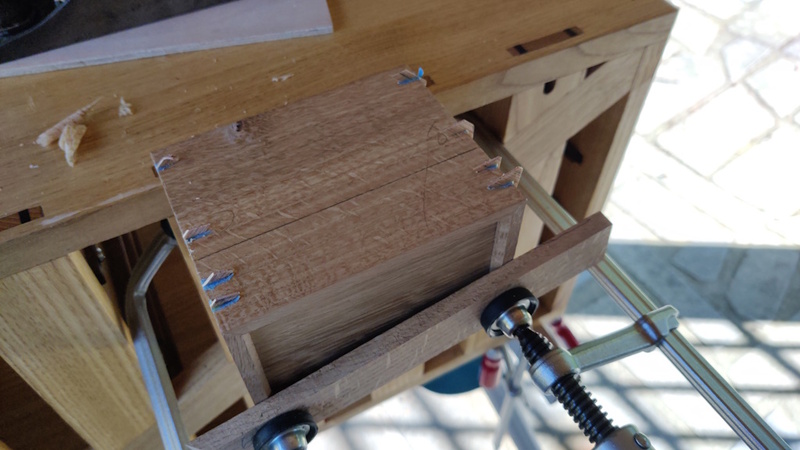
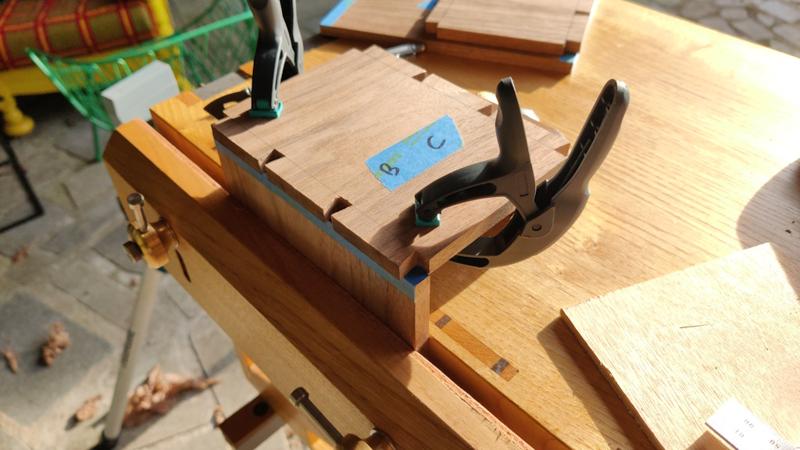
2024-09-11-01-clamped_for_planing_800.jpg


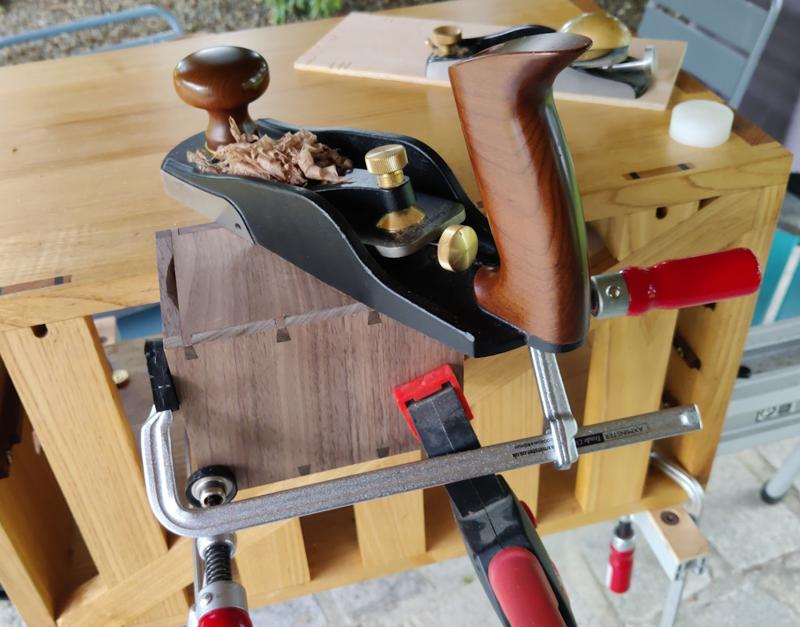
For the front of the box, I clamped the lid shut so it would stay put and be planed flush with the front of the box. The grain direction on the lid is the opposite way round to the face, but I had the plane set for a very light cut and with a tight mouth and it worked absolutely fine:

2024-09-11-02-lid-clamped-shut_800.jpg


Once all the sides were done, I also went round the tops and bottoms of the sides and then finally I gave the lid a light pass just to remove a couple of very faint marks:

2024-09-11-03-final_pass_on_lid_800.jpg


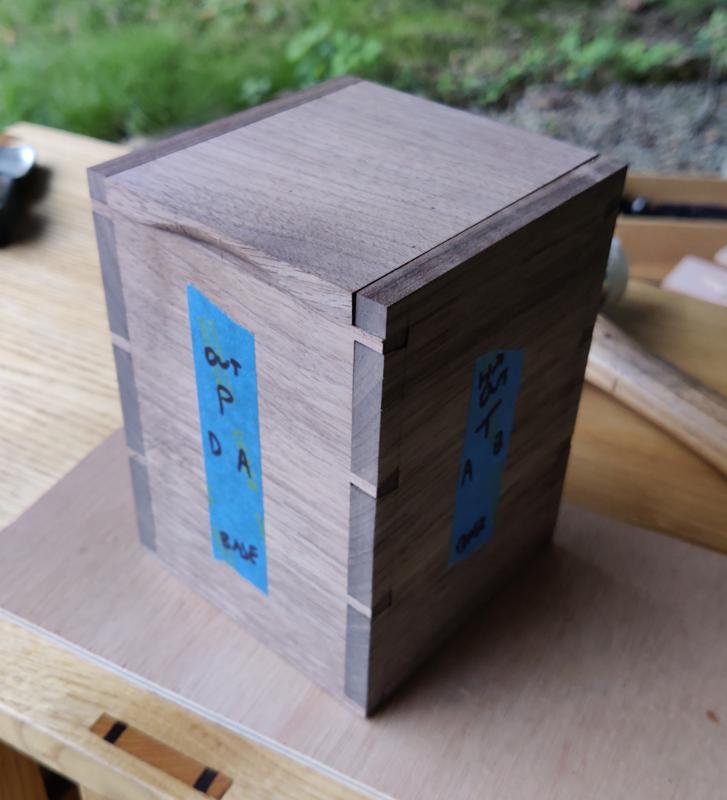
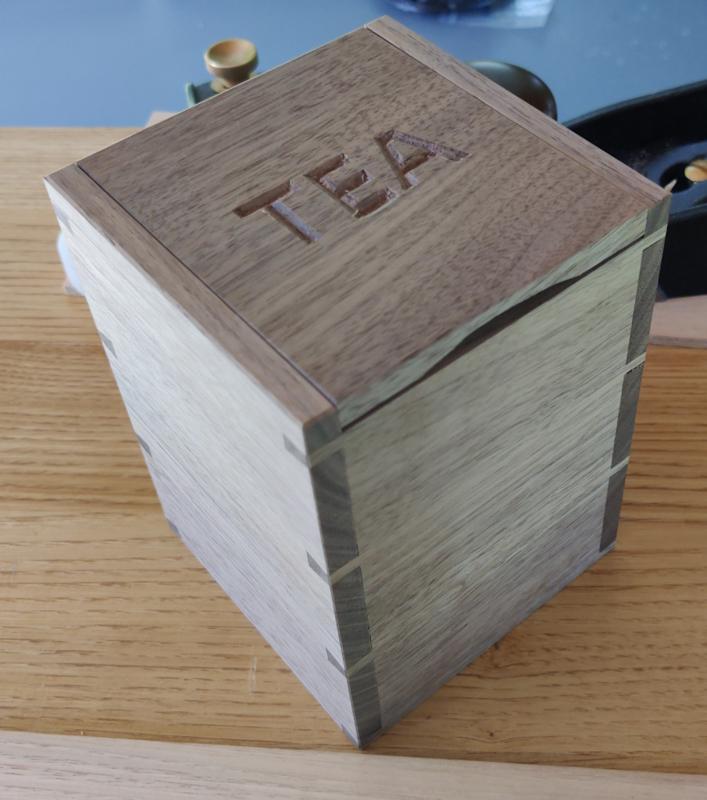
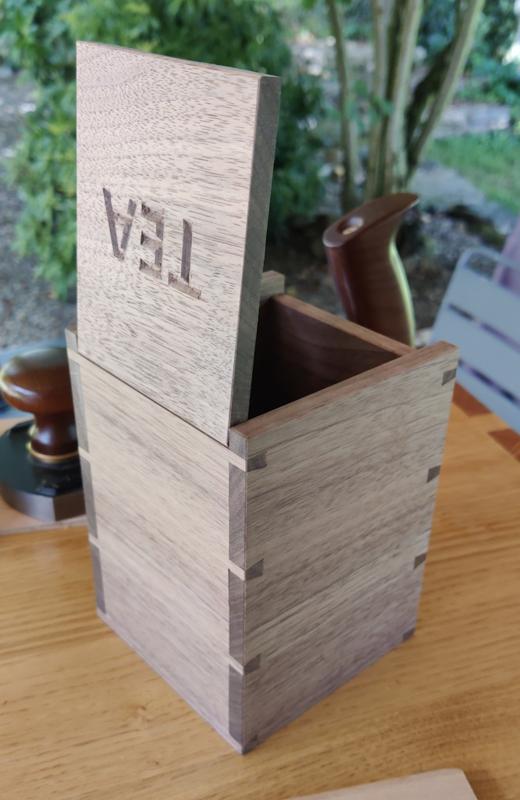
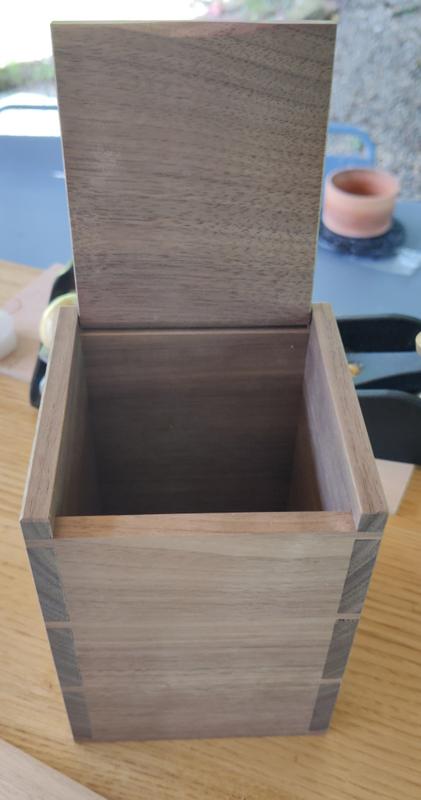
With that, I'm calling it done (it'll get a coat of mineral oil once I'm back in England):

2024-09-11-04-finished1_800.jpg


2024-09-11-05-finished2_800.jpg


2024-09-11-06-finished3_800.jpg


It's a very simple box, but I'm quite pleased with the result given that it's the first thing I've made with the finished tool chest.
 
Very versatile holiday toolbox, good work making the tea box.
On a side note the colour of your stand matches the patio chairs, fits in very well. :)
 
I haven't done anything with the tool chest over the last couple of days as we've been exploring Brittany a bit more. However, today and tomorrow have been designated as rest days so I thought I'd start another box.

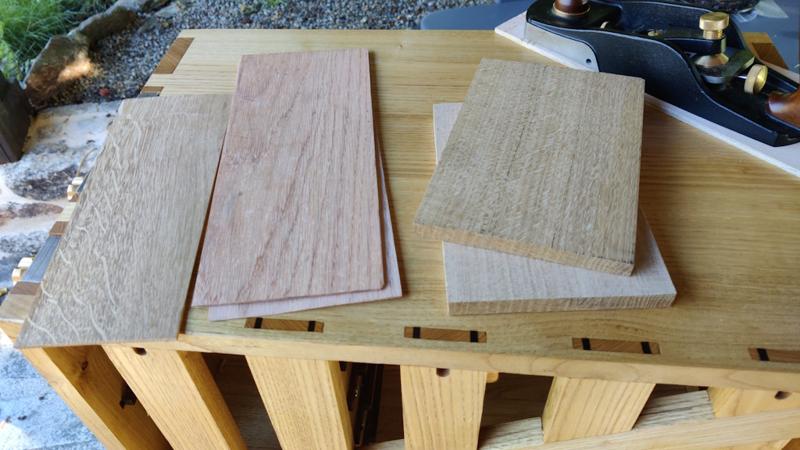
These are some oak bits I brought with me:

2024-09-14-01-oak-bits_800.jpg


The bigger bits were about 12 mm thick; the thin bit is about 3 mm thick and the two bits of (what I believe is) red oak are more like 2 mm thick, possibly a bit less. The bigger bits are a bit thick for a box (especially one as small as this will be due to the wood sizes) so they need a lot of planing to bring them down to size.

Planing them down was quite a work-out, but I quite enjoyed it nonetheless. Under normal circumstances (i.e. in the home workshop) if I had 3–4 mm to take off the thickness of a piece of wood, I'd start with the scrub plane. I don't have a scrub plane here, so I just worked away at them until they were down to size. Incidentally, I realised (and I'm sure I've realised this before, just forgotten it) that the chest & stand combination is much more stable (less likely to lift off the ground under heavy planing) if it's slid along to the other end of the mitre saw stand thus:

2024-09-14-02-chest-moved-to-right_800.jpg


Hopefully I'll remember that next time!

After a pleasant period warming the muscles up and trimming the oak blanks down, I ended up with these two bits of oak, both about 8 mm thick...

2024-09-14-03-planed-oak_800.jpg


... along with this pile of oak shavings:

2024-09-14-04-pile-of-shavings_800.jpg


The next job was to bring the edges square to the faces and as close to parallel as I could manage. I took advantage of the ability to remove the middle vice screw to make it easy to hold the boards for edge planing:

2024-09-14-05-two-screws-for-edge-planing_800.jpg


They then got chopped up in the usual way to make the four side pieces:

2024-09-14-06-chopping-to-length_800.jpg


There are a couple of reasons I'm making this box and neither of them has anything to do with the usefulness of the box, which you'll see later is very much in doubt! The first and less significant reason is to use up those bits of red oak, which I've had lying around for years. The main reason is to have an excuse to try out the mitre shooting mode of the chest's shooting board:

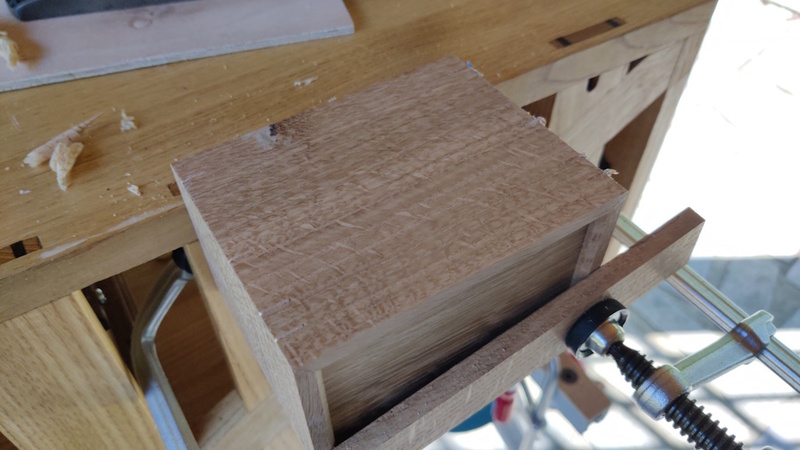
2024-09-14-07-shooting-mitres_800.jpg


The box is going to be a very simple design, with lid and base sitting in grooves and with the joints being splined mitres. If all goes well (and I can plane material that thin), the red oak will be used to line the box.

Since oiling the chest, I'd refitted the mitre shooting fence and support piece, but I hadn't tried to adjust them properly, so when I was cutting the first mitre, I spent a while tweaking the positions of the two walnut pieces to get the cut square to the fence and at 45° to the face. Adjusting the "normal" shooting fence is a very quick job, taking a handful of seconds from start to finish. The mitre set-up is a bit more involved as the angle and position of both of the fences has an effect. Nevertheless, it didn't take long to get the cuts in the right place.

One disadvantage of mitre shooting (compared to shooting square) is that you have to use a different edge against the fence when shooting one end to the other (i.e. one mitre cut puts the reference edge against the fence but the other uses the opposite edge): this is the reason that the two edges have to be as close to parallel as possible.

2024-09-14-08-shooting-mitres-2_800.jpg


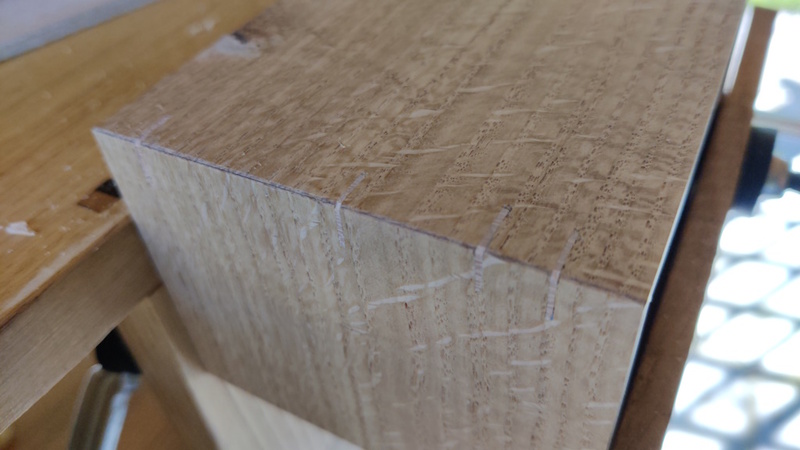
Before shooting the mitres, I very carefully marked each piece to make sure that I cut the mitres on the side opposite the face side. Along each mitre line, I scribbled a mark to show where the material should be removed. With hindsight, it would have been better to mark where material shouldn't have been removed so that, if cutting the mitre on the wrong side, the marks would be clearly visible. As it was, I got three of the boards right and one of them wrong - spot the "f" on only one of these boards:

2024-09-14-09-oops_800.jpg


The grain is fairly straight and uniform, so I'll hopefully get away with it without too much of a grain mismatch, but I did feel like a bit of an idiot. If I'd done it on one of the longer boards, I could have considered shortening the two long sides a bit to correct the mistake, but there isn't much width left on those shorter pieces.

Never mind. The next job was to plough the grooves for the lid and the base, using a 3 mm router blade:

2024-09-14-10-ploughing-grooves_800.jpg


2024-09-14-11-ploughing-grooves-2_800.jpg


The final job for these bits was to add a small chamfer on the inside top edge. I would normally just do this by eye, but since I was set up for shooting mitres and the longer boards **just** fit through the gap in the support piece, I decided to use the shooting board for this:

2024-09-14-12-chamfering_800.jpg


The piece of oak for the lid and base was a fraction over 3 mm thick, so I planed that down to 3 mm using the planing stops and then sawed / shot the pieces to size:

2024-09-14-13-thin-bits-for-base-and-lid_800.jpg


That brought me to the glue-up, which was done with masking tape and some Titebond glue. I went for Titebond this time as it dries quickly and I wanted to get on with the splines after lunch rather than waiting until the next day (which I might have needed to do with fish glue, depending on how much I trusted the masking tape).

2024-09-14-14-ready-for-glue-up_800.jpg


After a break for lunch, I got the red oak pieces out. They're too thin to plane against a stop: any force applied to them just causes them to bend or jump over the planing stop. The best option would probably be two layers of masking tape and superglue, but the red oak pieces are a lot wider than needed, so I decided to just clamp them on one edge and plane as much as possible before flipping round and repeating:

2024-09-14-15-planing-thin-red-oak_800.jpg


The aim here was just to remove the bandsaw marks. Hopefully there will be enough thickness, width & strength left to make the linings, but there was definitely enough to make some splines to reinforce the mitres. When I've cut spline holes in the past, I've generally cut them with a saw taped to block of wood (to get the cut parallel with the base) and then taped to a slightly thicker block of wood with the gap between the two saw cuts chiselled out. That process is described in the description of the first box I ever made.

This time I decided to make them much thinner, using a slightly thicker blade (Kataba rather than Dozuki) and making some very thin pieces of red oak to go into the holes. I started by marking up where the lid split line was going to be and then marking the splines on all four corners. I then went in with the Kataba:

2024-09-14-16-sawing-splines_800.jpg


Finally for today, I trimmed some thin bits off the red oak sheets and then, thinning with a block plane until I got a good fit, I made some splines to go in the saw kerfs. The splines got glued in, again using Titebond (this time just because I'd already got it out):

2024-09-14-17-glued-splines_800.jpg


That'll rest overnight now and then I'll plane the outside faces down, split the box and then sort out the lining.

The box has slightly odd proportions: it's a bit tall for it's size. The dimensions as you look down on the lid are about 117 mm × 72 mm and it's about 92 mm tall. It probably would have been better to cut the planks down and make the box a bit shorter (or make the width and depth equal, making it roughly cubic) as I think it looks a little odd being so tall. It doesn't really matter that much though as the main reason for making it was to prove out the mitre shooting mode and that worked really well.
 
Most impressive. I rather envy your powers of imagination, planning and persistence with this. And it must be very satisfying to use, in the sunshine, on holiday.
 
Most impressive. I rather envy your powers of imagination, planning and persistence with this. And it must be very satisfying to use, in the sunshine, on holiday.

Thanks Andy. It really is incredibly satisfying being able to use it to make stuff. So far I haven't come across anything where I've thought "I wish it could do this" or "I wish I had brought this", which is quite pleasing. There are definitely things that are easier at home (with a scrub plane and a bandsaw!) and for heavy planing it would be nice to have it a little shorter (which could be rectified with a home-made replacement for the mitre saw stand if I can ever be bothered), but it's a lovely height for carving and other chisel work.
 
The first job this morning was to peel off as much of the masking tape as I could easily get at and then clamp the box to the back of the chest:

2024-09-15-01-peeled-off-tape-and-clamped_800.jpg


I could then plane the sides with a #4:

2024-09-15-02-planed-one-side_800.jpg


Once all the sides were planed, I gave the corners a light chamber with the Quangsheng block plane:

2024-09-15-03-light-chamfer_800.jpg


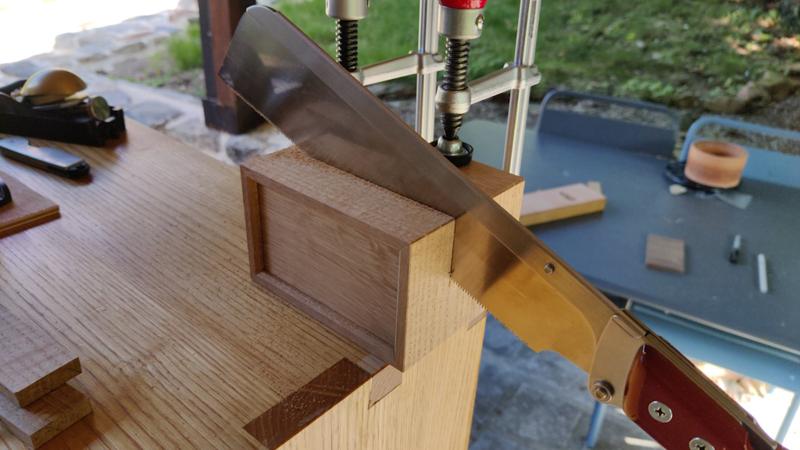
When I've split boxes from their lids in the past, I've generally taped a saw to a block of wood, clamped it down to the bench and then offered the box up to the clamped saw. That method ensures that the cut is perfectly parallel all the way round. This time, I decided to be brave and (after remarking the dividing line with a pencil) just went for it with the Dozuki:

2024-09-15-04-brave-sawing_800.jpg


It went satisfyingly well:

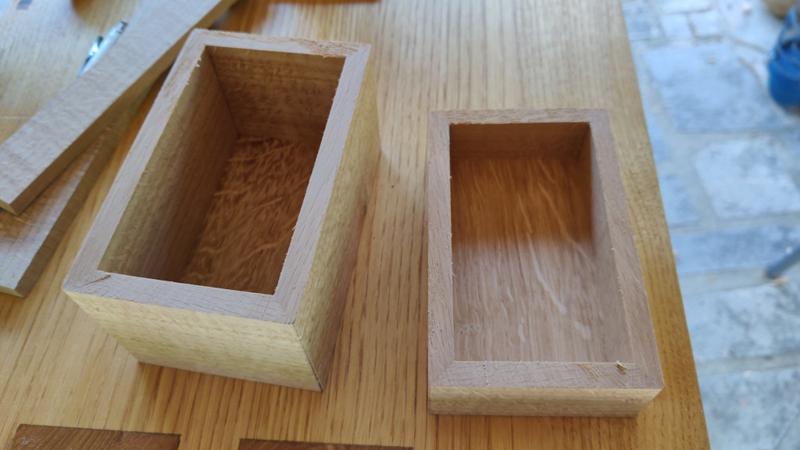
2024-09-15-05-sawed_800.jpg


To plane the saw cuts from the base, I clamped it to the back of the chest and used the block plane in a rather un-ergonomic circular motion to work my way repeatedly round the top:

2024-09-15-06-planing-base_800.jpg


In the past, I've done that by rubbing the box halves on sandpaper mounted on a flat surface, but I don't have any sandpaper with me and I'd rather avoid using it anyway.

The lid is too thin to clamp in that way: with the to-be-planed surface clear of the top of the chest, there isn't enough left to clamp underneath the 20 mm thick chest top. Instead, I flipped the vice around into its edge stop "mode" and used a few bits of wood to make a nest for the chest top:

2024-09-15-07-setup-for-planing-lid-1_800.jpg


With hindsight, this was a better way of holding it and if I'd have thought of it before I would have done the base in the same way. It was also nice to have an excuse to give the edge stop its first try-out.

2024-09-15-08-setup-for-planing-lid-2_800.jpg


The finished lid:

2024-09-15-09-planed-lid_800.jpg


The final job was to sort out those thin bits of red oak, which were to be used as the lining for the box. This was just a case of more sawing (to rough size) and shooting (to fit). The shorter pieces of the lining were quite awkward to hold as they're so short that they don't protrude from under the plane support piece, but I could just get my finger tip onto the corner so it worked okay:

2024-09-15-10-awkward-shooting_800.jpg


The longer side pieces were much easier:

2024-09-15-11-easier-shooting_800.jpg


As well as the four mitred lining pieces, I also prepared a rectangular piece of thin red oak to sit underneath them:

2024-09-15-12-lining-prepared_800.jpg


All fitted:

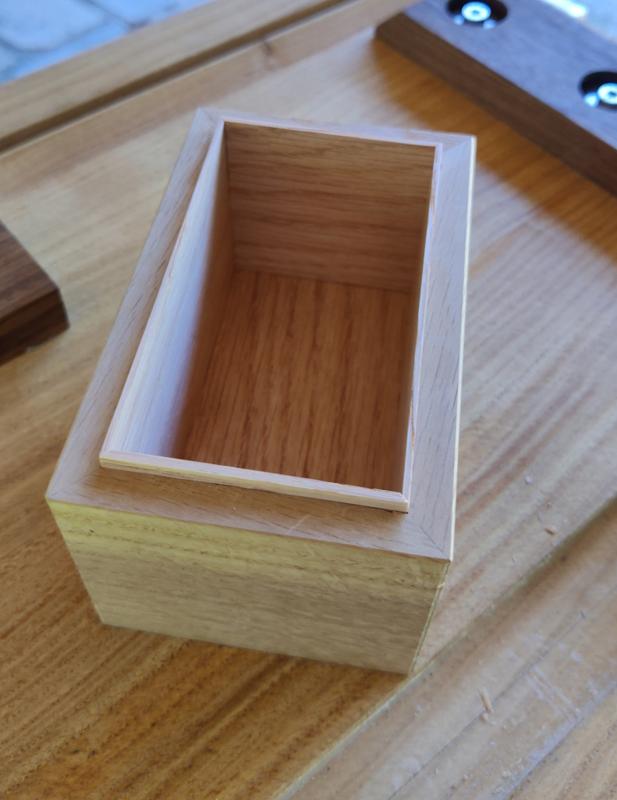
2024-09-15-13-lining-fitted_800.jpg


All finished (except for finish, which I'll probably do when I get home):

2024-09-15-14-box-finished_800.jpg
 
A comprehensive wip, thank you. Nice little box, I particularly like the lining. It makes for stronger mitre joints if you lightly coat them with glue and allow it to soak in for a couple of mins, then a bit more glue and put it together.
Ian
 
A comprehensive wip, thank you. Nice little box, I particularly like the lining. It makes for stronger mitre joints if you lightly coat them with glue and allow it to soak in for a couple of mins, then a bit more glue and put it together.

That's a useful tip, thanks.
 
I started another box yesterday. I've been a bit inconsistent with taking photos, so there will be gaps in the explanation, but the general idea will hopefully be obvious. If anything is unclear or suitably intriguing, feel free to ask.

This photo shows the source material that I'm using for this box. Two bits of American Black Walnut, resawn from a thicker piece with the bandsaw when I was at home, along with a couple of offcuts of maple. Later on there will probably also be some sweet chestnut added to the mix.

2024-09-16-01-source-material_800.jpg


This box is slightly unusual in that the thin bit of maple (which will be the back, fitted into grooves) is going to dictate the rest of the dimensions of the box. Normally I'd make a box and then cut a back/base to fit, but the maple piece is smaller than any of the other bits so it necessarily dictates the maximum size.

First job was making it rectangular - I'm amazed I managed to saw along that line without the thin bit breaking off:

2024-09-16-02-fine-chop_800.jpg


It then got shot to have 90° corners so it could be measured:

2024-09-16-03-planed-square_800.jpg


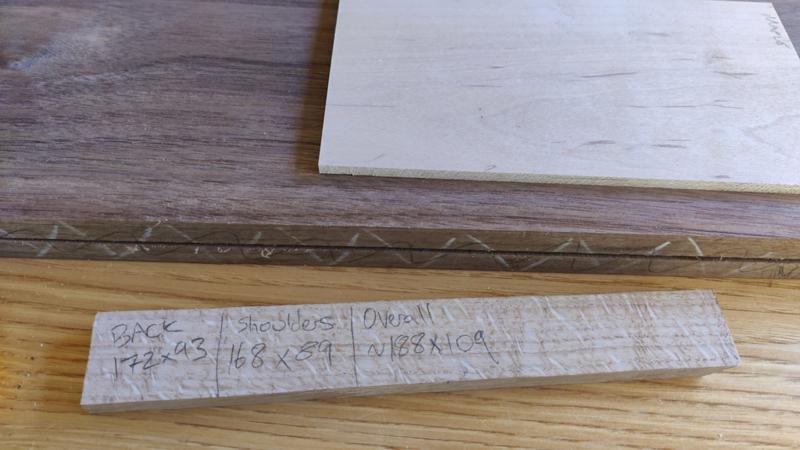
With the dimensions to hand, I could work out the distance between the "shoulders" (inside faces) of the box by allowing 2 mm all round for the maple bit to sit in the groove and then adding a bit (2×10 mm, erring on the side of excess) for the thickness of the box:

2024-09-16-04-dimensions_800.jpg


The walnut planks then got chopped up...

2024-09-16-05-chop_800.jpg


... and planed ...

2024-09-16-06-before-planing_800.jpg


... to remove the saw marks ...

2024-09-16-07-during-planing_800.jpg


... and bring them smooth ...

2024-09-16-08-after-planing_800.jpg


... and of the same thickness as each other:

2024-09-16-09-mirror_800.jpg


The rough edges...

2024-09-16-10-before-edging_800.jpg


... then got planed smooth and square:

2024-09-16-11-after-edging_800.jpg


After some more chopping, I could label them in the sequential order, marking one as the top of the box as it looked marginally nicer than the one that will become the bottom:

2024-09-16-12-labelled_800.jpg


They then got shot to the dimensions marked on that offcut of oak I showed a photo of earlier. They're only 8.5 mm thick, so there's a lot of excess in those dimensions, but I decided to just deal with that once the box is glued up. The home-made block plane should make fairly light work of planing off the end grain: after all, it's still going strong despite me not having sharpened it at all since I've been here:

2024-09-16-13-block-plane-still-going-strong_800.jpg


Next up was cutting tails and pins. I didn't take many photos (except when the sun was shining on the chest and making it look all arty!) but the process was the same as usual:

2024-09-16-14-arty-shot_800.jpg


2024-09-16-15-marking-pins_800.jpg


2024-09-16-16-marked-pins_800.jpg


2024-09-16-17-chopping_800.jpg


A bit of relief was added into the inside corner of the dovetails as usual:

2024-09-16-18-curly-bits_800.jpg


Then the box was assembled for a trial fit:

2024-09-16-19-trial-fit_800.jpg
 
The groove for the back was ploughed in the same way as for the tea caddy (with blind grooves in the tail boards):

2024-09-16-20-ploughing_800.jpg


The faces of the back got a very light touch with a smoothing plane (the source material was already quite smooth):

2024-09-16-22-planing_800.jpg


Another slightly rough bit of walnut was dug out and chopped up:

2024-09-16-23-more-chopping_800.jpg


Then it was time for more planing, to bring it to 4 mm (ish) thickness:

2024-09-16-24-more-planing_800.jpg


I thought I'd try my hand at a plain housing joint for this piece, so I marked up the two side pieces with knife lines, then started the housing with a 16 mm chisel, then used the router plane and a knife to finish it off, about 2 mm deep:

2024-09-16-25-housing-joint_800.jpg


A trial fit, showing how the shelf and the back fit into the sides:

2024-09-16-26-trial-fit_800.jpg


That felt like a good time for a (fish) glue-up, with what is probably a rather excessive number of clamps:

2024-09-16-27-glue_800.jpg


In case you haven't already guessed, this box is going to have a couple of drawers (with the other bit of maple being used as the drawer fronts). I'd wondered about having a narrow strip of maple visible at the front to separate the drawers, but I think instead I'm going to make the front of the bottom drawer stick up a bit and go over the front of the middle shelf.

The next job is probably to start planing the material for the drawer front (the thicker maple piece) and sides (probably sweet chestnut as I have loads of it) and figuring out what to use as the drawer bottom.
 
I have visions of the face of the cleaner, that comes round after you have left your holiday rental, as she looks in the bin and sees a whole pile of wood shavings and wonders what on earth have these people been doing.
 
I didn't feel like doing much more yesterday and didn't expect to do anything today, but Carolyn is still struggling a bit with the pain from the healing femur, so we had another day of rest today. As the fish glue had been left for plenty of time to dry, I started by planing the joints flush:

2024-09-17-01-planing-joints_800.jpg


There was a couple of millimetres of end grain to remove on each protrusion, but the block plane chewed through it in no time and then I could use the smoothing plane for a final pass over the whole surface.

For the top and bottom, I decided on a different way of clamping to support it on top of the chest rather than on the back:

2024-09-17-02-planing-joints-on-top_800.jpg


I might do one more pass with it supported on a drawer board type affair (or with something propping it up inside to stop it bowing in the middle), but I don't think it's really necessary so I probably won't!

The next job was to get on with the drawers, which started with the thicker maple bit, which I chopped into a rectangle and then planed smooth:

2024-09-17-03-wispy-maple-shavings_800.jpg


Once edge got squared up ...

2024-09-17-04-maple-edge_800.jpg


... and then I chopped a drawer front off ...

2024-09-17-05-chopping-maple_800.jpg


... before repeating the process and then shooting the two pieces down to size until they were a snug fit:

2024-09-17-06-maple-dropped-in-place_800.jpg


For the sides and back of the drawers, I've got a load of sweet chestnut bits left over from making the chest:

2024-09-17-07-chestnut-bits_800.jpg


Some of them got planed and chopped and shot down to give me the bits for the drawer outsides. I've still got plenty left. The sides of the drawers are a close fit in the cavity; the backs of the drawers have three sides finished (with the length being a close fit in the cavity) but I haven't brought them to width yet as I haven't figured out what I'm doing with a base yet:

2024-09-17-08-drawer-pieces_800.jpg


The drawers are small and very shallow so I should probably just do a rebate and fit the base into that, but I feel I'd rather have another go at slips so I'll probably do it that way. I also haven't decided whether to lower the back at the top (to give the air somewhere to go when pulling the drawer out).
 
To figure out the details of the slips, I really need to know how thick the base is going to be. For that, I need to prepare the base. I started with this big but rather rough slice of chestnut:

2024-09-17-09-big-piece-of-chestnut_800.jpg


You may recognise that piece of wood from episode 123 of this epic: it was the piece from which the Dutchman / graving piece for the side of the chest was cut.

Anyway, at 7.5 mm thick, that piece of wood was a bit hefty to use for the base of two small drawers:

2024-09-17-10-thickness-before_800.jpg


To make it easier to plane down, I marked out two (oversize) rectangles onto the plank:

2024-09-17-11-marked-for-chopping_800.jpg


After cutting the two pieces out, I attacked it with the plane. There was a bit of tear-out in places due to some reversing grain, so once I'd got the pieces down to an even 5 mm thickness (I was aiming for 4 mm), I switched to a 50° blade (62° cutting angle), closed up the mouth and finished the pieces off with some fairly light cuts:

2024-09-17-12-planing_800.jpg


After seeing what the pieces looked like at 4 mm thickness, they still felt a bit too much for such small drawers, so I carried on down to 3 mm:

2024-09-17-13-thickness-after_800.jpg


That left a big pile of chestnut shavings on the floor, so it was time for a tidy up. By that time, I was feeling far too hot to do anything else today, so I decided it was time for a glass of this stuff (such a shame we can't get it in the UK, but I'm making the most of being here in Brittany and will max out the rather meagre import allowance on the way home, albeit buying from the supermarket in Plancoët where it's about half the price listed on the website).
 
Back
Top